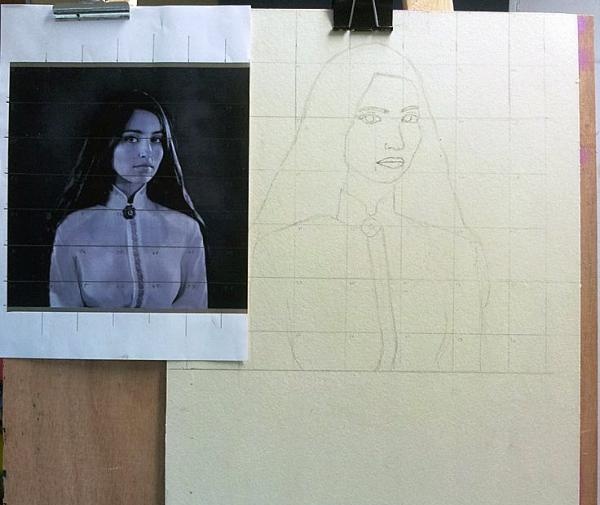
Next, draw a sheet of paper or cardboard into squares of the same size, if you want to draw a portrait the same size as the original photo. If your format is larger (as in the photo), then draw the sheet into larger squares, for example 4x4 cm, but the number of squares should be the same. Next, number all the squares in the photo and on a blank sheet of paper in the same order.
(to the first photo) We begin to make a pencil sketch, here you will begin to use squares, do not try to redraw the entire picture in general. Look at each square as a separate picture and copy the main lines, the numbers will help you navigate the drawing.
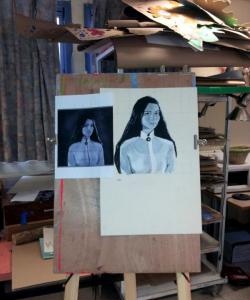
It is best to work on a vertical inclined plane, for example on an easel, but if this is not possible, then you can also work on a horizontal one, in which case try to move away from the drawing from time to time and look at it from afar, this will make it easier to see perspective errors.
At the sketch stage, there is no need to draw small details; pay attention to the main components of the drawing and copy them as accurately as possible. Use a medium-hard HB or 2HB pencil. Try not to stain the paper by numerous erases of the pencil, then the paint will lie evenly.
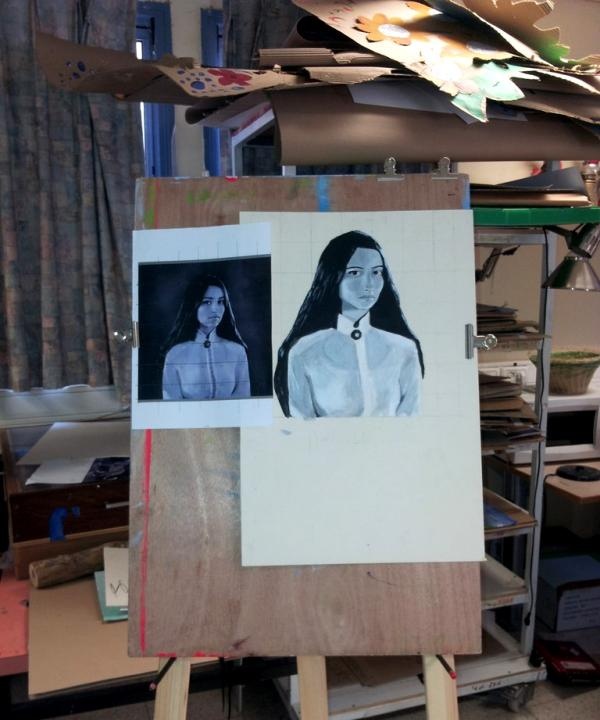
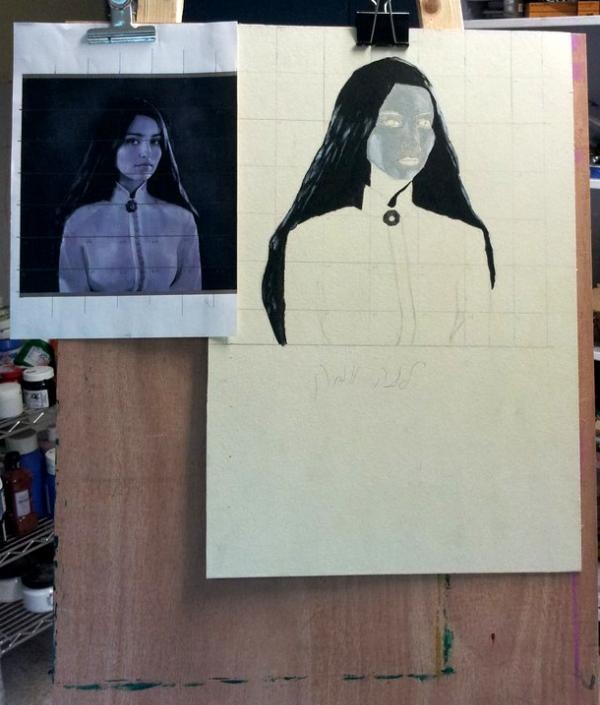
(to the second photo) Let's move on to working with paints. To work with acrylic you do not need a lot of water; it is needed in the same amount as when working with gouache. Prepare brushes of different sizes, the wider the selection, the better, but even 2-3 brushes are enough. First, mark the darkest places and the lightest areas for yourself, paint over them as shown in the picture. Next, begin to soften the transitions from white to black.
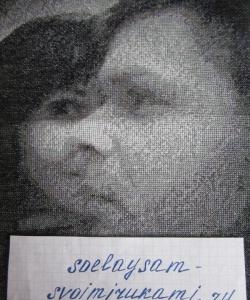
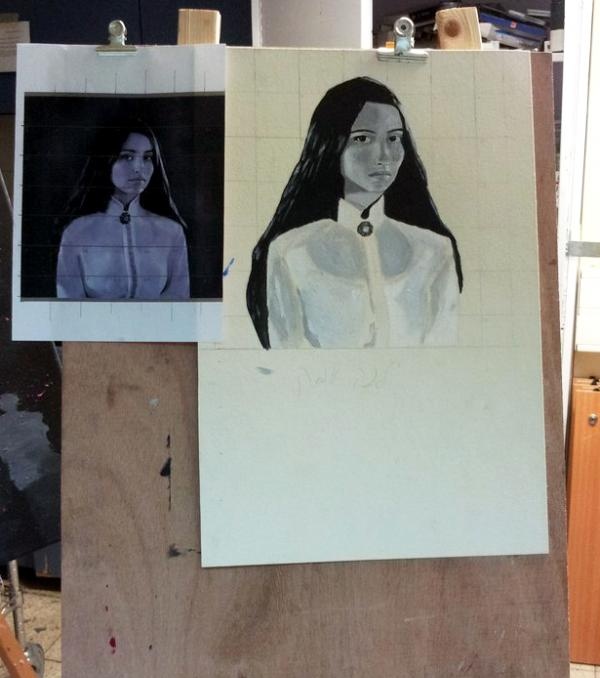
(to 3 photos) Carefully watch the change in shade in the photo and complement it, then work on the lips, eyes and nose using small brushes. Be patient; first of all, don’t draw for more than an hour without a break. If you make a mistake and make the wrong stroke, then wait until the paint is completely dry and apply the desired layer on top; acrylic covers the previous tone well, even dark ones. When the acrylic dries, it remains the same color as when applied, it does not fade like gouache, keep this in mind when applying the tone. Do not overdo it with water, otherwise the painting will “flow”. Acrylic washes off your hands with water, but not very well, so try not to get too dirty.
The main thing when painting a portrait is to show the person’s emotions, so you can omit some minor details, but pay attention to the expression of the eyes, lips, nose, general proportions.
Don't be discouraged if something doesn't work out the first time, practice and everything will work out.