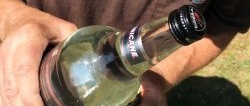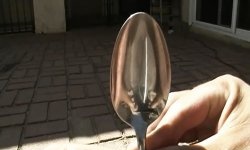
How it compares favorably ferrocerium flint against the backdrop of other means of making fire, many articles have already been written and videos made. It is quite easy to make fire in extreme conditions, even in wet weather, if you have some desire. There are many ways. Starting from a homemade lens from a bottle, or a light prism from the bottom of an aluminum can, and ending with striking a spark by hitting the butt of a knife with a sharp stone. Someday, perhaps, if there is an opportunity, I will describe in more detail and clearly demonstrate a couple of such methods...
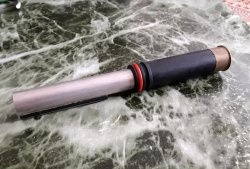
But the most reliable and reliable method remains using ferrocerium flint. It gives a hot spark, with a temperature on average of 1000-1300 degrees (at least that’s what they say in the characteristics and descriptions of this thing from different manufacturers), which significantly increases the chances of getting a fire even for the most inept user of this product. It is impossible to make ferrocerium yourself at home, since the above substance is an alloy of several metals. You need a laboratory, a plasma oven, the necessary knowledge in the field of chemistry, and so on... I think not everyone will have such equipment in their closet.So, whether you like it or not, you will have to buy it if you need this thing. But you can always make the handle and chair yourself. Today I want to share another way to make a comfortable handle-holder, with a built-in armchair, for flint. That is for ferrocerria rod. Especially for this purpose, I ordered several bare rods from an online store in order to make holders for them myself, taking into account my needs and convenience. We're not even talking about the holder, but about the case, which will fold out.
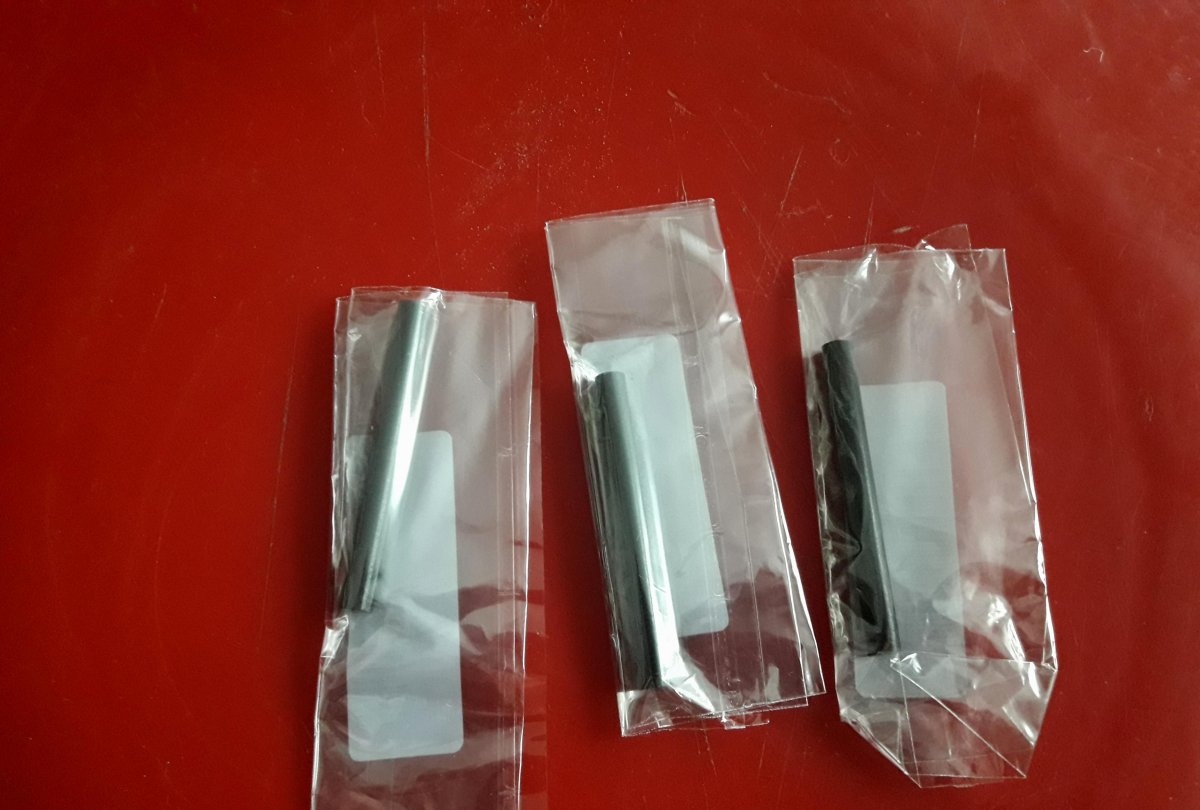
They are the perfect size for my design. Although, of course, you can find something similar on sale, but still, something made with your own hands is much more pleasant to use. The advantage of such a product is that you know that it will not crumble in your hands at the most crucial moment, since you made it yourself, and you know all its capabilities and the approximate strength limit. So let's get started!
Will need
- Ferrocerium rod 60 × 6 millimeters.
- Two empty disposable lighters.
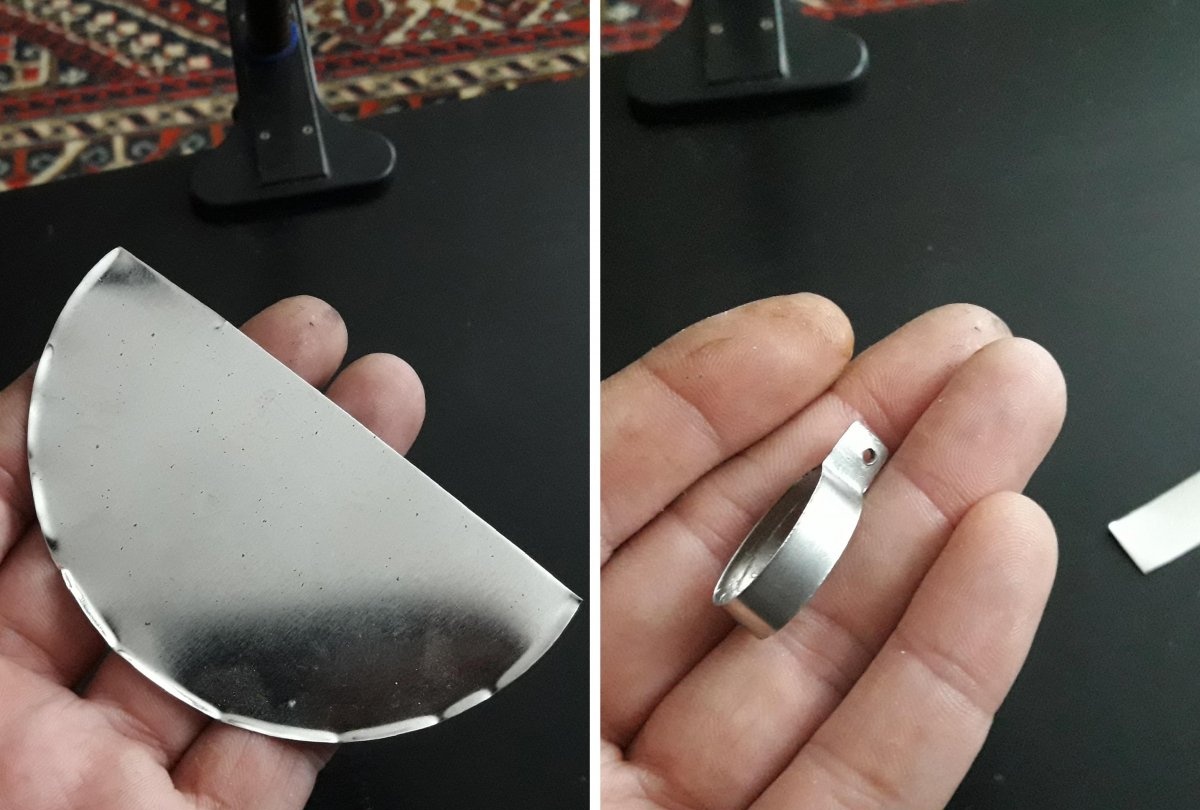
- A piece of high-carbon steel for a chair (can be from a metal blade).
- A piece of tube, or sleeve, into which a piece of steel for a chair will fit.
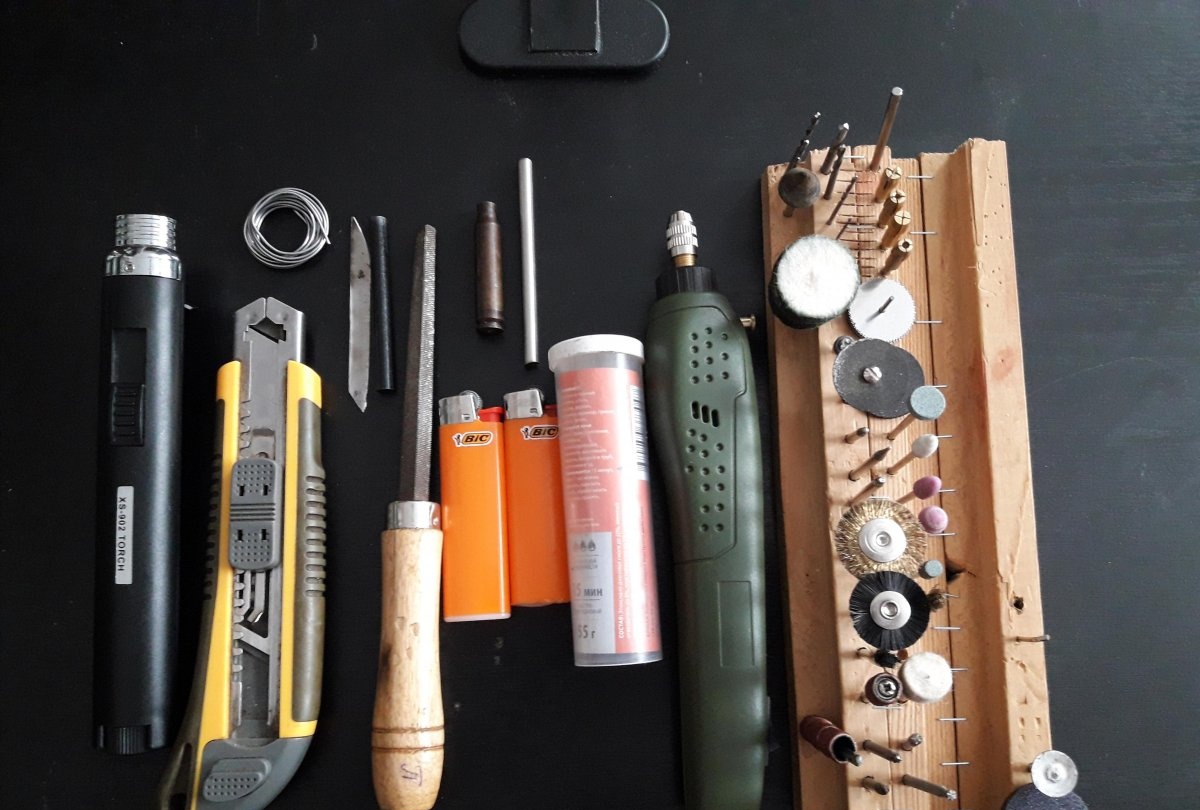
Required tools and consumables:
- Soldering iron with tin and flux.
- Stationery knife.
- File or needle file.
- Secondary glue.
- Composite adhesive “Cold welding”.
- Bor machine with a cutting disc (or a good, heavy knife).
- Machine oil (or gun oil).
- Spray bottle with water.
- Scissors.
Making flint
The first step is to release the remaining gas from the lighter. To do this, just poke a small hole in the lighter body with a sharp knife.
It is best in a place that will later be removed or covered with something. If the lighter is empty and no longer functions, this can be done right on the spot, without going out into a draft - such a small concentration of gas (if any!) will in no way affect health or safety. Next, using a drill machine and a cutting disc, you need to separate the bottoms of the lighters.
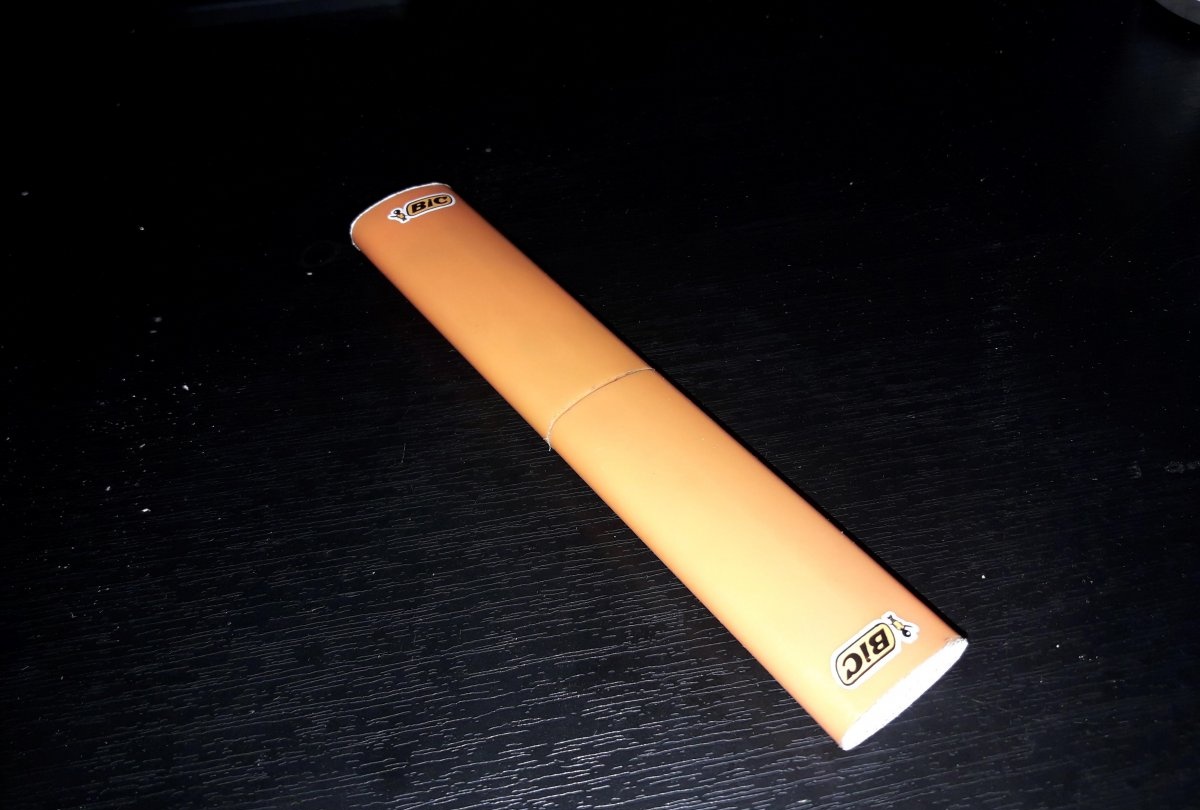
It was possible, of course, to saw off the tops and leave the bottoms as natural ends of the holders, but I already had one lighter with the bottom torn off earlier, so I had to improvise. So, we saw off the bottoms and level the cut places with a file so that they become as equal as possible.
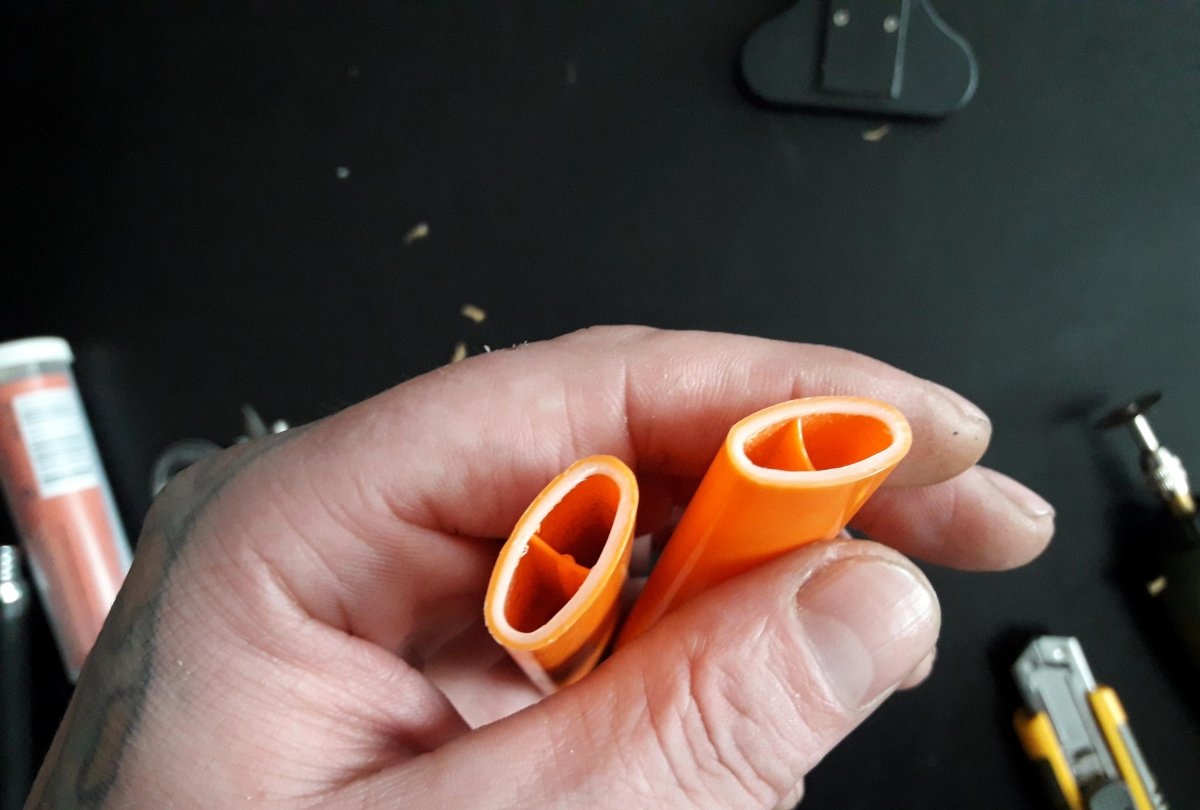
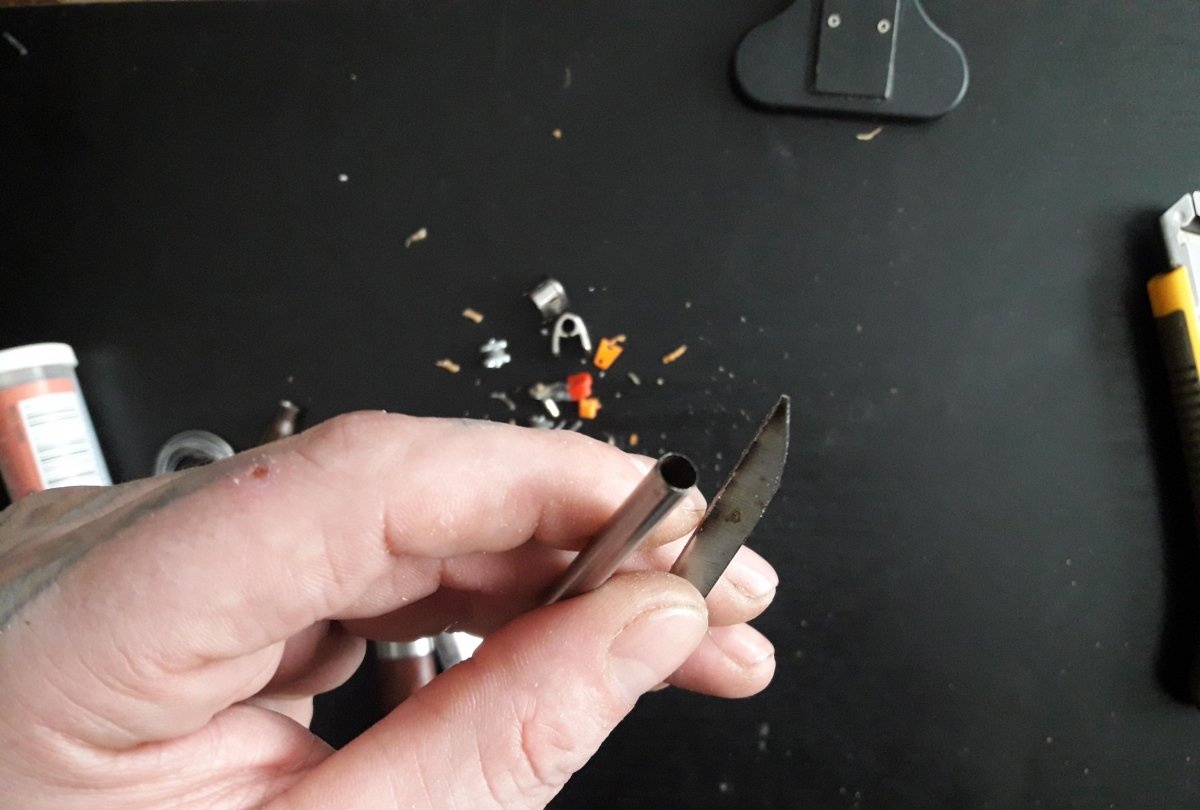
Next, using a utility knife and pliers, we tear out everything from the upper parts by the roots. Also, we level it with a file. For now, you can put the finished holders aside and start making the chair. To do this, take a piece of steel that can easily fit into any of the two compartments inside the holder body, insert it into the tube, and solder it to the tube. If the tube is too small, then flatten it until a strip of steel fits inside.
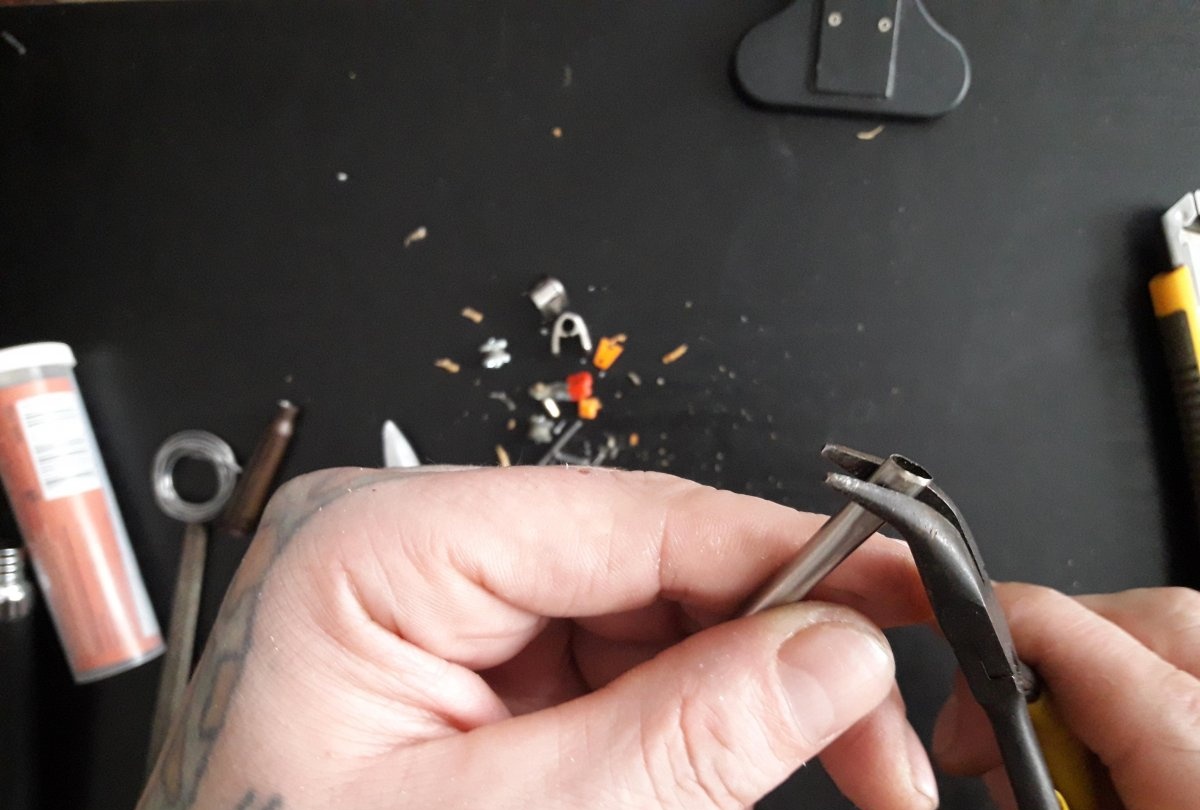
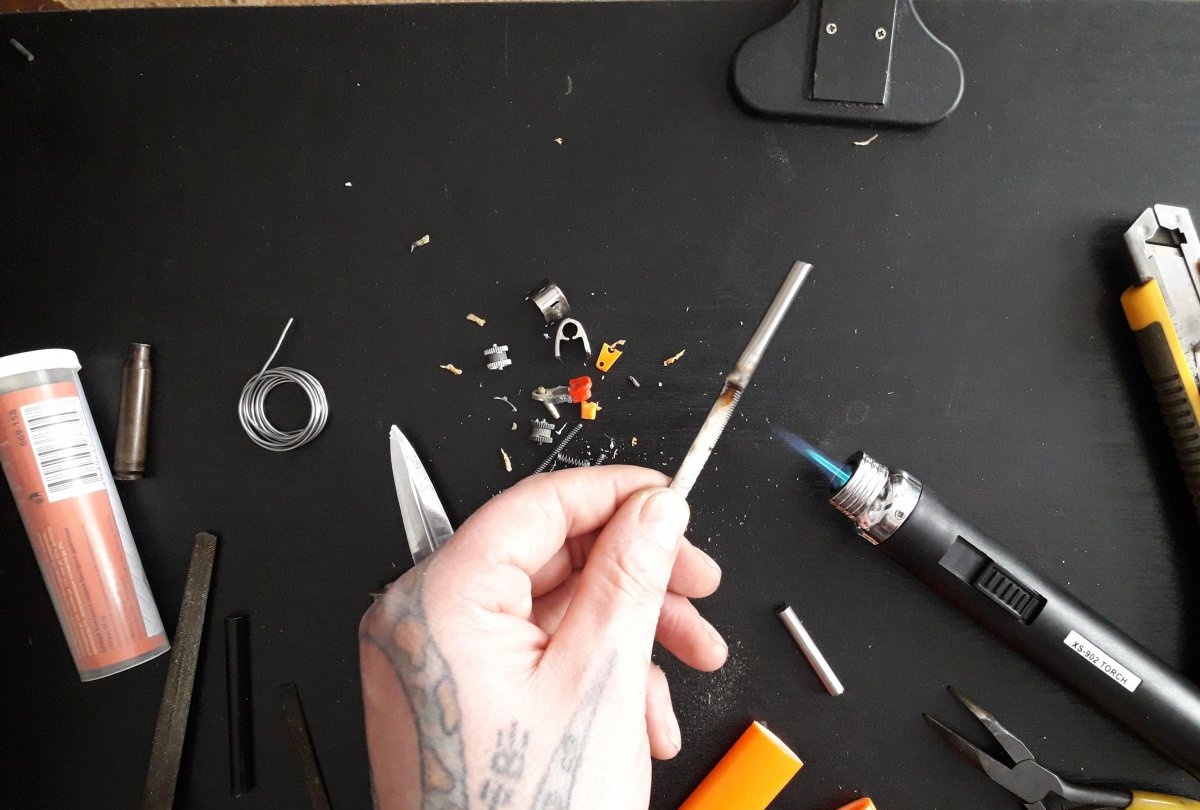
We make the same continuation from the tube for ferrocerium rod.
Let's try it on the body.
If everything fits well, and nothing needs to be filed or adjusted, we begin to dilute the composite glue.
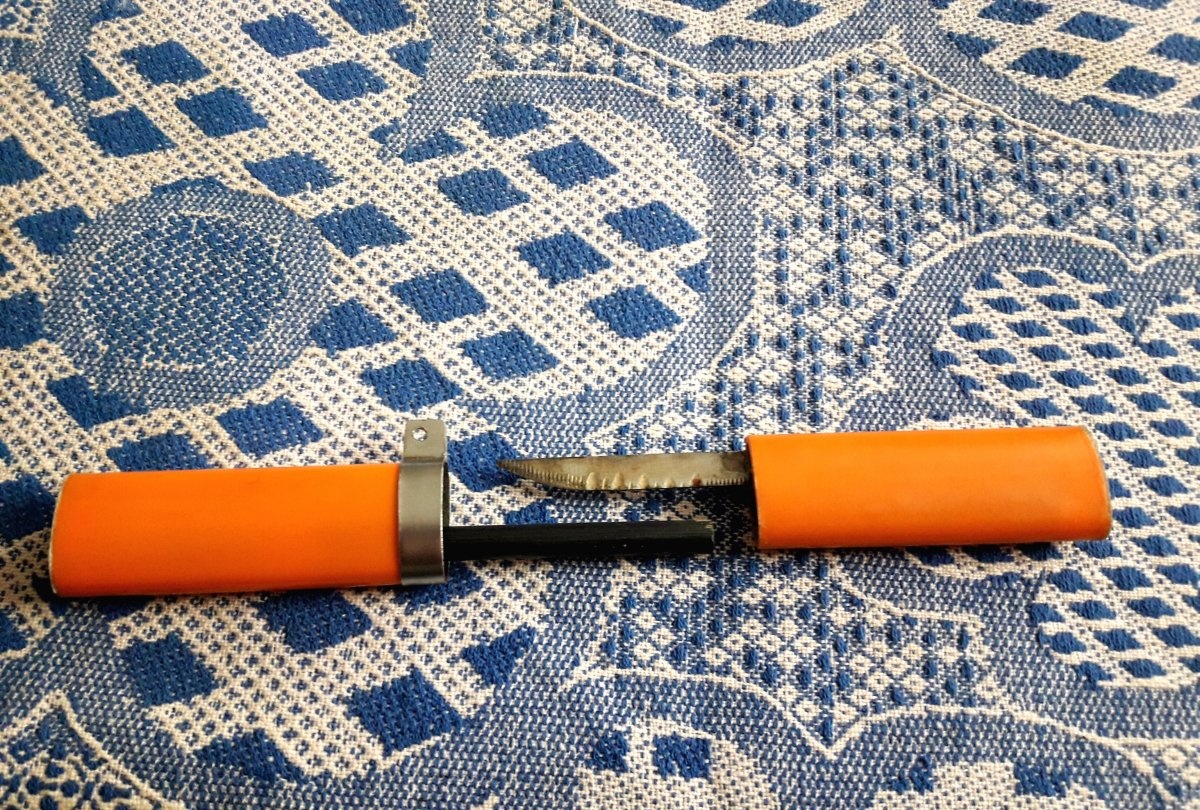
After the glue is mixed, we push its pieces into the holder body and insert the flint rod into one of the compartments. In the second building, after an identical procedure with glue, we install the chair, also in one of the compartments.
Next, we fill the remaining compartments in the holder bodies with glue and, having lubricated the flint and the steel with oil so that the glue does not stick to them, we stick the two blanks into each other so that the flint and the steel fit into the free compartment of the opposite part of the body. It turns out something like “two in one”.
Let the glue set properly; an hour and a half. You can later, if there are any gaps or holes near flint rod or a chair, drop a drop of second glue there. For greater reliability! This certainly won't do anything bad. Next, we’ll make end caps in the places where the lighter mechanisms we tore out were previously located. I could have left them, but after trying them on, I realized that the product would look, to put it mildly, ugly. These ends can, in extreme cases, simply be sealed with the remnants of cold welding, but I decided to make the plugs from thick reflective fabric.
To do this, coat the ends of the ends with second glue, apply appropriately sized pieces of the desired material, and after 5-10 seconds, cut off the edges along the perimeter of the end with scissors.
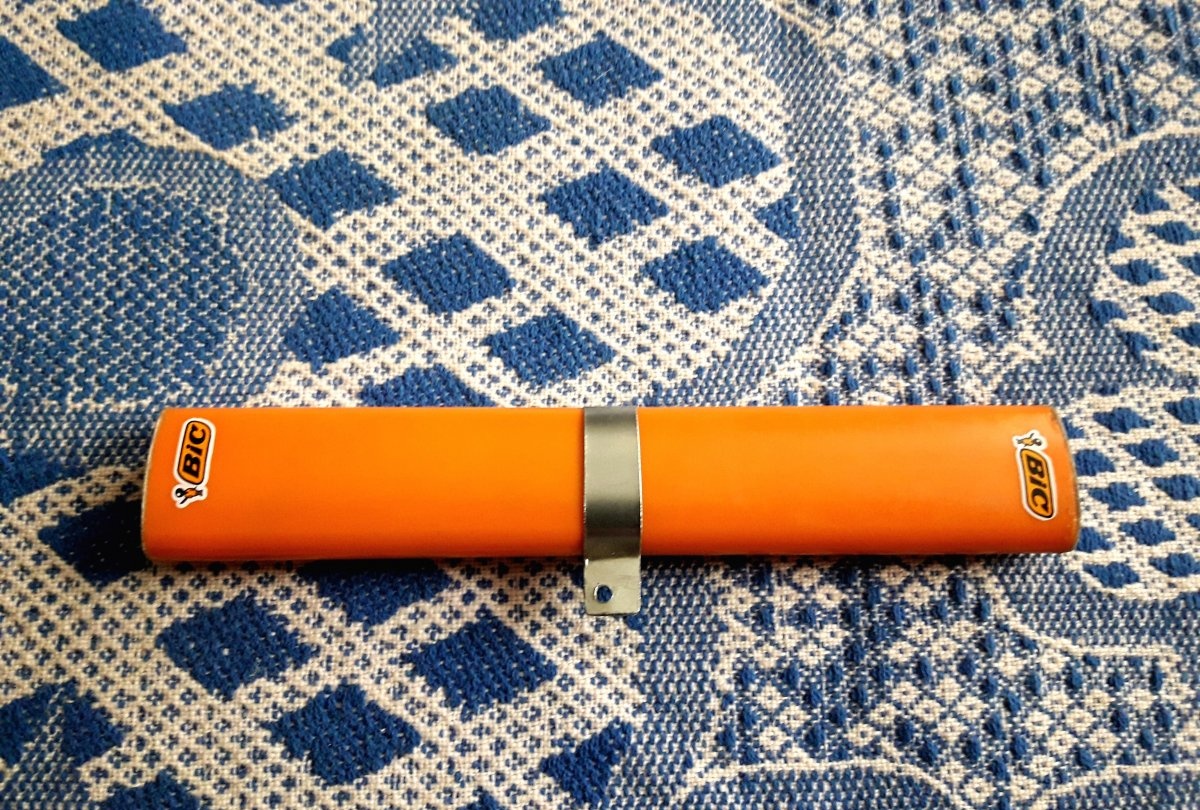
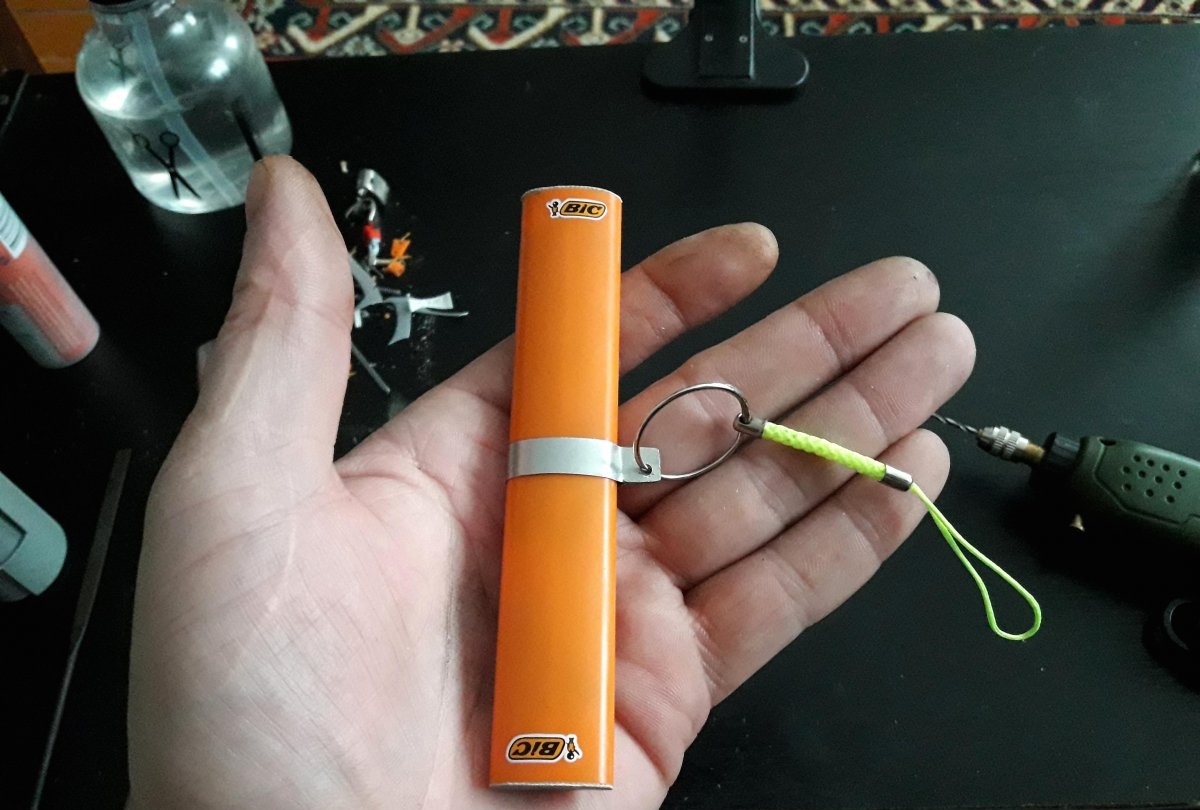
In principle, you can finish the assembly here, but I decided to attach another holder for a ring or carabiner to the body. Everything is as simple as that - cut out a strip of tin, 5-7 mm. We wrap it around one of the parts of the body, bend the tail from the ends, solder it, and drill a hole for the ring.
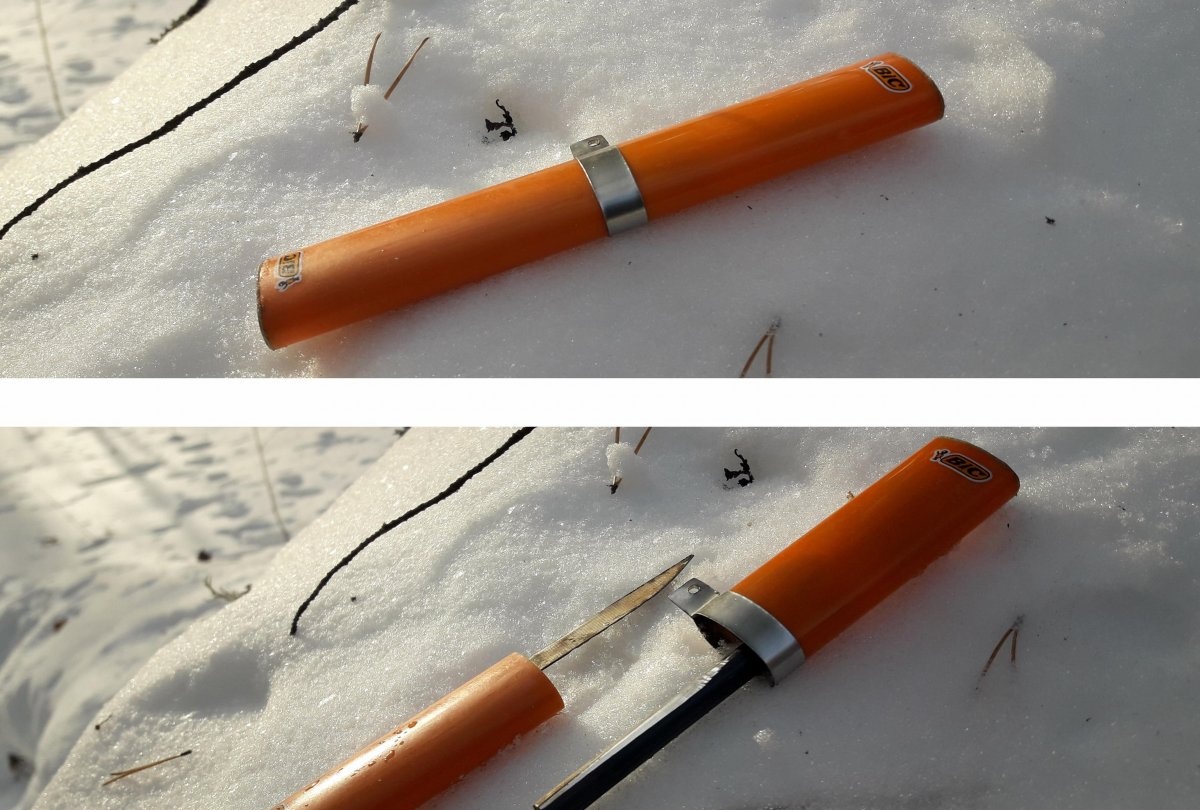
We put the resulting oval hoop halfway across the top of one of the body parts and fix it with glue. Next, we simply fold the flint as it should be, into each other - the tin hoop will hold both parts more than securely!

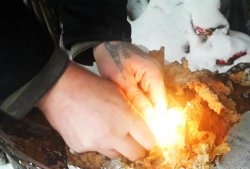
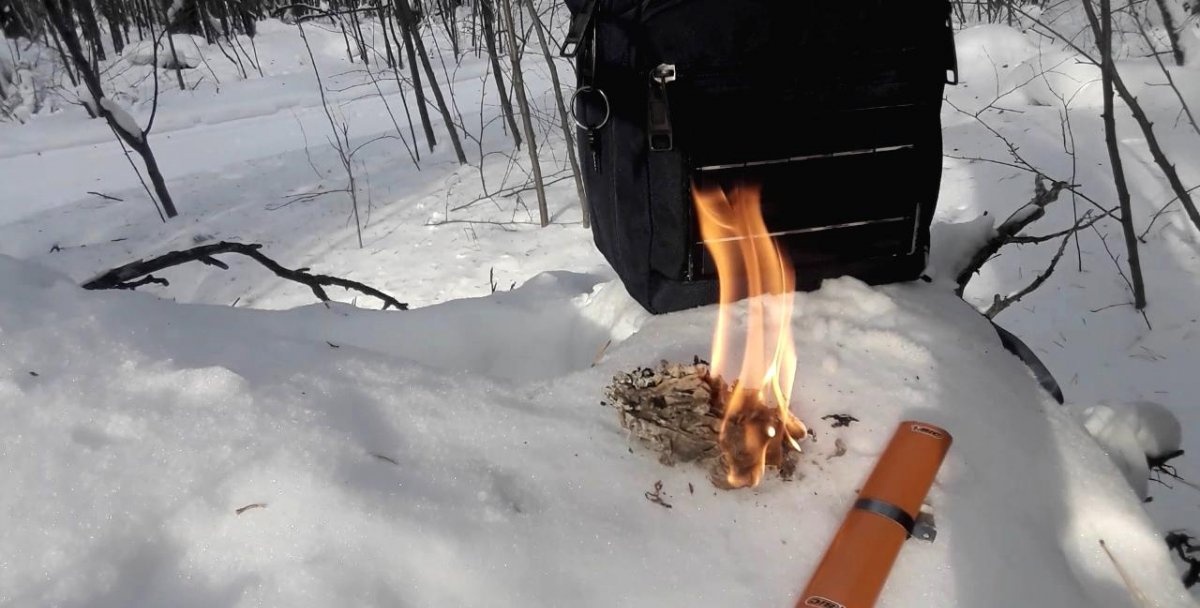
That's all, you can go check for ease of use; What a reason to go for a walk in the forest and test it in real hiking conditions!
Watch the video
In the video clip you can clearly see the manufacturing technology of this device, as well as real tests in real conditions.