The familiar steel is an alloy of iron and carbon. Pure iron is malleable and soft, its scope of application is limited. A variety of rolled steel and steel products significantly change their hardness and ductility with different heat treatments:
- Hardening steel consists of heating to high temperatures and rapid cooling in oil or water. This produces strong but brittle steel.
- Tempering steel is the opposite process, characterized by slow cooling after heating.
Proper quenching and tempering of a steel product allows you to obtain a “golden mean” or a material with increased strength and hardness. Heat treatment allows the steel to bend before breaking and not break in a brittle way, which can be useful in many products.
Steel has alloying components; different compositions mean that the alloys may require different heating times and temperatures. As well as different cooling methods (speeds).
Materials and equipment
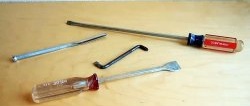
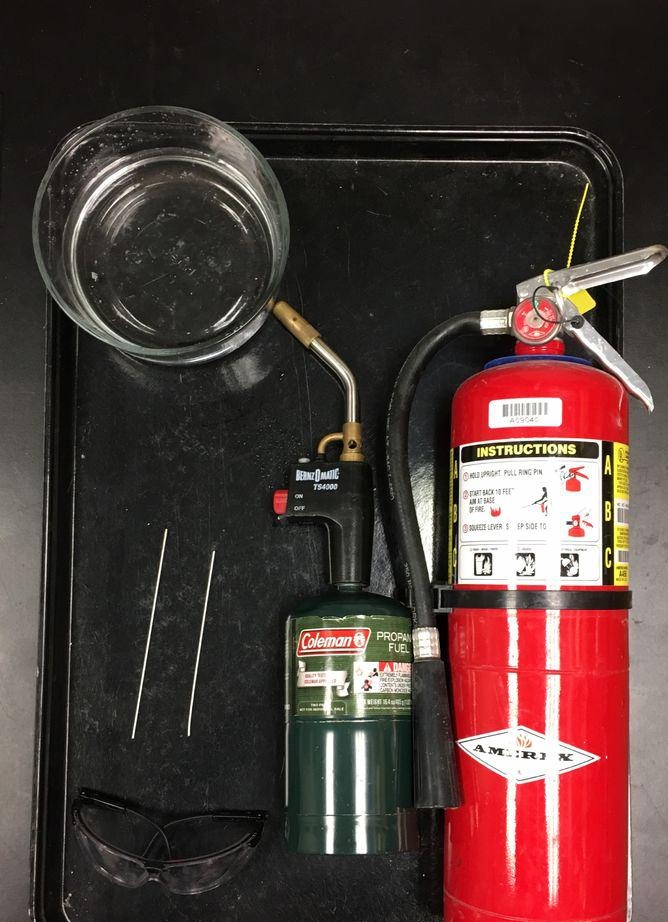
To conduct steel hardening experiments we will need:
- gas burner or blowtorch;
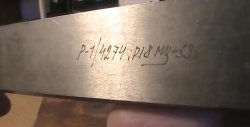
- two rods made of steel grade 1040 (Russian equivalent: St. 40, or St. 49G);
- container with water for hardening.
Safety:
When hot work is carried out, additional steps must be taken to ensure adequate safety. Heating steel with an open flame from a blowtorch will require personal protective equipment (gloves and goggles). In addition, you will need a fire extinguisher, a bucket of water and felt (sheet asbestos).
Carrying out steel hardening work
Once again we check the availability and serviceability of fire-fighting and personal protective equipment. Let's get started:
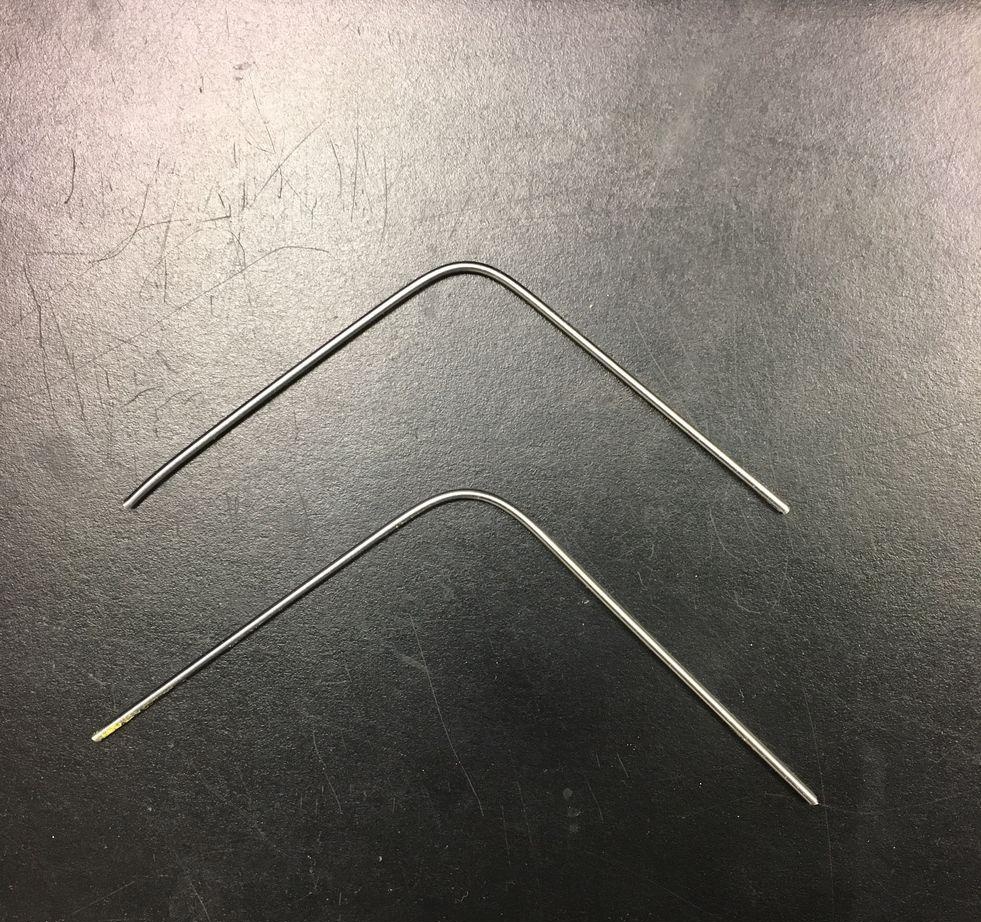
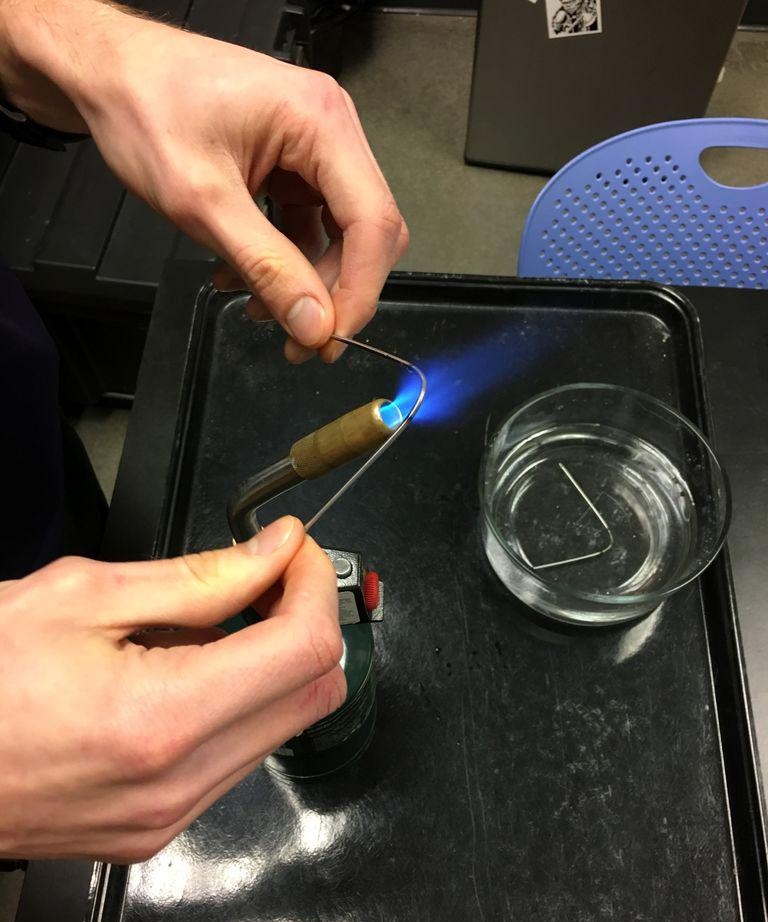
Let's bend our rods in the shape of the letter "U".
Let's turn on the gas and light the gas burner. Make sure the torch is facing away from you. Make sure no one else is within 1 meter of the torch while it is burning. Have a fire extinguisher nearby in case of emergency.
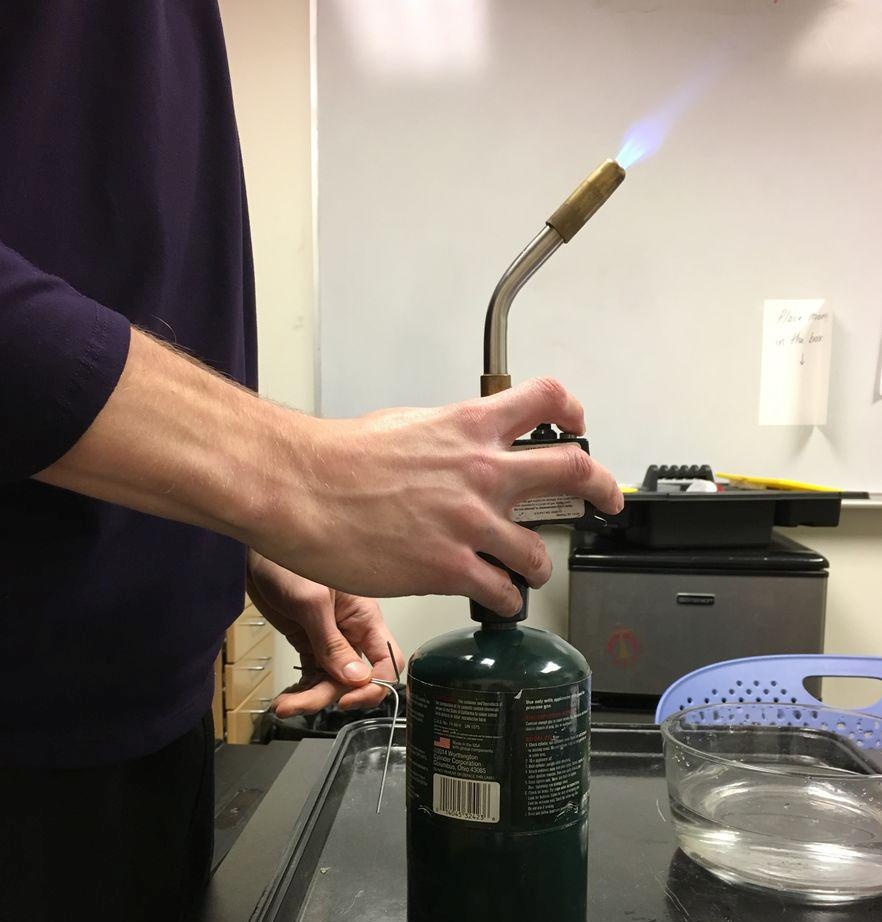
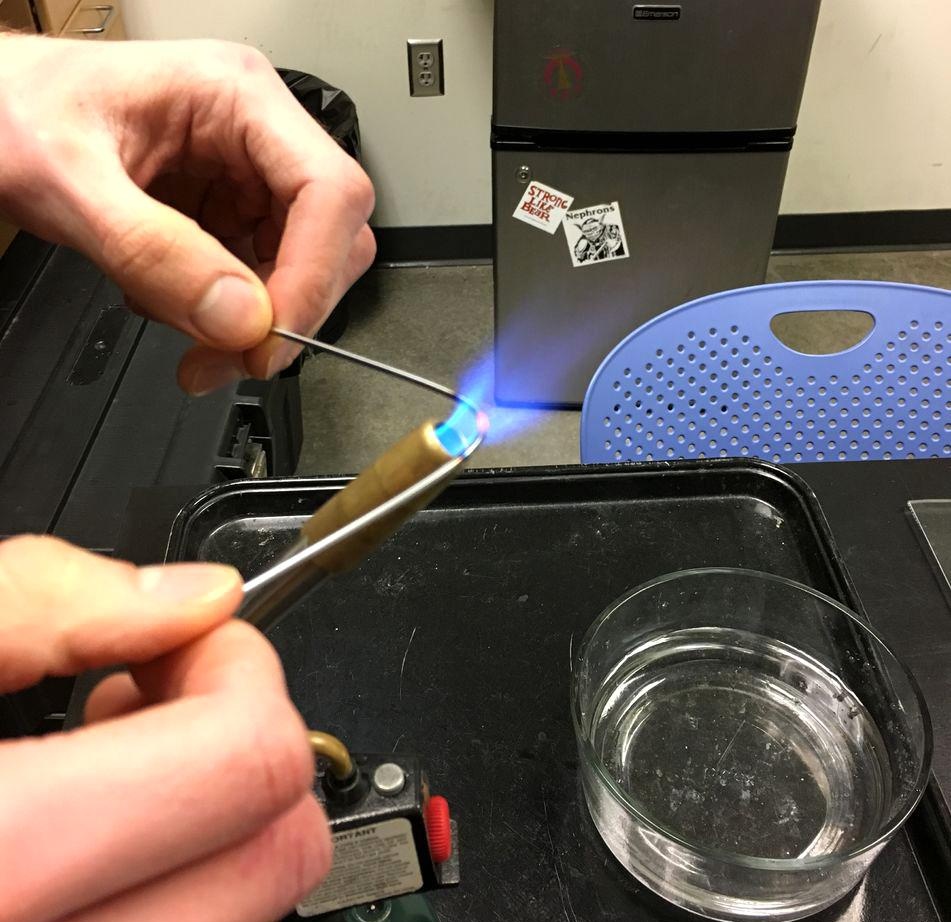
Place the curved part of the "U" rod in the hottest part of the flame, holding the two ends of the steel rod.
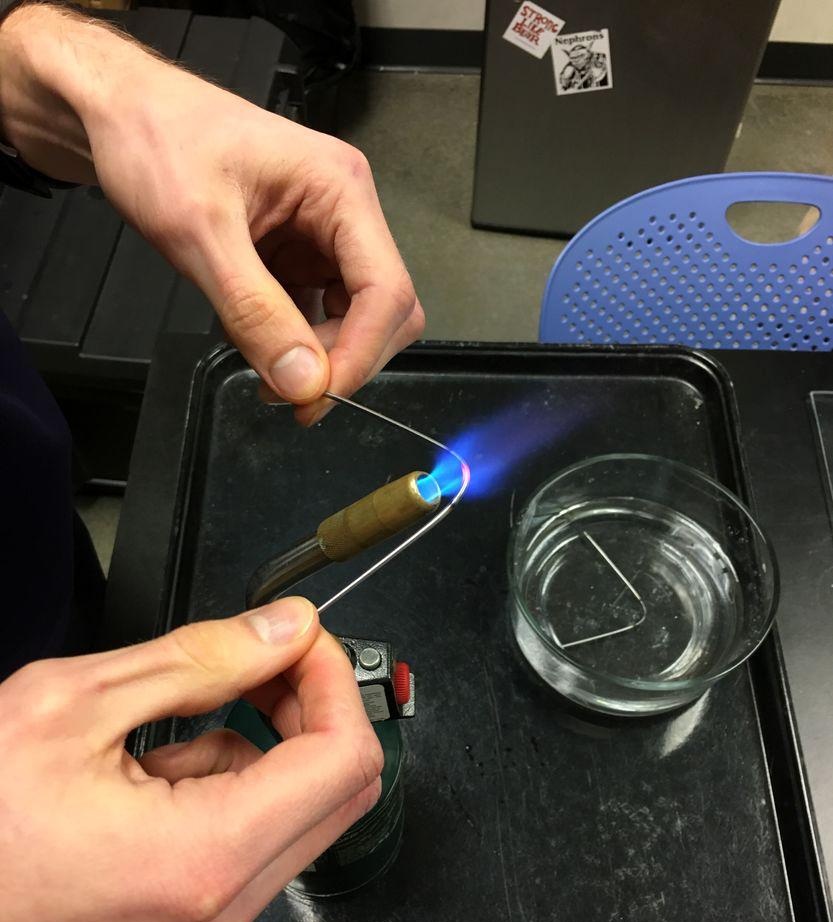
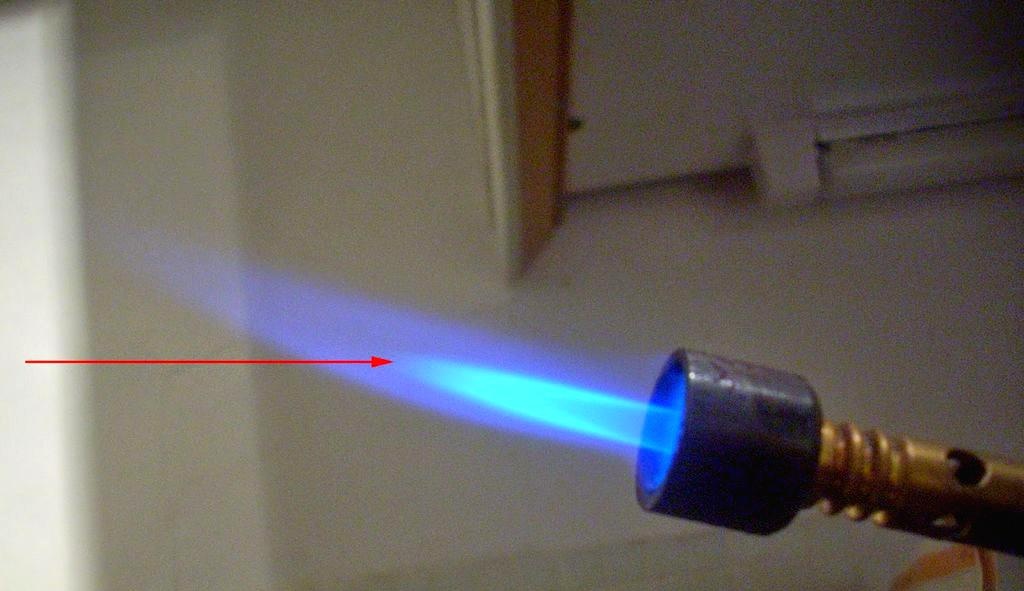
The hottest part of the flame is a small cone about halfway along the flame. Make sure you rotate the rod while it is being heated by the flame to ensure even heating. At the point of greatest heating, the restructuring of the atoms of iron, carbon and alloying components begins.
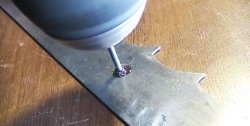
When the rod turns a bright orange color where it is heated, remove the rod from the flame and quickly dip it into the water inside the container as shown in the photo (called “quenching”). Quenching reduces the movement of atoms, and can be illustrated as the "freezing" of steel atoms in a new location. At this moment, the atoms are in an unstable position.
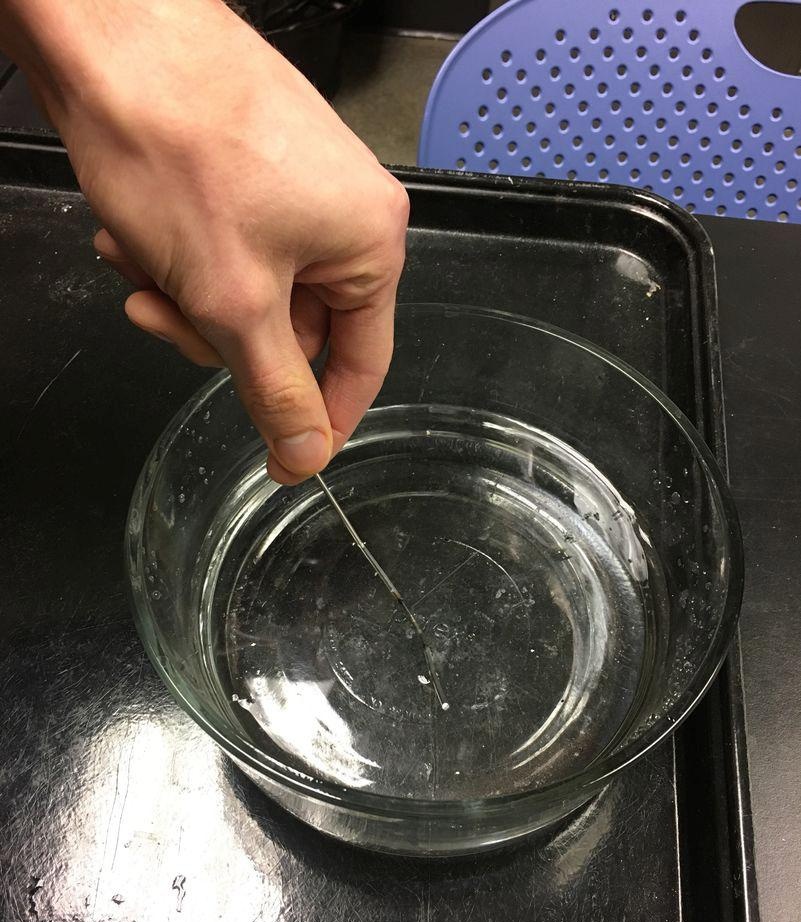
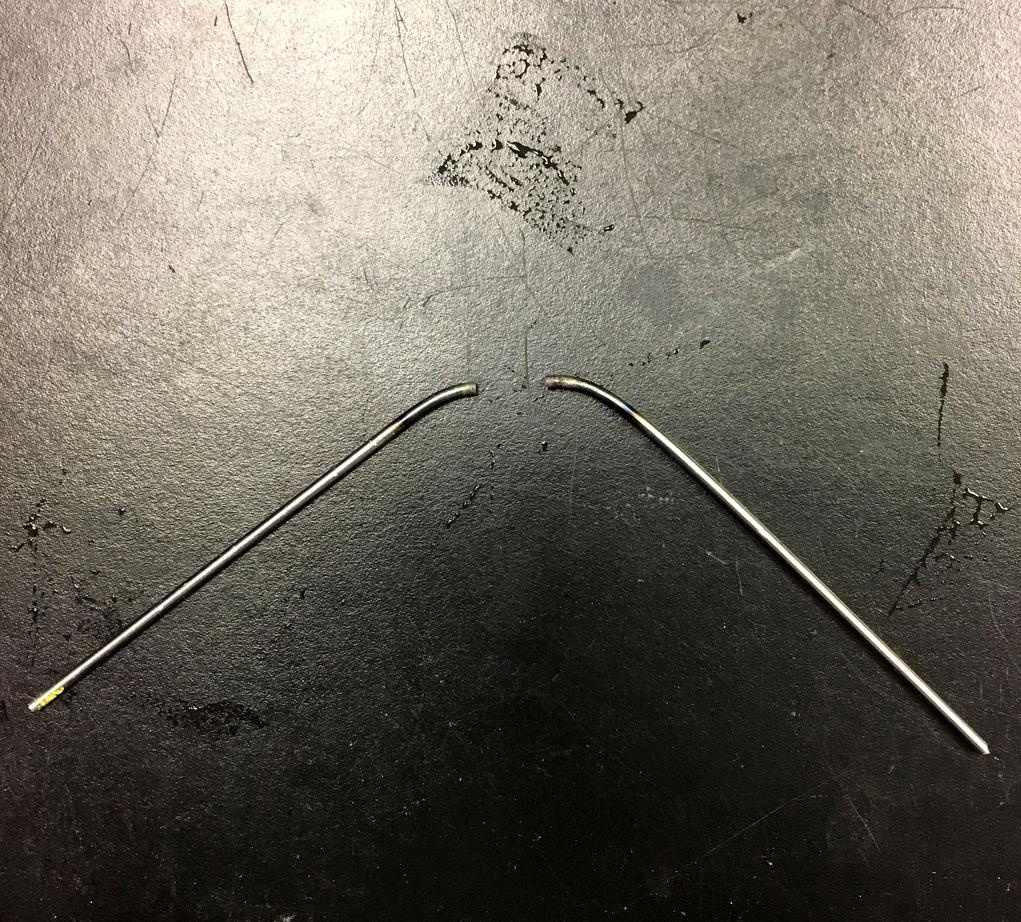
Repeat steps 3 and 4 with the second steel rod.
Take the second steel rod and harden it by heating it with a torch for 10 seconds. Don't harden your first steel rod! By placing it in a container with water, we perform secondary hardening or thermal tempering of the steel.This allows the metal atoms to “relax” and settle into a more stable position.
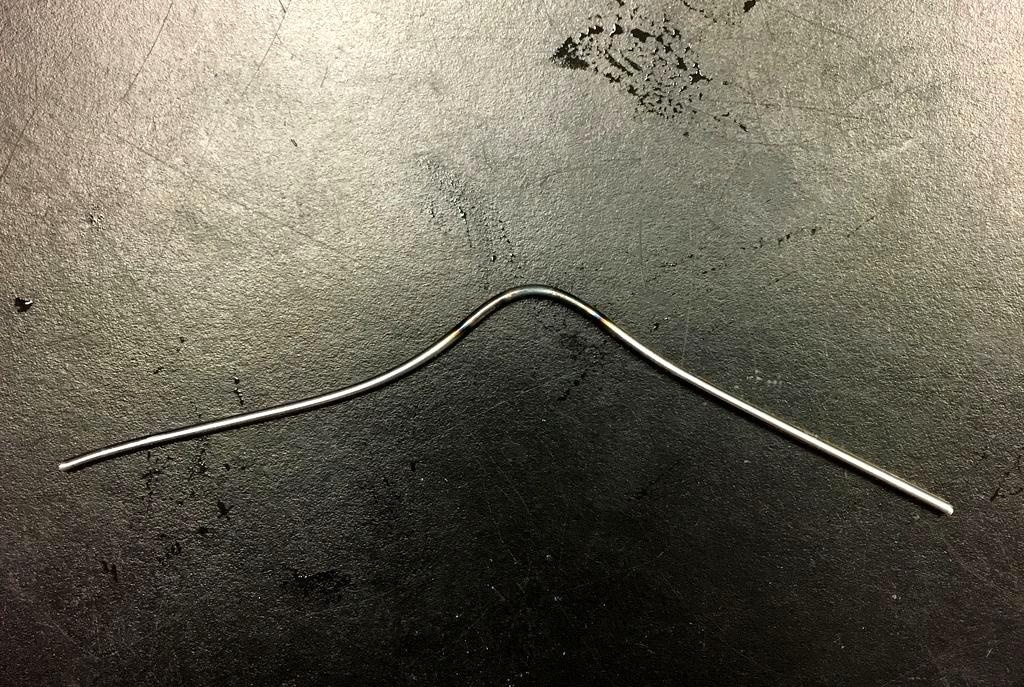
We straighten both rods to illustrate the difference in mechanical properties. The first rod (the rod that has not been hardened a second time) will be very brittle and will break because the atoms are not in a stable position.
The second rod, which has been reheated and quenched (tempered), will bend, but the “U” shape will remain. Because this rod was quenched and tempered, the atoms were allowed to "relax" into a stable position, the material became stronger and stiffer without losing its resistance to deformation.
conclusions
This example of the simplest quenching and tempering of low-alloy carbon steel showed the possibilities of heat treatment and its effect on the physical properties of the metal.
Original article in English