It just so happens that our children grow up and become independent over time. In this regard, a device is required so that our child can independently reach the sink, wash his hands, and brush his teeth. We will talk about how to make a simple and at the same time functional stand for a child yourself.
The stand must be stable, have height adjustment, and have handrails. Stability will be ensured by choosing the correct width, length, and height. There will be no mechanical height adjustment, but three steps, each at its own height. We'll make handrails.
Materials and design
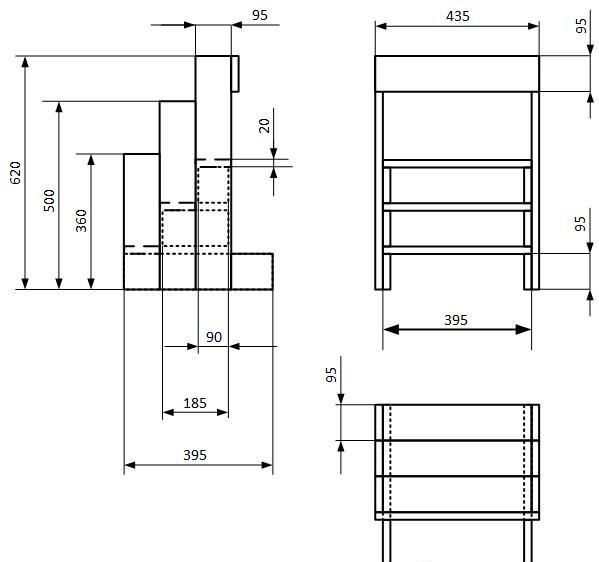
I looked on the Internet and did not find a suitable option. I decided to design it myself. To begin with, I sketched a sketch in three projections: side view, front view, top view. Dotted lines show the contours of invisible parts, dimensions are indicated in millimeters. We will make it from wood and take ready-made sanded boards. There are several reasons for this: the boards are easy to process, fasten together, and you can cut the required length without any problems.Pay attention to the sketch again.
- 1) board 620 mm – 2 pcs.;
- 2) board 500 mm – 2 pcs;
- 3) board 360 mm – 2 pcs;
- 1) board 395 mm – 5 pcs., out of 2 pcs. longitudinal guides will be made for the first tier of steps, and from 3 pcs. steps;
- 2) board 185 mm – 2 pcs., longitudinal guides for the second tier of steps;
- 3) 90 mm board – 2 pcs., longitudinal guides for the third tier of steps (topmost).
- 4) board 435 mm – upper partition.
The height of the steps will be the sum of two values: the width of the board is 95 mm and the height of the board is 20 mm, the total is 115 mm.

- 1) three boards 2 meters long, price 74 rubles. per piece, 3*74= 222 rub.;
- 2) wood screws 35 mm long, 18 r. price per package 30 pcs., 3*18 = 54 rub.
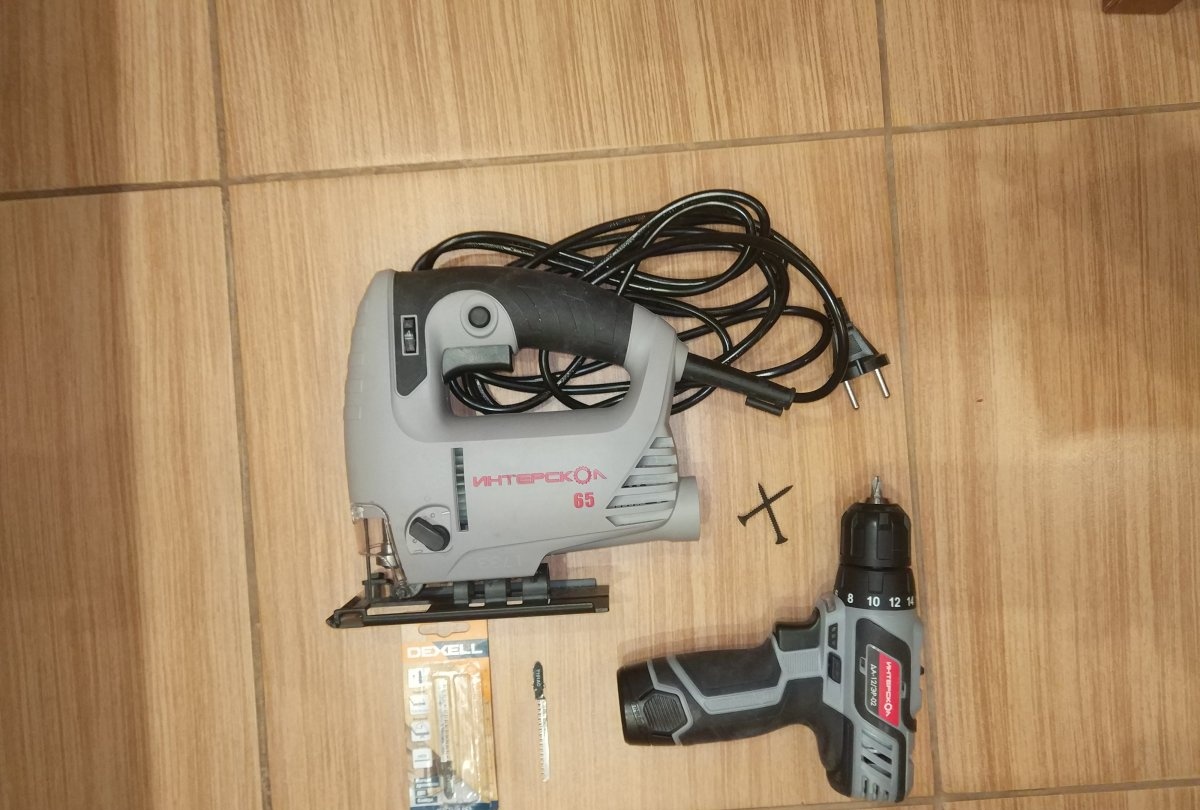
- 1) jigsaw or wood saw;
- 2) screwdriver or Phillips screwdriver;
- 3) fine wood sandpaper;
- 4) tape measure or ruler 70 cm or longer;
- 5) pencil.
Action plan:
- 1. Marking boards;
- 2. Sawing boards to the required lengths, rounding the edges;
- 3. Assembling the boards together using a screwdriver and self-tapping screws.
- 1) marking board No. 1: 620 + 500 + 395*2 + 90 = 2000 mm or 2 m;
- 2) marking board No. 2: 620 + 500 + 395*2 + 90 = 2000 mm or 2 m;
- 3) marking board No. 3: 395 + 360*2 + 185*2 + 435 = 1920 mm or 1.92 m.
As we can see, there will be no extra trimmings at all, which is good.
We take a tape measure and a pencil in our hands, and mark each board according to the list above. At the same time, make the markings from the edge, starting with a shorter length and ending with a larger one, i.e.: 90, 395, 395, 500, 620 mm. Then it will be easier to saw off.
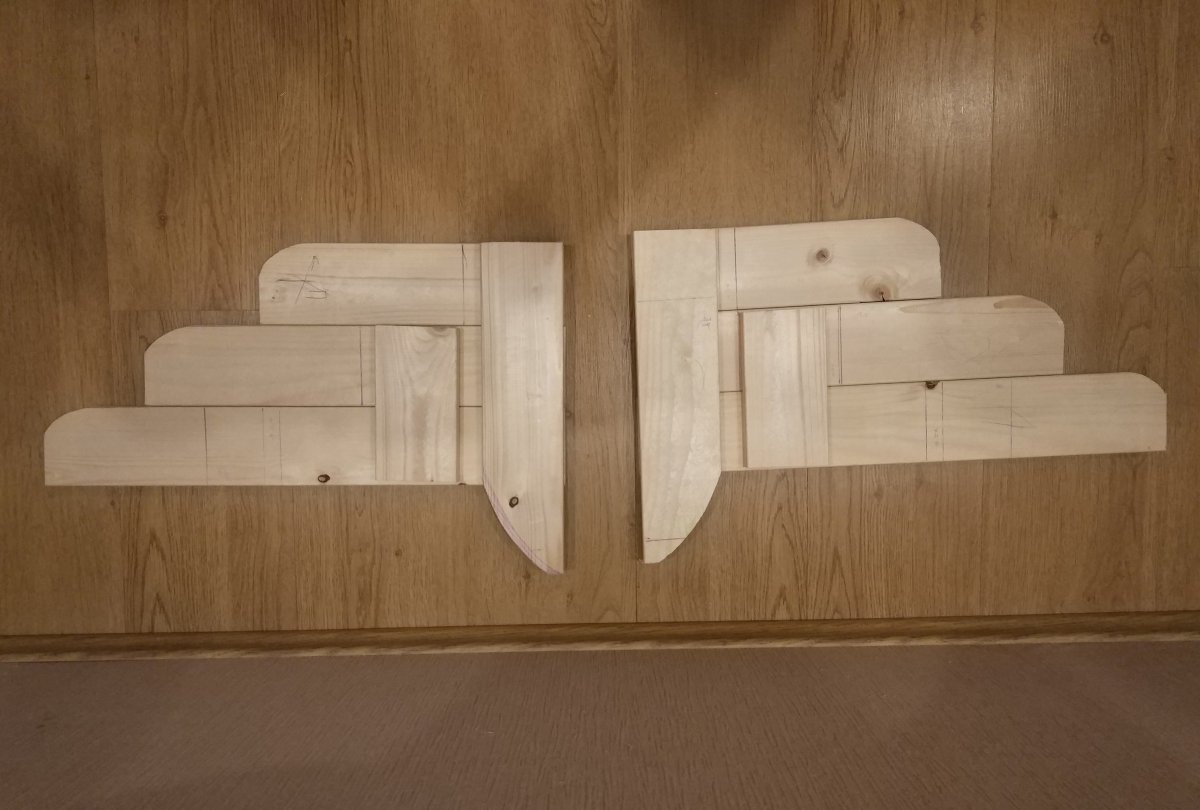
Sawing. Everything is simple here, take a jigsaw, a couple of stools or chairs, put a board on them and slowly saw off the boards to the required length. At this stage, the most important thing is to ensure that the cut is even and without bevels. Also, after sawing into the required components, we round off the ends of the boards, it should look like in the pictures.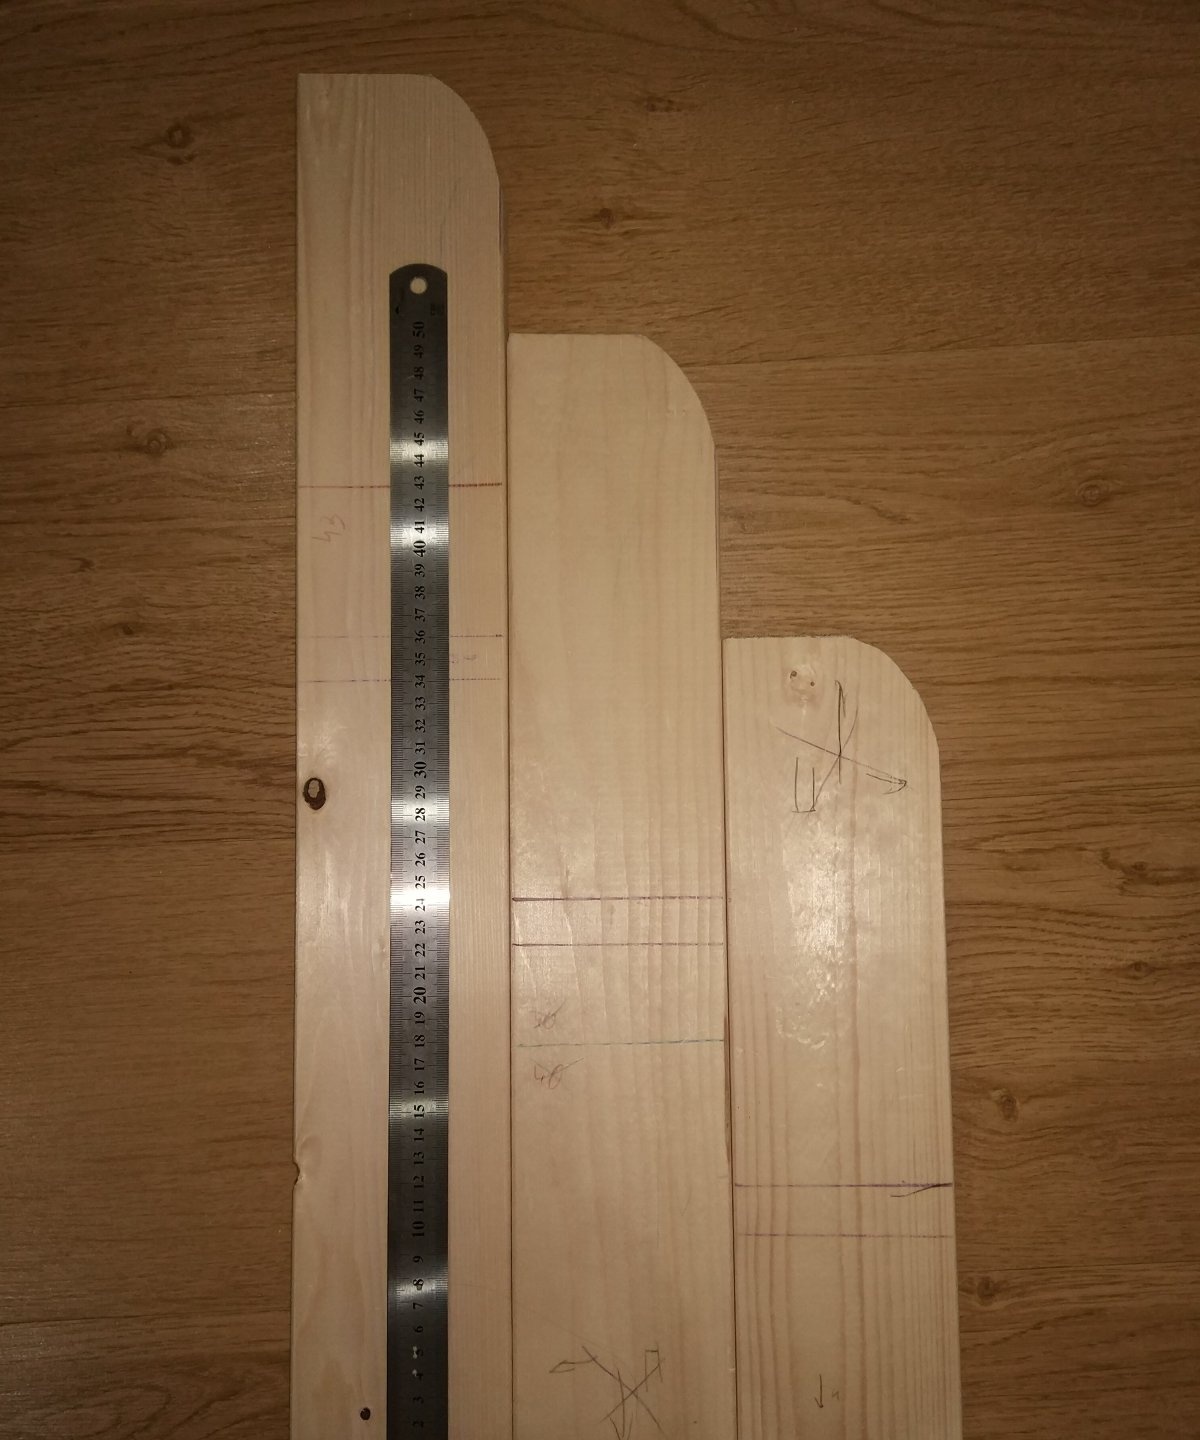
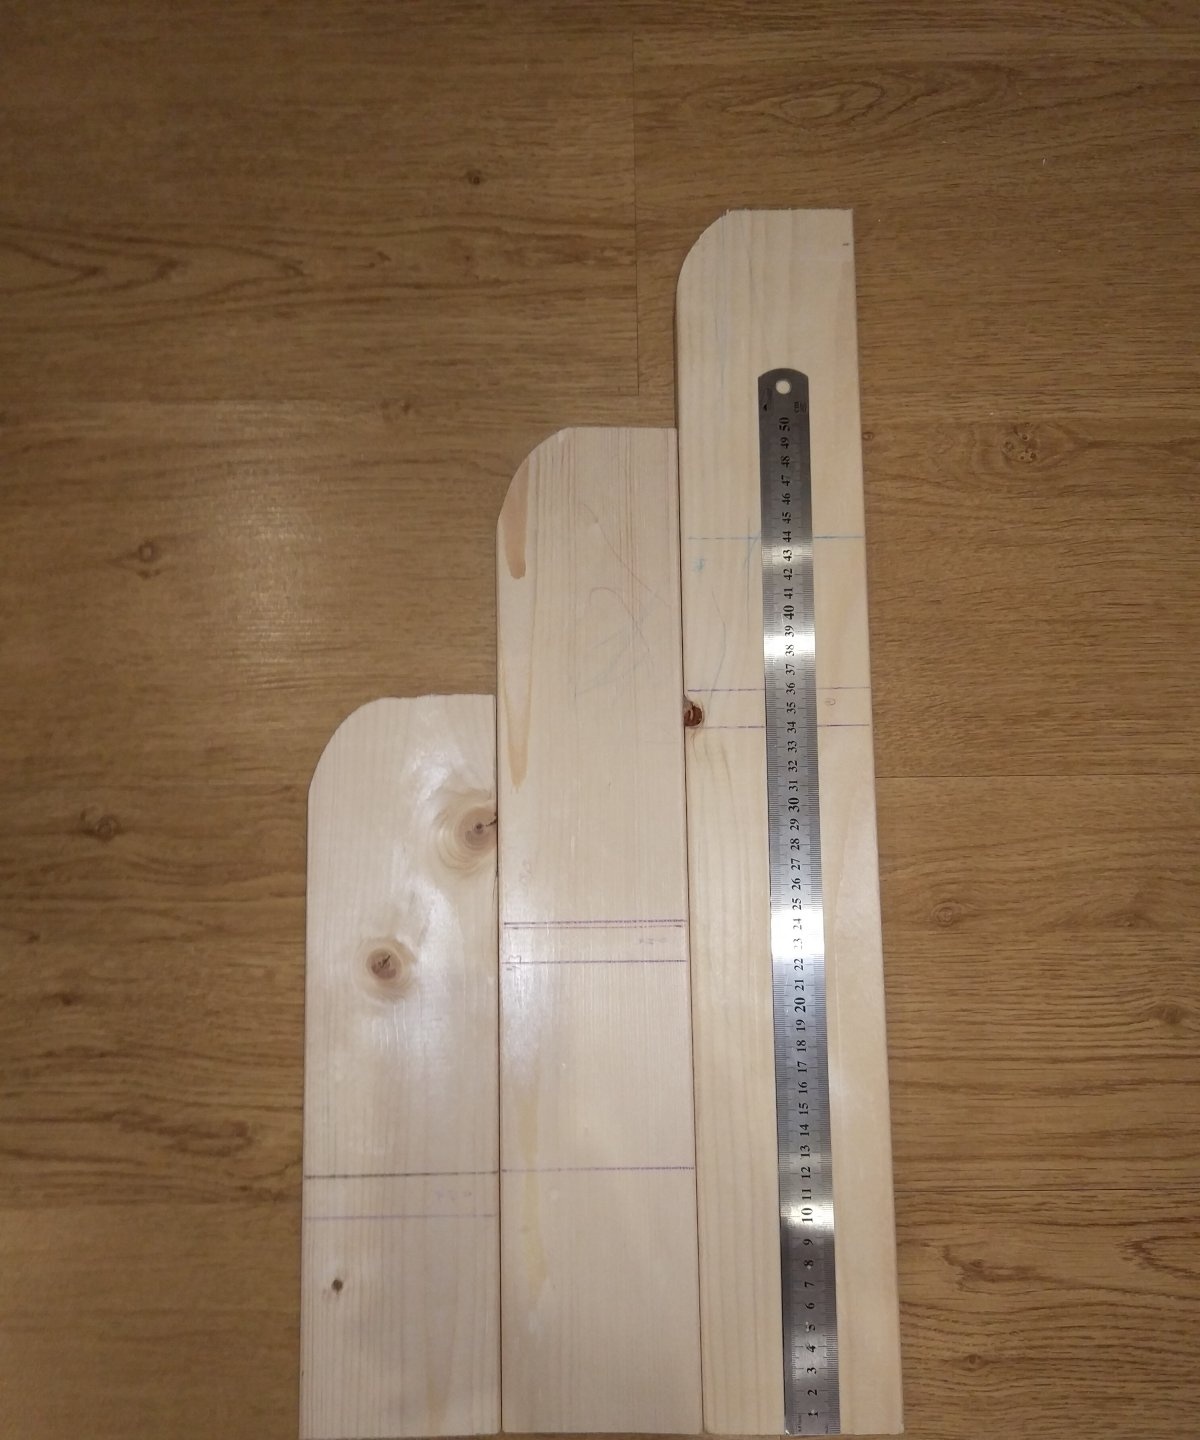

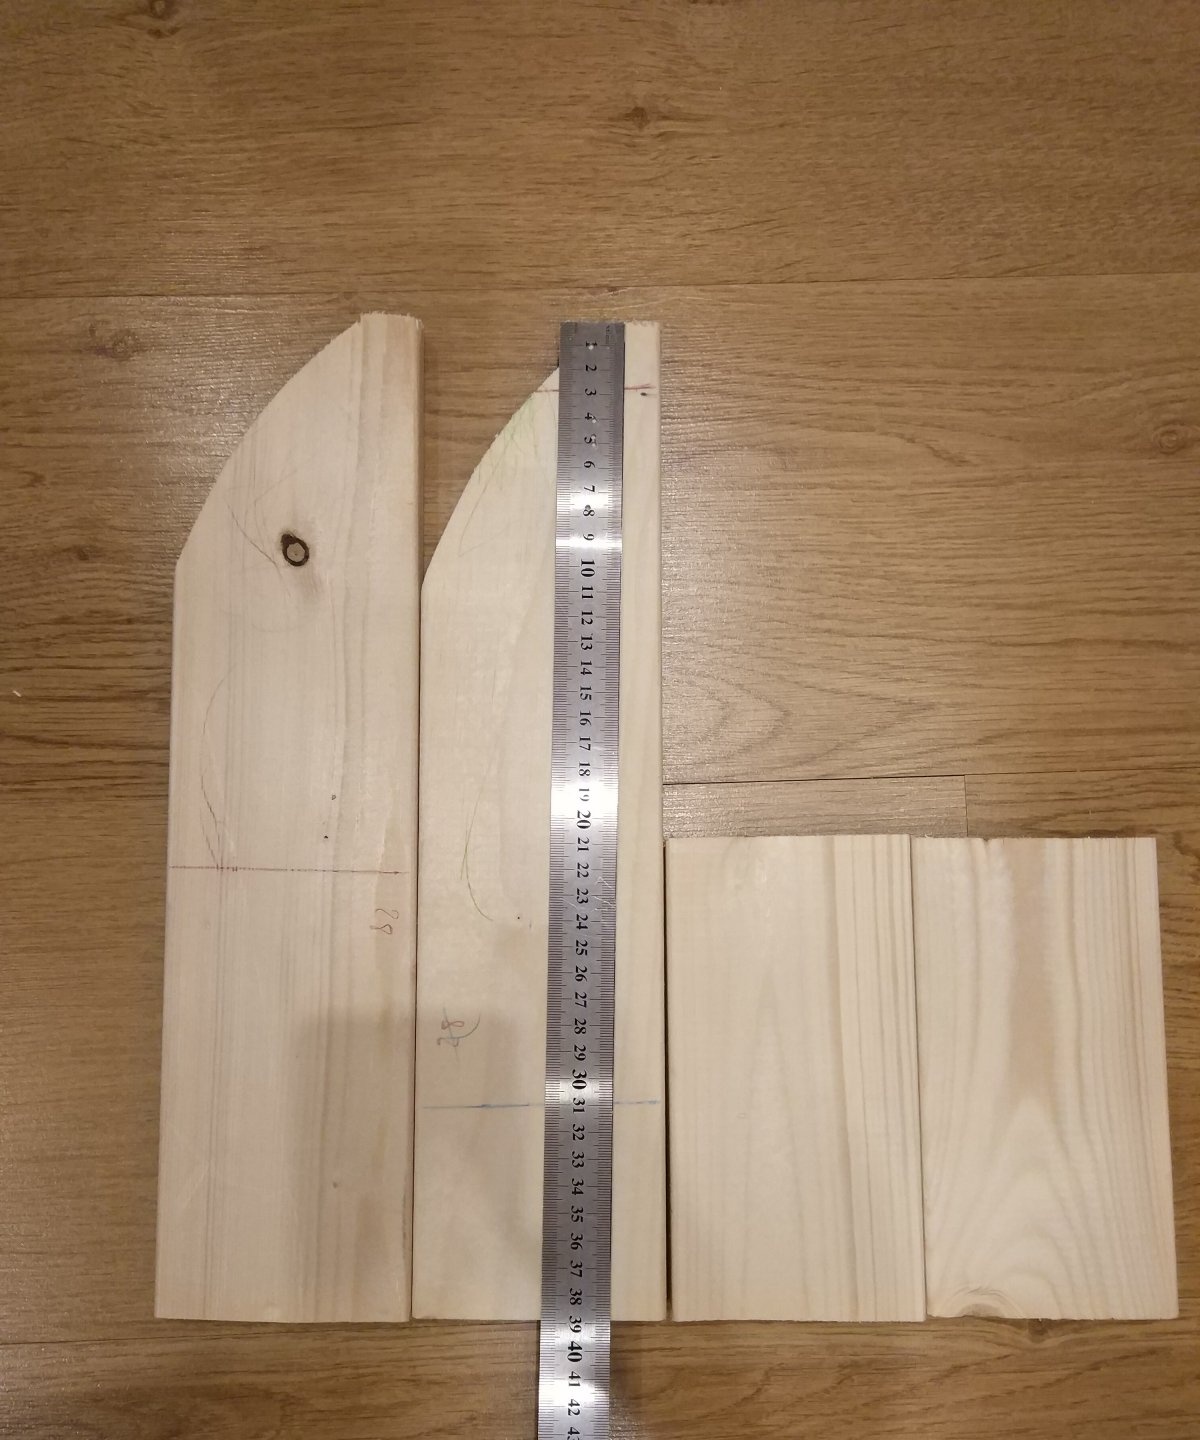
Figure 4 – right side part, Figure 5 – left, Figure 6 – steps, Figure 7 – lower and second longitudinal guides. The guides will perform two important functions: they fasten all the side boards together, and the steps are attached to them. The bottom guide has a third function: it will prevent our stand from turning over when the child climbs onto the topmost step.
Next you need to apply a second marking to attach the steps.
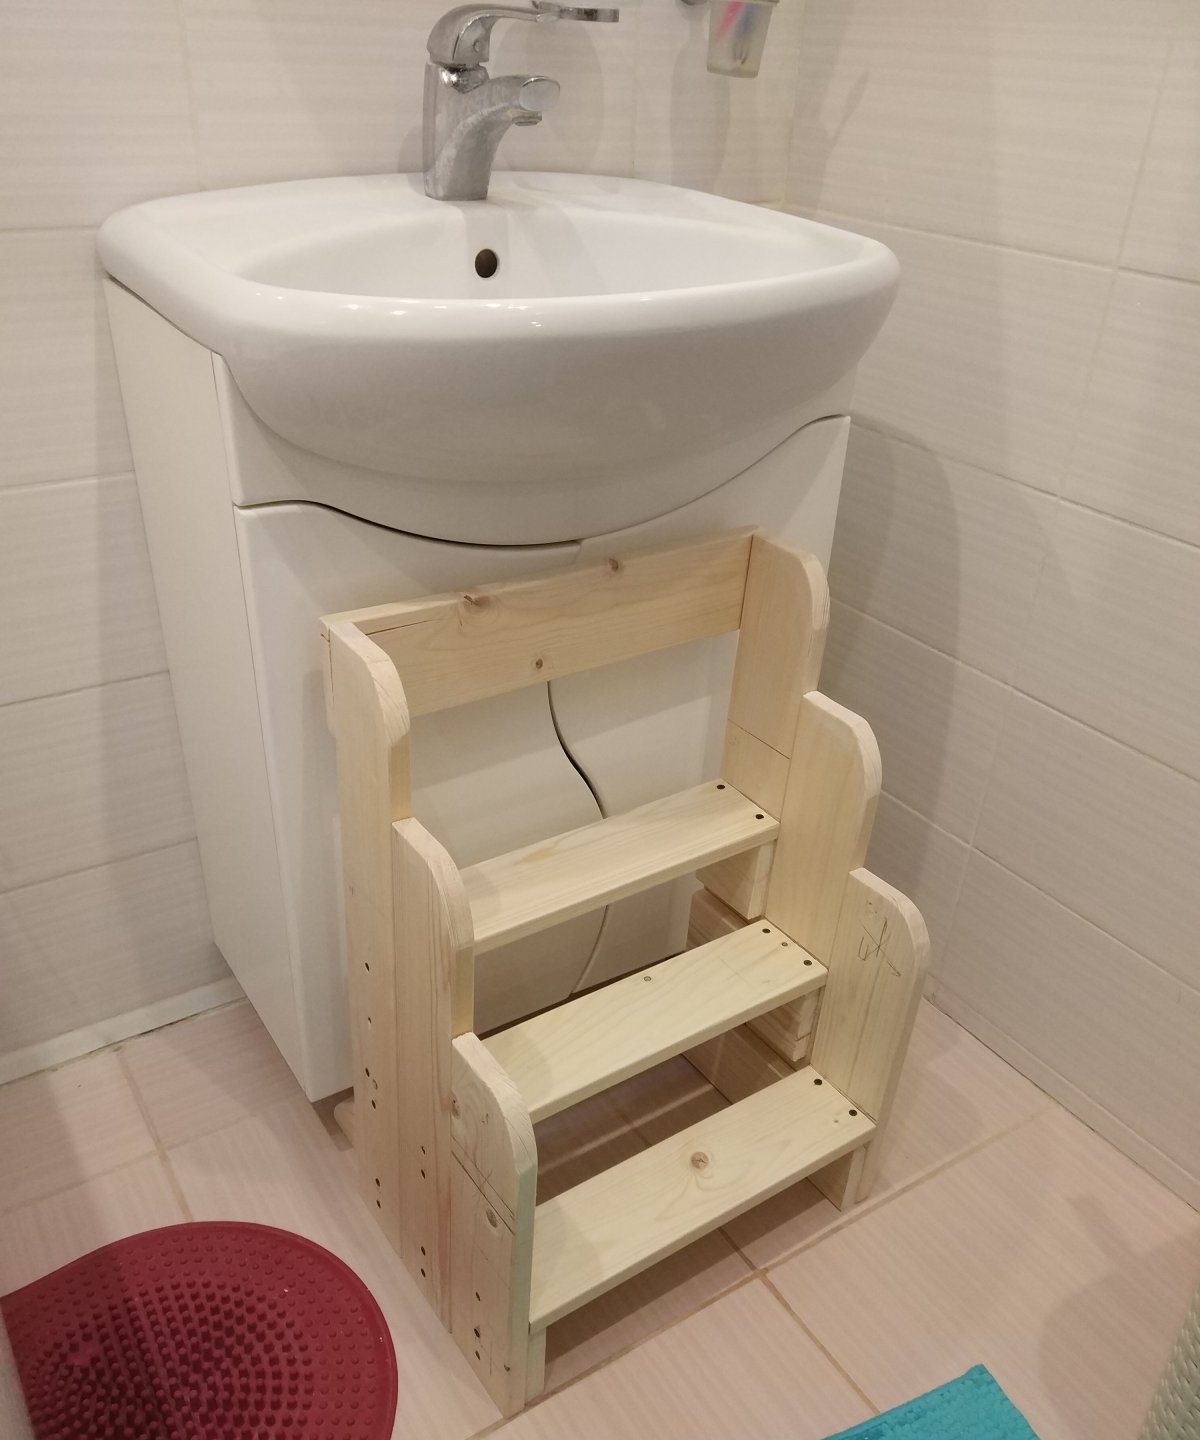
The result should be such a cute stand for a child.

Result:
The amount spent on materials is 276 rubles, the cheapest stand in the store costs from 500 rubles, but this is for the plastic version with one step!
As I said above, I didn’t find any analogues, yes, there are examples made of wood, with two steps, but they cost from 1500 rubles, and they are without handrails, i.e. They end up like regular stools, but for me the most important thing is the safety of my child. With a stand like ours, the child will never trip or slide off the edge.
I can confidently say that for 276 rubles this is the best solution, the benefit, if we take into account the store-bought wooden stand, 1500 – 276 = 1224 rubles, or (1500/276)*100 = 543%!!!
Happy crafts to you.