Do it yourself
Life hacks, master classes, useful tips, recipes.
You can organize your workplace using various devices. For those who love handicrafts, it will be interesting to create them with your own hands. For example, step-by-step production of a pencil holder is shown in this master class.
Paper pencil stand

To work you need to take:
- a square sheet of paper (ours is 21x21 cm);
- rhinestones for decoration (or other decorative elements);
- glue.
Paper pencil stand

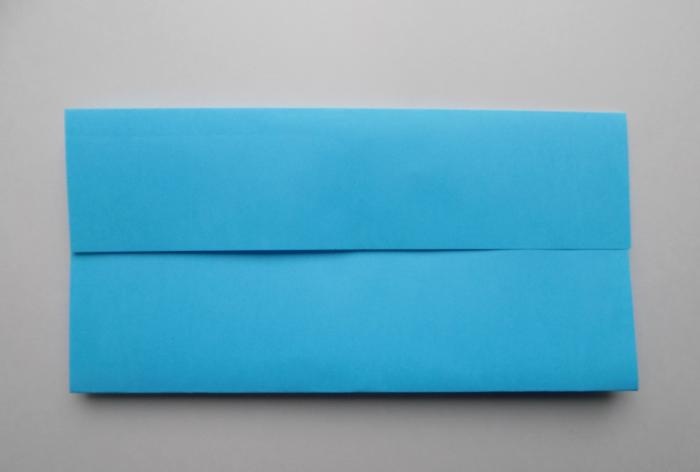
We begin to fold the sheet in half.
Paper pencil stand

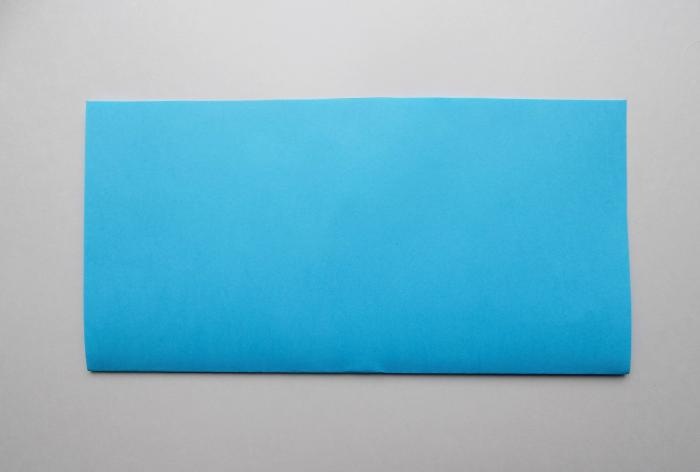
This is how we marked the middle line.
Paper pencil stand

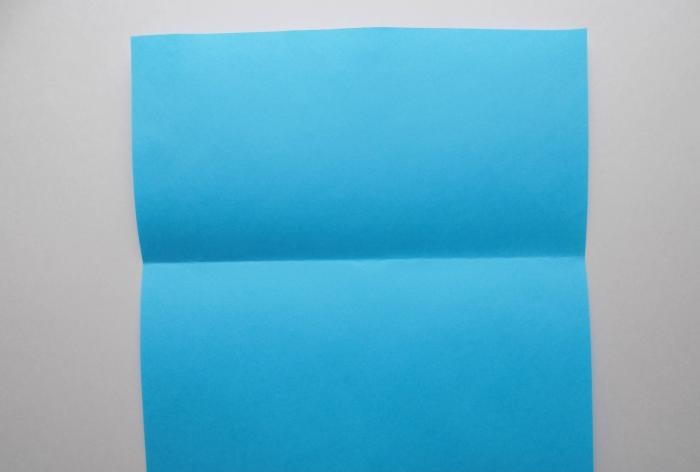
Now we bend the sides to it.
Paper pencil stand

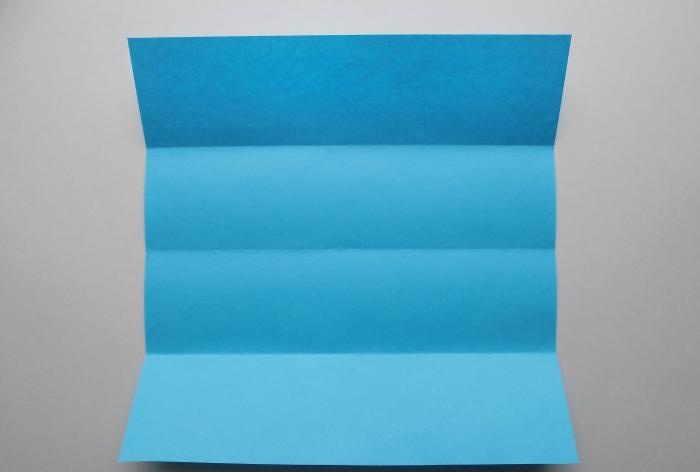
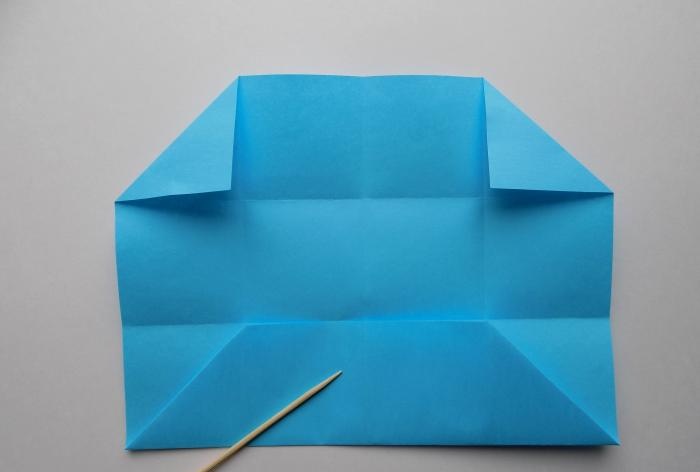
On the spread we see that the sheet is divided by folds into 4 equal parts.
Paper pencil stand

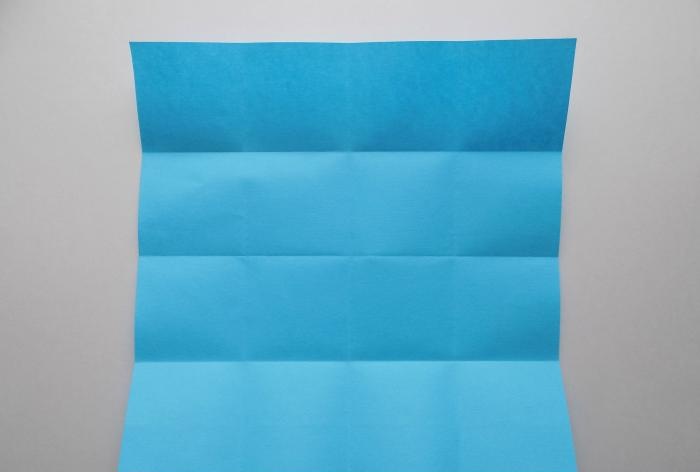
Repeat the same folds in the other direction. As a result, our sheet is divided into 16 identical squares.
Paper pencil stand

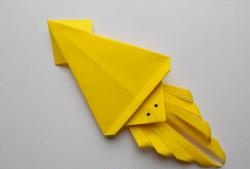
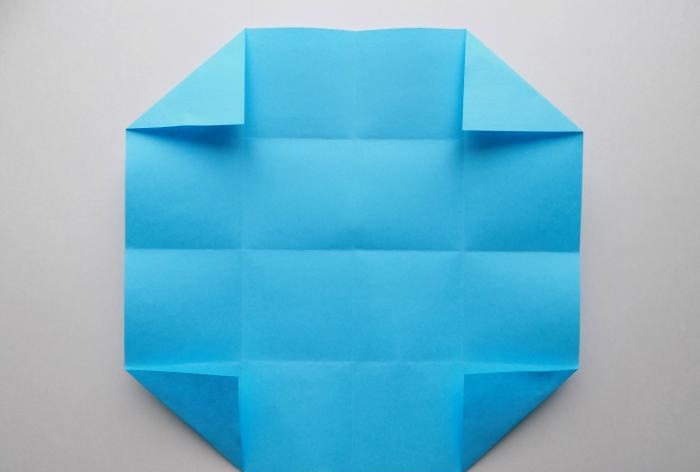
We bend the squares located in the corners, giving them the appearance of triangles.
Paper pencil stand

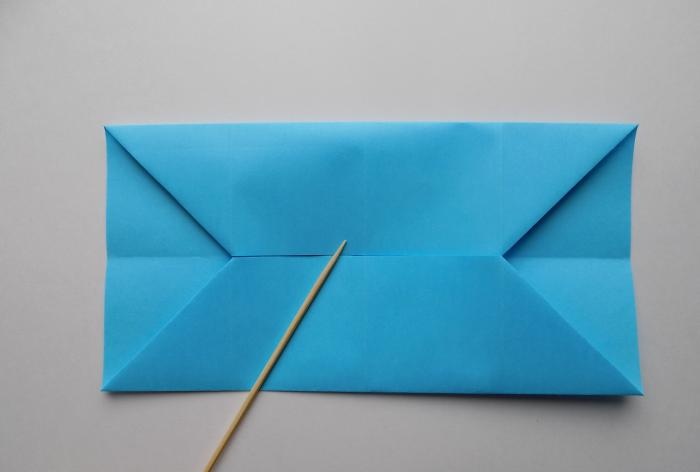
Fold the bottom edge of the workpiece up.
Paper pencil stand

The top edge needs to be folded down.
Paper pencil stand

The sides need to be folded towards the center.
Paper pencil stand

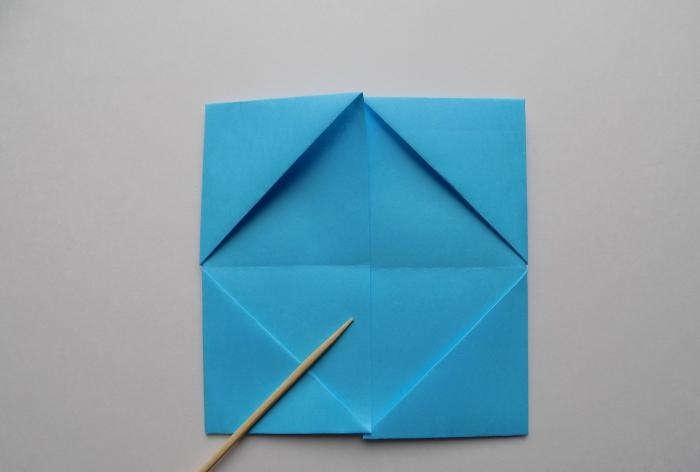
It remains to insert the left edge of the workpiece into the right.
Paper pencil stand

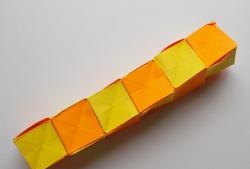
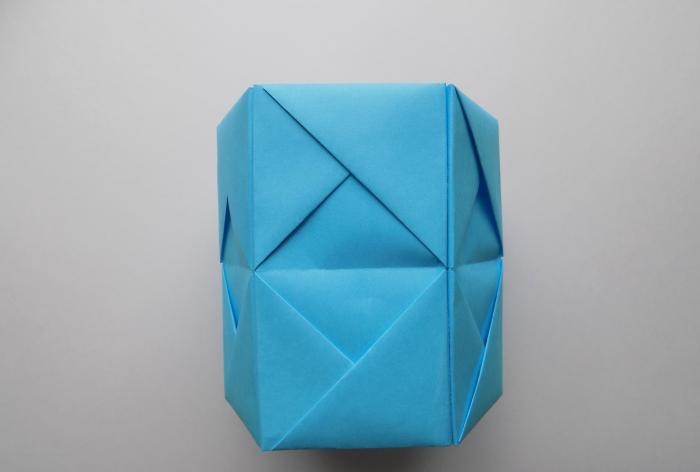
This is how we received one of the six modules of our future stand.
Paper pencil stand

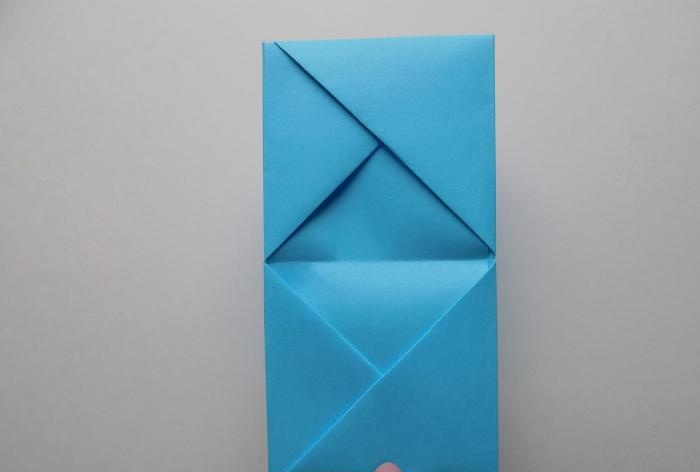
It is required to make 5 more such blanks.
Paper pencil stand

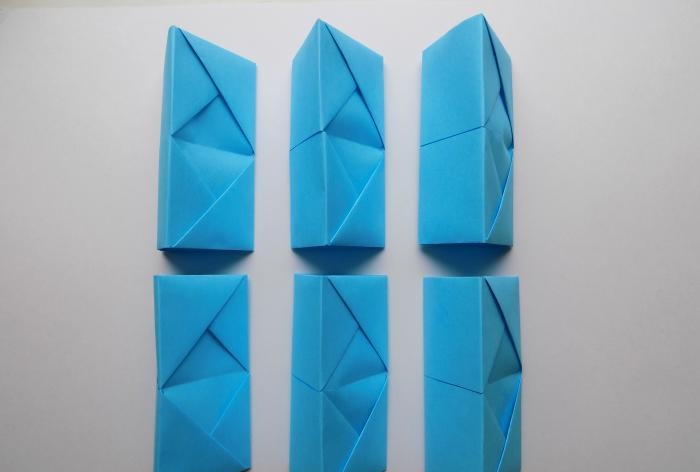
Each such blank will be a separate element in our stand.Let's start gluing them together. To do this, apply glue to the side of one of the modules.
Paper pencil stand

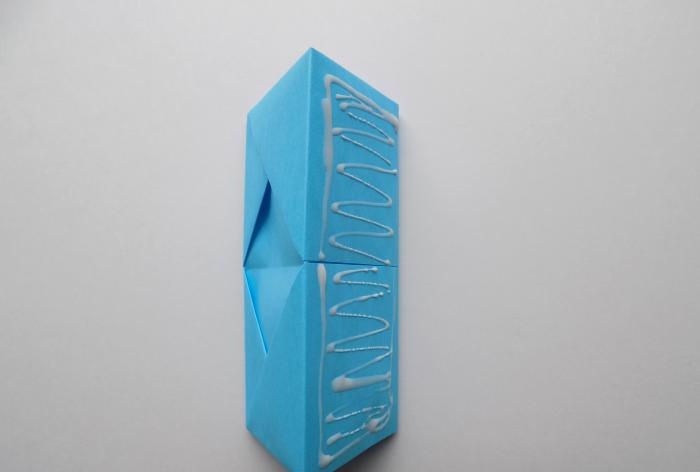
We connect it with another module.
Paper pencil stand

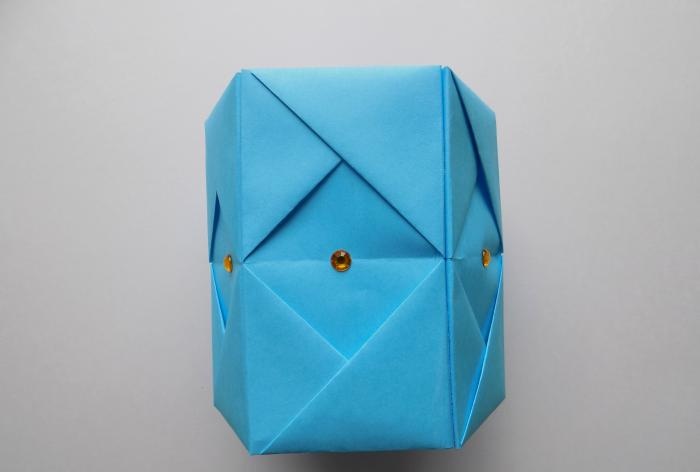
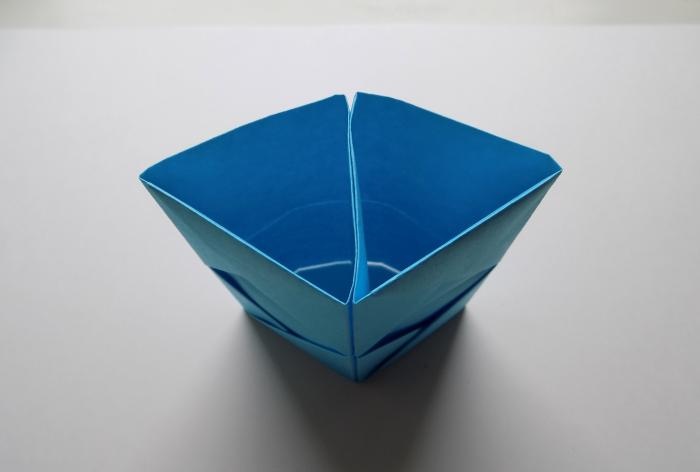
This is what our craft looks like at this stage, if you look at it from above.
Paper pencil stand

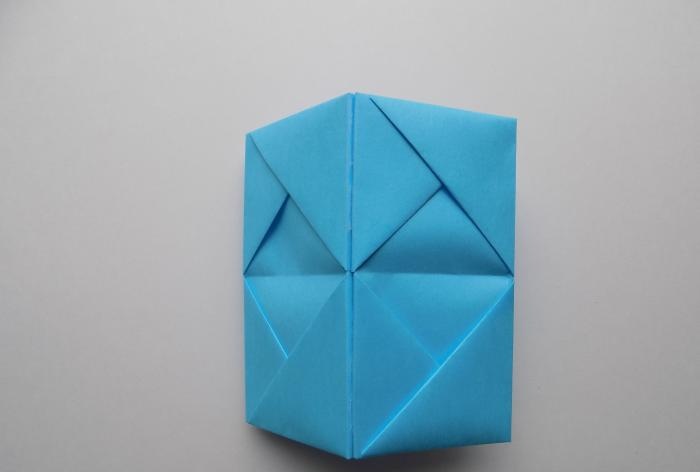
We connect all 6 modules.
Paper pencil stand

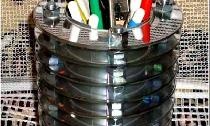
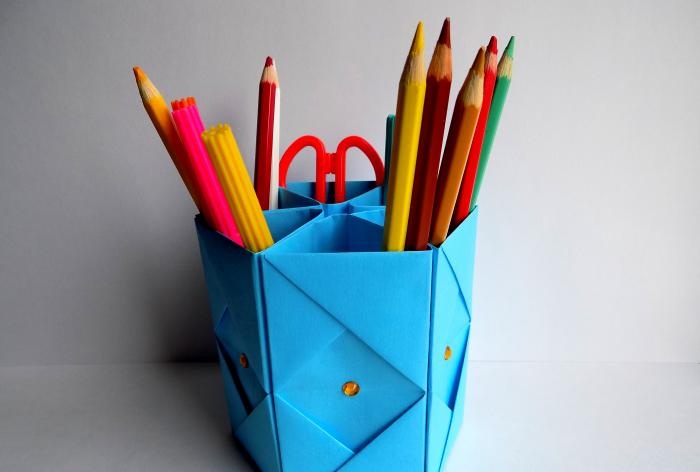
All that remains is to decorate our product as you wish. We do this using colored rhinestones. Our pencil stand is ready.
Paper pencil stand

Paper pencil stand
come back
Comment
  • bowtiesmilelaughingblushsmileyrelaxed relaxedsmirk
    heart_eyeskissing_heartkissing_closed_eyesflushedrelievedsatisfiedgrin
    winkstuck_out_tongue_winking_eyestuck_out_tongue_closed_eyesgrinningkissingstuck_out_tonguesleeping
    worriedfrowninganguishedopen_mouthgrimacingconfusedhushed
    expressionlessunamusedsweat_smilesweatdisappointed_relievedwearypassive
    disappointedconfoundedfearfulcold_sweatperseverecrysob
    joyastonishedscreamtired_faceangryragetriumph
    sleepyyummasksunglassesdizzy_faceimpsmiling_imp
    neutral_faceno_mouthinnocent
4 minus one =
Comments (3)
  1. Milka
    #1 Milka Guests 11 April 2019 12:32
    0
    I did it! Thank you very much) :heart_eyes
  2. Julia
    #2 Julia Guests 5 September 2021 16:40
    0
    Does it turn out without a bottom? (((
  3. Guest Marina
    #3 Guest Marina Guests 8 November 2023 18:04
    2
    Very cool pencil holder!

Art object made of branches and textiles | Do it yourself

Do-it-yourself HDD grinder with speed control

Tips and life hacks from an experienced master

How to make a tent heater from an oil filter

«Do it yourself - with your own hands» - a site of interesting homemade products made from scrap materials and items at home. Step-by-step master classes with photos and descriptions, technologies, life hacks - everything a real master or just a craftsman needs for needlework. Crafts of any complexity, a large selection of directions and ideas for creativity.

We recommend reading

Washing machine error codes