The sharpening angle is set at the factory and cannot be changed while using the scissors. This is where the skill of sharpening a given cutting tool along the entire length of the blade lies to a greater extent.
Let's look at how professionals sharpen scissors and, in general, how they are kept in perfect working condition.
Sharpening scissors
We begin the inspection with the internal surfaces of the blades. Slight roughness and even shallow scratches are not only acceptable here, but also necessary: due to them, the material being cut does not slide along the blades and is processed efficiently.
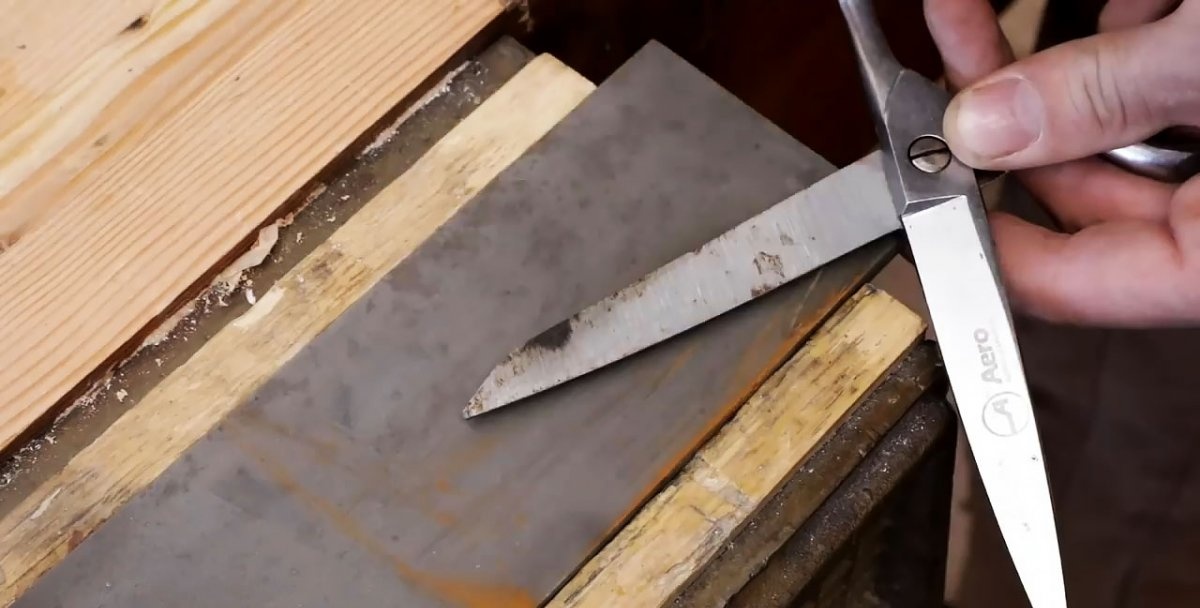
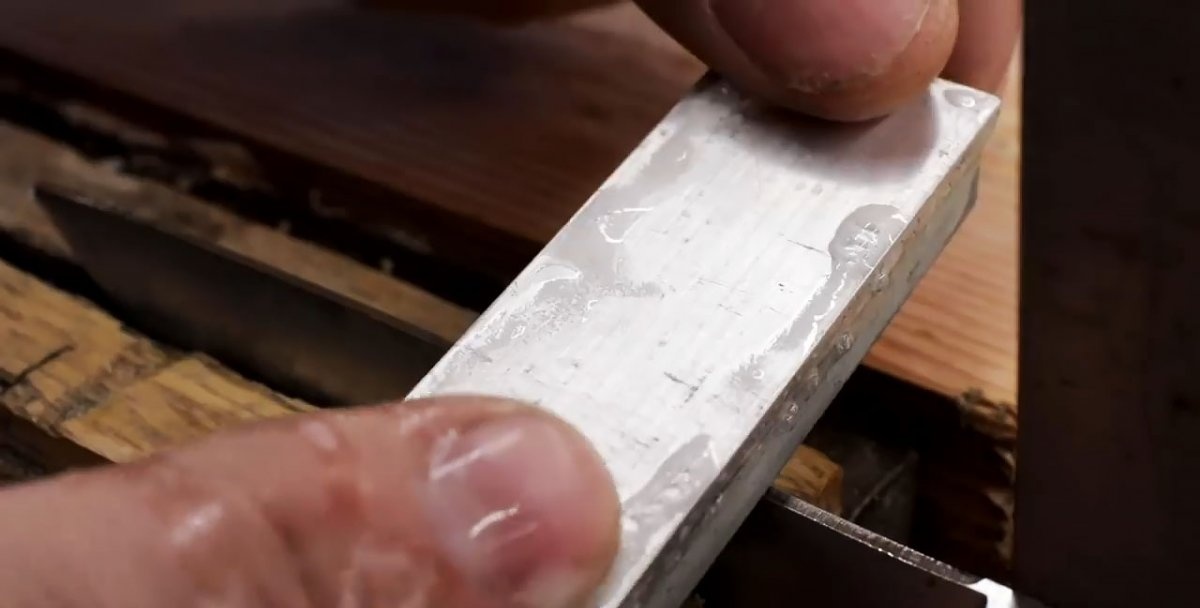
If there are deep scratches and burrs left after sharpening, the inner surface of the blades can be slightly corrected on a flat or round fine-grit sharpening stone, after sprinkling them with water. There is no need to show special diligence in this regard.
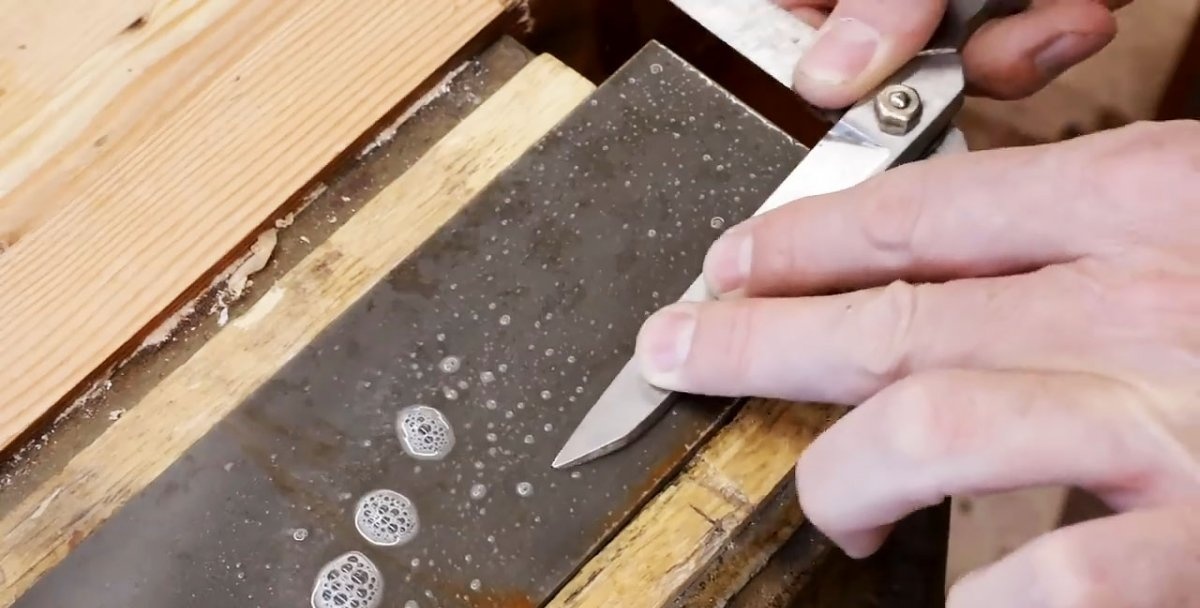
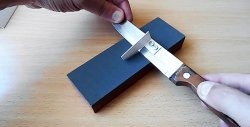
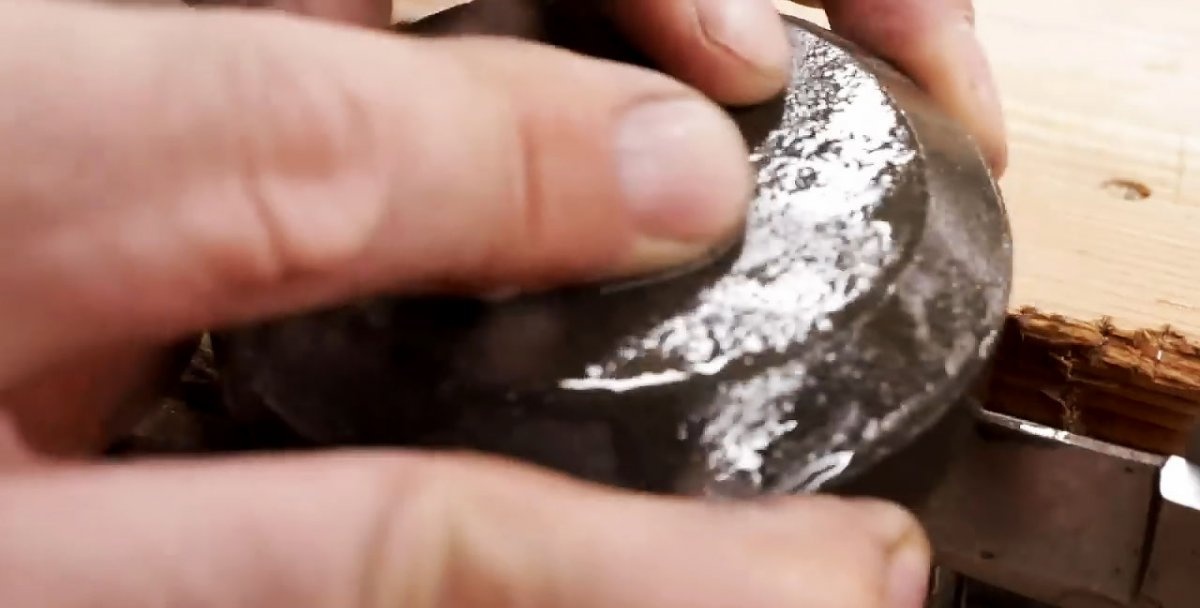
The most crucial moment is sharpening the cutting edges of the scissors blades. Here, professionalism lies in maintaining the initial sharpening angle, which must remain constant from the beginning to the end of the cutting edge, that is, one cannot do without the “hardness” of the hand.
It is necessary to securely fasten the blade with the cutting edge up in a carpenter's vice.
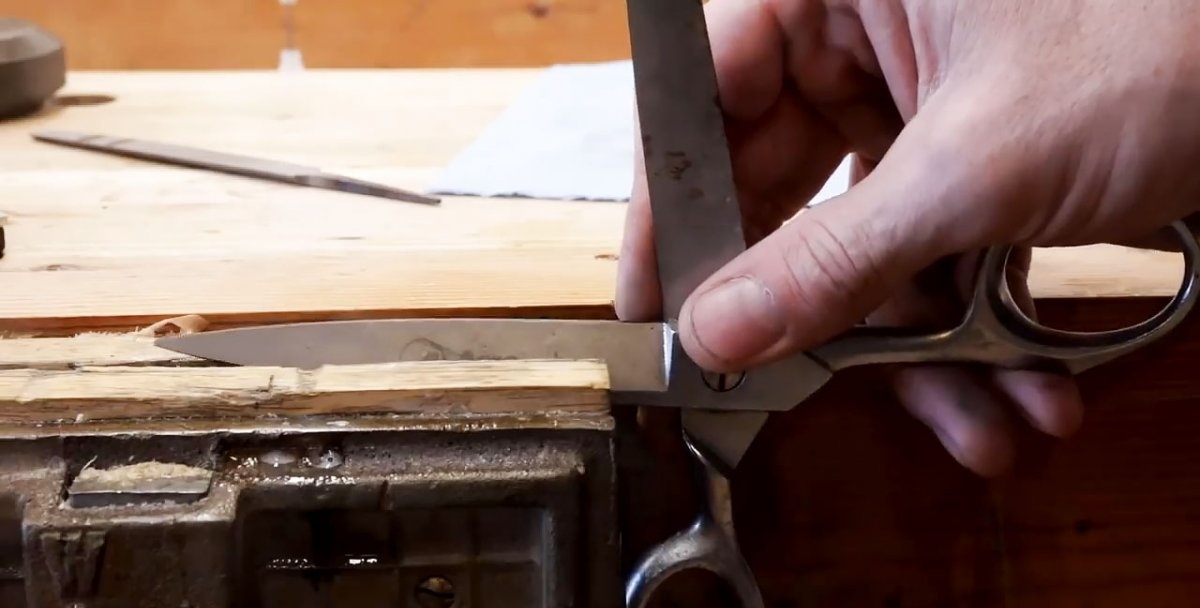
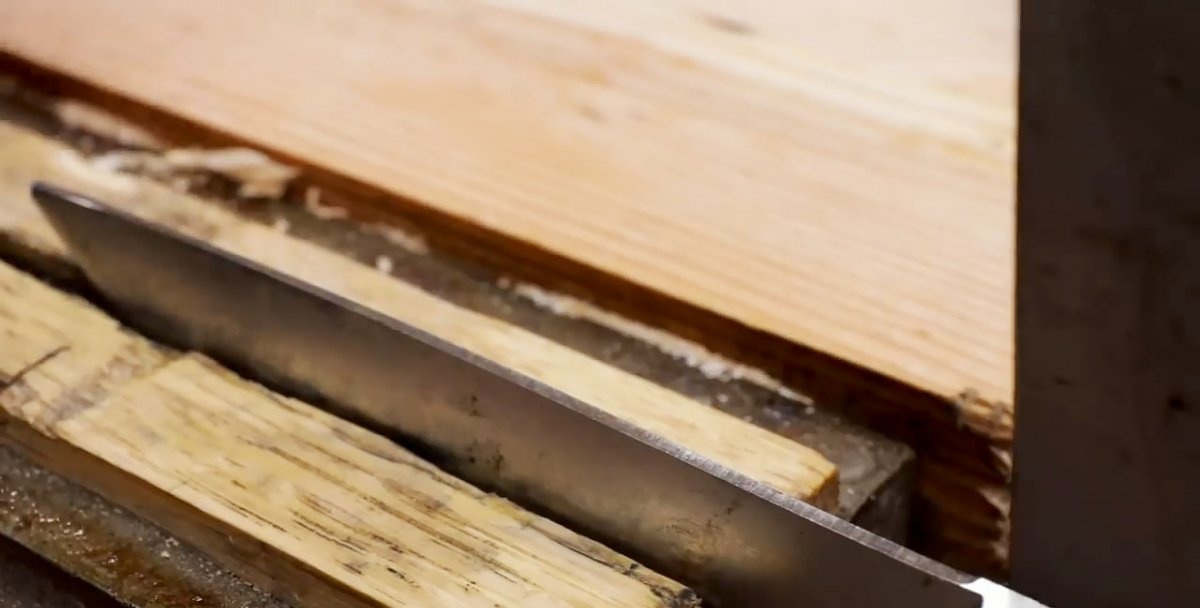
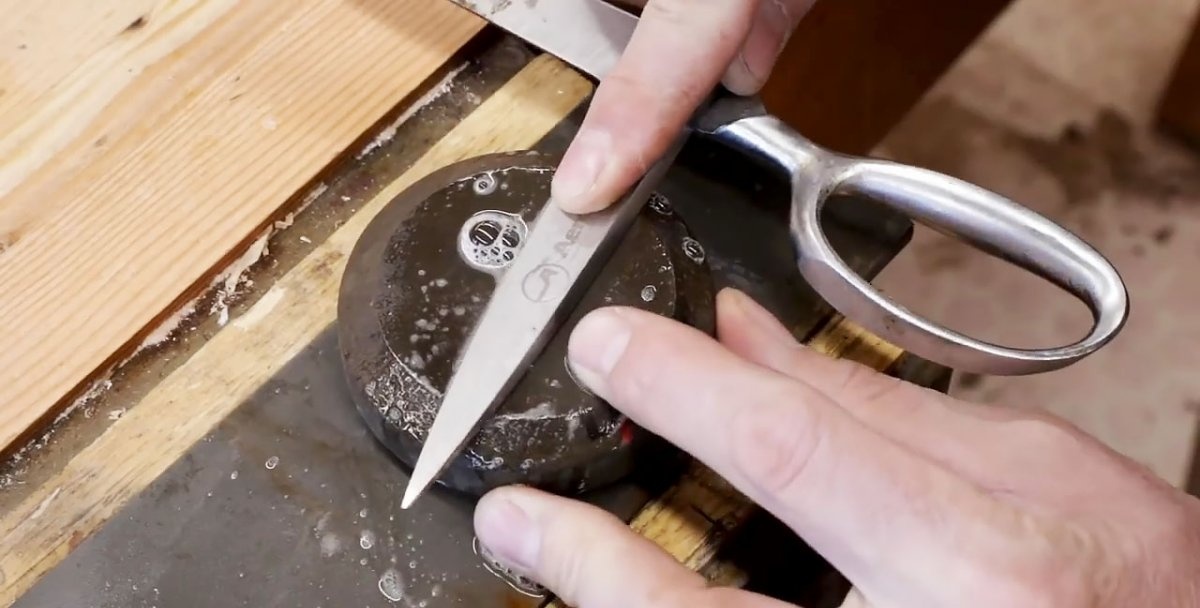
As a sharpening tool, you can use a file with a fine notch or a set of sharpening stones of different grain sizes. You can also use a round stone. Of course, sharpening should be carried out using “wet” technology.
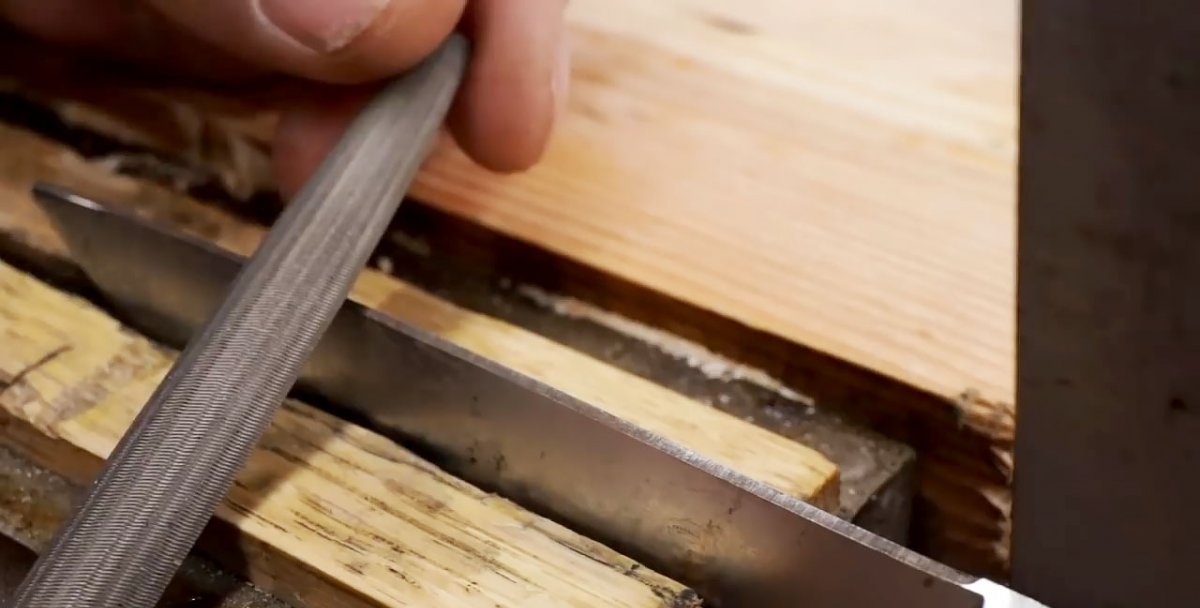
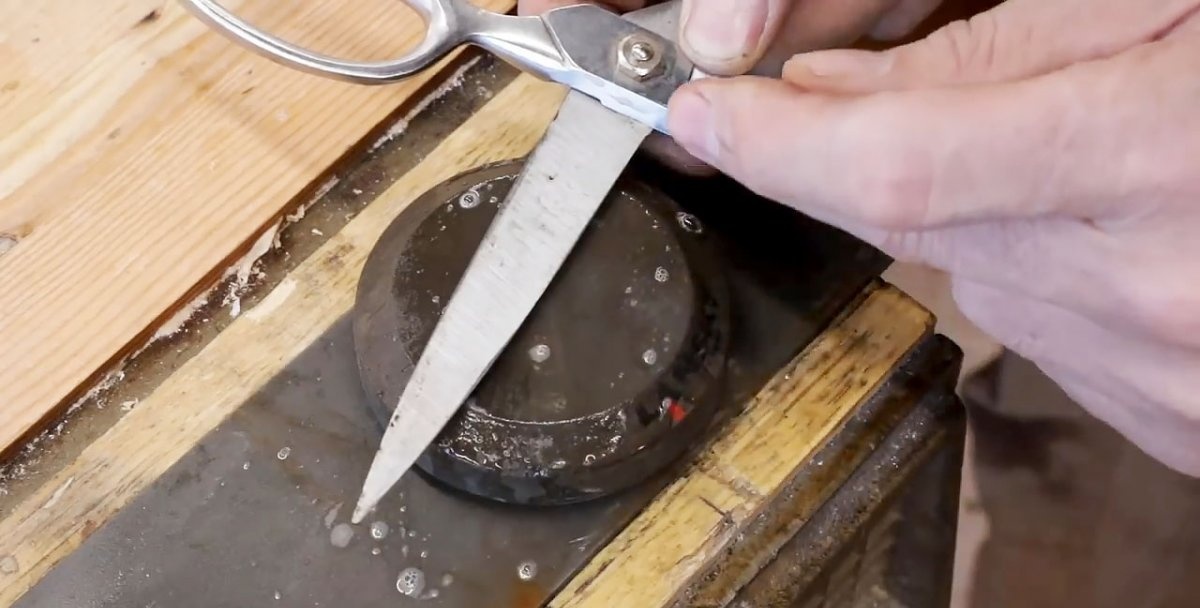
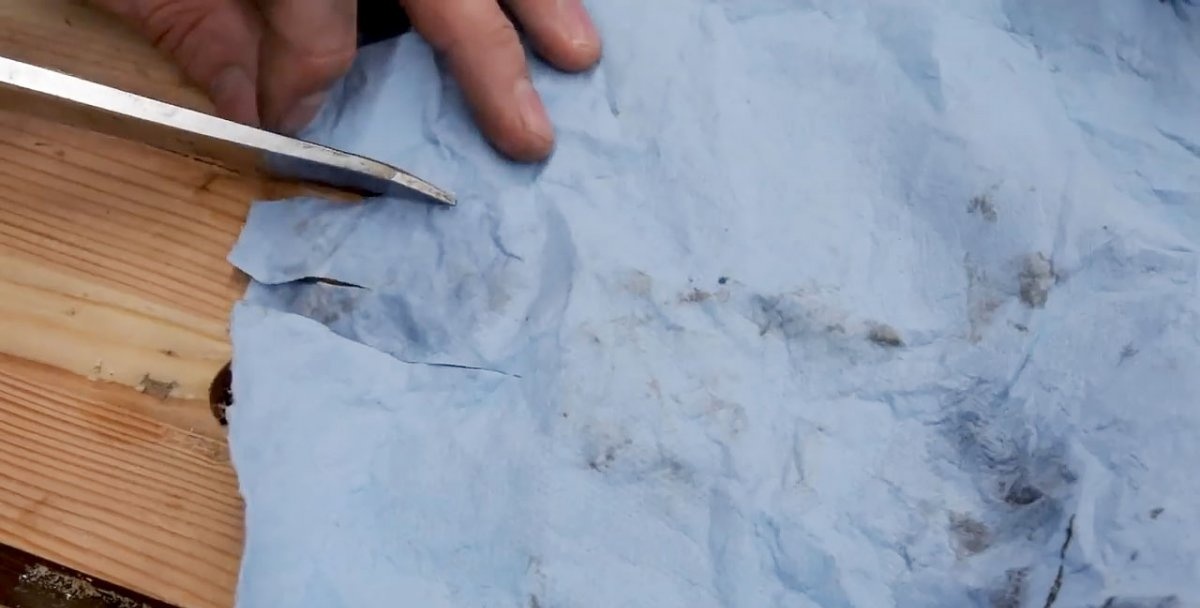
During sharpening, it is necessary to regularly wipe the blade with a soft cloth and check the degree of sharpness of the cutting edge. An experienced craftsman can easily do this by running his finger along the edge.
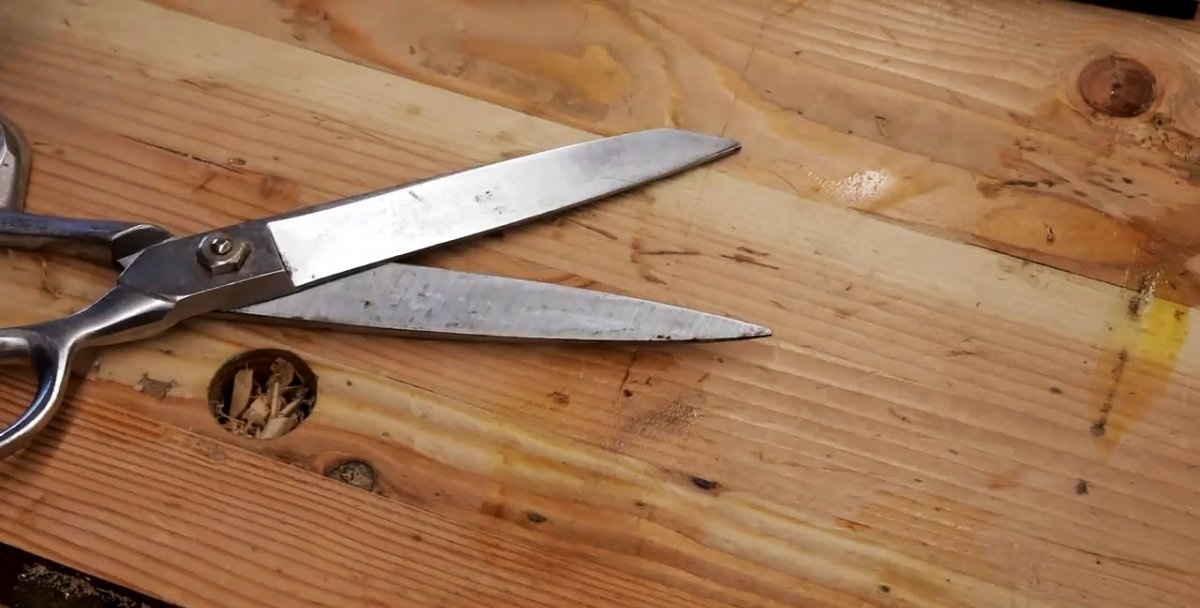
A less experienced specialist will need to check the sharpness by cutting the fabric. It will be considered high quality if the scissors easily cut the fabric anywhere on the blade, including the ends, without crushing the material or “chewing” it.
Care of scissors
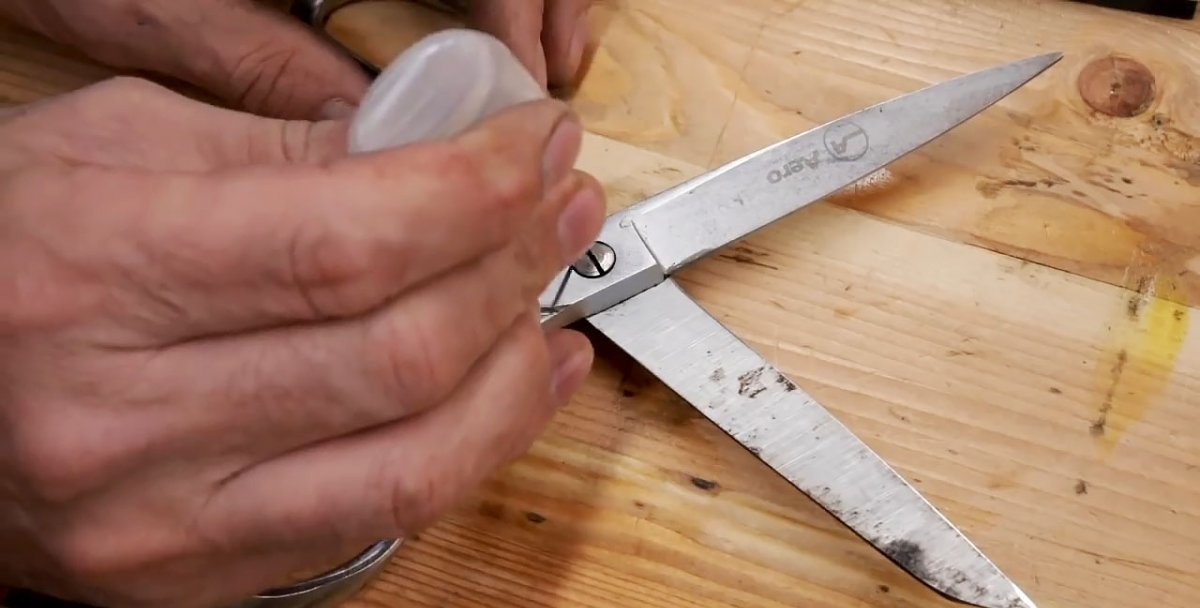
Sometimes even a well-sharpened tool does not cut well. In this case, you should check the tightness of the screw holding the blades together. If it is insufficient, then a gap forms between the cutting edges, into which the material gets clogged and the cutting process stops or becomes of poor quality.
This defect can be easily eliminated: tighten (but not overtighten!) the screw, and the problem will disappear.For high-quality operation of the scissors, it will not hurt to occasionally lubricate this screw and the adjacent lever areas with a drop of machine oil.
Another problem during cutting may be the appearance of a gap at the ends of the blades. In this case, the cutting edges will not close and the material at the end of the scissors will not be cut. It is not difficult to eliminate such a defect: the problem is in special plastic or metal stops located between the rings, which should be slightly ground off with a file.