There are many tips for making special devices at home; in principle, they do a good job of their tasks. But they have one common drawback - to make them you need to be a good mechanic and welder, and not everyone has such knowledge. In addition, the process itself requires quite a lot of time. We offer a very simple and universal solution, it will take no more than 10–20 minutes, and the quality of sharpening will fully meet the standards.
What you need for the device
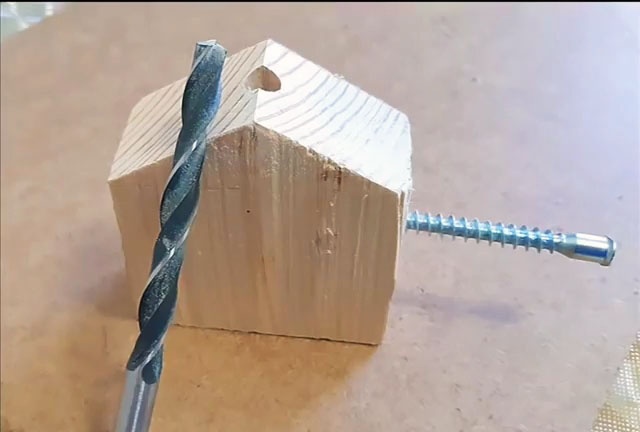
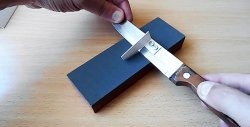
You should prepare a wooden block approximately 100×50×30 mm, an ordinary drill, a school square, a pencil, a Euroscrew or any other long element with wood carvings.
Manufacturing process
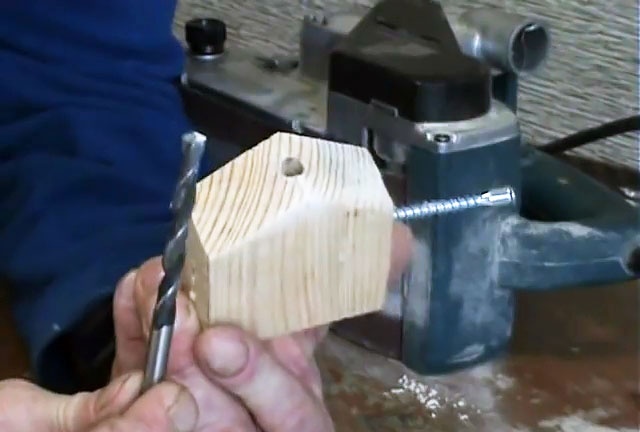
Find the center at the end of the rectangular block and drill a through hole in it. You can use an ordinary drill. If you have doubts about your skills, then find the center at the opposite end; with its help you can control the verticality of the hole. This is a very important condition. If this is not done, the cutting edges of the drill after sharpening will not be the same.
Cut two corners of the block at a 120 degree angle. First you need to draw two lines at an angle of 30 degrees, they must intersect exactly in the center, this is also an important condition. The consequence of failure to do so is that the center of the drill will shift to the side, and the tool will hit during drilling. The cut must be strictly perpendicular to the planes. To control, also draw lines on the back side of the block, then you can use them to correct the cut on the grinder. The top should have an angle of 120 degrees, this is a universal size for metal drills.
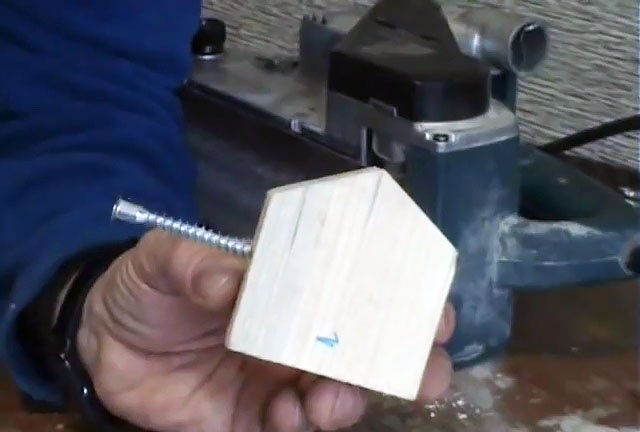
When turning, the drill is inserted into the hole; to fix it in a given position, you can use a Euroscrew. On the side face, you need to drill a hole of the appropriate diameter until it connects with the central hole. At this point, the work on manufacturing the fixture is completed.
How to use
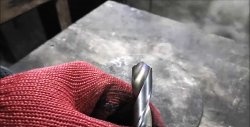
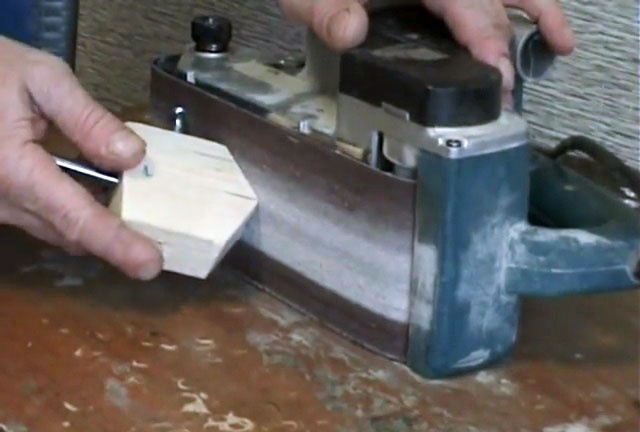
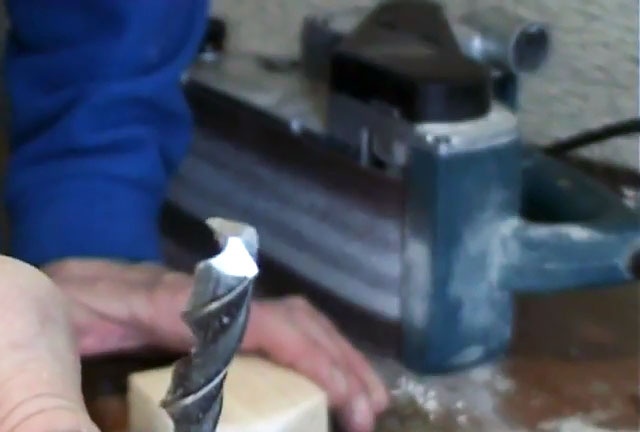
Before sharpening the drill bit, insert it into the hole. Align the cutting planes exactly along the edges of the block with a protrusion of about a millimeter. It all depends on the degree of damage to the cutting edges. Clamp the tool firmly with the Euroscrew.

Place an endless belt sander on the side and carefully sharpen the edges. It is advisable to start from the center and gradually press the entire surface of the device onto the sandpaper; when it touches the wood, sharpening stops.Then all actions are repeated on the other side.
Conclusion
Practice has shown that this device works great, but subject to two conditions:
- It is necessary to sharpen with serviceable tools, it does not matter whether it is an angle grinder, a grinder or a sharpener. The abrasive element cannot have runout, otherwise no device will help.
- If, due to insufficient experience, quite a lot of whetstone is removed during sharpening, then its angle should be checked periodically.
Another advantage is that if the device is made to a diameter of 10 mm, then it can be used to restore the edges of drills with a diameter of 8–10 mm. Make several of them with different diameters for all the drills used.