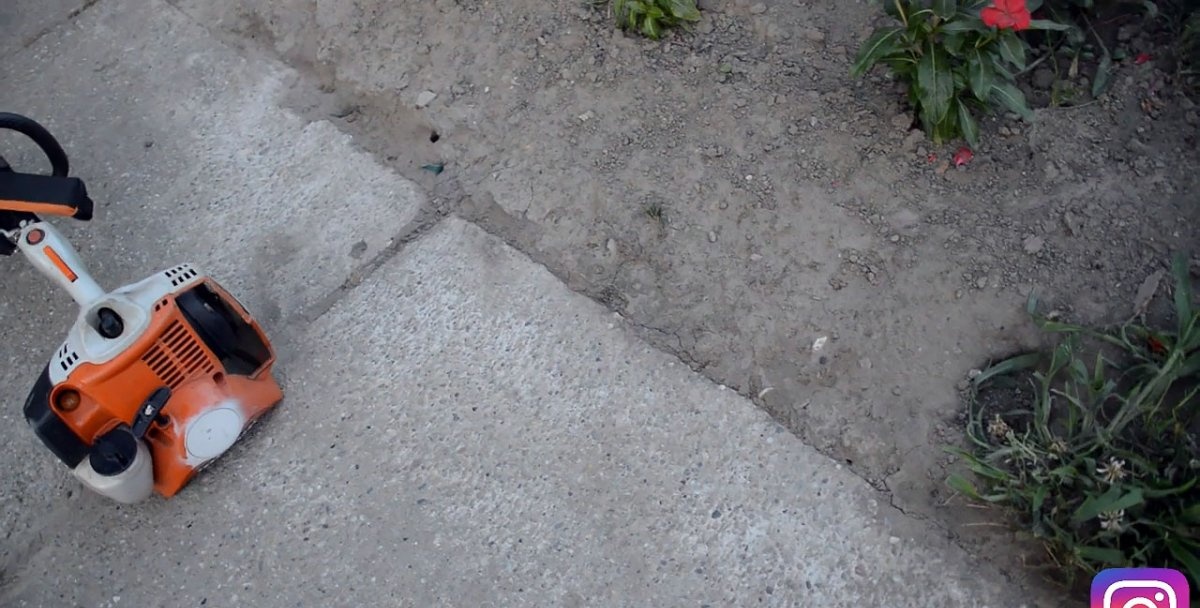
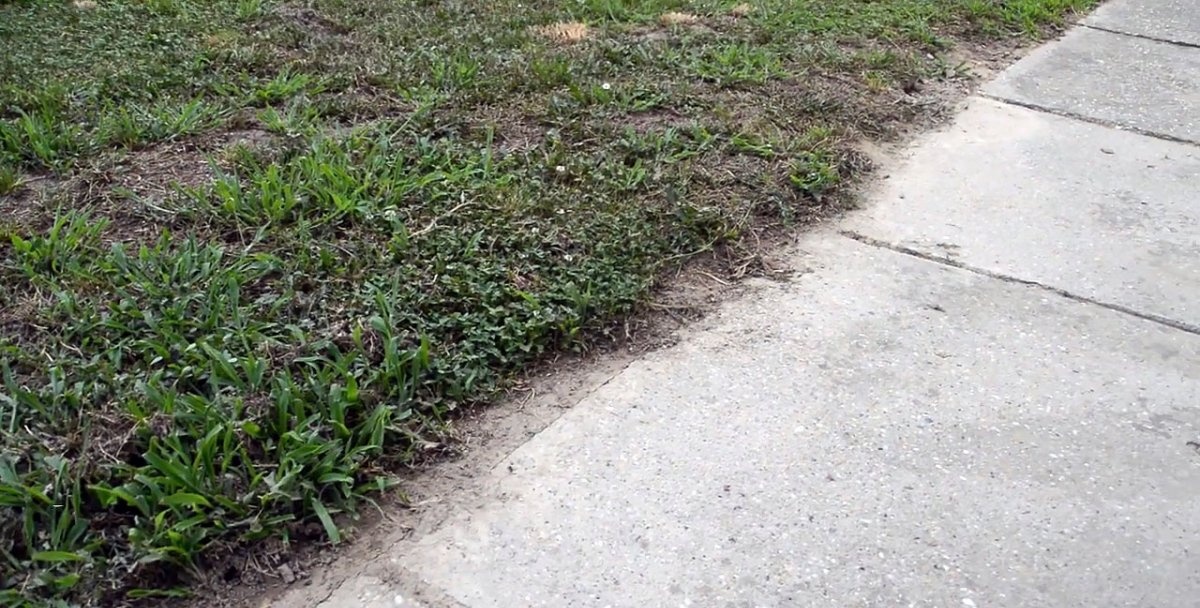
The edges of garden paths are often overgrown with vegetation or soil and various debris accumulate on them. Cleaning with conventional tools is not very effective, quite tedious and not at all attractive.
This work can be made much more pleasant, easier and more productive if you use a standard trimmer with a working element equipped with three identical metal brushes with a wooden base.
Will need
In addition to the already mentioned trimmer and metal brushes, to implement the project we will need:
- three-bladed steel knife;
- pressure washers;
- clamping nut.
To complete the intended work in full and with high quality, we must have at hand:
- tubular wrench with handle;
- bench vice;
- hacksaw for wood or metal;
- metal square;
- automatic core;
- drill with drill and bit for screws;
- Impact screwdriver.
Manufacturing technology
The idea is to equip the standard working part of the trimmer with metal brushes, since we will have, along with removing excess vegetation, to clean the hard surface of the paths from soil and various debris containing sand, gravel, small pebbles, etc.
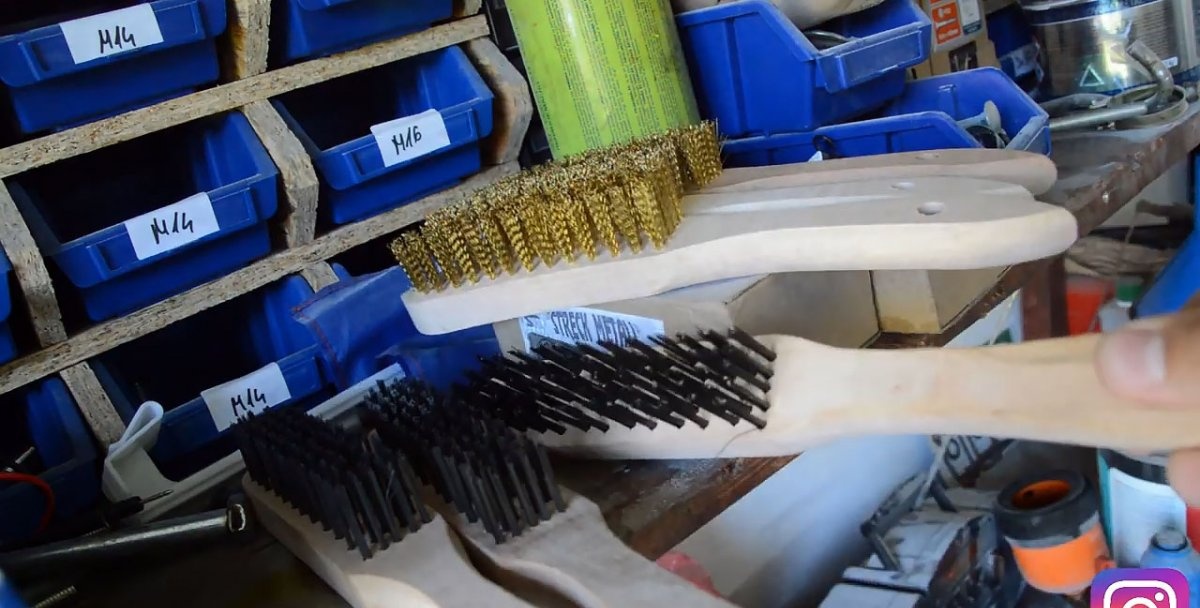
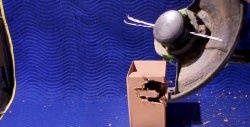
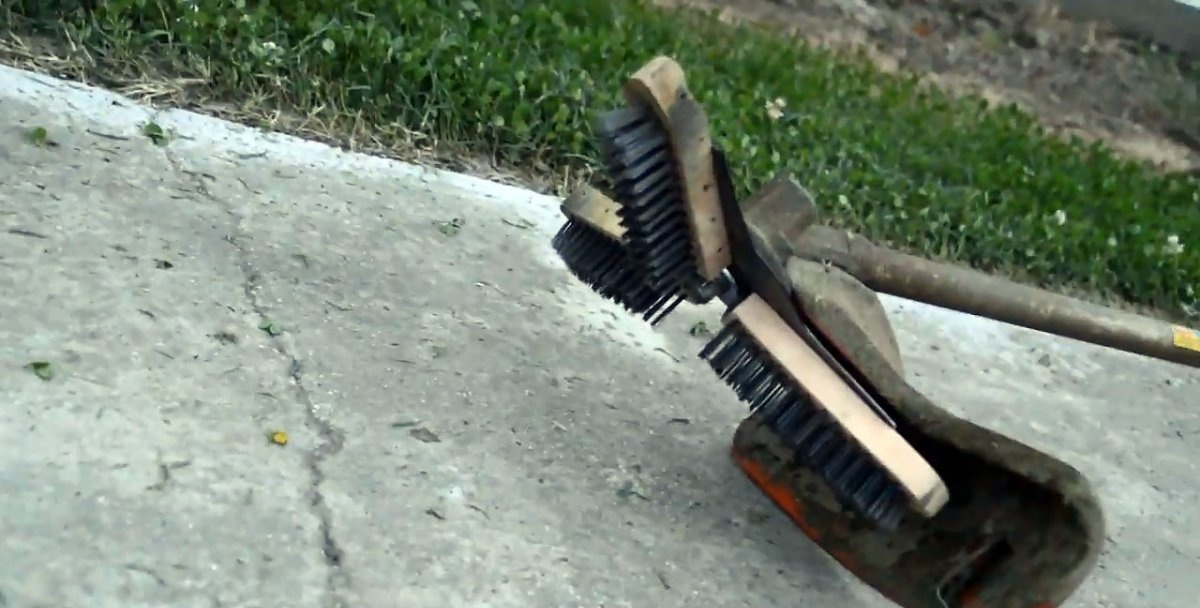
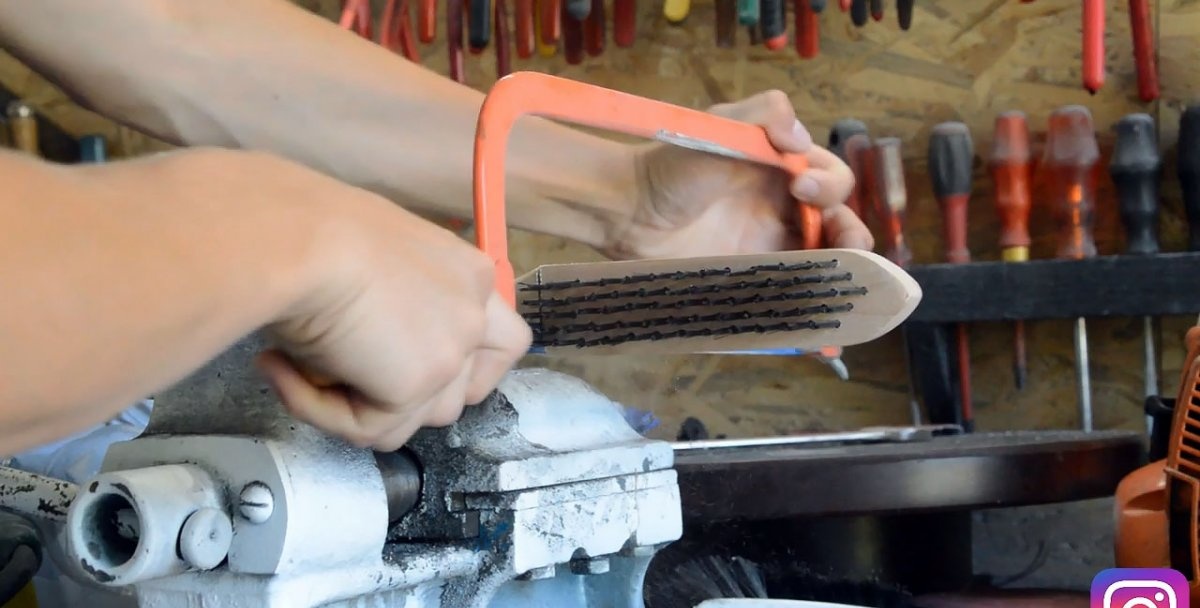
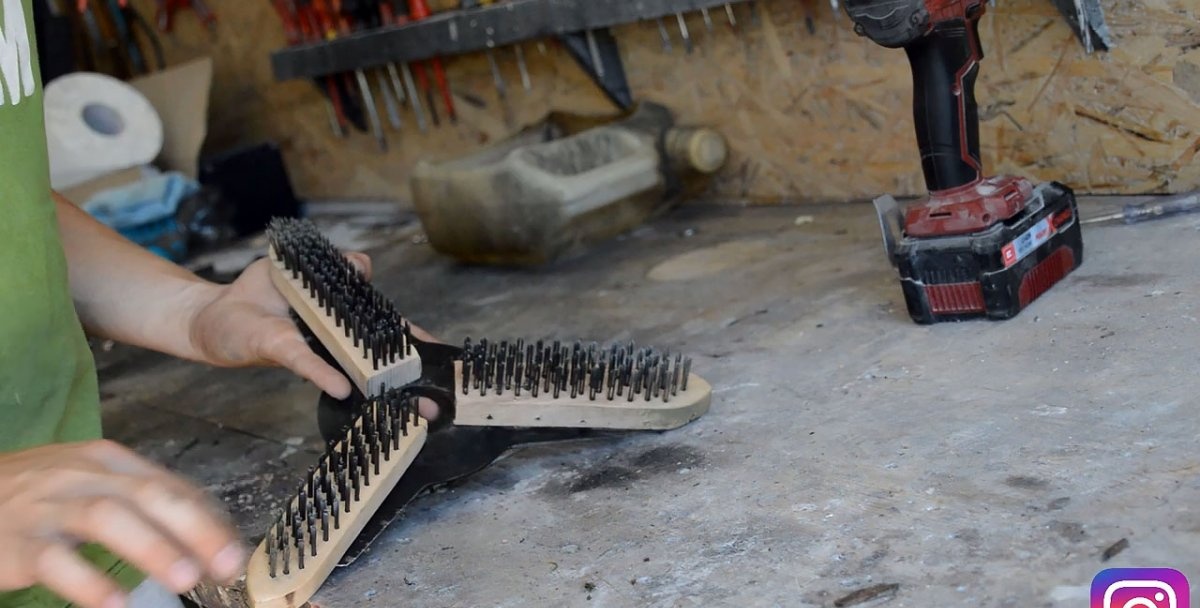
Let's start with the main element - brushes. We clamp them one by one in a vice and, using a metal saw, carefully cut off the wooden handles, leaving a 5-7 mm strip of wood to the outermost row of metal bristles.
We trace the contours of the brushes with a marker on the blades of a steel knife, maintaining maximum symmetry. In this case, the inner edges of the brushes should lie on the same circle.
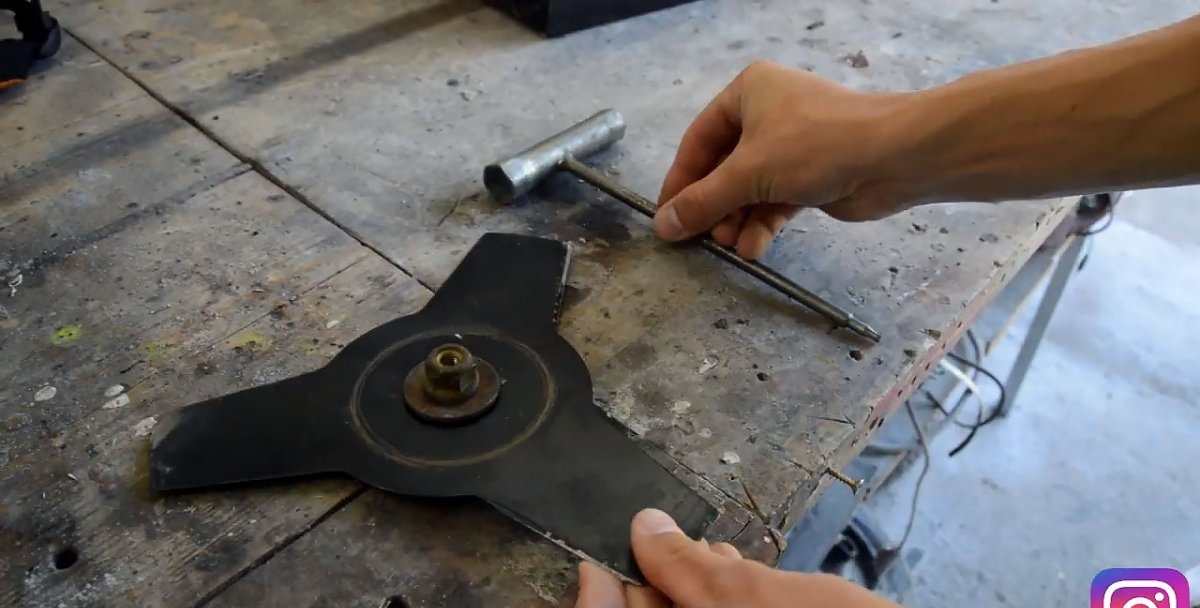
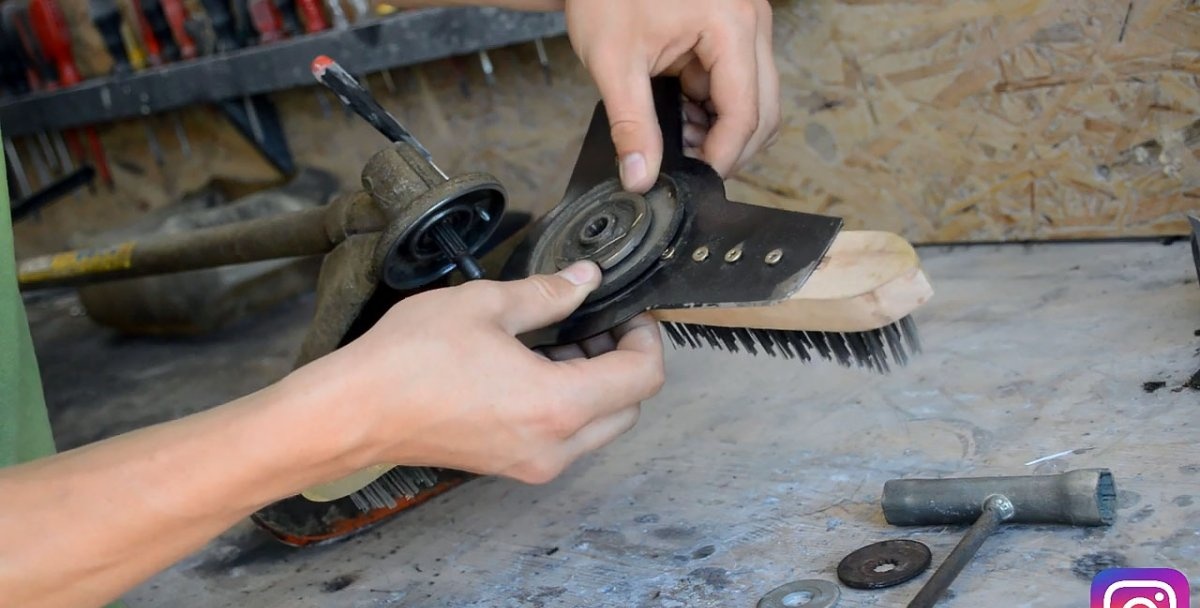
In the center of the contours, using a square and a marker, mark on each of them 4 points, evenly spaced in the longitudinal direction. We core all 12 points with an automatic core.
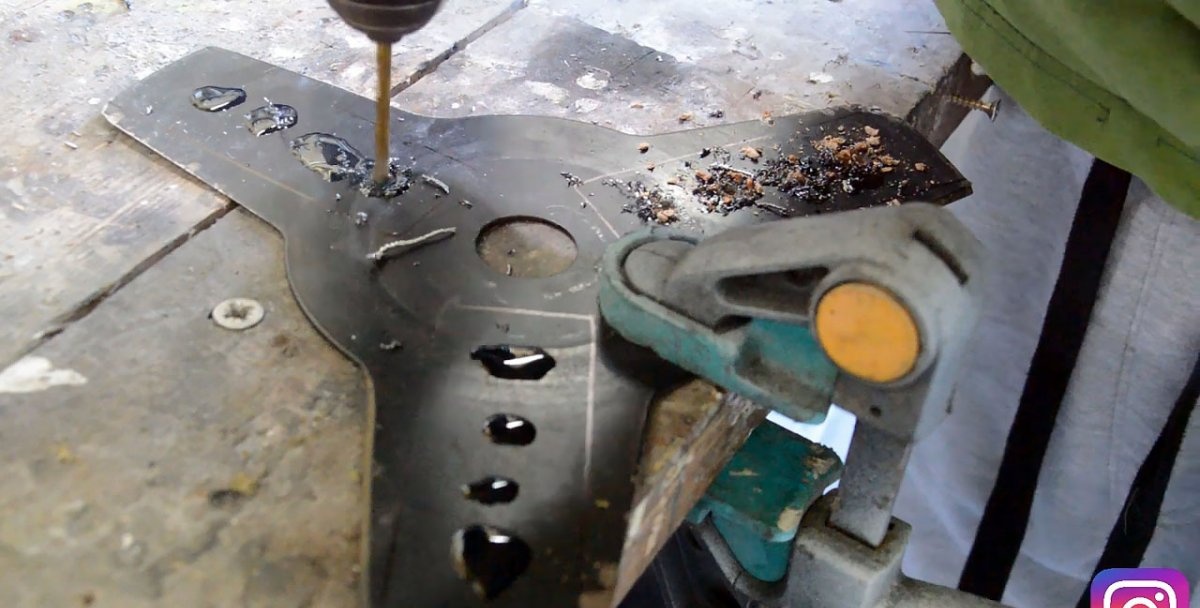
Using a drill with an appropriate drill, we make through holes in the blades of a three-bladed knife, previously secured with a clamp to the workbench table.
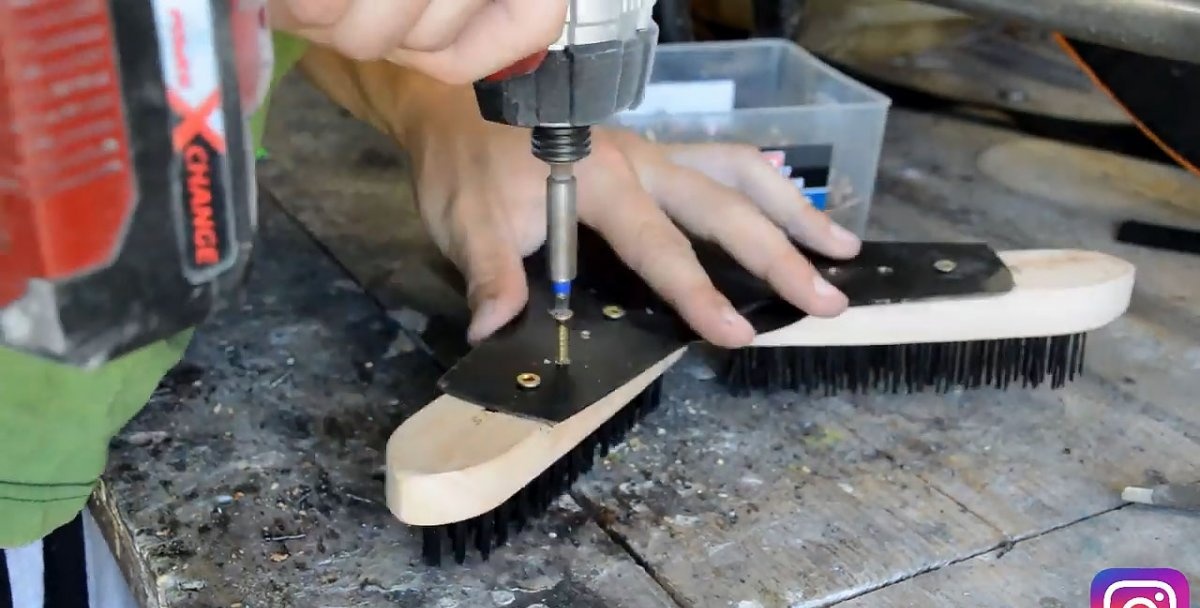
We attach each of the brushes to the blades by screwing in the screws on the opposite side using a screwdriver and an appropriate bit. For reliability, tighten the screws with an impact screwdriver.
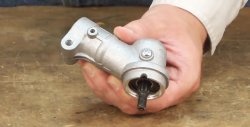
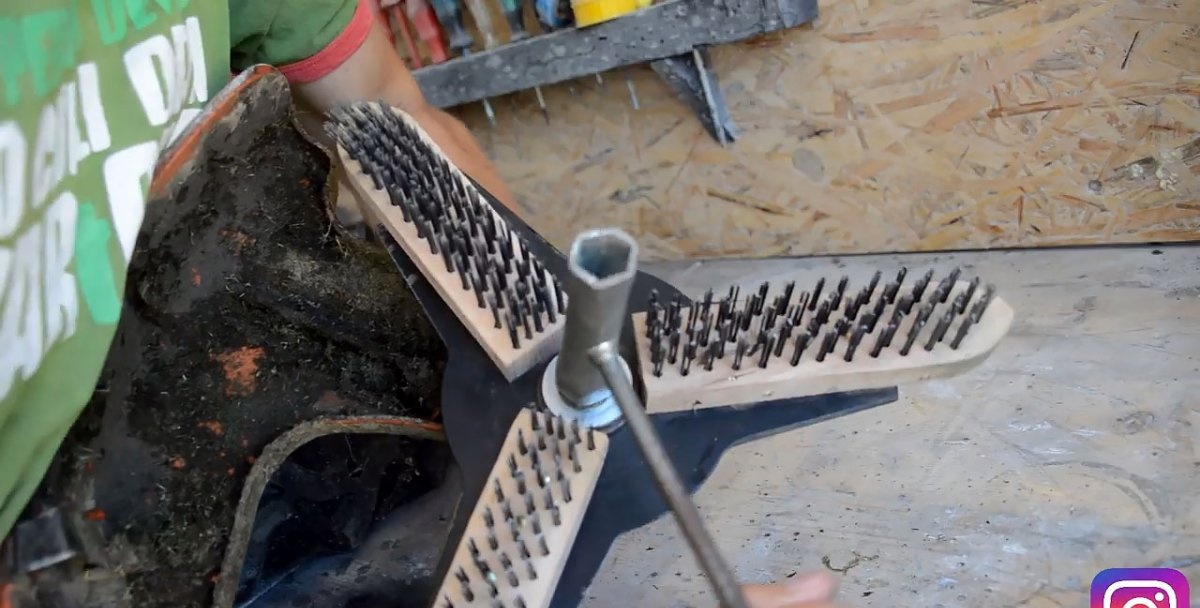
We remove the spool of fishing line from the trimmer and in its place we install our modernized working element in the form of a three-blade steel knife with metal brushes rigidly fixed to it.
The installation is standard: be sure to place a thrust washer with an internal splined hole on the splined shaft of the trimmer spindle. It is she who, after installing all fastening elements and tightening the nut, transmits torque to the working element.
Then we install our working element, then two pressure washers and at the end a nut with a left-hand thread, which we tighten securely with a tubular wrench with a knob.
Control and practical application
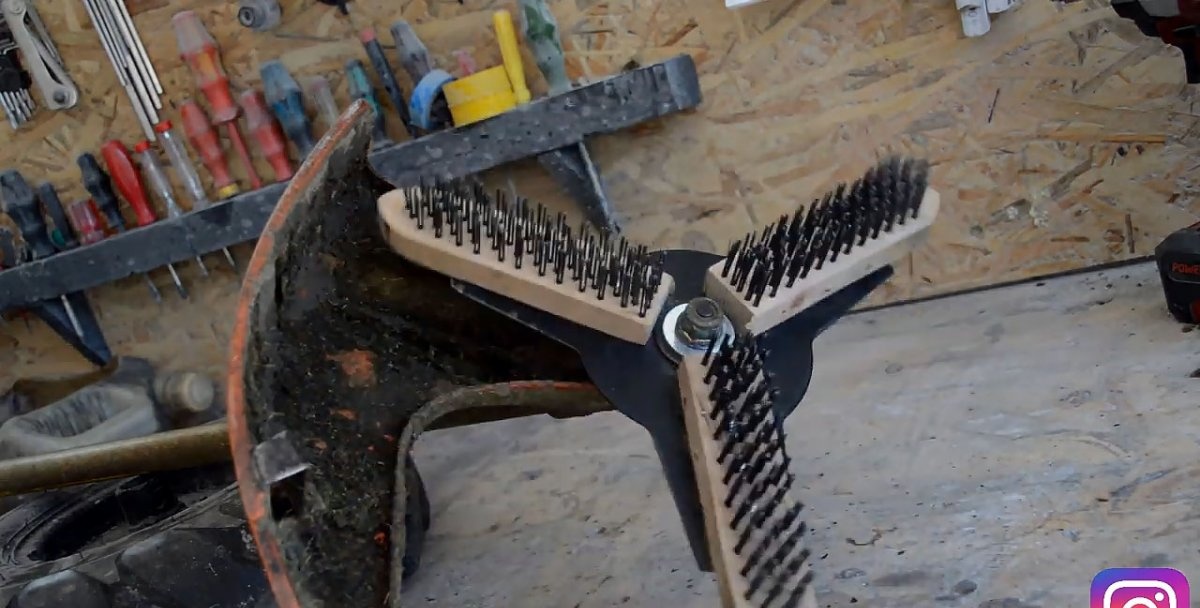
After completing the installation of the working element, we manually check the strength of fastening, ease of rotation, absence of imbalance and the presence of a guaranteed gap between the periphery of the brushes and the protective casing.
The second stage of testing the tool is carried out after starting the engine at idle, changing the speed from minimum to maximum. Also in this case, we control all the parameters that were previously checked manually.
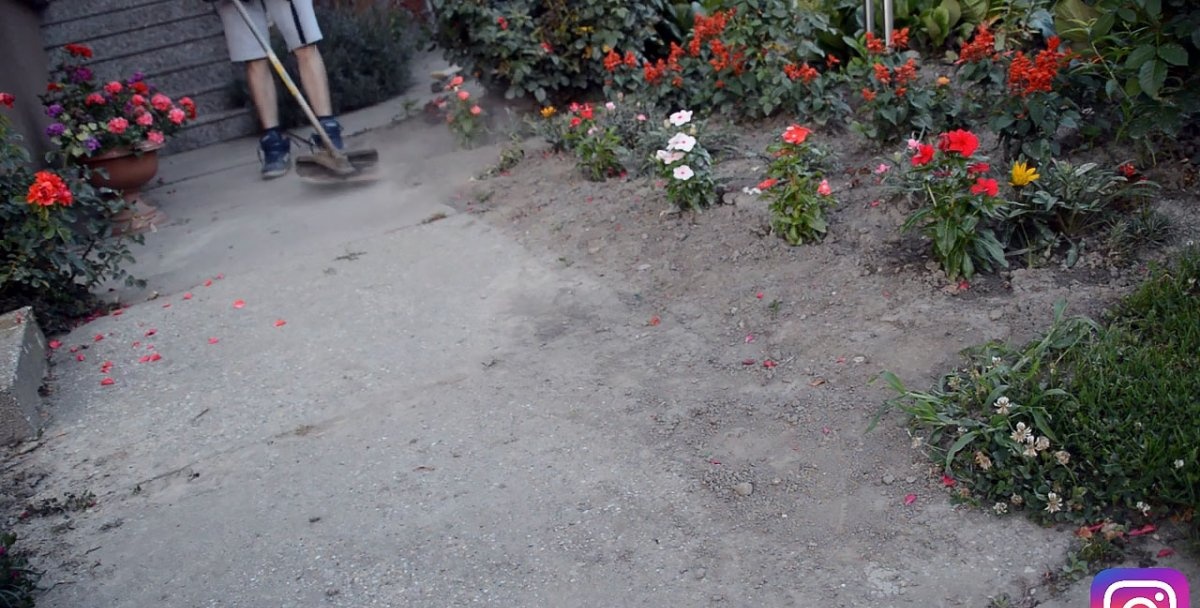


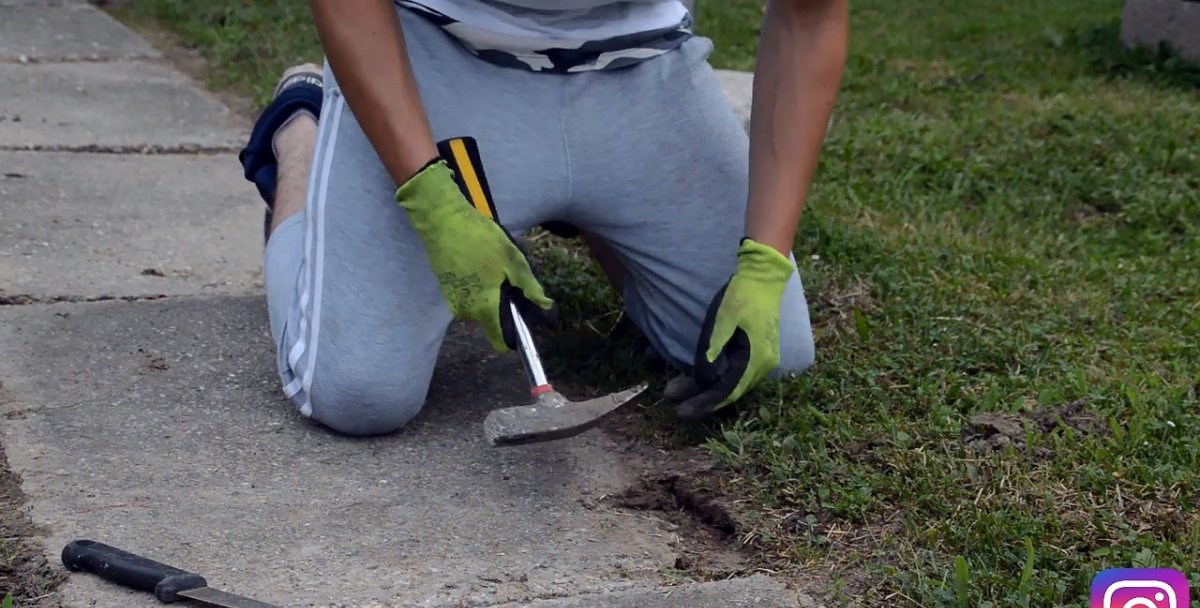
If everything is in order, we continue testing the trimmer with the modernized working element in “field conditions”: we remove excess soil and debris from garden paths, cut off the vegetation that covers the edges of the paths, clean the seams between the tiles, etc.
From personal experience, we are convinced that such a tool turns caring for garden paths into a pleasant, easy and productive activity that will never get boring.