Do it yourself
Life hacks, master classes, useful tips, recipes.
home » Different » Crafts » Origami » Envelope with a heart
1. Such an envelope can be a valentine in its own right. But it’s more interesting if you put a note in it intended for a loved one. Making such a craft is not difficult if you follow the step-by-step recommendations of the proposed master class.
Envelope with a heart

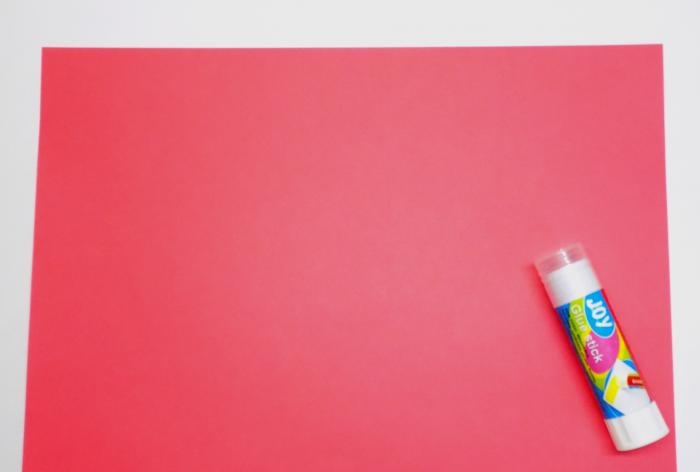
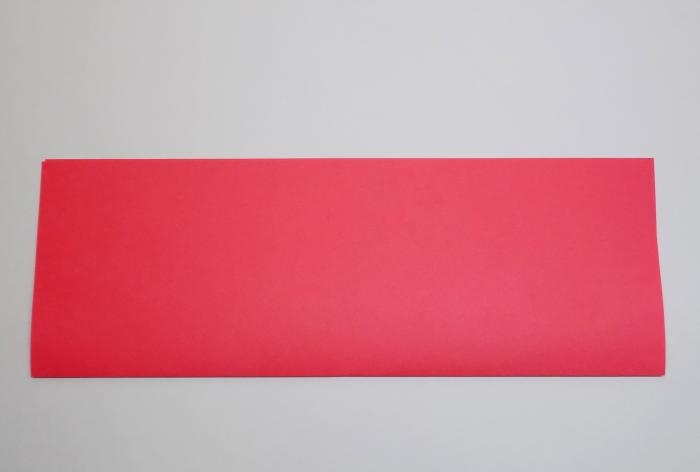
2. To work, you will need a rectangular red sheet of paper (A4 size) and a glue stick.
Envelope with a heart

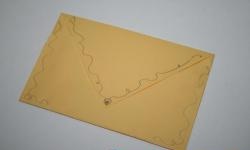
3. First, fold the sheet lengthwise.
Envelope with a heart

4. Then we unfold it and bend the upper corner on the left side.
Envelope with a heart

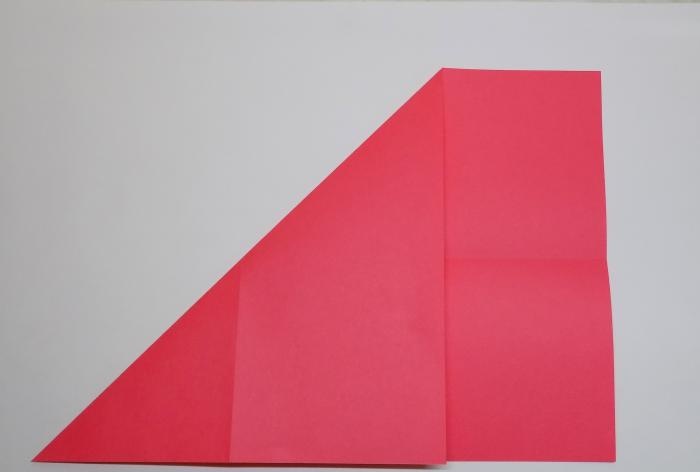
5. Bend the right side in the form of a rectangle to the left.
Envelope with a heart

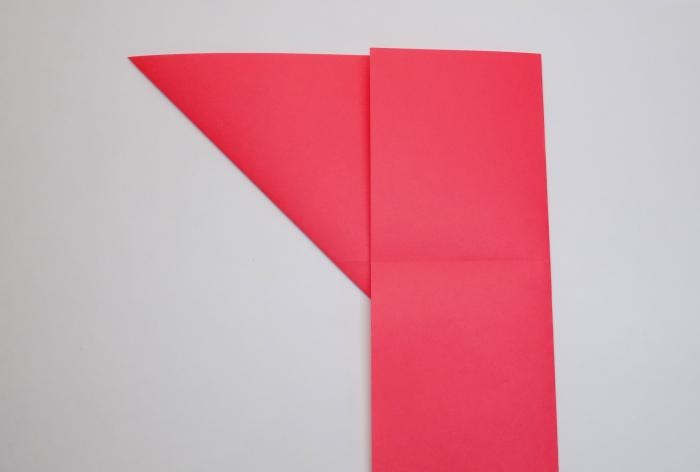
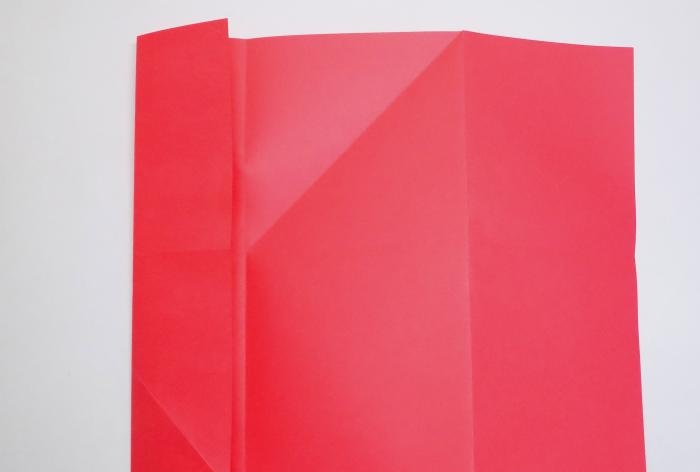
6. Unfold the sheet and at the same time turn it over to the other side.
Envelope with a heart

7. Bend the left side to the right in the direction of the previously made fold.
Envelope with a heart

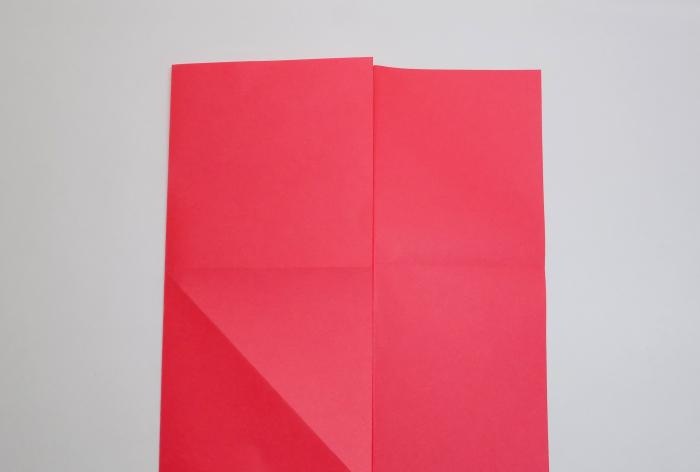
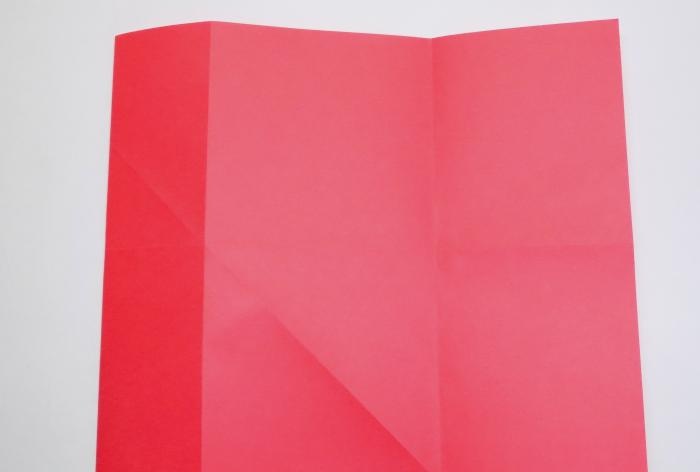
8. Unfold the sheet again and fold the left side to the fold we just made.
Envelope with a heart

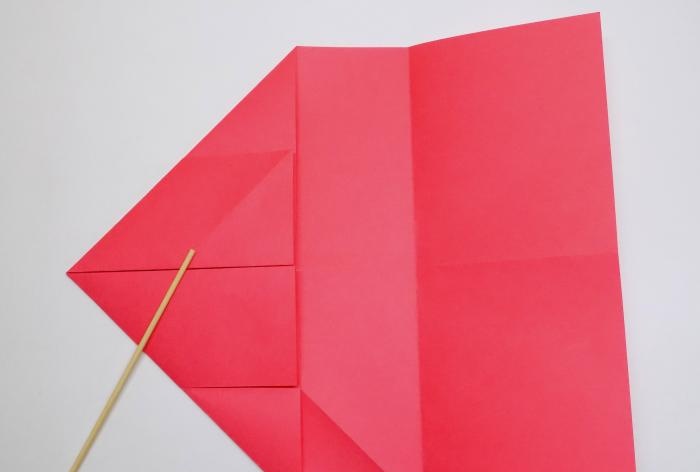
9. Let's turn the blank of the future envelope over to the other side.
Envelope with a heart

10 On its left side we bend the corners (top and bottom).
Envelope with a heart

11. This is what our workpiece looks like from the other side.
Envelope with a heart

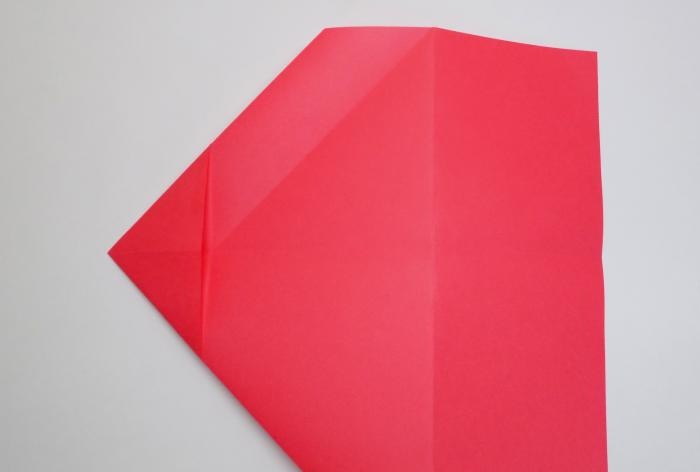
12. We bend the left corner to the previously made transverse fold.
Envelope with a heart

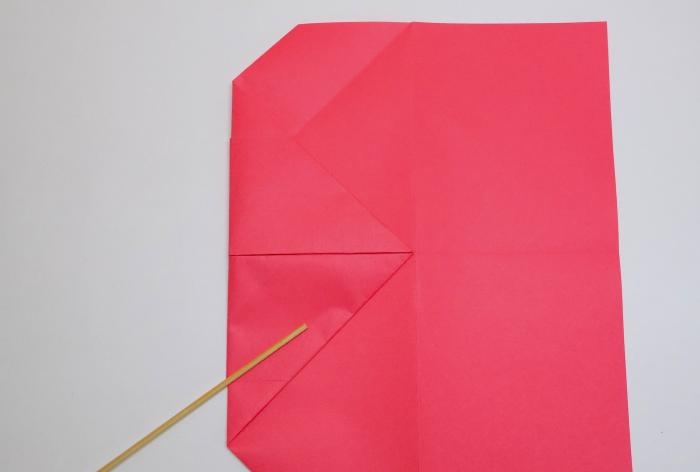
13. Turn it over to the other side and, for convenience, turn it slightly towards you (90 degrees).
Envelope with a heart

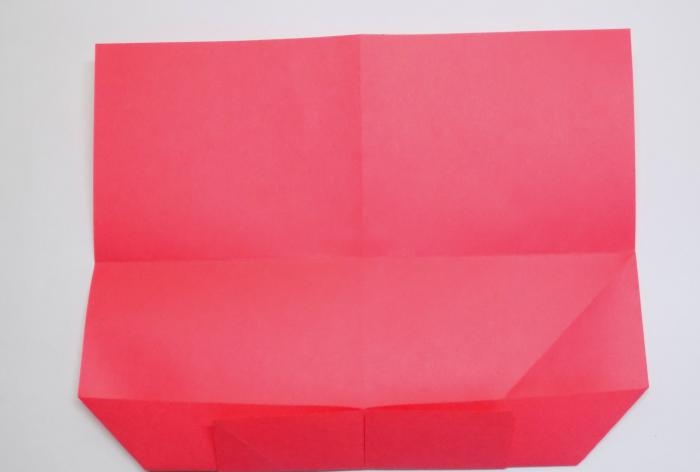
14. We bend the corners at the bottom.
Envelope with a heart

15.Now we straighten them, forming triangular pockets.
Envelope with a heart

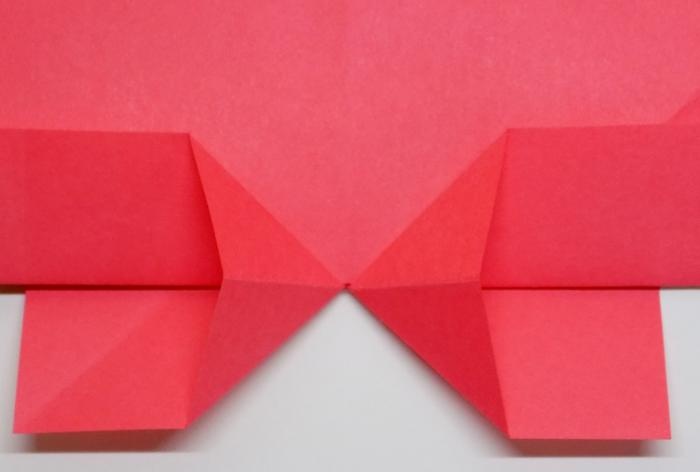
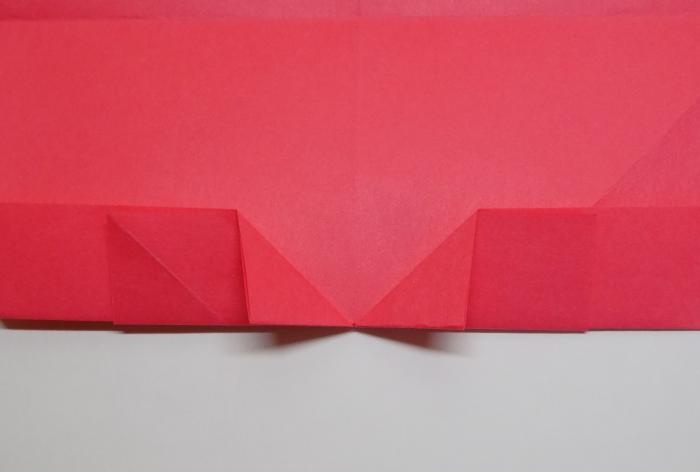
16. On the sides it is necessary to additionally bend the right and left corners.
Envelope with a heart

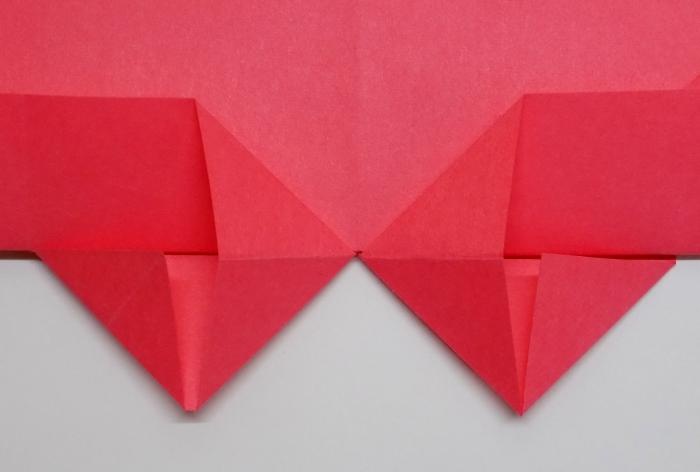
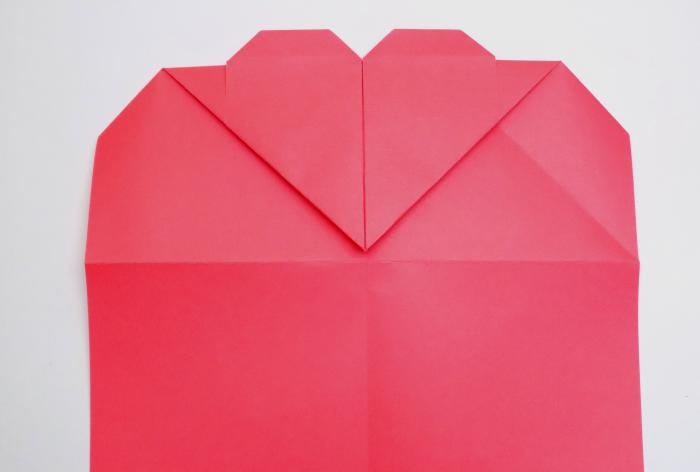
17. At the bottom, bend the corners a little.
Envelope with a heart

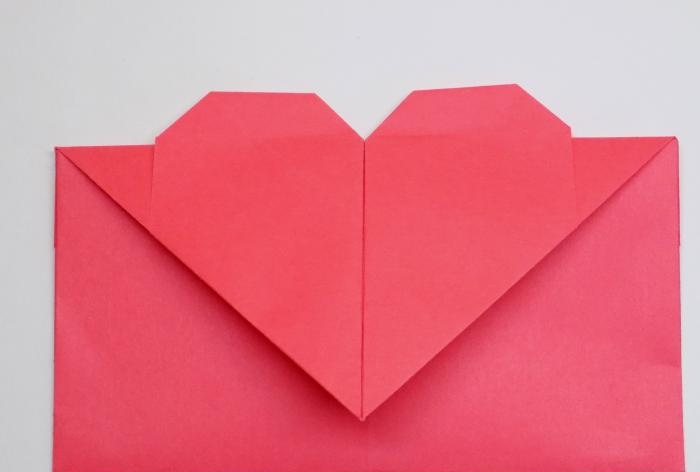
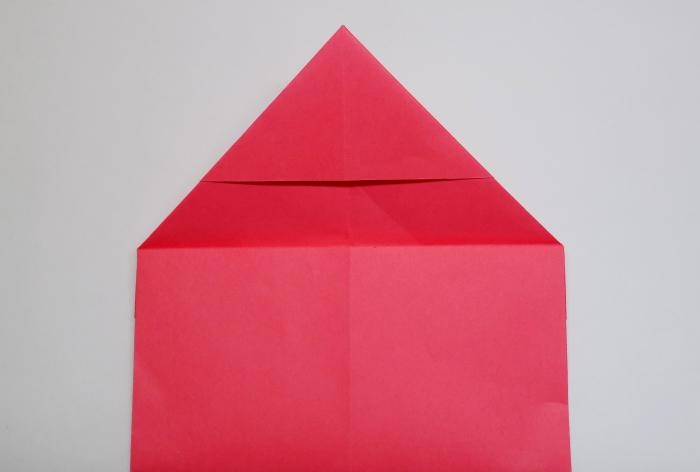
18. We turn the envelope blank over to the other side and see that our heart is ready.
Envelope with a heart

19. All that remains is to form the envelope itself. To do this, turn the sheet over again to the other side and bend its sides.
Envelope with a heart

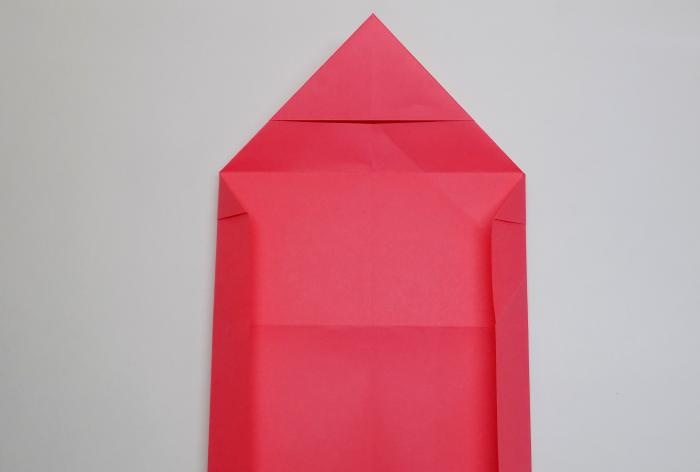
20. We bend the lower part upward, forming the envelope itself.
Envelope with a heart

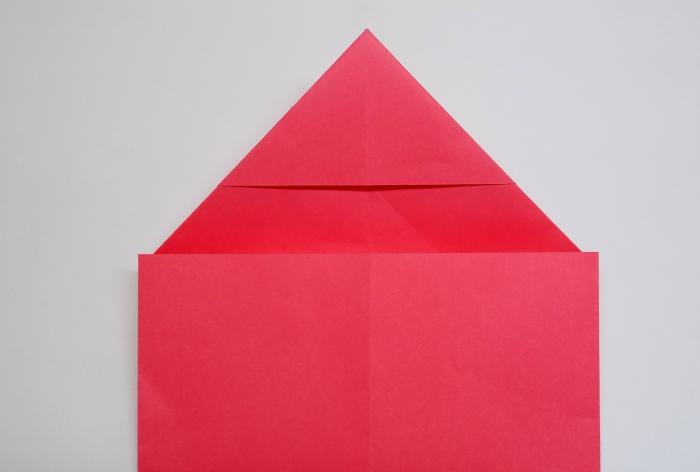
21. Unfold and apply glue to the sides.
Envelope with a heart

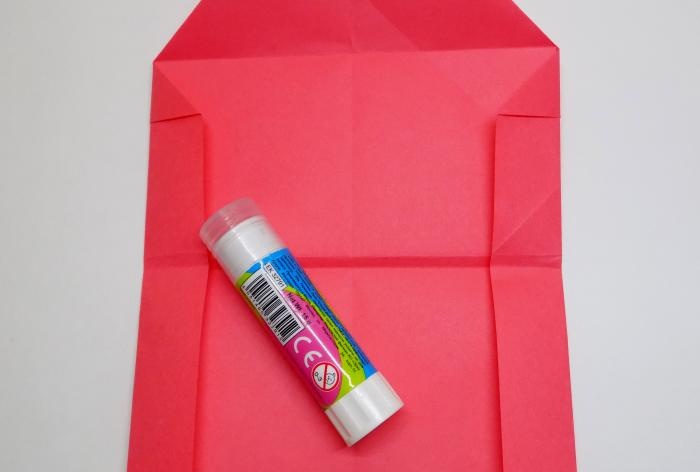
22. Bend it again and let the glue set.
Envelope with a heart

23. Straighten and admire our envelope with a heart.
Envelope with a heart
come back
Comment
  • bowtiesmilelaughingblushsmileyrelaxed relaxedsmirk
    heart_eyeskissing_heartkissing_closed_eyesflushedrelievedsatisfiedgrin
    winkstuck_out_tongue_winking_eyestuck_out_tongue_closed_eyesgrinningkissingstuck_out_tonguesleeping
    worriedfrowninganguishedopen_mouthgrimacingconfusedhushed
    expressionlessunamusedsweat_smilesweatdisappointed_relievedwearypassive
    disappointedconfoundedfearfulcold_sweatperseverecrysob
    joyastonishedscreamtired_faceangryragetriumph
    sleepyyummasksunglassesdizzy_faceimpsmiling_imp
    neutral_faceno_mouthinnocent
3+three=
Comments (1)
  1. ZHENYA
    #1 ZHENYA Guests 26 April 2019 19:19
    1
    CLASS blush

Topiary “Nut tenderness” | Do it yourself

Cooking | Do it yourself

How to cheaply restore a rusty tool

How to make a snow shovel from PVC pipe

«Do it yourself - with your own hands» - a site of interesting homemade products made from scrap materials and items at home. Step-by-step master classes with photos and descriptions, technologies, life hacks - everything a real master or just a craftsman needs for needlework. Crafts of any complexity, a large selection of directions and ideas for creativity.

We recommend reading

Washing machine error codes