The screwdriver is equipped with a comfortable polymer handle, however, in my opinion, it has one drawback. At the end of the handle there is a removable plug that provides access to the cavity for storing replaceable attachments. On the one hand, this is convenient - the replaceable bits are located in the handle body and do not get lost. But personally, I would prefer to have a rotating stop in place of the plug, which is usually equipped with clock screwdrivers. For this reason, I decided to modernize my screwdriver, or rather, to make a new handle of the same shape, but with a rotating stop.
For work we will need:
- scraps of sheet plastic;
- Super glue;
- silicone sealant;
- epoxy resin;
- fine-grit sandpaper P2500;
- grinding paste (for example, GOI);
- can of liquid lubricant type WD – 40.
The tools you will need are an electric drill with a set of drills, a tap for cutting M5 or M6 threads, and a sharp knife.
Making a unique tool handle
From plastic scraps we make a mold for future casting.
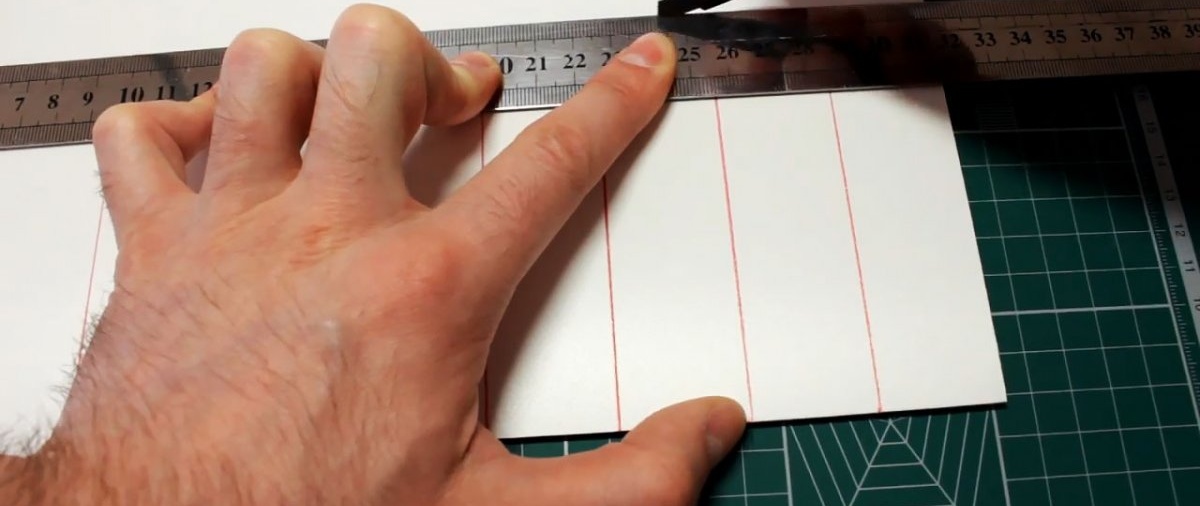
The result should be a rectangular oblong box along the length of the handle with the cap removed. The width of the side can be from 4 to 5 centimeters. We connect the plastic mold blanks using super glue.
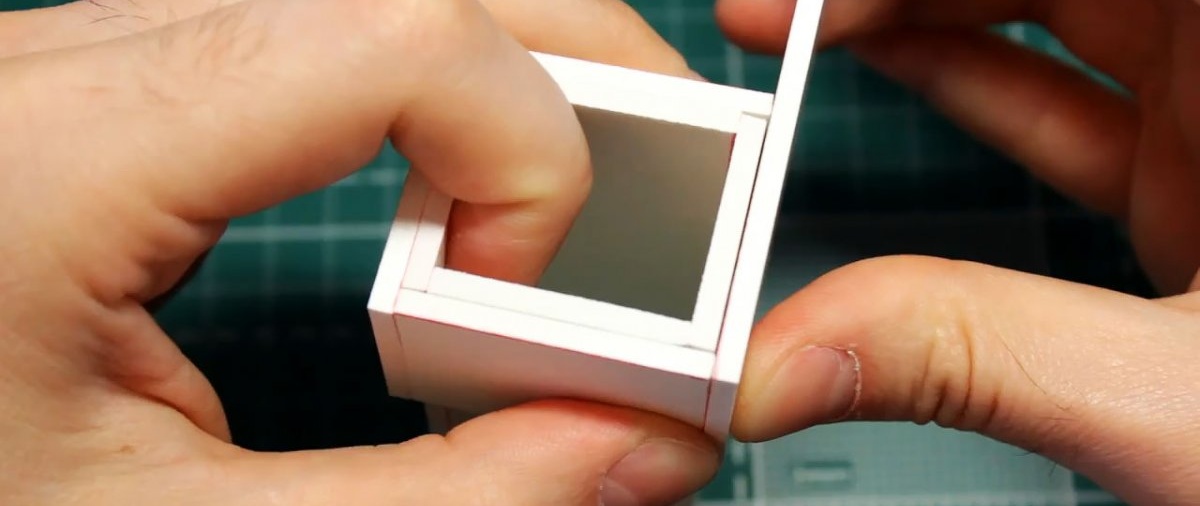
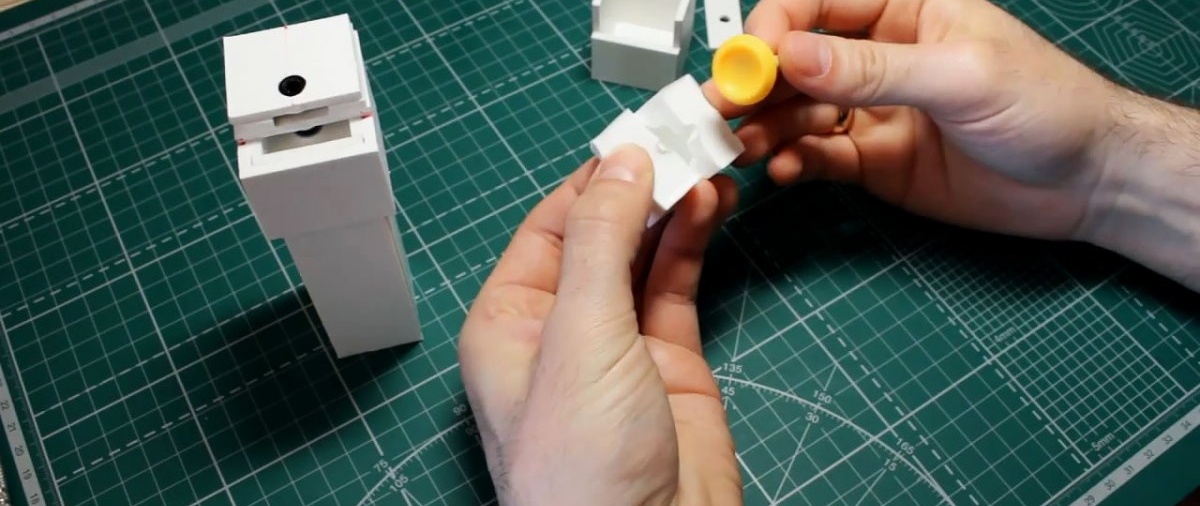
One end of the box is blank; when pouring it will be at the bottom. The second end is covered with a removable cover made of the same plastic. In the center of the lid there is a hole into which a screwdriver inserted into the handle should fit tightly. In addition, there should be a gap at the end for pouring the silicone composition into the mold.
The rotating stop of the future handle will be cast in the shape of a cork. You need to make a separate mold for it.
Now we begin to prepare the molding sand in accordance with the instructions attached to it. If it is a two-component composition, mix the components.
We place a screwdriver with a handle in the center of the mold and cover the mold with a lid, the screwdriver should go into the hole. Now you can pour the molding composition into both molds. Yes, one note. To avoid adhesion of silicone to the walls of the mold, as well as to the handle and lid of the screwdriver, they can be pre-coated with a thin layer of protective lubricant from a spray can. When pouring the lid, you need to place a pencil or any rod on top so that a hole is formed in the mold for subsequent filling with epoxy resin.

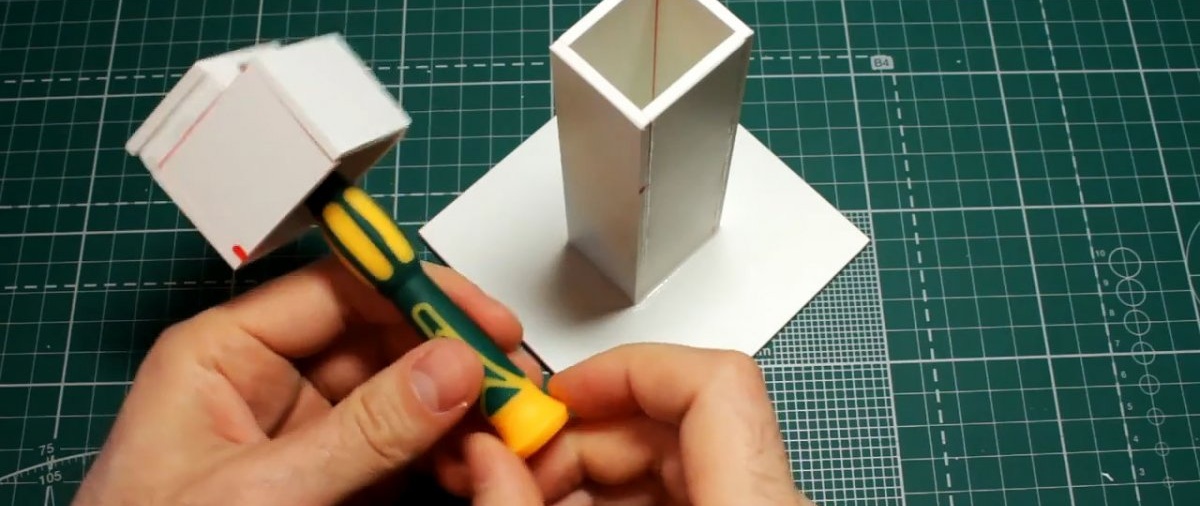
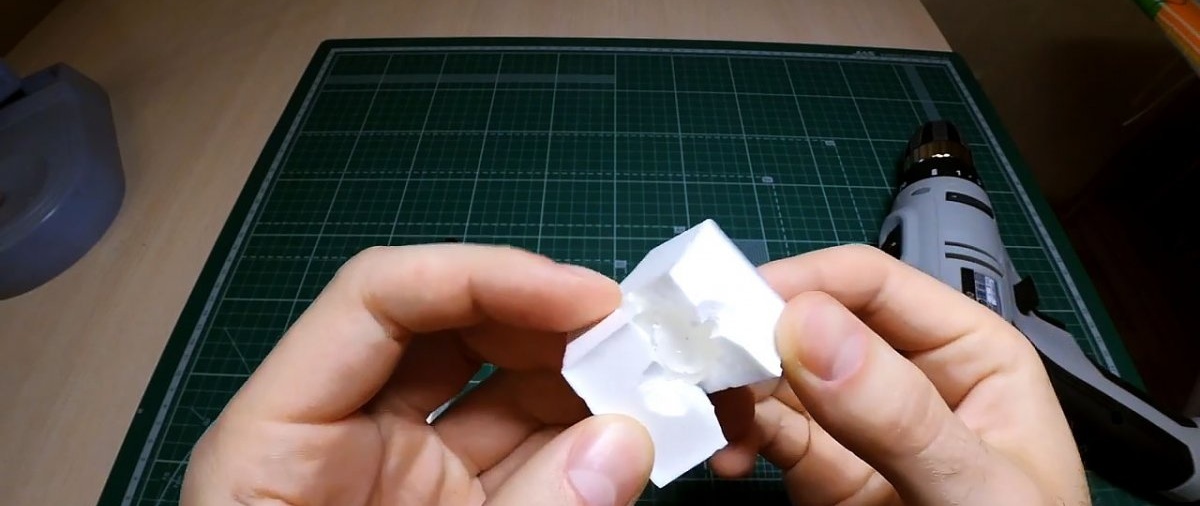
After polymerization of the composition, remove the lid from the mold and take out the resulting silicone bar.Using the gutta-percha of the frozen silicone mass, carefully remove the handle, being careful not to damage the mold. To remove the lid, you will have to slightly cut the silicone mold.

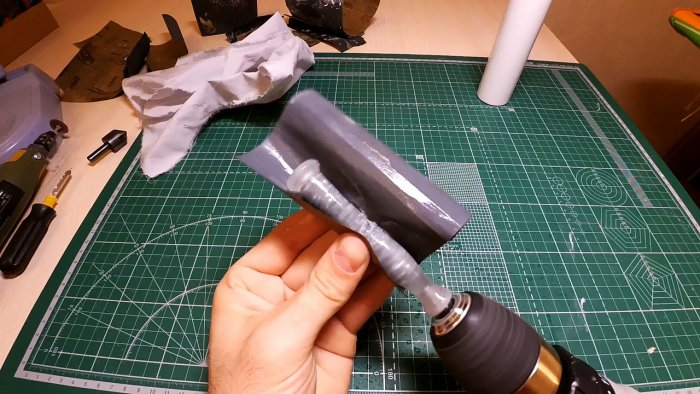
Now our silicone molds are ready to be filled with epoxy resin. Separate the screwdriver from the old handle. If necessary, we saw the handle or cut it, since we decided to say goodbye to it anyway. For stability, we again install the silicone mold vertically in the plastic formwork and carefully pour the prepared resin into the upper hole.
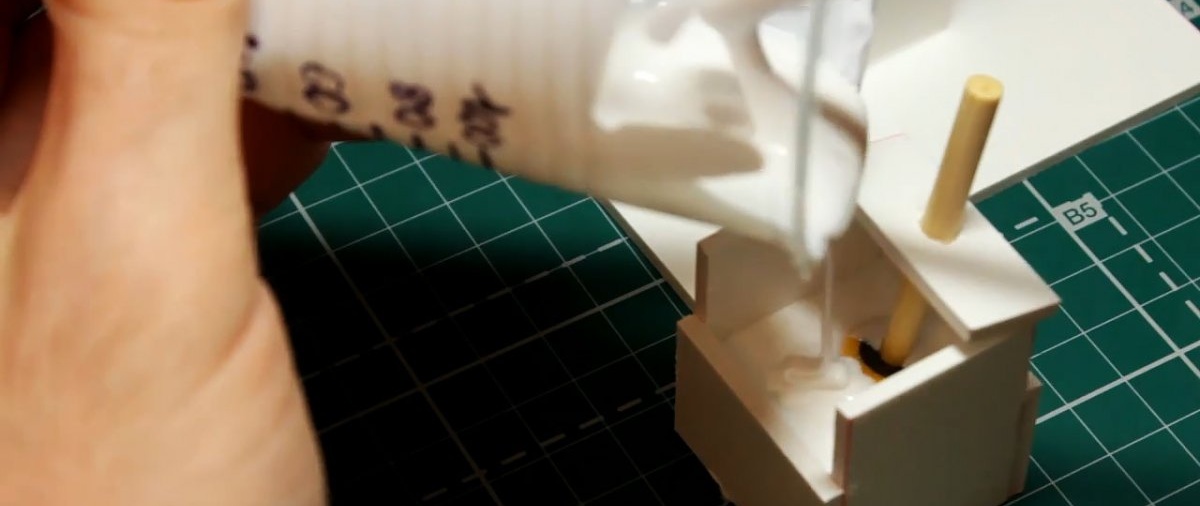
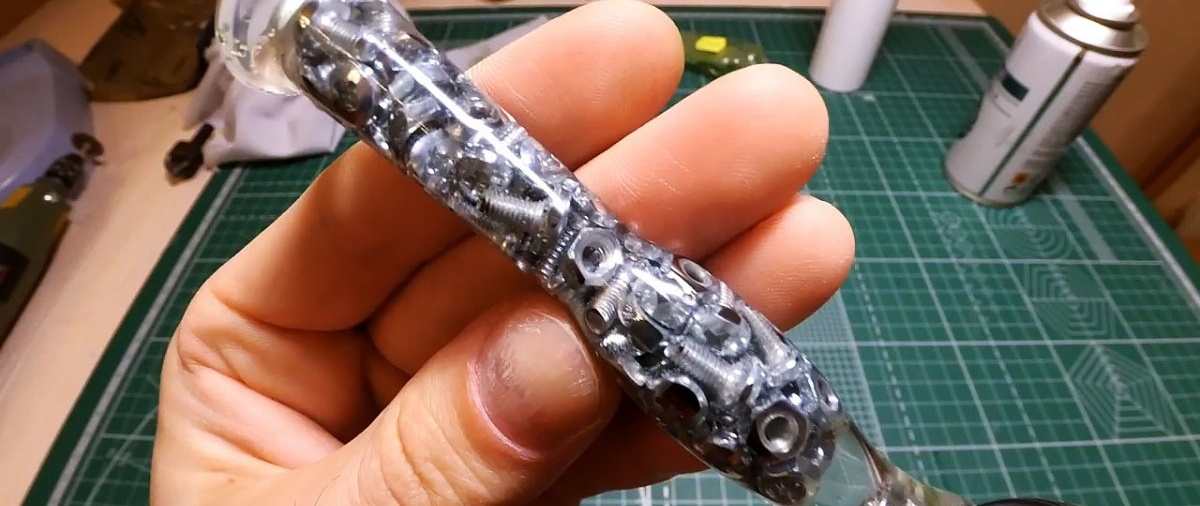
Here you can give free rein to your imagination. As I filled the mold with resin, I stuffed it with small hardware that had served its purpose - screws, nuts and washers. Firstly, this greatly reduced the consumption of resin, secondly, it gave the pen a pleasant heaviness (at least it seemed so to me), and thirdly, I liked the way this pen looked.
Without adding resin slightly to the edge of the mold, insert a screwdriver into the hole. We also fill out the second form with a lid.


After the resin has hardened, we free our workpieces from silicone and do the following:
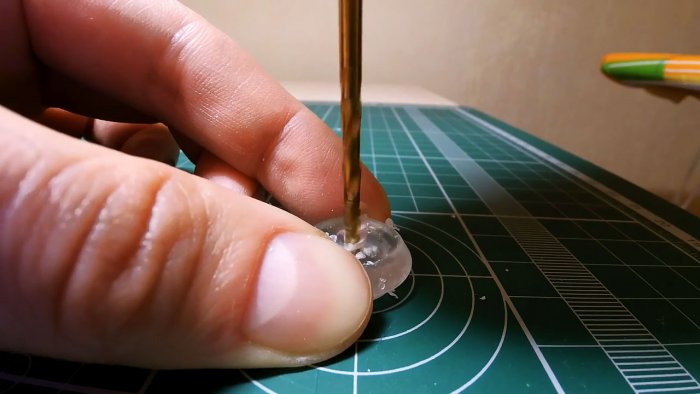
- We drill a hole at the end of the handle and use a tap to cut an M5 or M6 thread for attaching the rotating stop;
- in the cover, which will now play the role of a stop, drill a hole for a screw (M5 or M6);
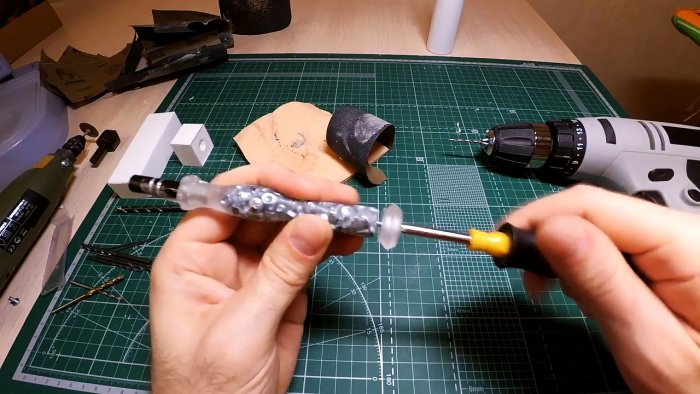
- grind the surface of the handle with sandpaper and GOI paste using an electric drill;

- We fasten the rotating stop with a screw with super glue, do not tighten it all the way so that it rotates freely.


Now you can try the new screwdriver in action.

Conclusion
Work with epoxy resin should be done in a well-ventilated area to avoid poisoning by toxic fumes.