Do it yourself
Life hacks, master classes, useful tips, recipes.
home » Handicraft techniques » Knitting » Knitting patterns » Crochet set – hat and scarf
I bring to your attention a master class on a crocheted set - a hat and a scarf. It is quite suitable for both winter and cool spring. The set looks original, and a small flower on the cap gives it some zest. It is very easy to knit and in its style is suitable for women of different ages.
So, we need 250 g of dense yarn of soft blue color (60% merino wool, 40% acrylic), hook number 6.
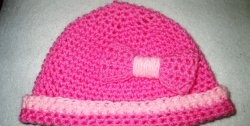
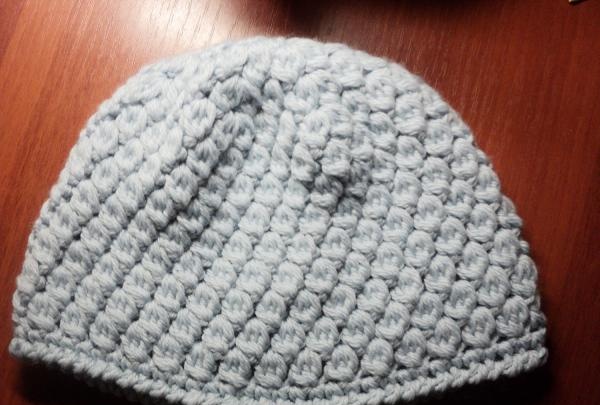
Description of the hat (knit in two threads!).
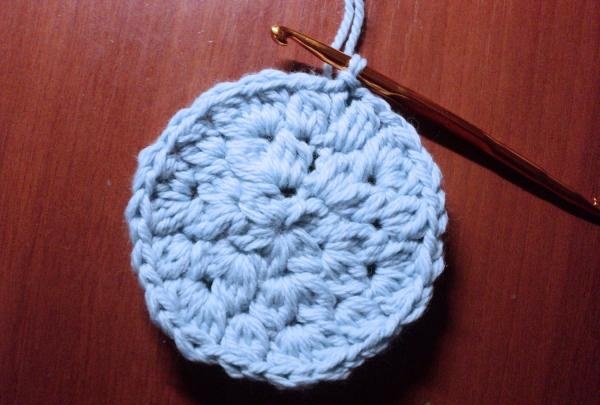
We start each row with three chain stitches and end with a connecting stitch. First, we make a ring by wrapping the thread around your finger and tying it with “bumps” of three double stitches. There is one air loop between the “bumps”. Tighten the ring by pulling the end of the thread.
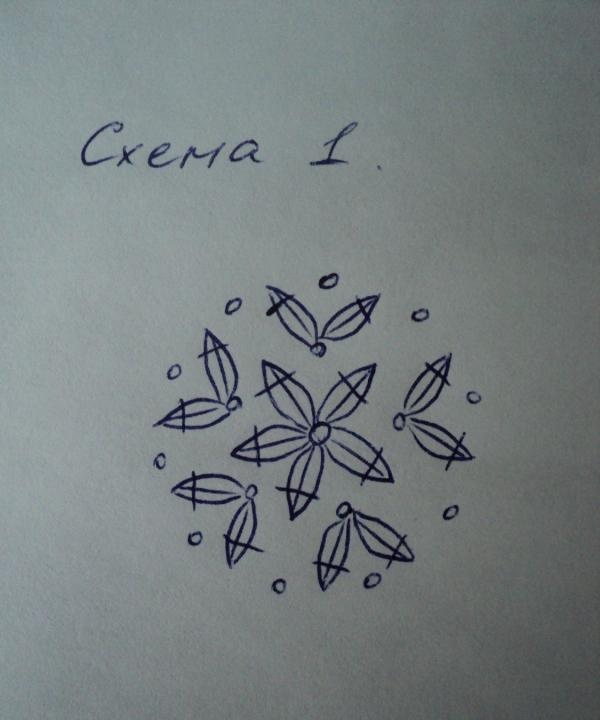
Next we make increases in “bumps” into the air loops of the previous row (Diagram 1).
In the second row we make increases in each loop.
Then in the third row we add through one loop.
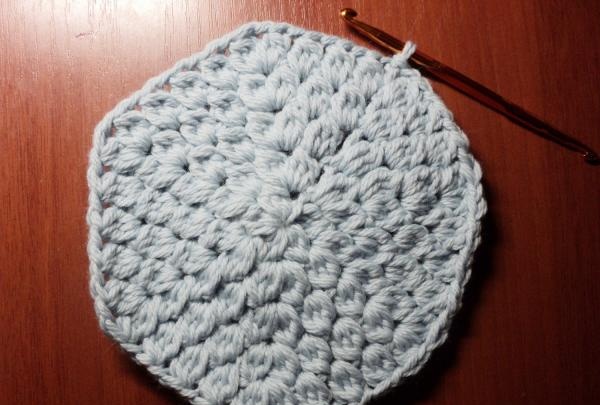
And in the fourth - through two loops.
From the 5th to the 12th rows we knit without increases.
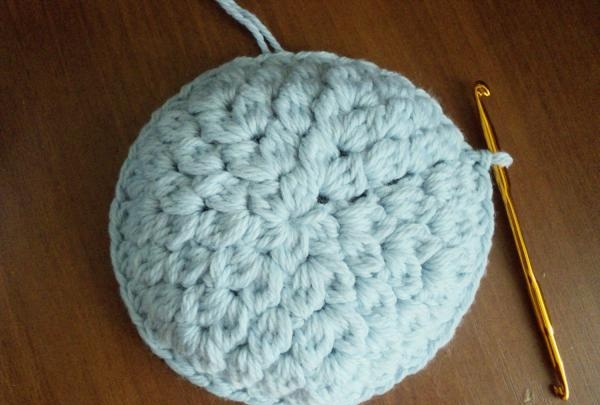
The thirteenth row is performed only with b.n. columns.
Fourteenth row - we tie the edge of the hat with a “crawfish step” (column b.n. from left to right). We fasten and hide the ends of the thread.
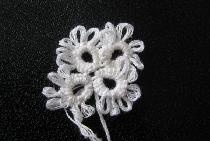
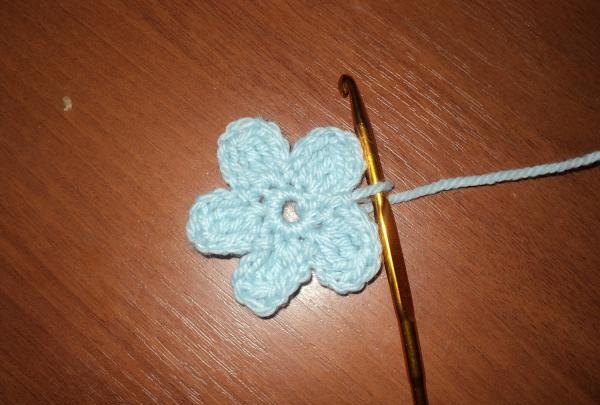
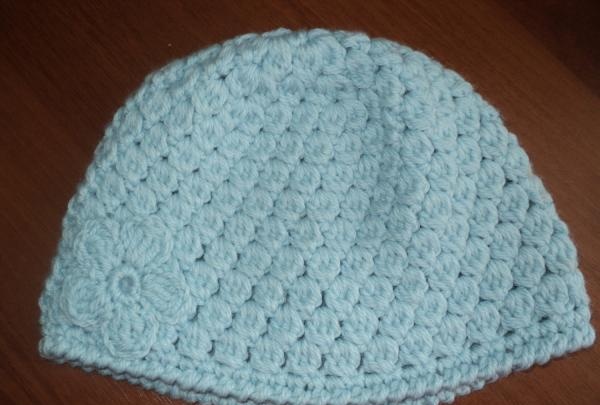
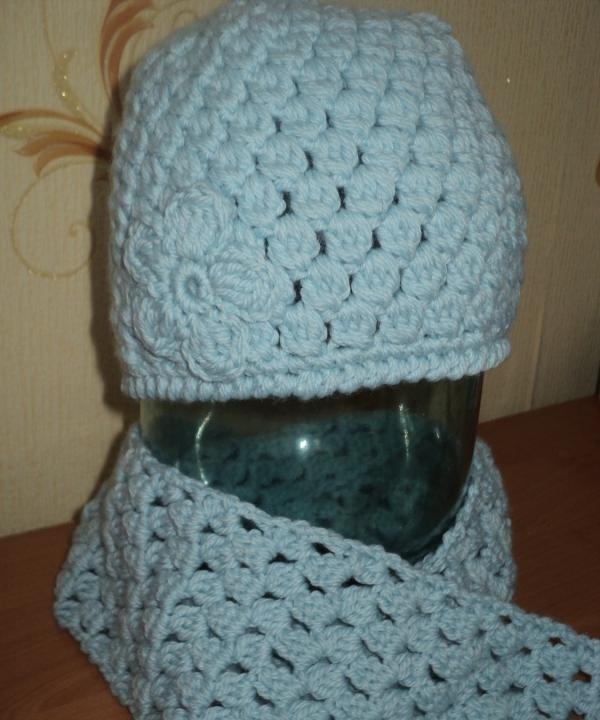
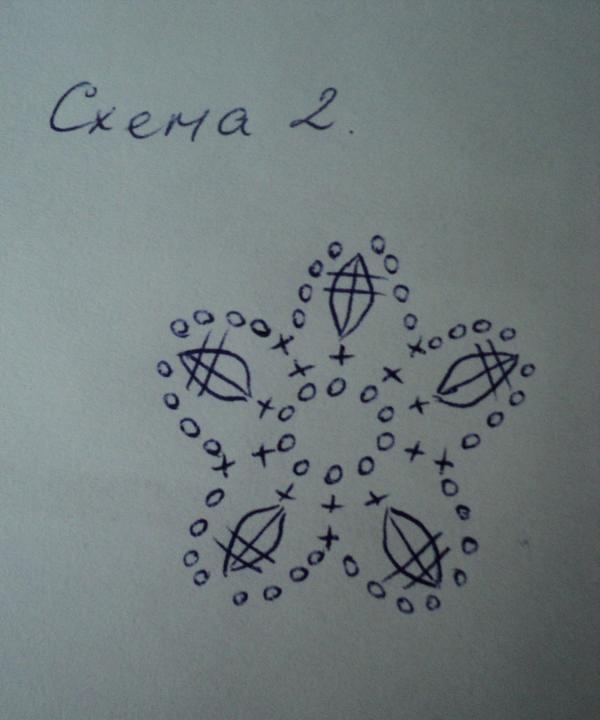
We make the flower with a thread in one addition (Diagram 2). Sew it to the side of the hat (you can sew only the center of the flower, then it will be a little voluminous). We fasten the thread. You can also sew beads or seed beads into the center.
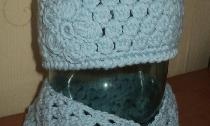
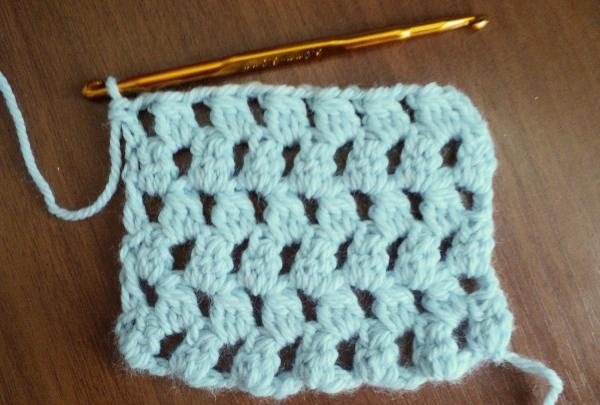
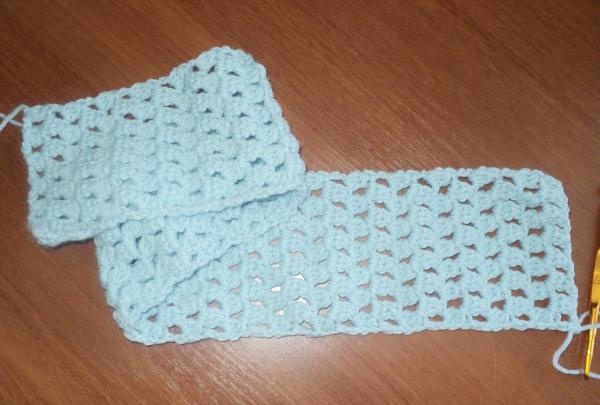
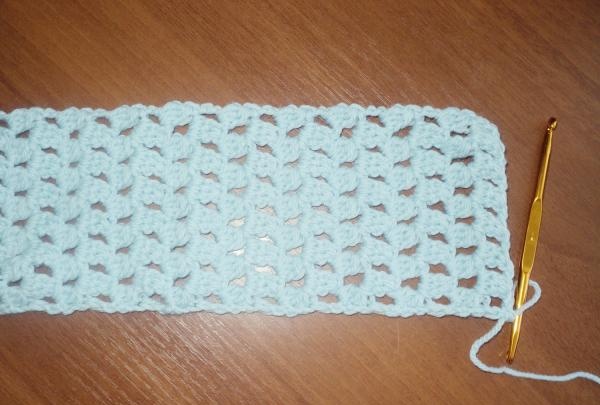
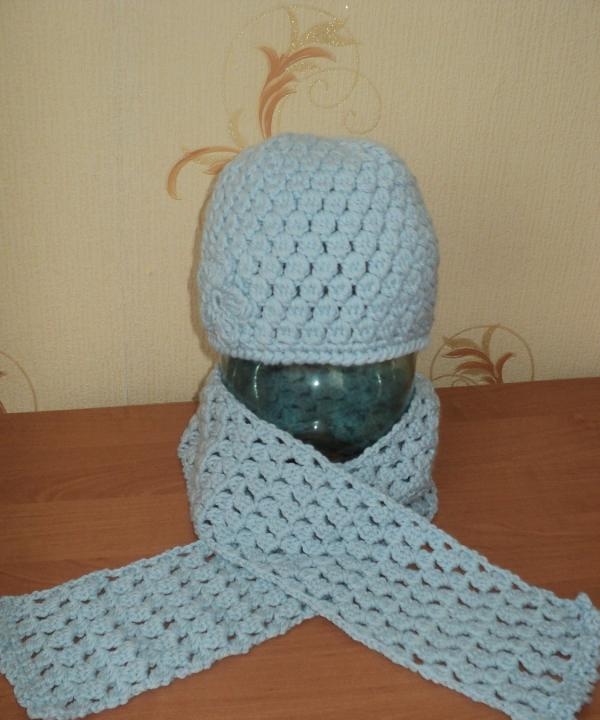
Description of the openwork scarf (we work in one thread!).
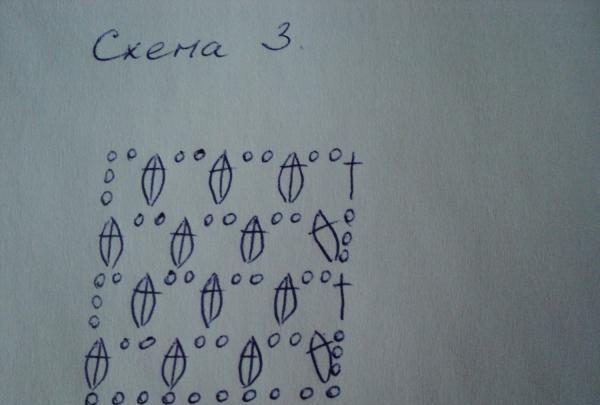
We knit it with “bumps” of three double stitches (pattern 3), first to the required width (I cast on 19 chain stitches), and then to the required length. In my case, the scarf turned out to be 12 cm wide and 170 cm long. We tie the edges of the scarf in a picot row. We cut and hide the ends of the thread. The work is done.

Crochet set - hat and scarf


Moisten the finished kit and let it dry.
come back
Comment
  • bowtiesmilelaughingblushsmileyrelaxed relaxedsmirk
    heart_eyeskissing_heartkissing_closed_eyesflushedrelievedsatisfiedgrin
    winkstuck_out_tongue_winking_eyestuck_out_tongue_closed_eyesgrinningkissingstuck_out_tonguesleeping
    worriedfrowninganguishedopen_mouthgrimacingconfusedhushed
    expressionlessunamusedsweat_smilesweatdisappointed_relievedwearypassive
    disappointedconfoundedfearfulcold_sweatperseverecrysob
    joyastonishedscreamtired_faceangryragetriumph
    sleepyyummasksunglassesdizzy_faceimpsmiling_imp
    neutral_faceno_mouthinnocent
3+three=
Comments (0)

Let's make a cute monkey | Do it yourself

New Year card | Do it yourself

Wood crafts | Page 5 | Do it yourself

Cotton candy making machine | Do it yourself

«Do it yourself - with your own hands» - a site of interesting homemade products made from scrap materials and items at home. Step-by-step master classes with photos and descriptions, technologies, life hacks - everything a real master or just a craftsman needs for needlework. Crafts of any complexity, a large selection of directions and ideas for creativity.

We recommend reading

Washing machine error codes