Will need
To make it you will need the following materials and products:
- steel and plastic tubes;
- bolts, screws, nuts, washers and threaded rivets;
- closed type bearings;
- aluminum sheet and unequal angle;
- 775 series 12 Volt engine, can be purchased on AliExpress -
- switch and plug for power;
- abrasive tape;
- extension spring;
- multilayer plywood and support legs.
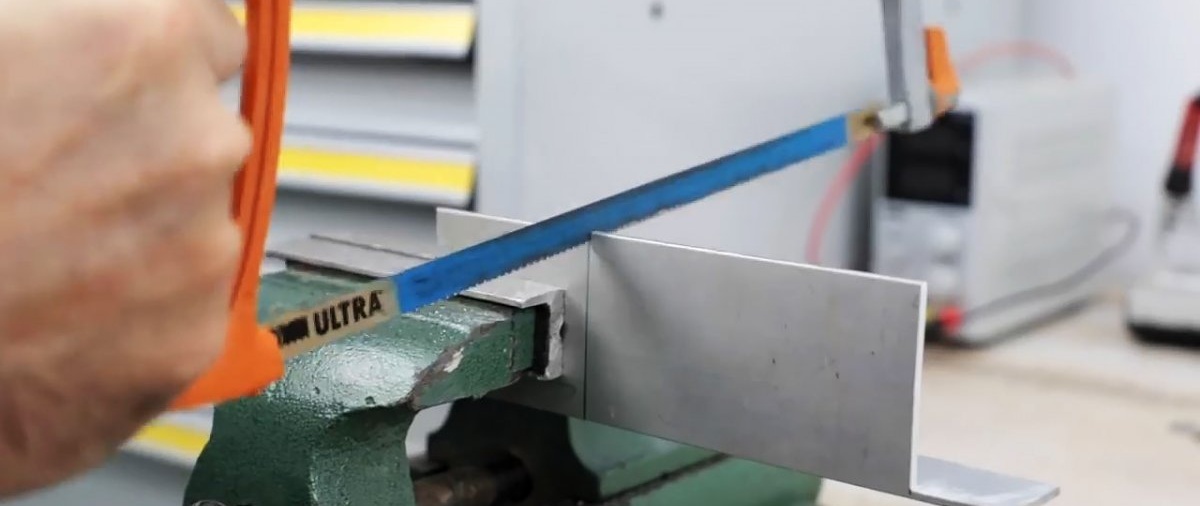
We cannot do without a drill with a set of drills, a hacksaw for metal, a drilling machine, a scraper for stripping pipes, a vice and clamp, a soldering iron, a riveter, etc.
The process of making a mini-grinder
Let's start with the roller axes. We cut 50 mm fragments from the steel tube. We chamfer, countersink and drill out a hole for threading with a tap on both sides.


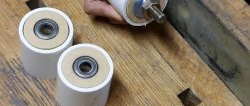
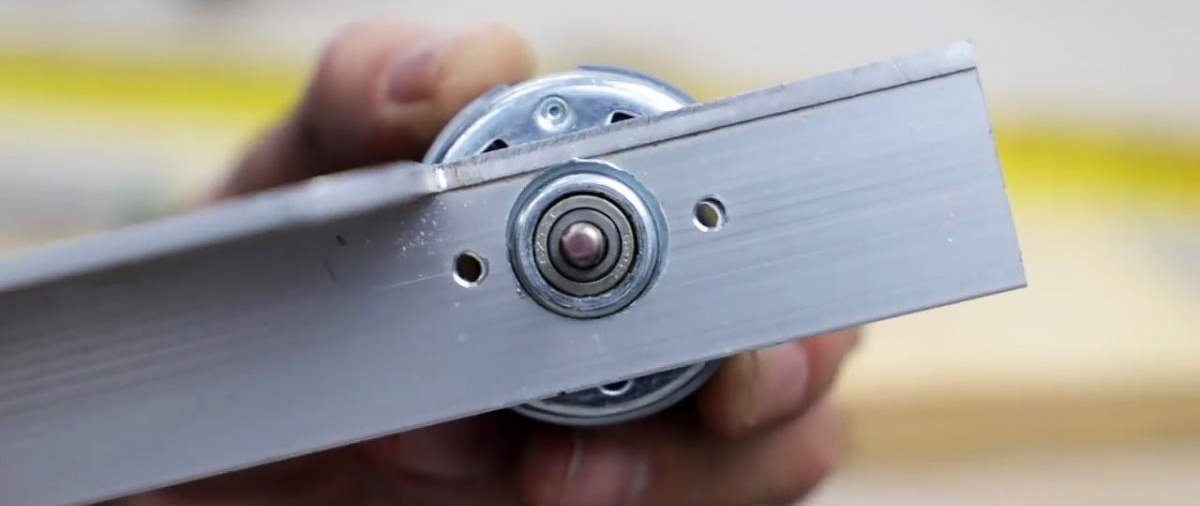
We cut 35 mm from the plastic pipe. We process the edges with a crescent knife and sandpaper. We press two closed bearings into them.

We assemble the roller by inserting the axle into the bearing holes.We put washers on its ends with a diameter larger than that of the plastic tube, and secure them with screws, screwing them into the thread of the axle.
We cut washers for the rollers from an aluminum sheet using a core drill on a drilling machine. We process them by removing burrs and chamfering.


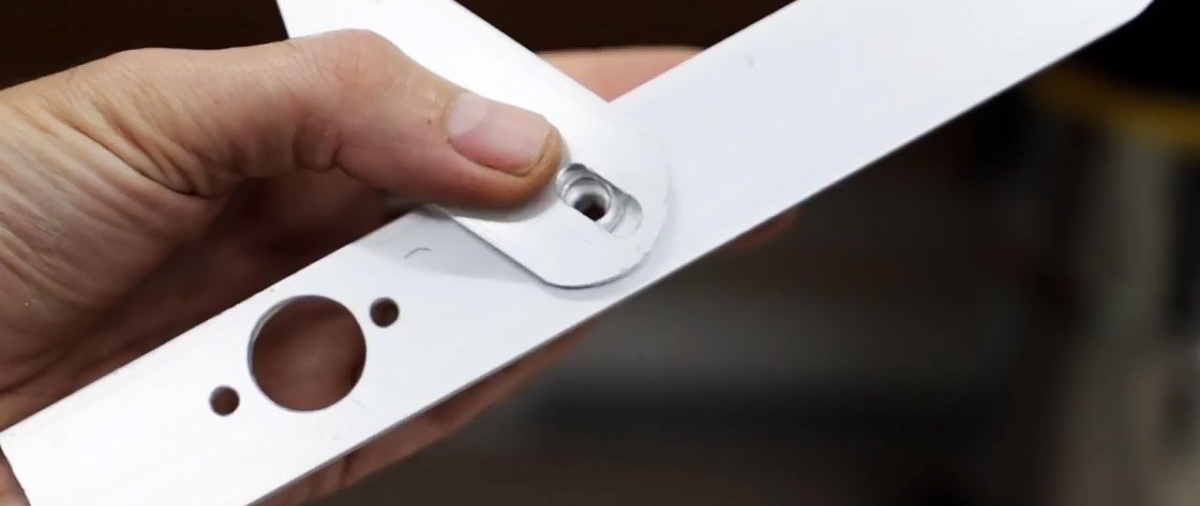
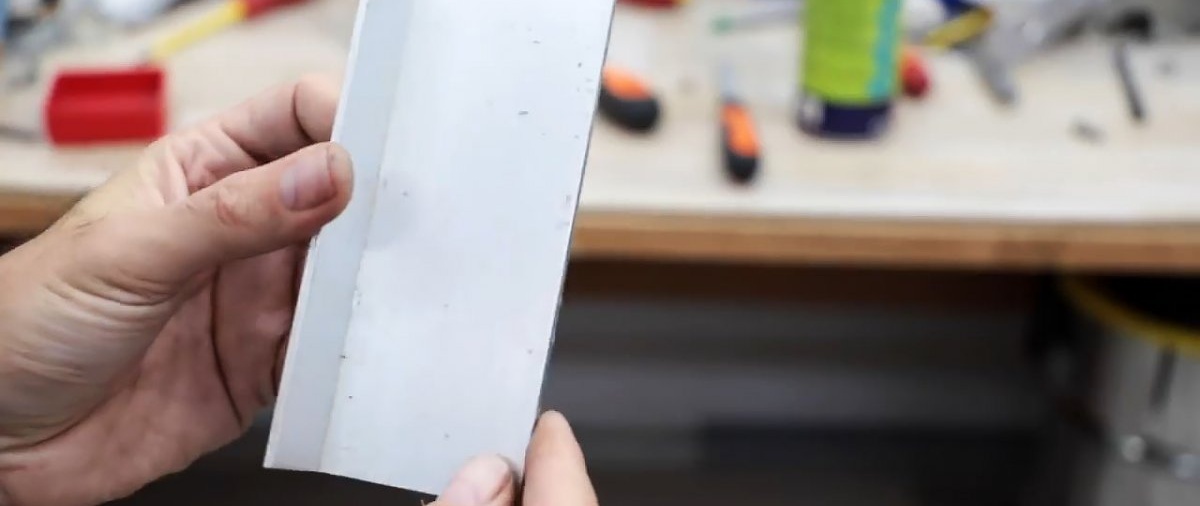
We make a stand from an unequal-armed aluminum corner. To do this, we cut a large shelf on both sides to different lengths. We round the corners and treat the surfaces with polish applied to a piece of fabric.

On the smaller shelf of the rack we mark the installation location of the roller, on the larger one - the electric motor. Using a step drill, we make a hole for the protrusion of its body, and next to it, using a regular drill, we make two small ones for fastening.

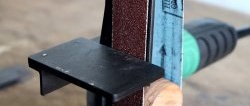
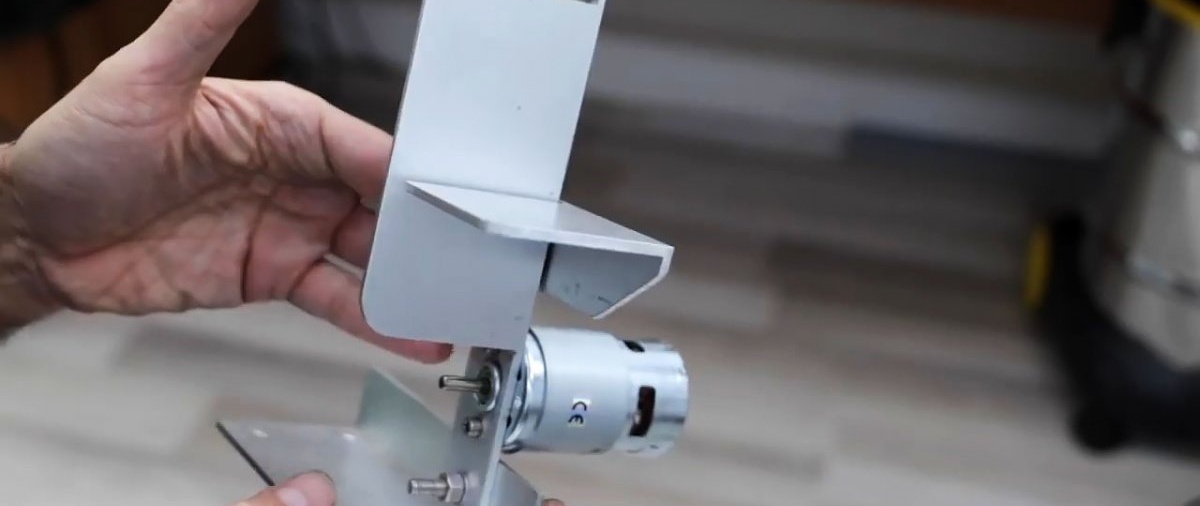
From the same corner we make a working platform for installing workpieces. We bevel the smaller shelf on one side and round it on the other. We mark the outline of the hole, which is oblong in the longitudinal direction.
On the stand to attach the desktop, we drill a hole and reinforce it with a rivet with an internal thread, using a rivet gun.

Using a drill and file, we make an elongated hole on the desktop shelf and attach it to the stand, screwing the hardware into the thread of the rivet. Mark the horizontal position of the working platform on the stand.
Drill a hole on the top of the rack along the mark to install the intermediate roller. We assemble it as we did earlier and secure it to the rack with a short screw. The roller should rotate freely on the axis.
Using the same corner, we cut out the base and fasten the stand vertically closer to one of its edges, passing a bolt through the holes in them and securing it with a nut.

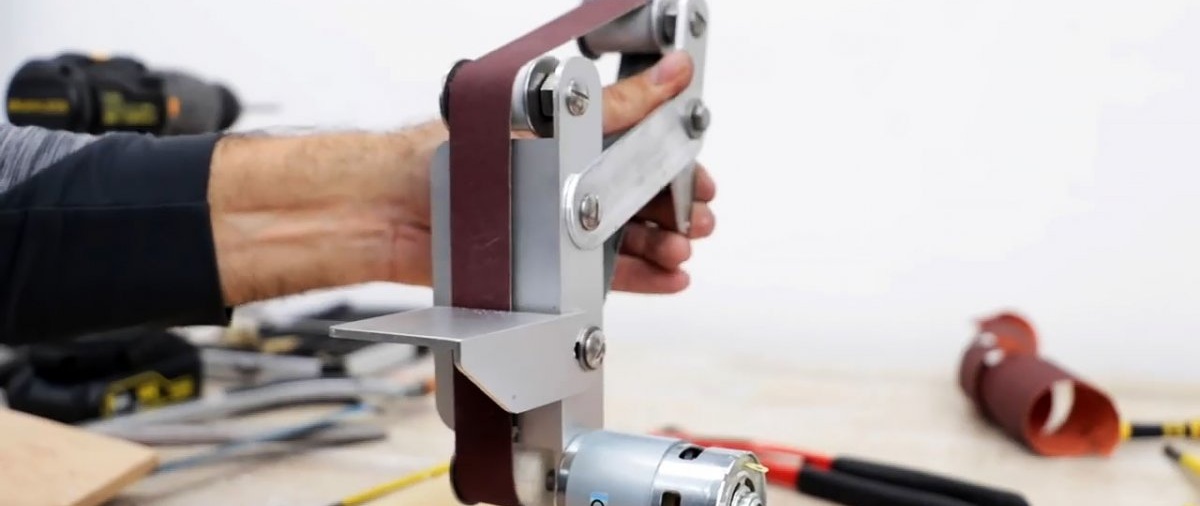
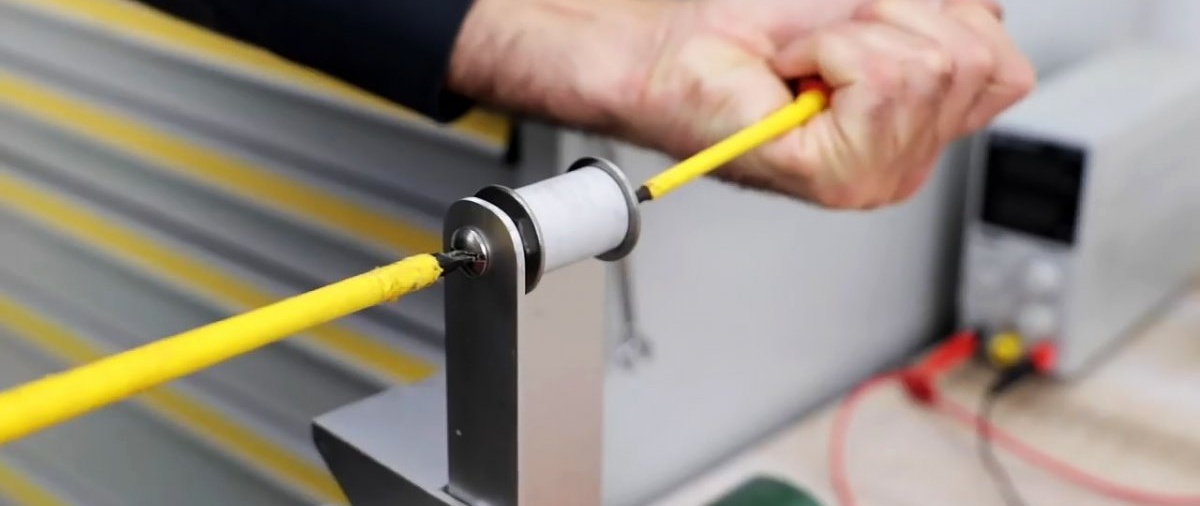
We attach the 775 engine to the rack from the outside with two bolts. We press the drive roller onto the shaft, tapping the end with a hammer until it sits in place. We apply voltage to the motor terminals to check the operation of the drive.


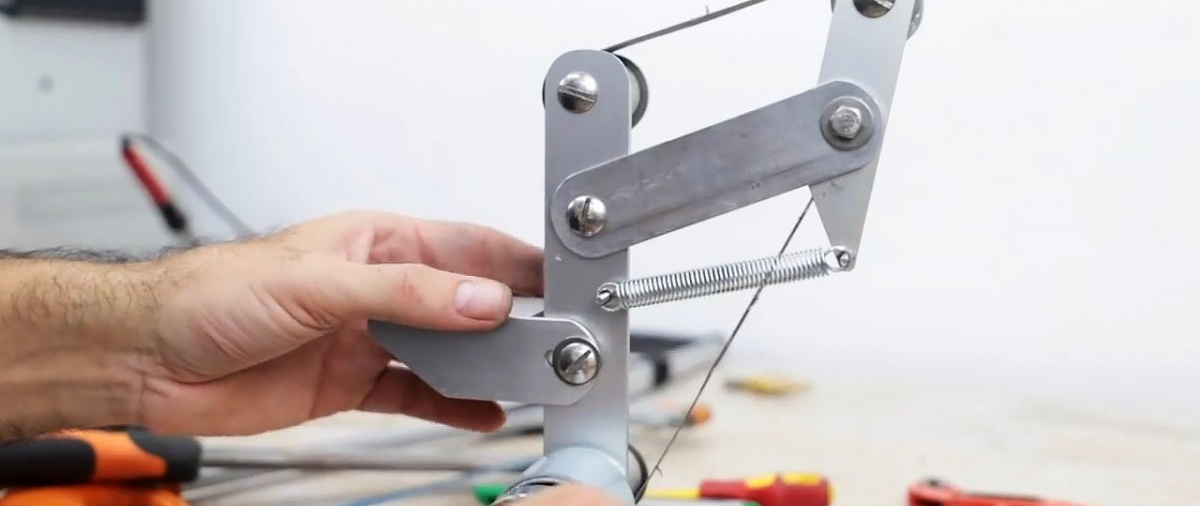
We throw an abrasive tape over the rollers and try on the bracket for the tension roller.

We fasten it with a screw to the rack in the right place.
At the end of the bracket we install the lever using a bolt and nut, using the hole in its center. We attach the tension roller to the hole at the upper end of the lever, and secure the bolts with nuts on the lower end and on the rack. We put the tension spring rings on them and, so that they do not come off, we screw on the nuts and washers.


We fix the resulting structure on rectangular multilayer plywood with four screws through the holes in the corners of the base of the stand.

Next to the engine, on the side of the base, we attach a bracket with a large and small hole, respectively, for mounting the switch and the 12 V power plug.
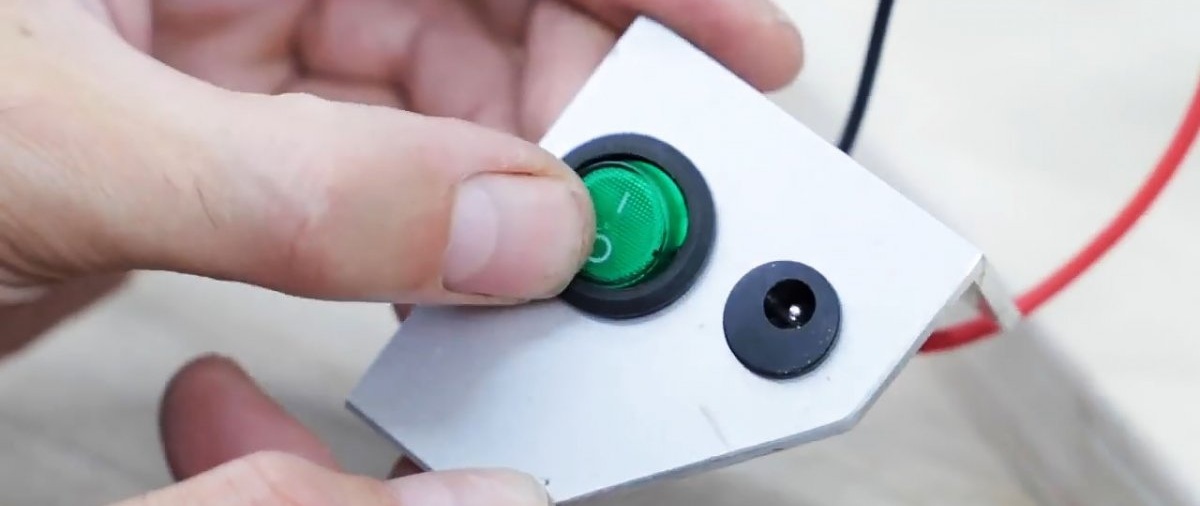
Solder the wires to the terminals of the motor, switch and power plug. We apply voltage through the switch and make sure that the engine is running and turning the drive roller.
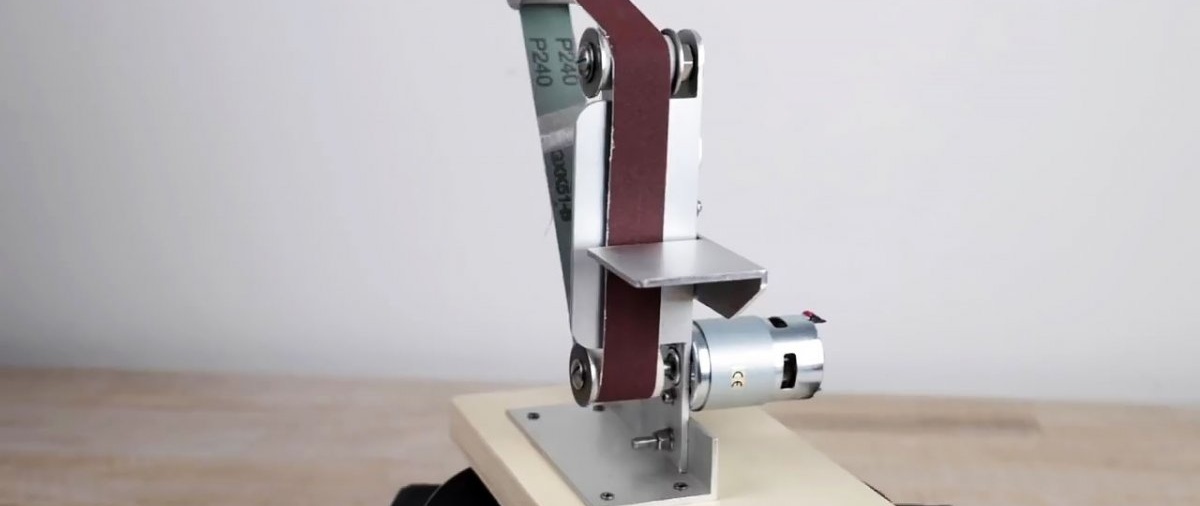

We put an abrasive belt on the rollers, slightly moving the pressure roller towards the other two, then lower it, and under the action of a spring it provides the required tension. We screw support legs to the bottom of the plywood rectangle in the four corners.
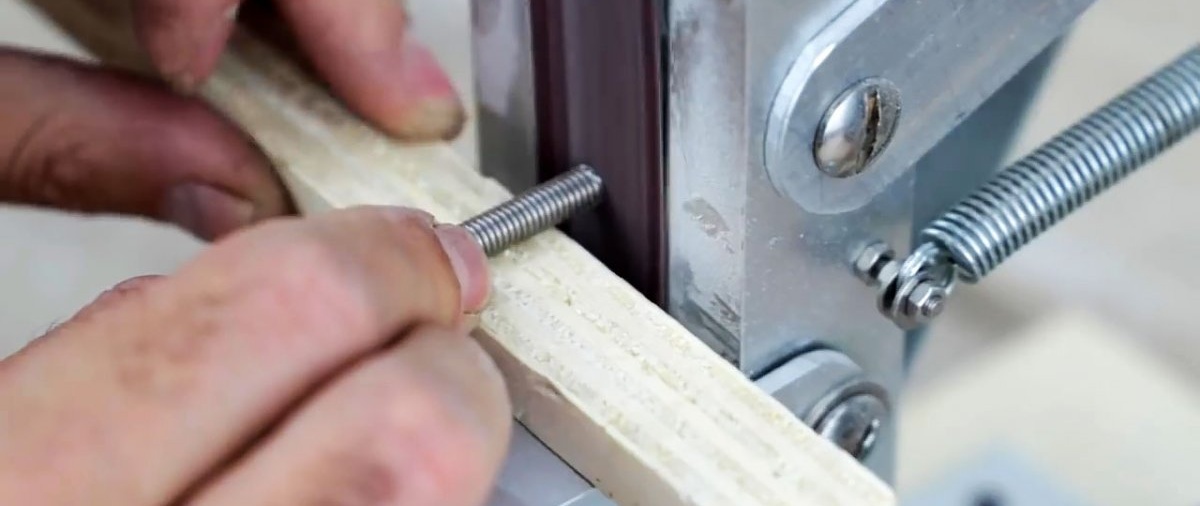
This mini grinder can be used to process wooden and metal workpieces in a horizontal and inclined position. To do this, just install and secure the desktop at the desired angle.