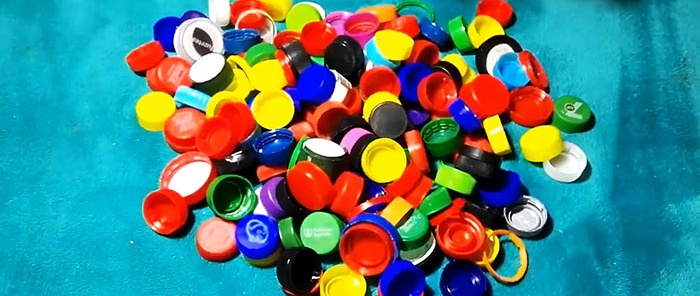
Caps from plastic bottles are often collected for crafts. But, if for some reason they could not be used, then you can make dishes from them, for example, a cup.
Will need
We will need simple and affordable materials, tools and devices:
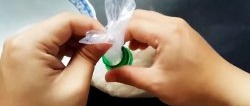
- plastic bottle caps;
- gloves to protect hands;
- respiratory protection mask;
- gas stove and deep frying pan;
- two identical metal cups;
- wooden stirrer and beam;
- trowel, knife, sandpaper, etc.
It is better to melt plastic outdoors or in a room with effective ventilation, as this releases gases harmful to human health.
Cup making process
To avoid injuring your hands on the sharp edges of the lids, put on gloves and place the raw materials in the frying pan. We use a protective mask and place the dishes with caps on the gas stove.

We keep the contents of the frying pan on the fire for about 7 minutes, then use a wooden stirrer to mix the raw materials, trying to move the lids that have not yet melted to the bottom of the frying pan.
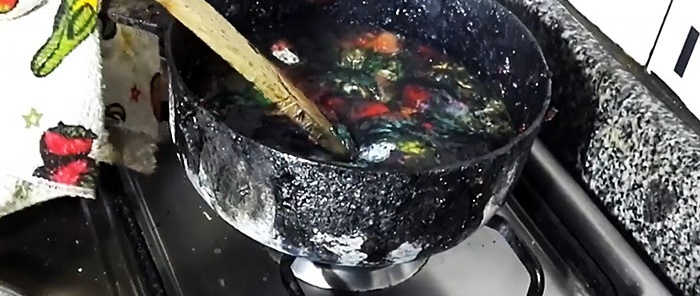
After 14 minutes, mix the melting mass again, which after 20 minutes should completely melt.But we still, for the third time, without turning off the fire, boil the melt so that there are no solid fragments left in its thickness, and the mass becomes homogeneous.
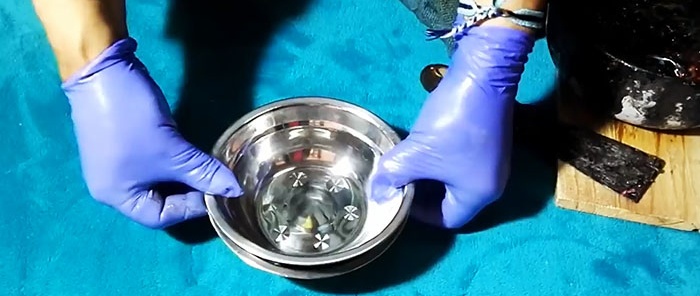
Lubricate the metal cups with vegetable oil: one from the inside (matrix), the other from the outside (punch). We do the same with the working part of the trowel. This is necessary so that the molten plastic does not stick to the metal.

We spread the contents of the frying pan into the matrix with a trowel, lightly smooth it and compact it with the end of the tool handle.

Place a punch in the cup with the plastic melt on top and press it evenly around the perimeter against the matrix.
Then we rest the wooden beam against the bottom of the punch, press it in with force, rocking it from side to side. If molding proceeds correctly, the melt will be squeezed out evenly from the gap between the cups around the perimeter.
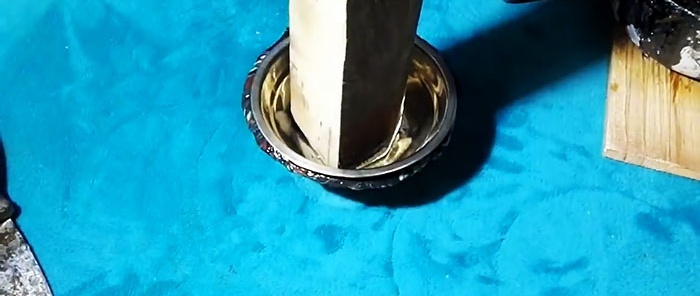
Holding the beam in the punch, we use a knife blade to cut the plastic that has not yet fully set in a circle. Then we keep the plastic between the cups for another 10 minutes until the mass has completely hardened.
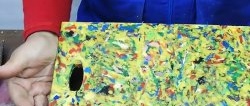
Then we remove the beam and punch. We take out the plastic product from the matrix. Since the lids used were different colors, our cup turned out to be colorful, but this does not spoil it, but, on the contrary, makes it original.

To give the product a finished look, place it back into one of the metal cups and sand around the perimeter with sandpaper until the edge is flush with the template and smooth.

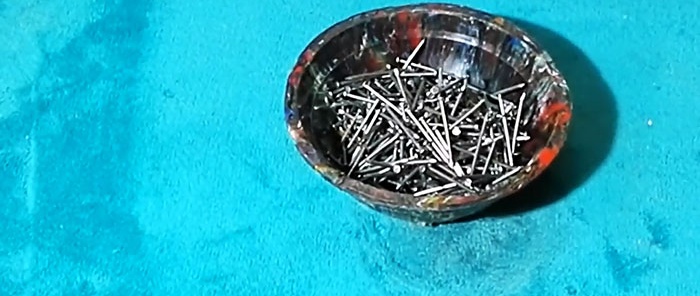
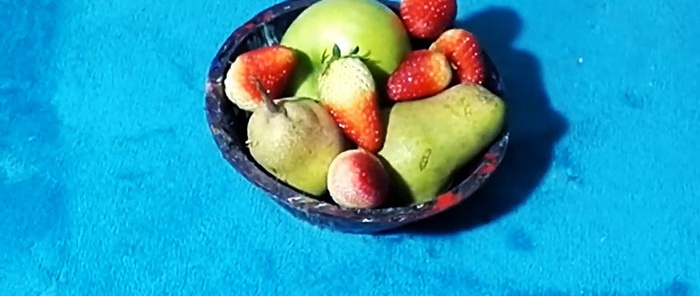
The resulting plastic container can be used to store small metal products - bolts, nuts, nails, etc. Vegetables and fruits will look completely safe and original in it.