Sharpening a knife is not a quick task and requires special attention and caution. One might even say that this is a rather tedious task. But some people treat this process very carefully and approach it with all their soul and responsibility. And, accordingly, no time is spared on this matter, bringing the blade to a razor sharpness. It’s good if you only have a couple of knives in the kitchen. What if it's a set? Some sets are very spacious, numbering about a dozen blades: for bread, for butter, for peeling vegetables, for meat, large and small, narrow and wide, thick and thin. You can spend a lot of time putting all these kitchen utensils in order. Of course, you can take all this to the nearest shop that specializes in sharpening knives, chains, hacksaws, and the like. Well, or sharpen it with emery, if you have it. Or you can make a small device for quick sharpening yourself, which will easily fit on a table shelf or a cabinet in the kitchen, and will always be at home, at hand!
There is nothing complicated in this matter. The design is the most primitive - a body, a motor, and a start button.
Will need
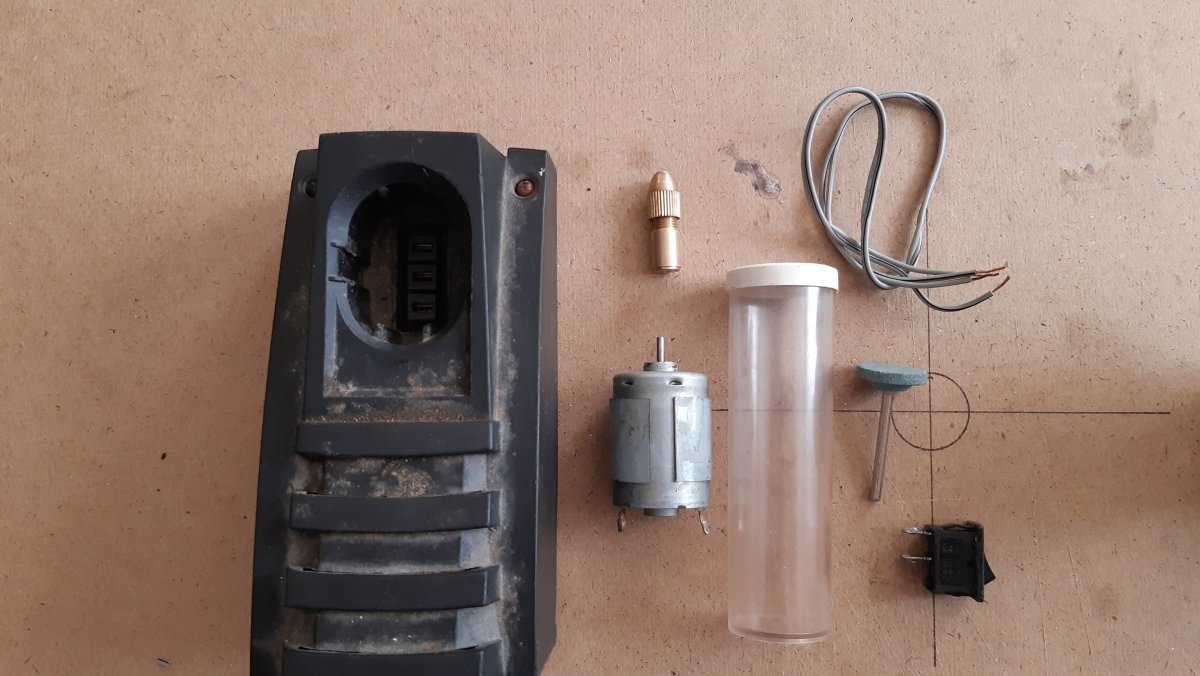
- An unnecessary 12 volt charger from a screwdriver (or other device).
- 12 volt motor (also better from a screwdriver).
- Switch.
- A small piece of two-core soft copper wire.
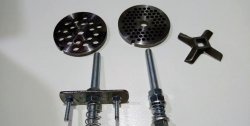
- Collet chuck suitable for the motor axis.
- Round stone for drill machine, diameter 20 mm.
- A piece of pipe into which the motor will fit with effort.
- Two small screws.
- Soldering iron, with tin and flux.
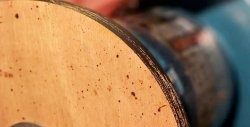
- Boring machine, with a thin cutting disc and a 2 mm drill.
- Screwdriver.
- Scissors.
- Marker or simple pencil.
- The file is flat.
- Pliers.
- Small hammer.

Making an electric sharpener
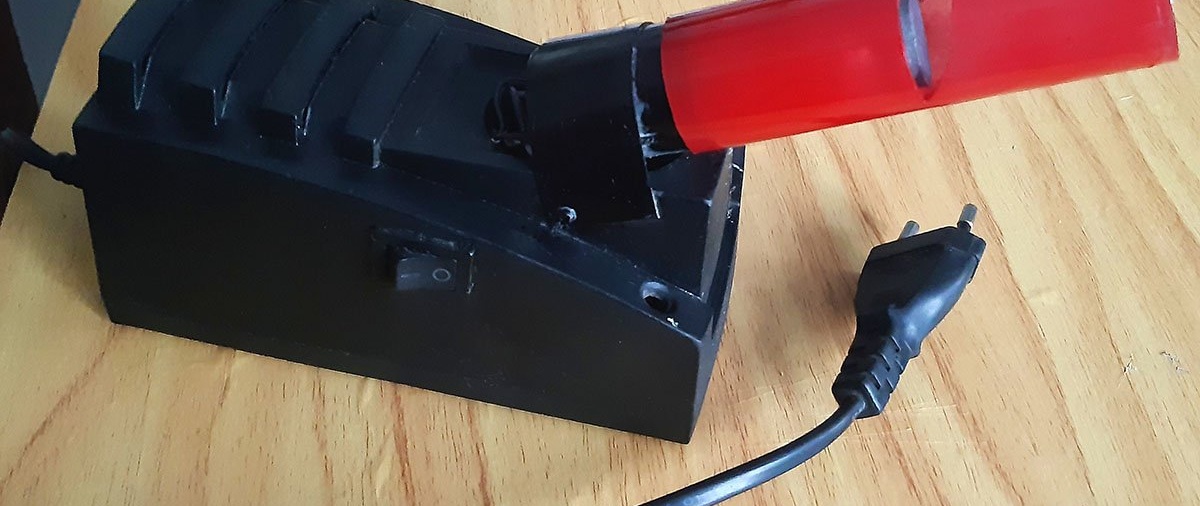
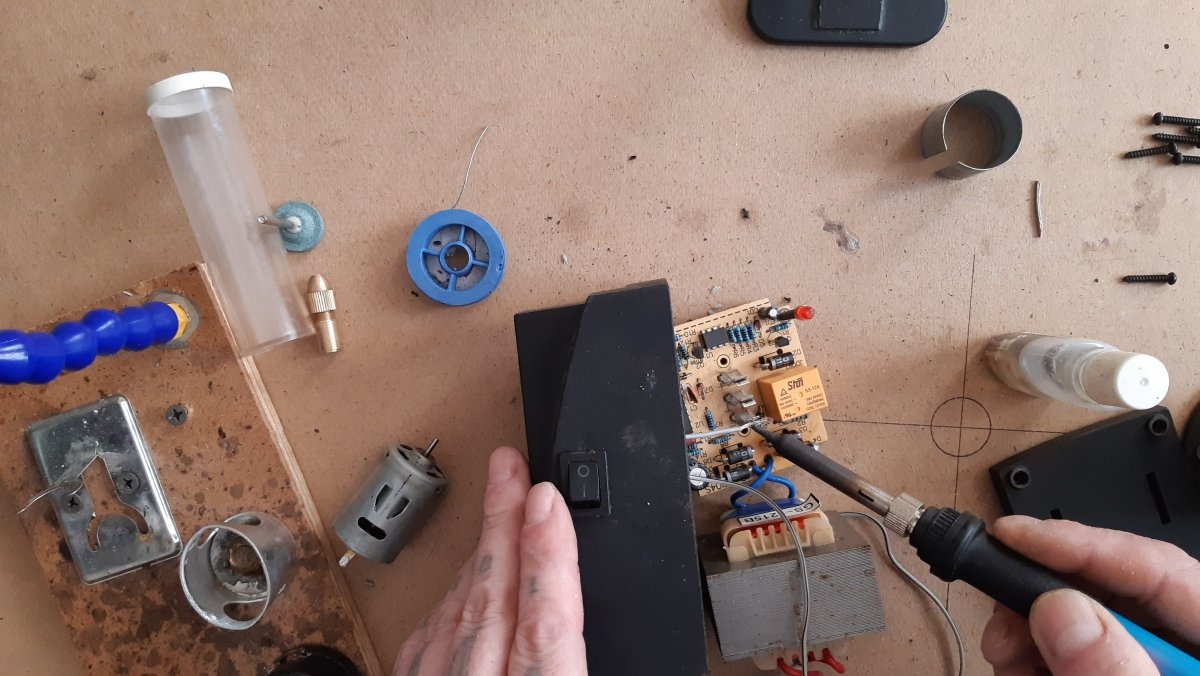
As a basis, I took a charger lying around idle from an old, long-disassembled screwdriver. If you don’t have something similar and unnecessary, you can make a case from any similar object, inside of which a 12-volt power supply will fit. So, let's disassemble the charger.

We choose a place on the case for the switch, so that its contacts inside do not touch the microcircuit or the converter itself. We mark the place with a pencil and, using a drill machine and a cutting disc, cut out the corresponding hole.

Align the edges with a file. Let's try on the switch.

Next, we cut off the copper wires to the required length, remove the braiding from the ends, tin the ends, and solder them to the switch.
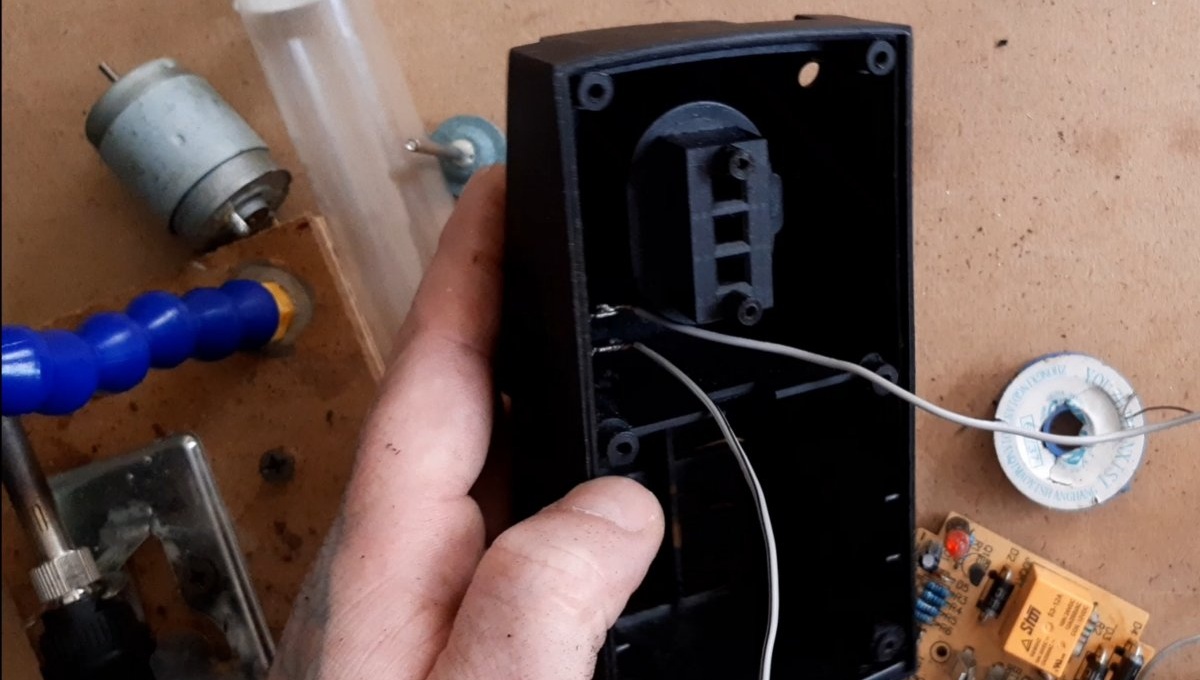
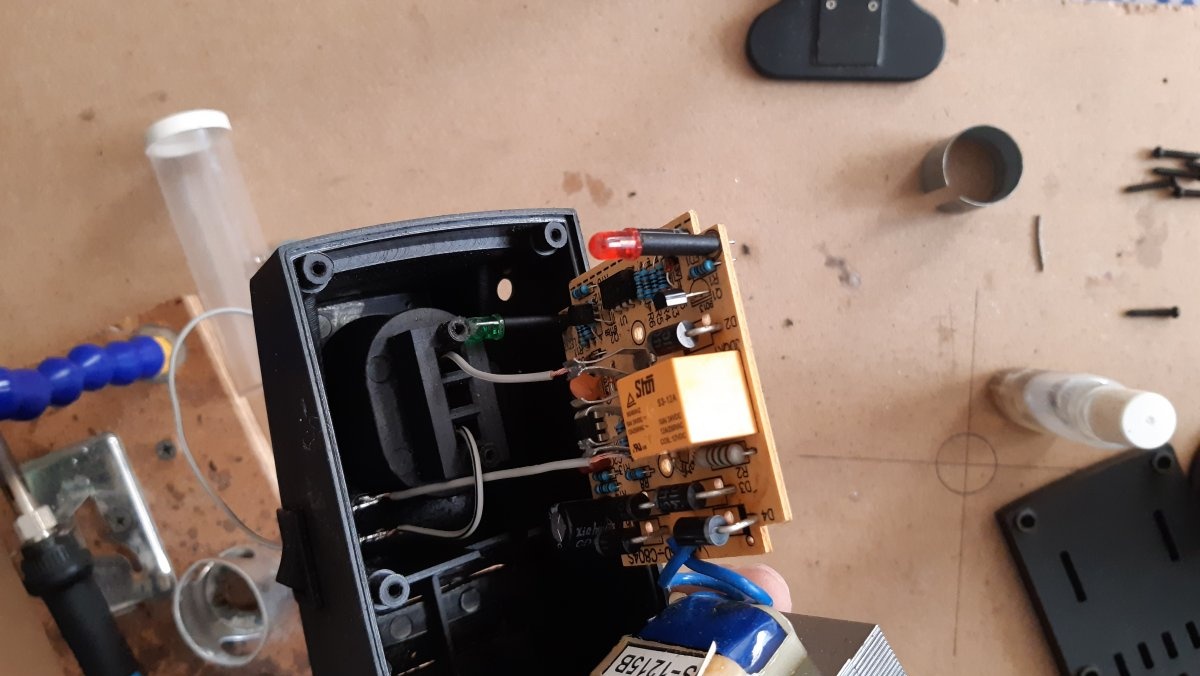
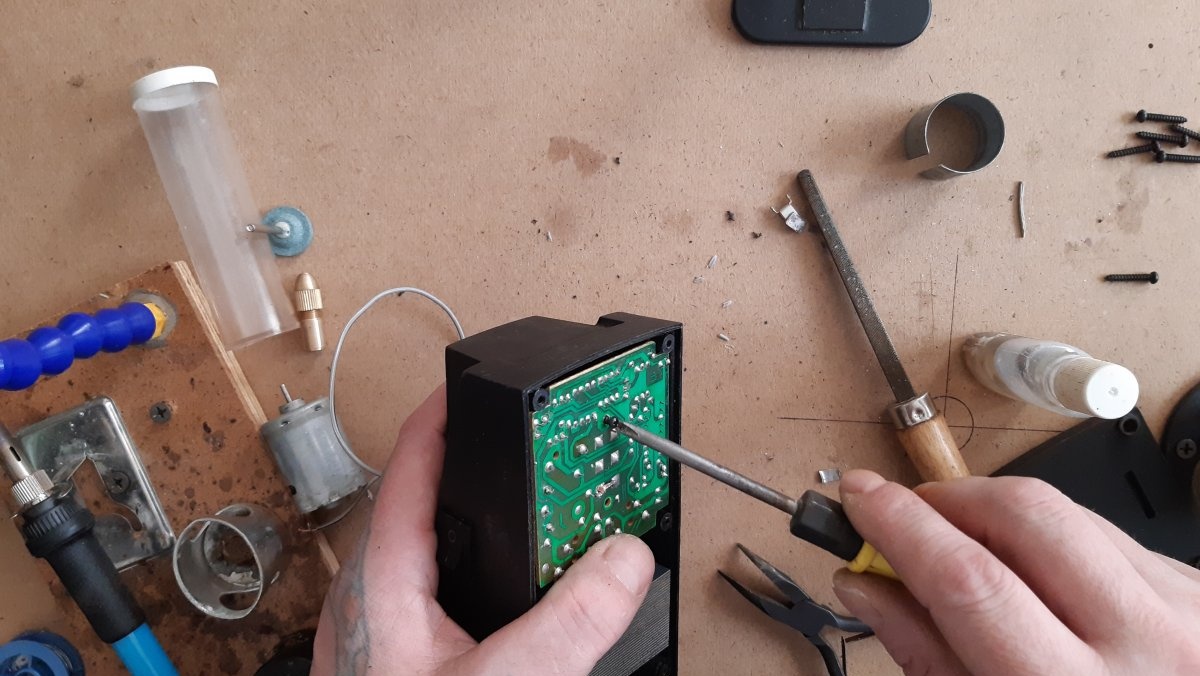
In my opinion, there is no need to bother with the pros and cons here - after all, we are not going to drill or cut anything with this sharpener. We assemble the body.
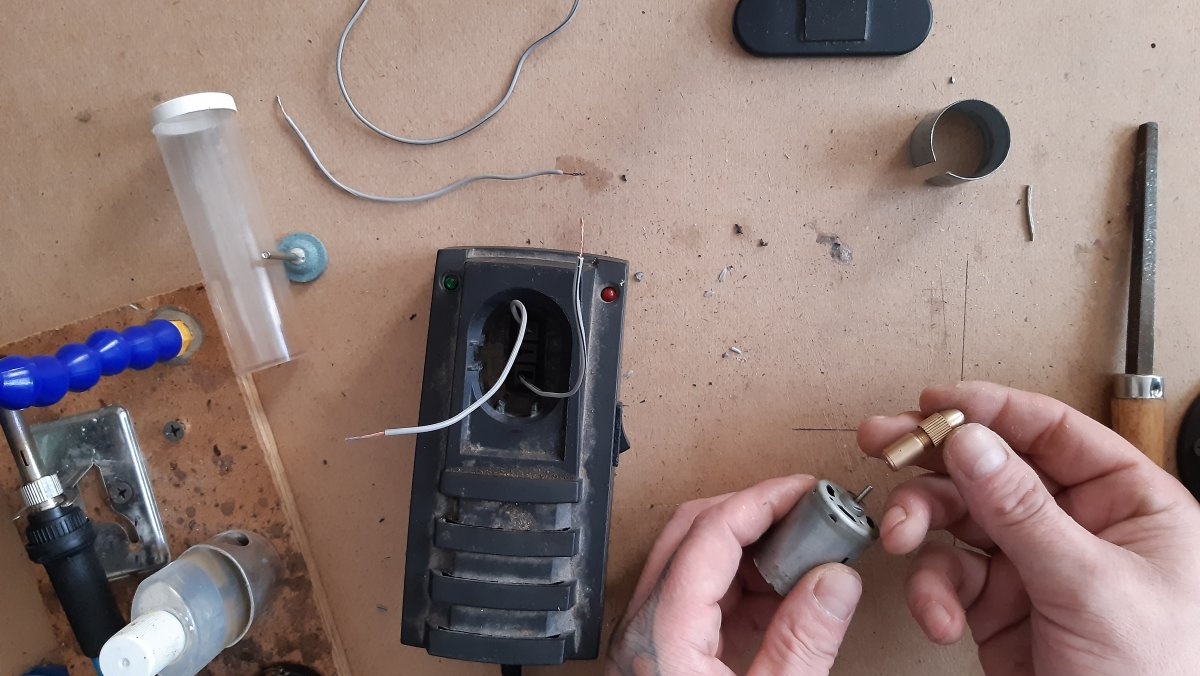
The result is a power supply with an output. Now let's move on to the motor and cartridge. Using a hammer and pliers, carefully so as not to damage the thread, we seat the cartridge on the motor axis.
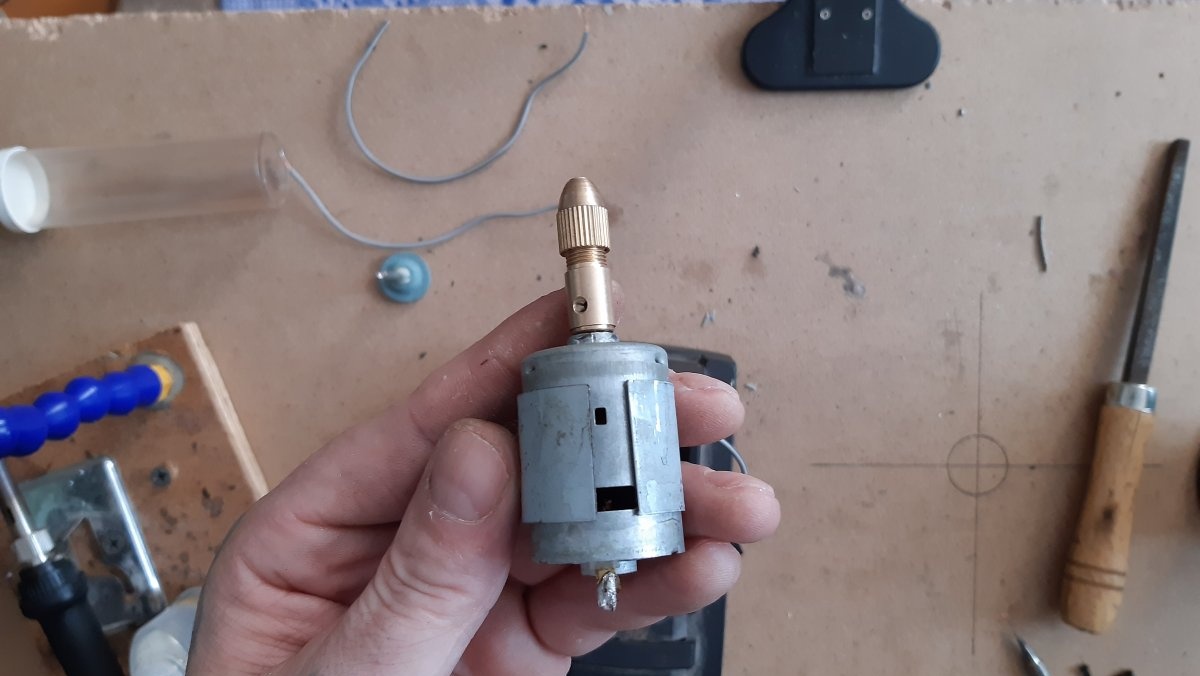
I had a motor with a metal liner, which was very useful to me in the future.

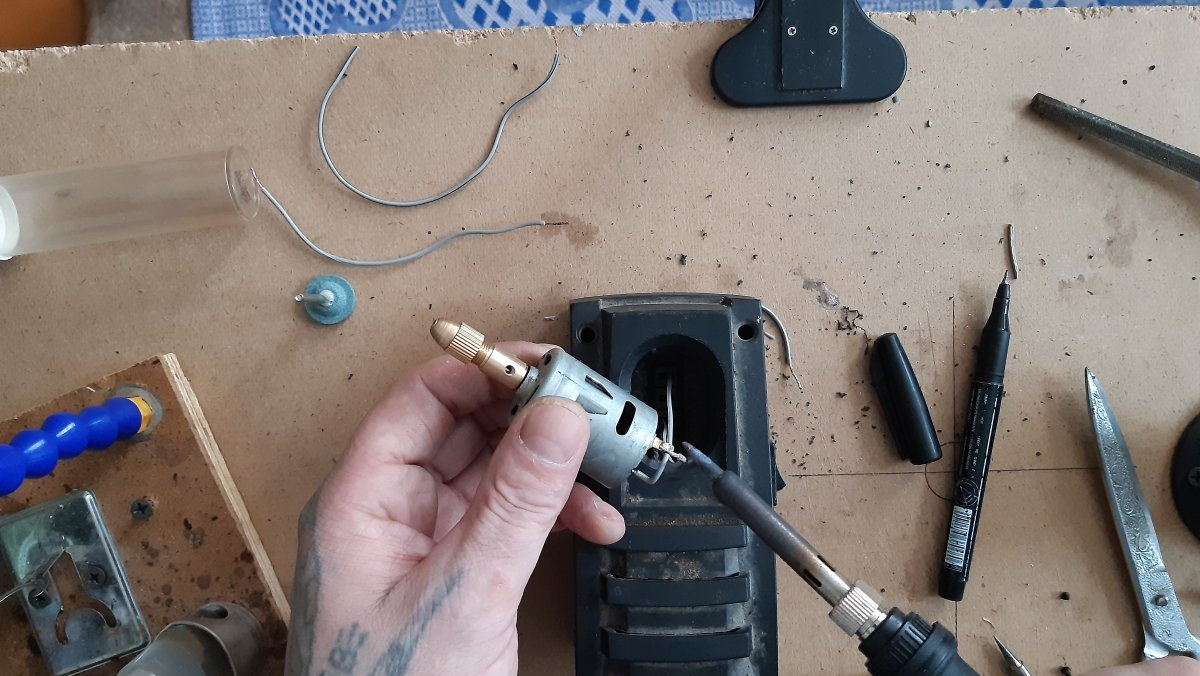
So, solder the output wires to the motor terminals.
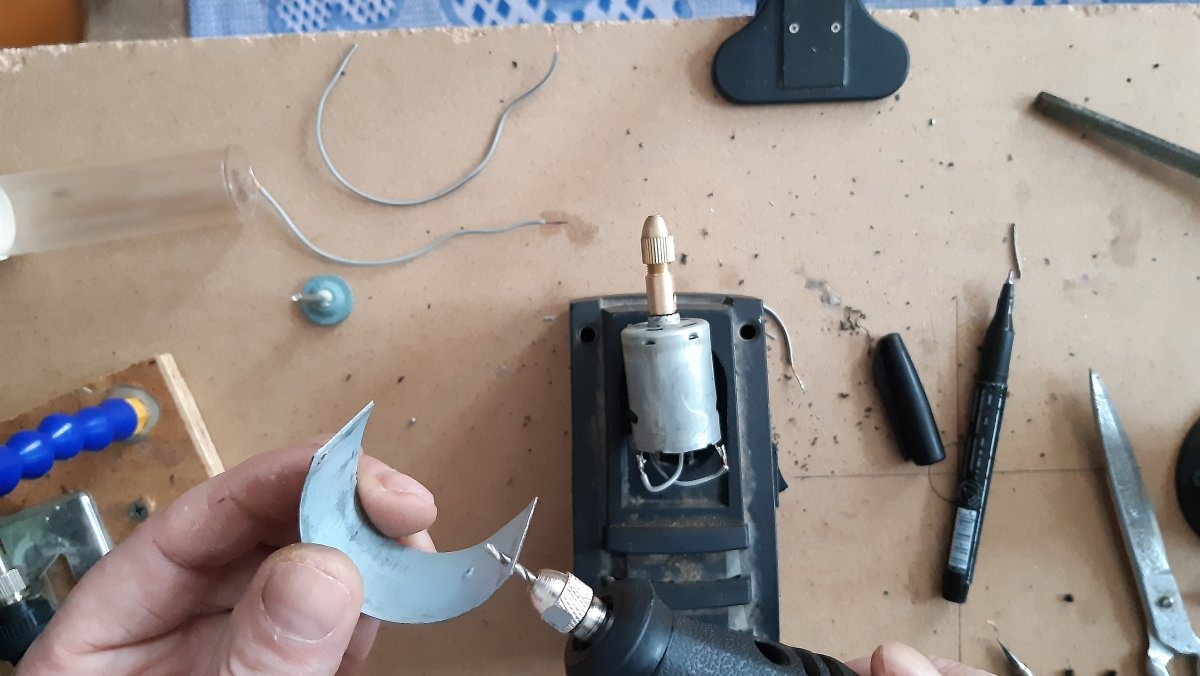
Next, we straighten the edges of that same metal liner with pliers, and drill 2 mm holes in its corners.
I used it as a clamp that will press the engine to the body. We try on the engine with the clamp to the body, mark the locations of the holes, and use the same drill to drill holes in the body according to the marks. Next, use suitable screws to secure the engine with the clamp to the body.


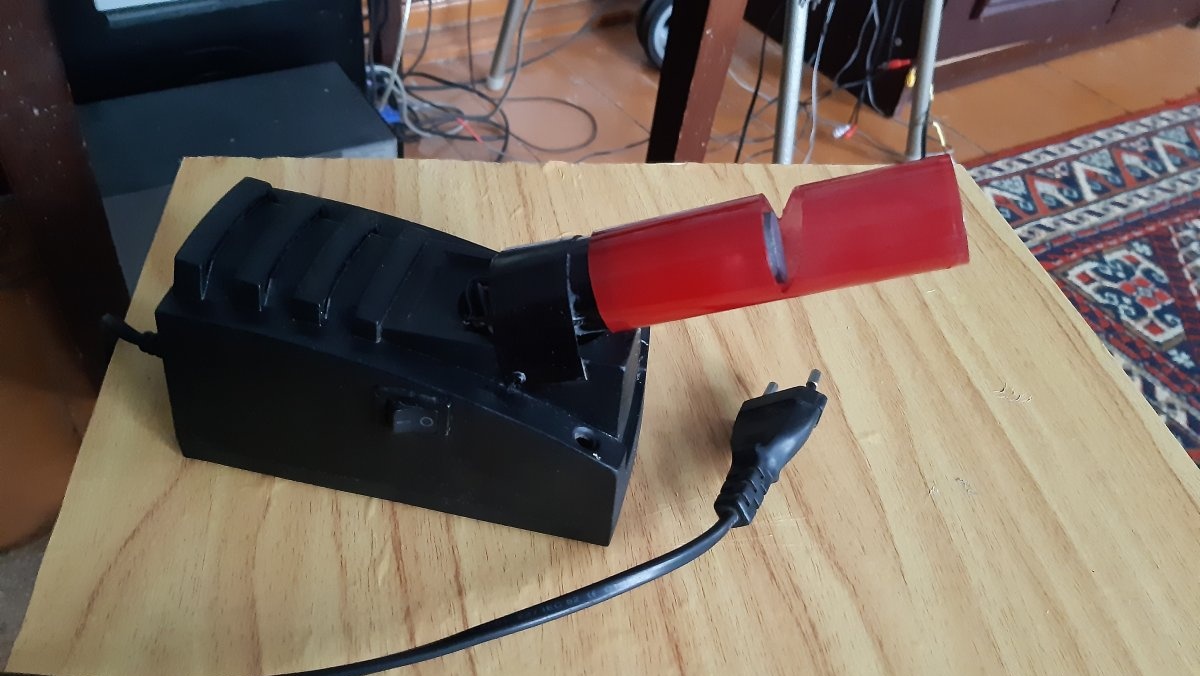
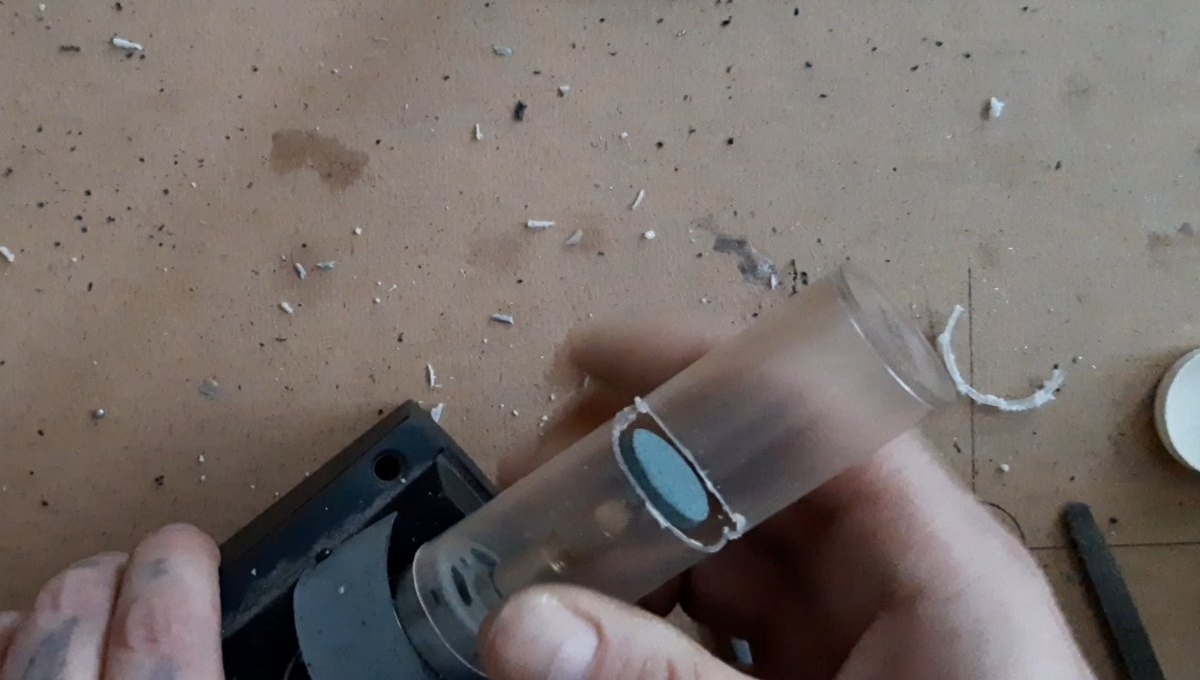
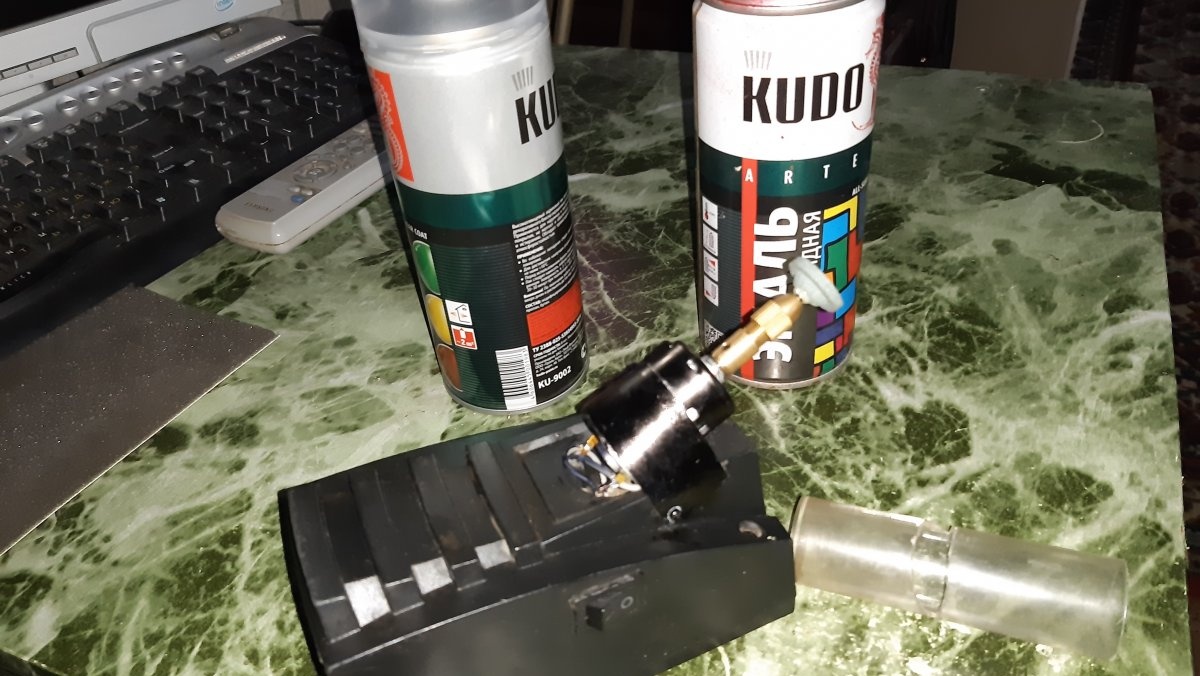
If your motor does not have such an insert, it can be easily cut out of tin. And one more thing: I attached the motor to the body at a slight angle - this is clearly visible in the photos and videos. This is for convenience during further sharpening of knives. Now you need to make a kind of protective casing against sparks and scale, which will also serve as a retainer for the blade during sharpening. For this purpose, a tube of composite glue was perfect for me; it fit on the top of the engine with good effort.
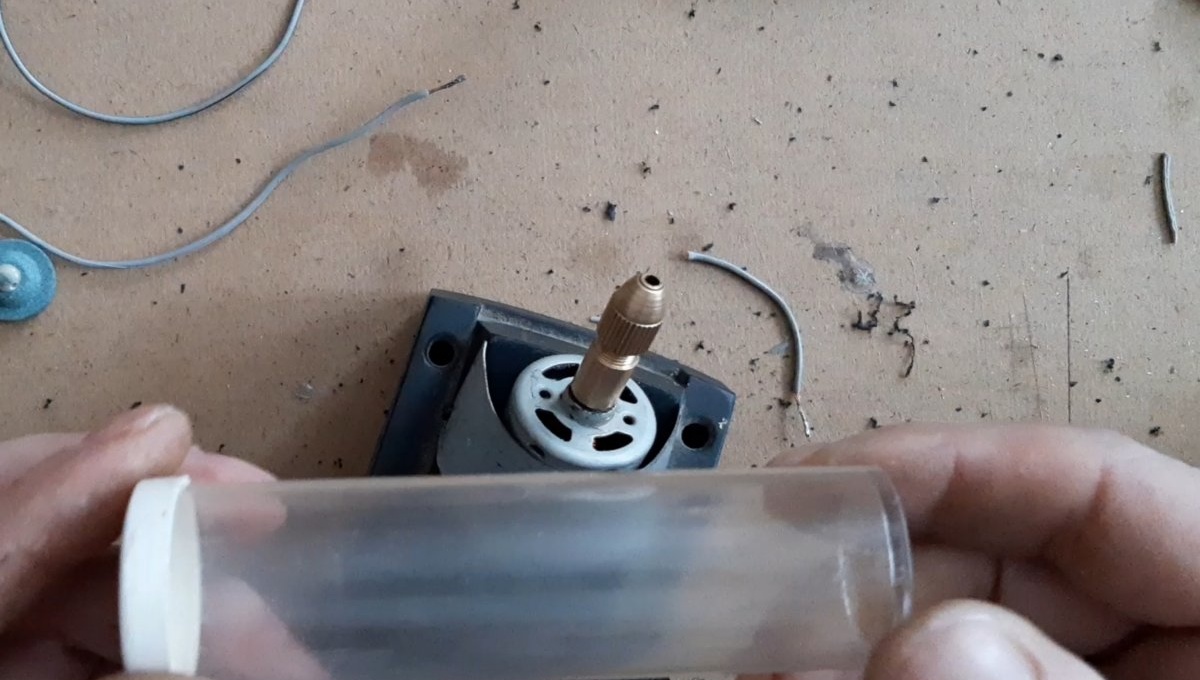
Each motor may have a different diameter, so you need to select an individually suitable tube diameter. Next, we assemble the collet chuck together, install a round flat stone in it for sharpening, and carefully tighten the whole thing with pliers. We stretch a suitable pipe onto the top of the engine, and mark with a marker the place where the whetstone ends.

Well, that's all. It is advisable, during sharpening, to place the resulting machine on some kind of rubber mat or thick fabric so that it does not rattle, since the motor has considerable speed.

You can, using a can of paint and your desire, paint the car in any color you like.
All that remains is to test the resulting homemade product. It sharpens really well, which is clearly demonstrated in the video. And most importantly, quickly - no need to waste a lot of time on the weekend!