Making an adapter: socket-socket
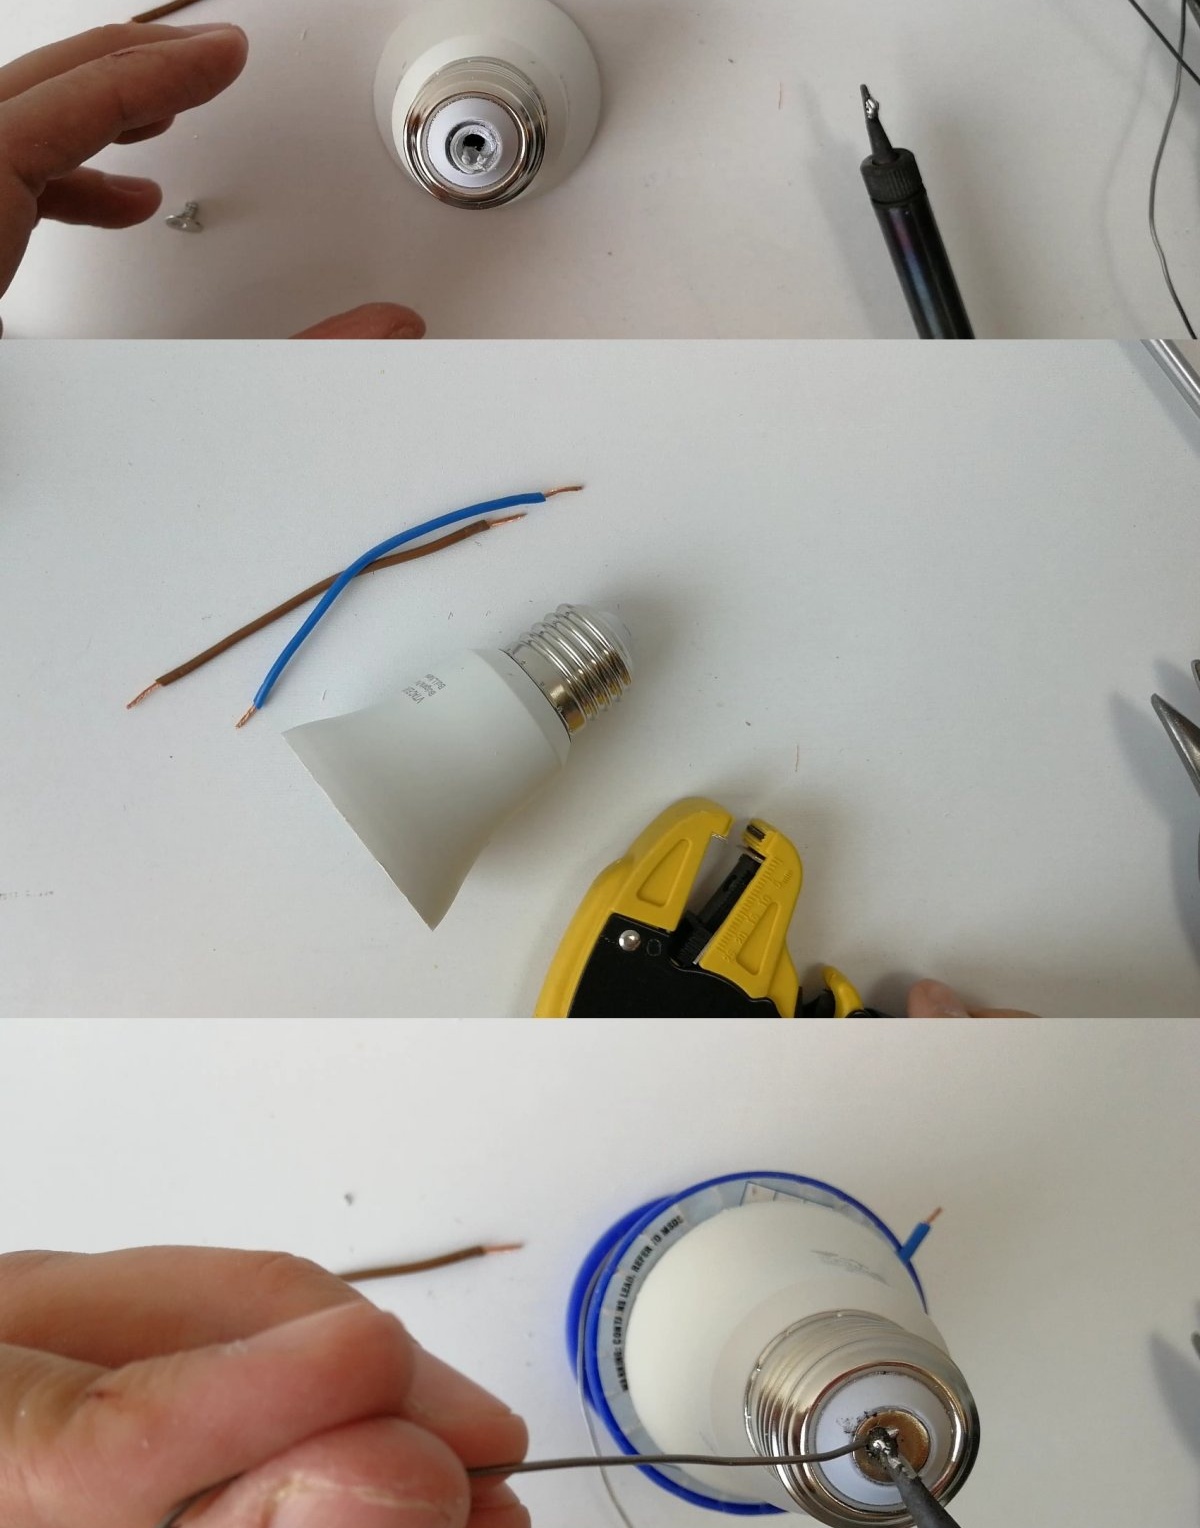
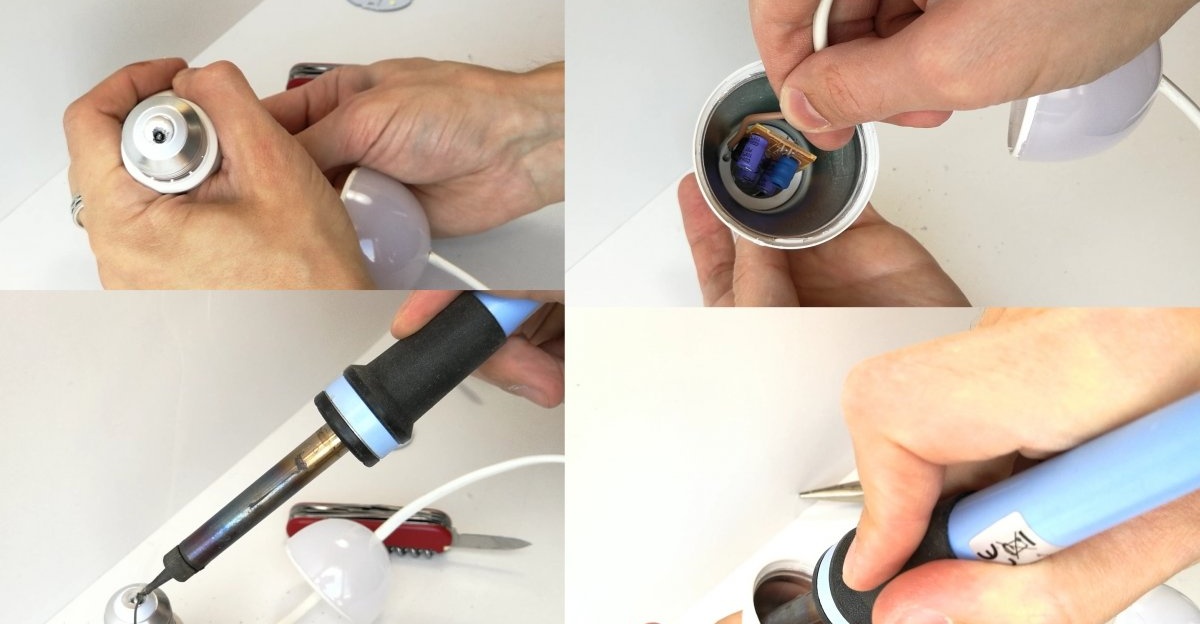
I took an LED light bulb and an old socket. The first thing I do is disassemble the light bulb.
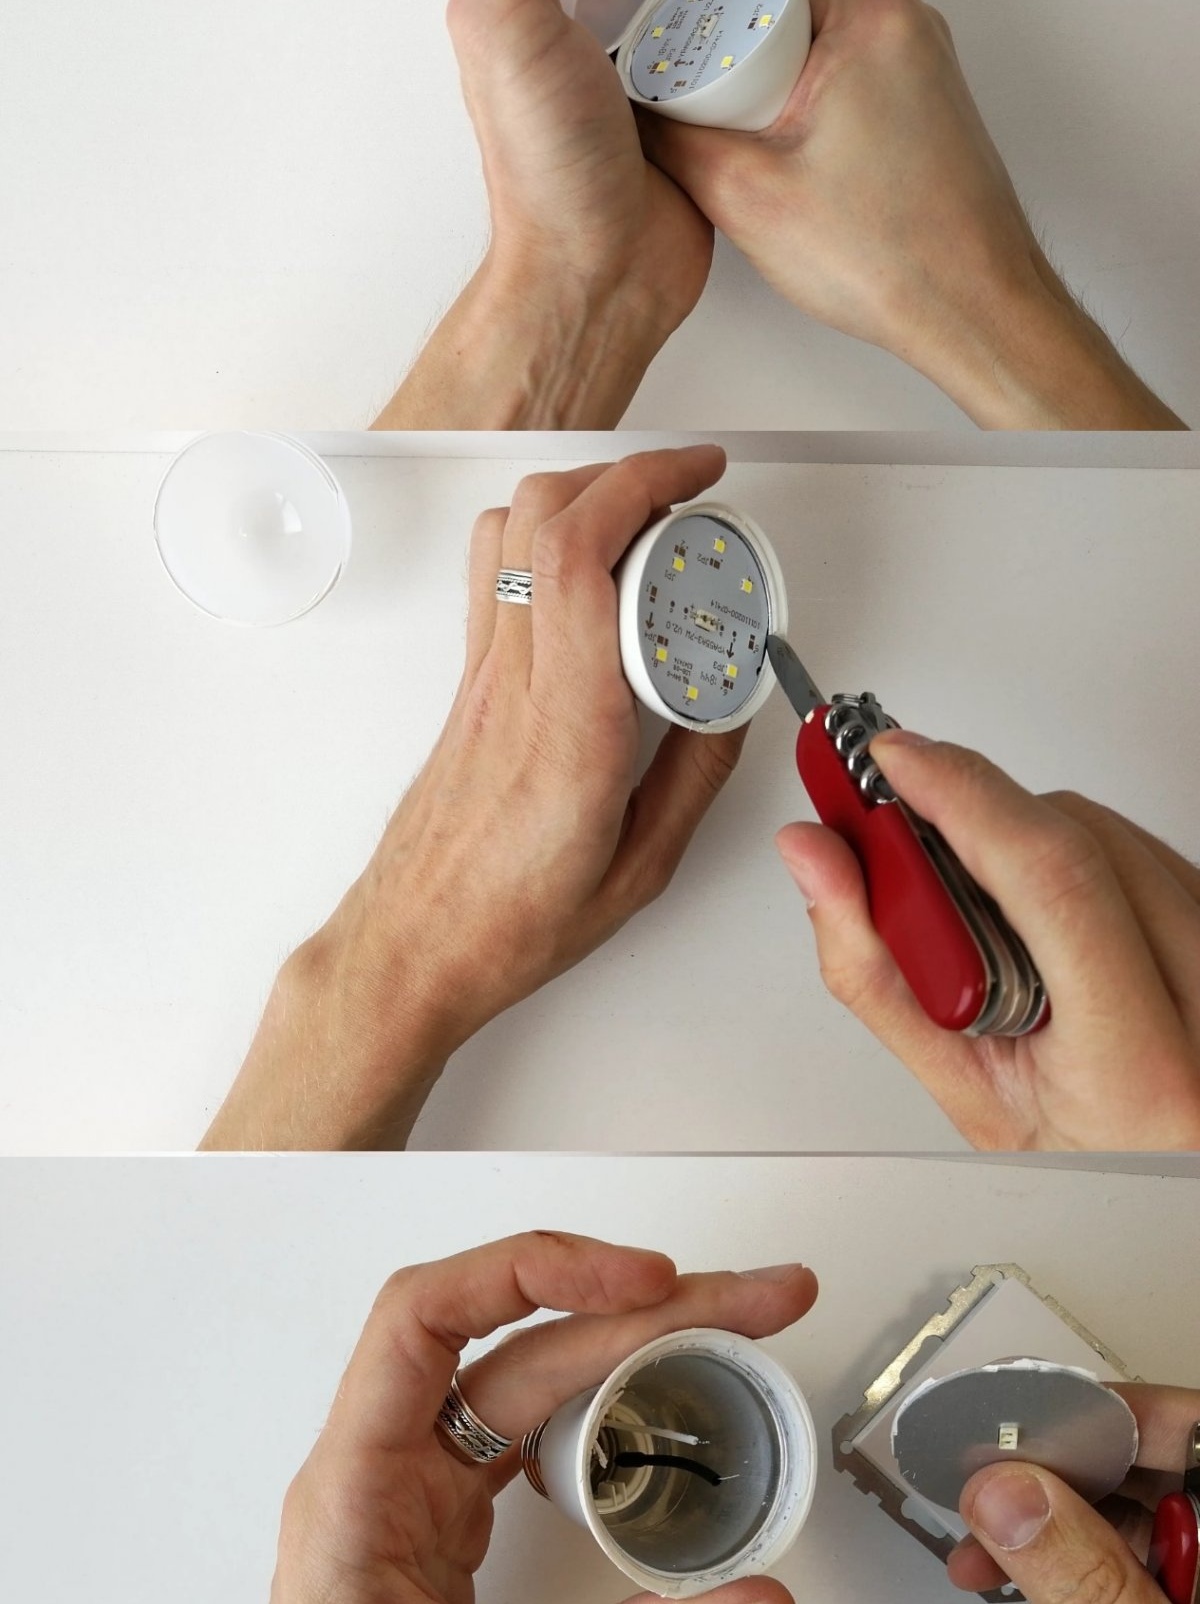
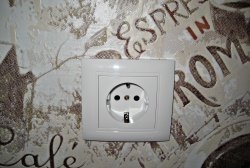
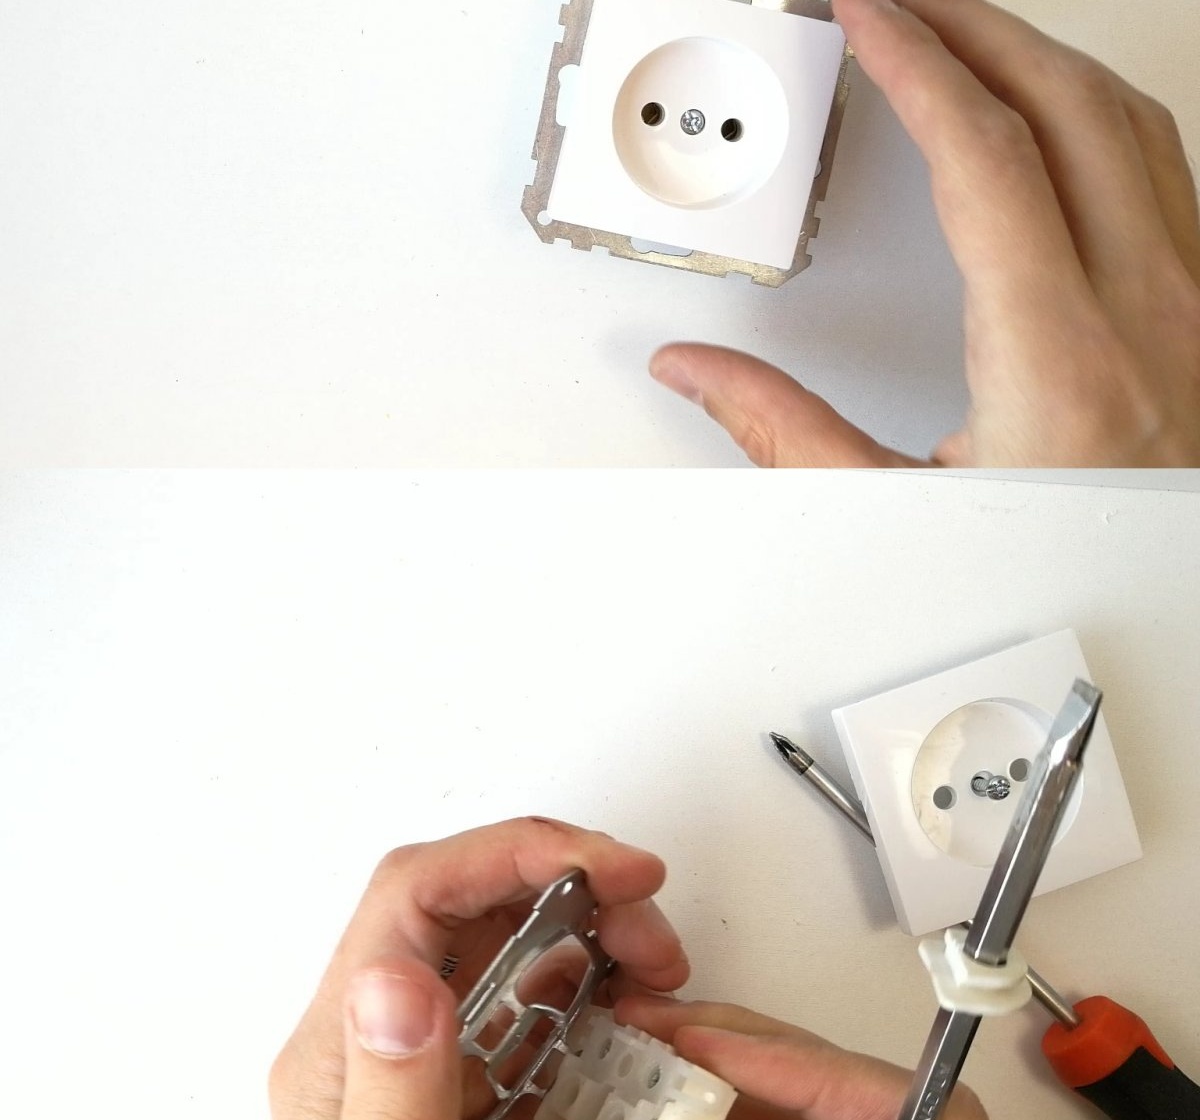
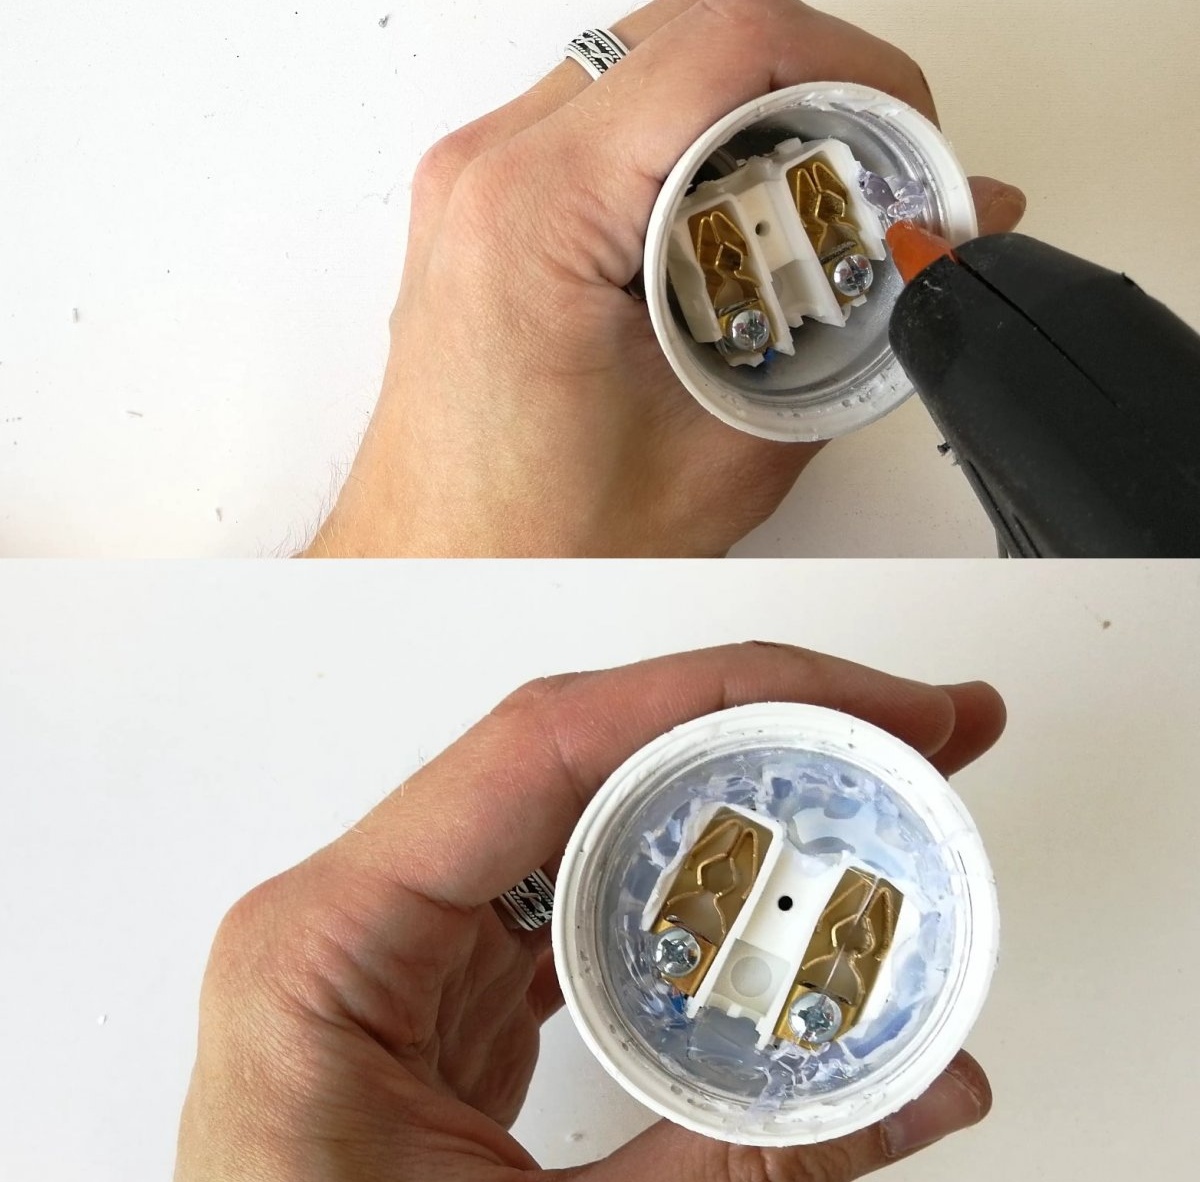
I disassemble the socket and disconnect the metal frame of the socket.
I'm trying to insert the socket into the light bulb housing.

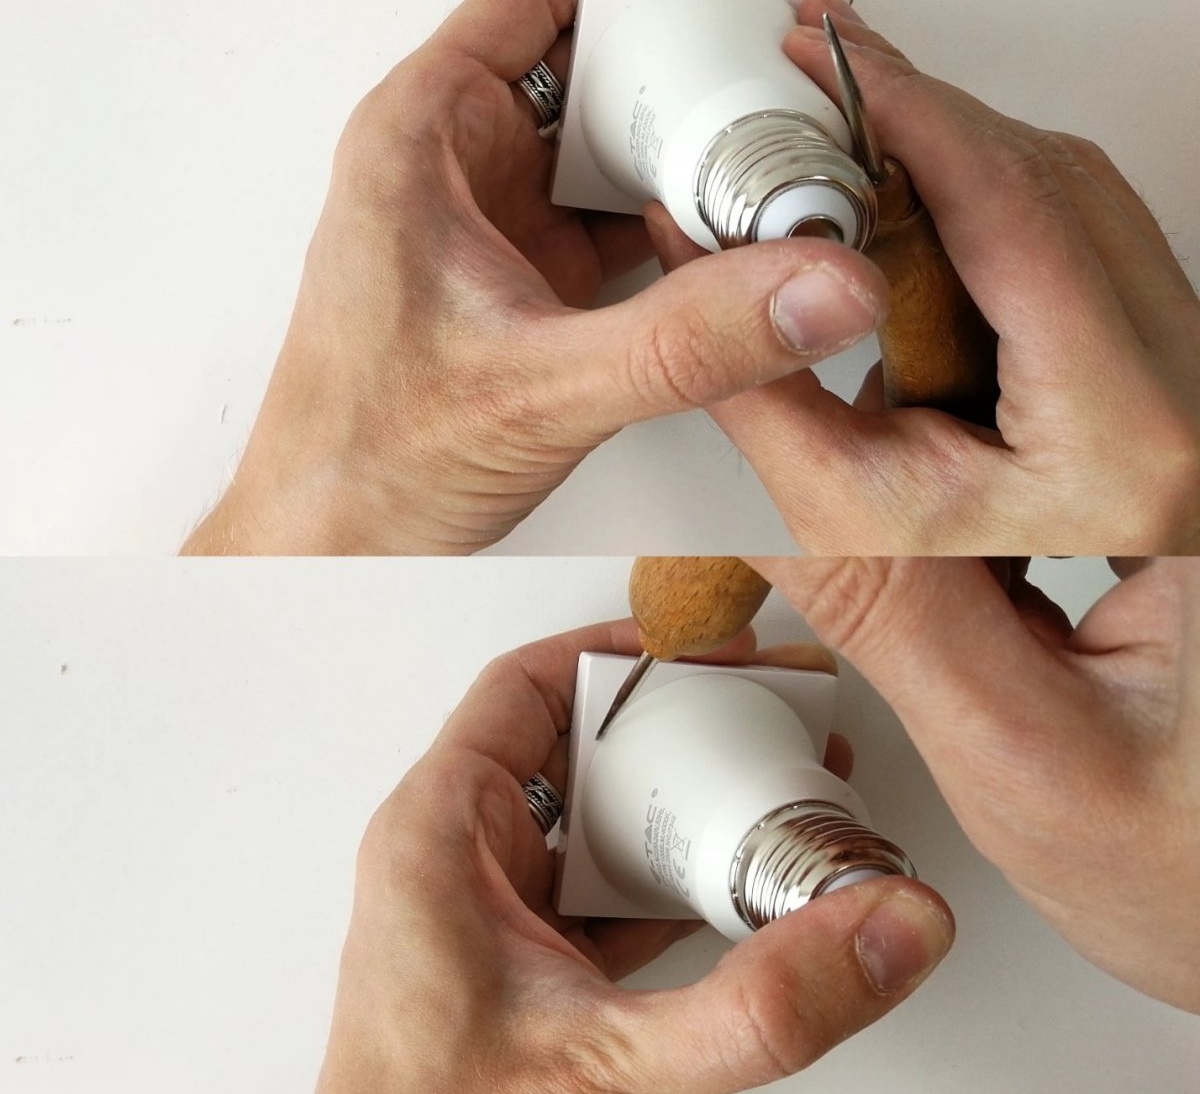
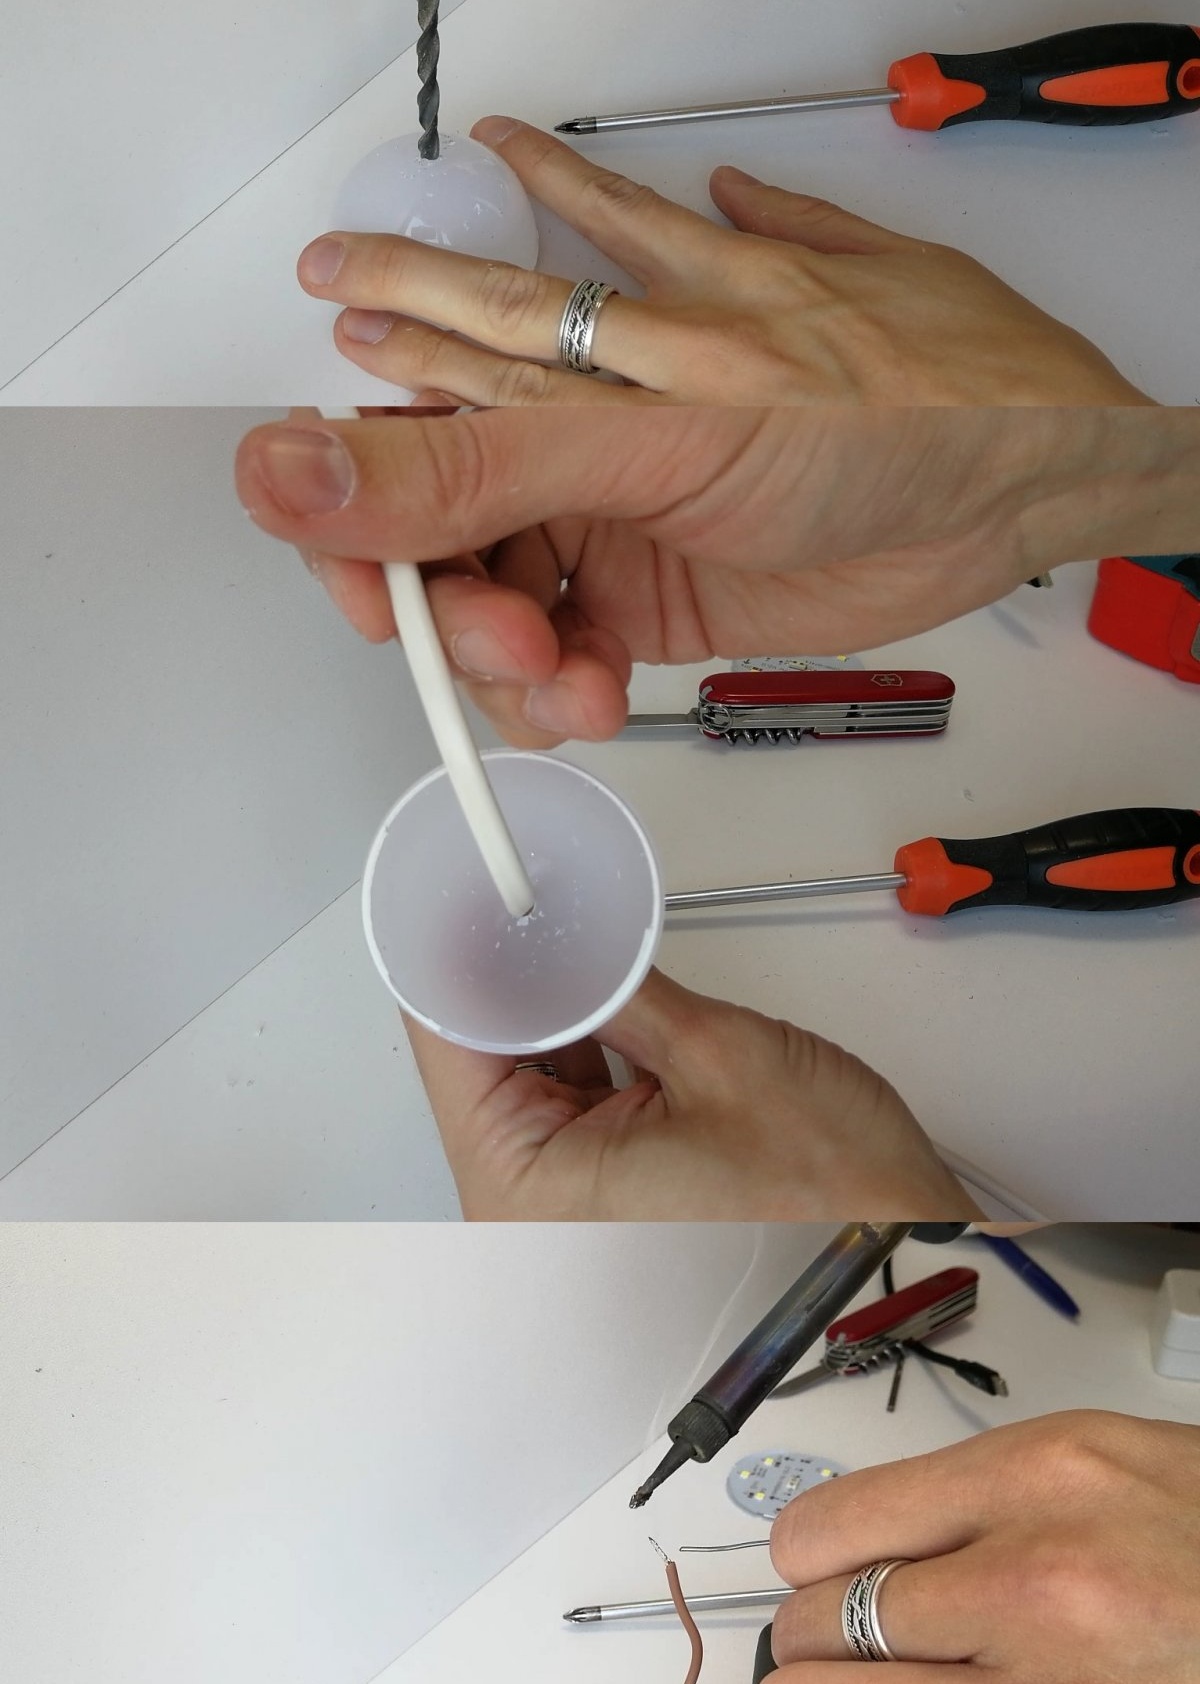
The socket didn't fit. I take metal scissors and cut off all the excess. Next, I take a light bulb, apply it to the socket cover and trace it along the contour of the light bulb. I used an awl.
I use scissors to cut off all the excess.

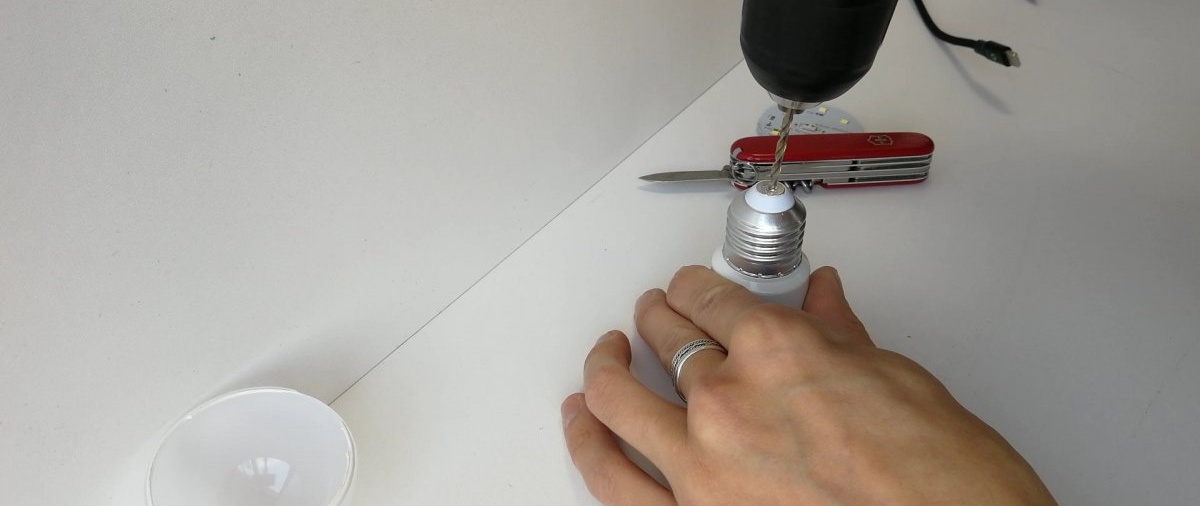
I drill the light bulb base. I solder larger wires.
Using hot glue, I fix the socket in the light bulb body.
I screw on the cover from the socket. I trim the outline and sand it a little with sandpaper.

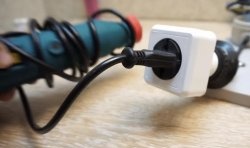
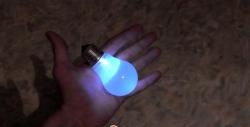
Let's move on to field testing. The drill works properly.

While I was making this socket, I came up with another version of such an adapter. It is more convenient to use and, most importantly, you will still have a light source.
I'm taking the light bulb apart again.

I look at how the contacts are located.

To get to the bottom contact, I drilled the light bulb base.
I make a hole in the lampshade and stretch the wire. I also clean up the puddle of wires.
I insert and solder the wires to the contacts of the light bulb
Using a file, I removed excess solder from the bottom contact of the light bulb.

Using metal scissors I make a small notch.

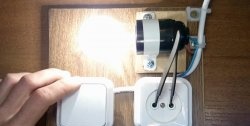
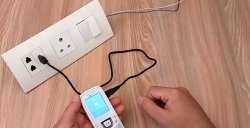
I'm doing field testing again.
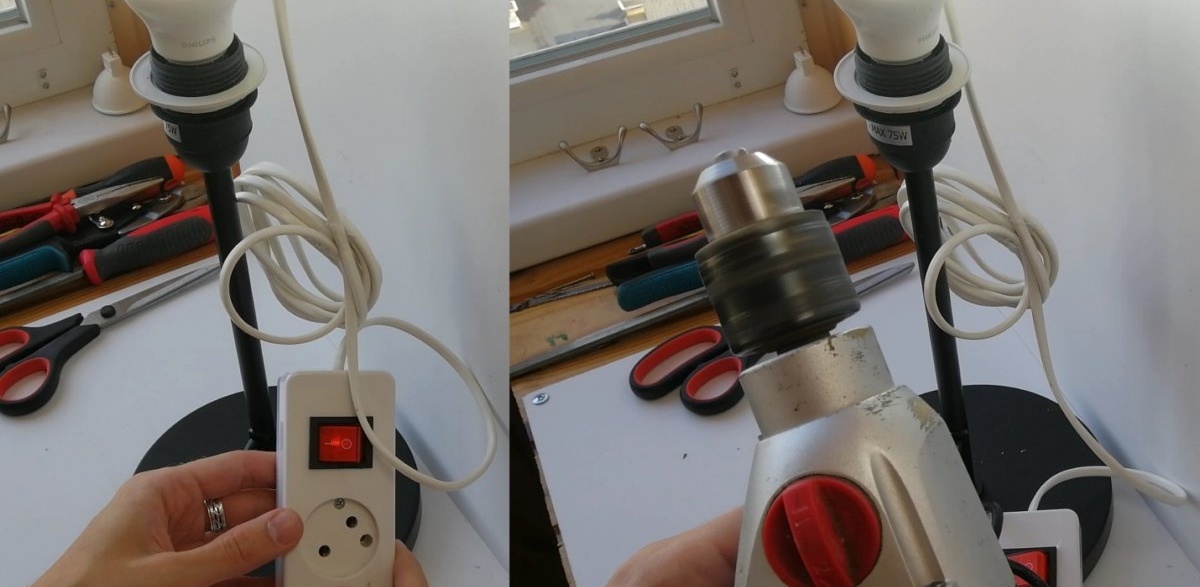
Both options have the right to life, but I liked the second option more. It is more functional, you still have a light source, you can turn the tool on/off using the surge protector button.
I agree that such homemade products are not useful in everyday life, but in an emergency they are very useful.
Thank you for your attention.