Do it yourself
Life hacks, master classes, useful tips, recipes.
home » Electronics » DIY electronics » Making a USB socket
Agree, it is very convenient when there is a USB socket for charging gadgets next to a regular outlet. There is no need to charge the main outlet.
Nowadays, almost all portable equipment is charged from USB ports, and this is a big plus, since there is no need to make dozens of different connectors for all devices.
I'll show you how to install a charger into a wall outlet.
Making a USB socket

Making a socket with a USB output


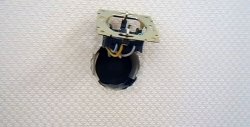
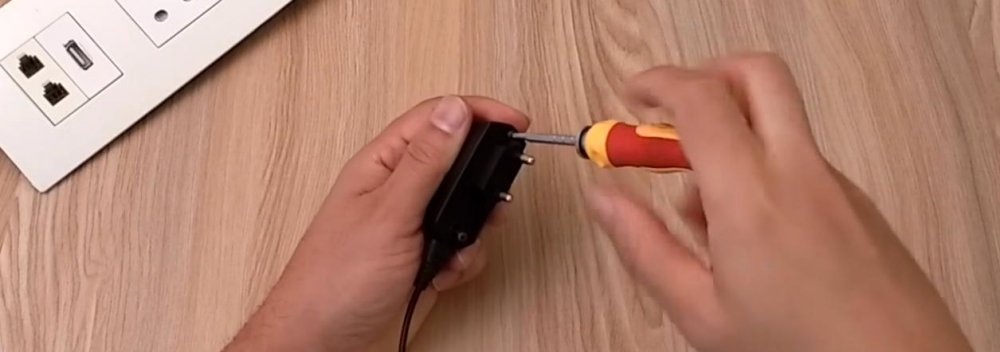
First you need to find a USB outlet. I'll take the adapter and cut it off.
Making a USB socket

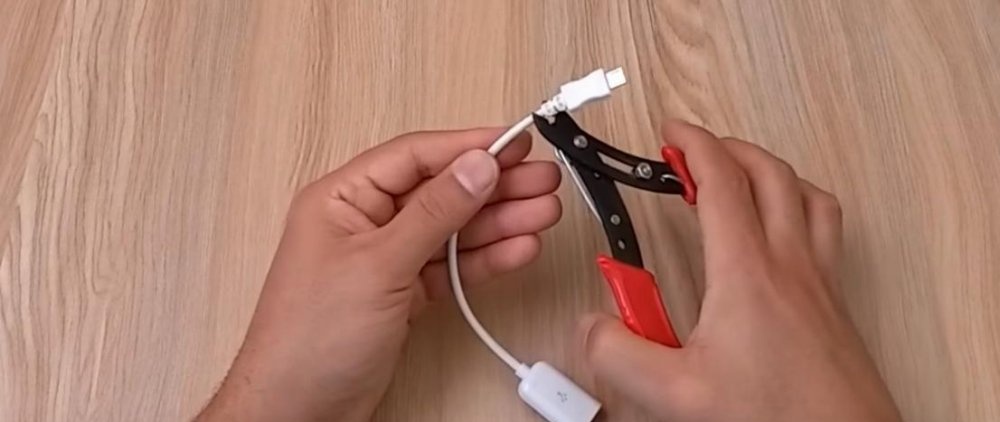
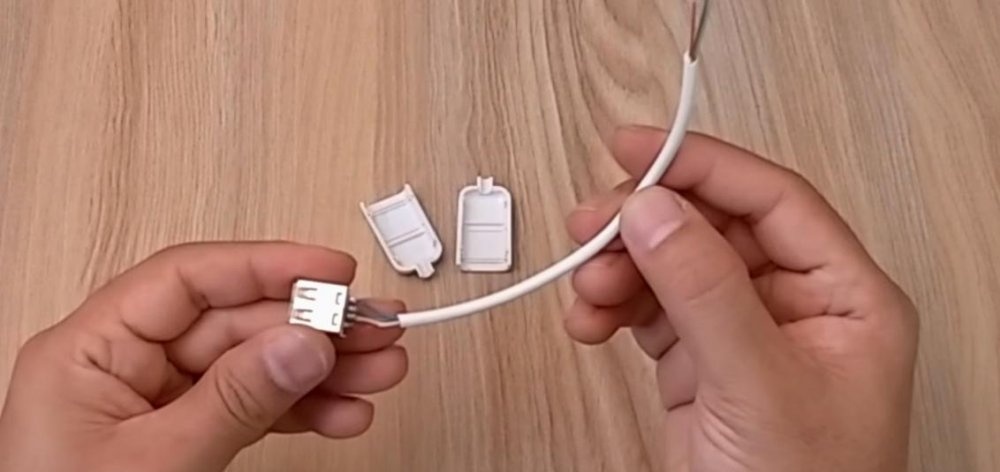
I'll take apart the connector and here it is - the future USB socket.
Making a USB socket

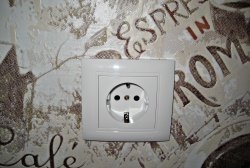
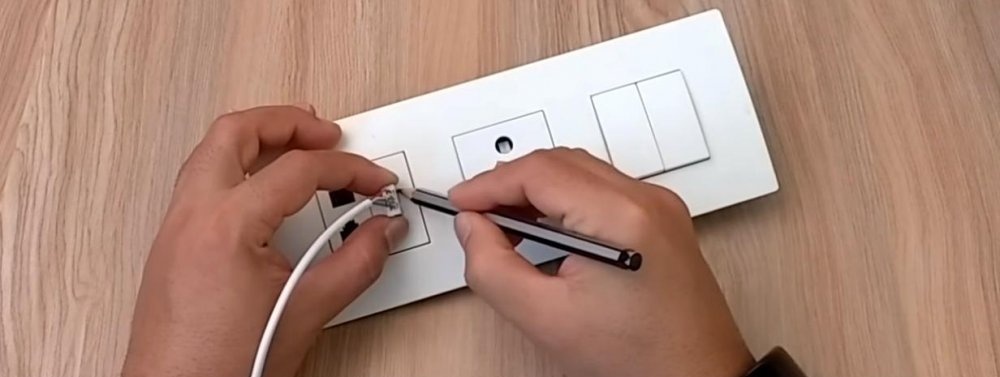
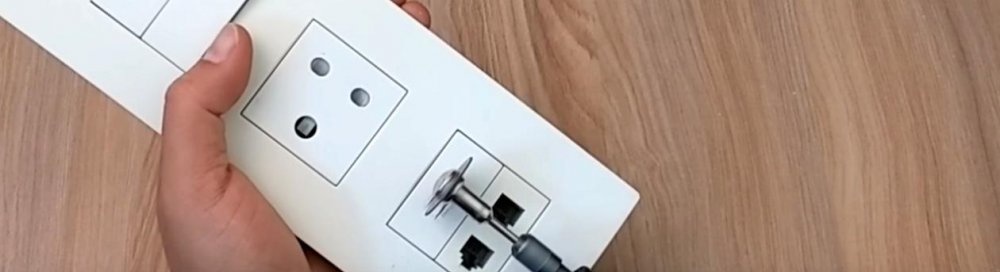
I'll be installing the jack next to the phone jacks because that's where the space is. You can choose another option. We attach the connector and trace it with a pencil.
Making a USB socket

Making a USB socket

Next, use a mini circular saw to cut out a hole, making an allowance inside the hole so that the nest does not fall inside. This can also be done with a flat screwdriver heated over a fire. Or in some other way.
Making a USB socket

Making a USB socket

Insert the USB connector. I hope you didn’t overdo it and everything went as it should. It will be great if it fits tightly and does not wobble.
Making a USB socket

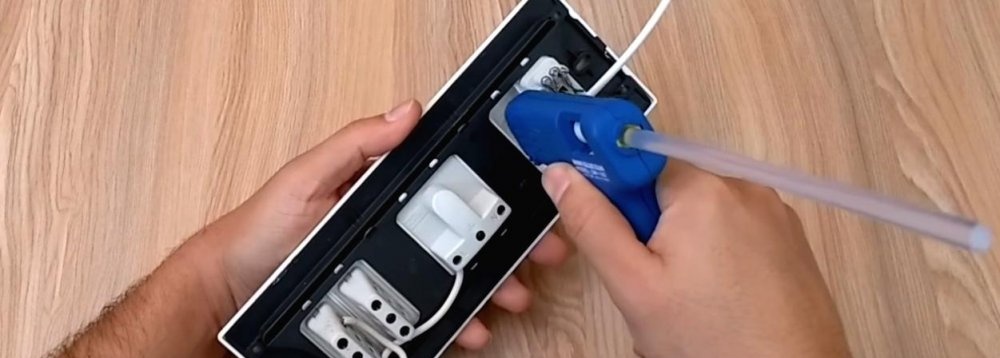
We fix it on the reverse side with hot glue. Everything must be held securely.
Making a USB socket

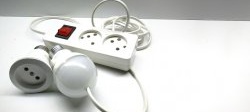
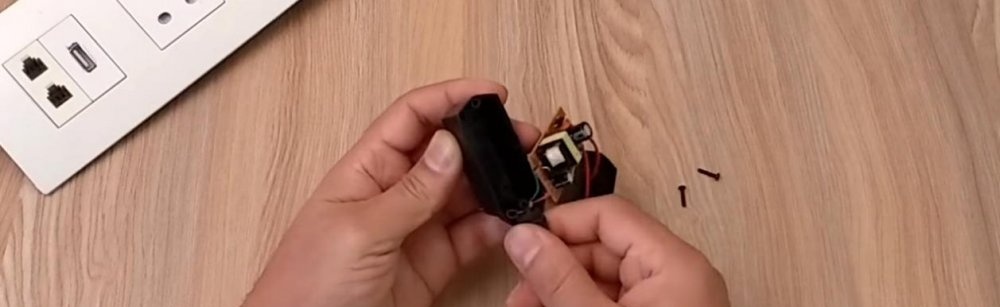
We take an unnecessary 5 V charger.Preferably with a load capacity of one Ampere. And we sort it out.
Making a USB socket

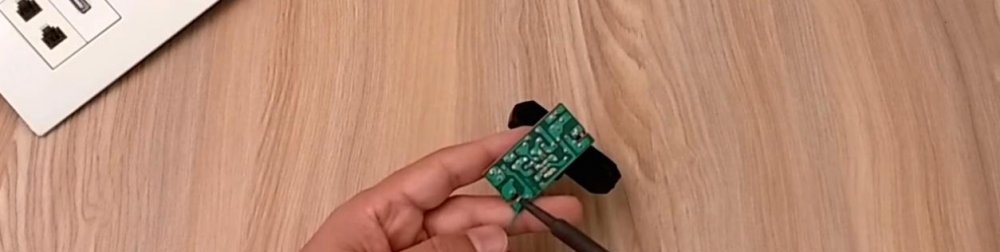
We take out the charger board.
Making a USB socket

We unsolder the wires from it. Two mains and two five-volt.
Making a USB socket

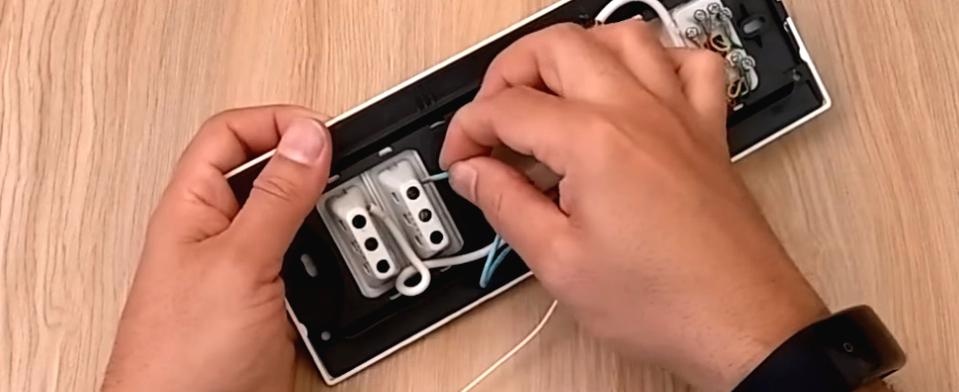
We connect to our socket with a USB output.
Making a USB socket

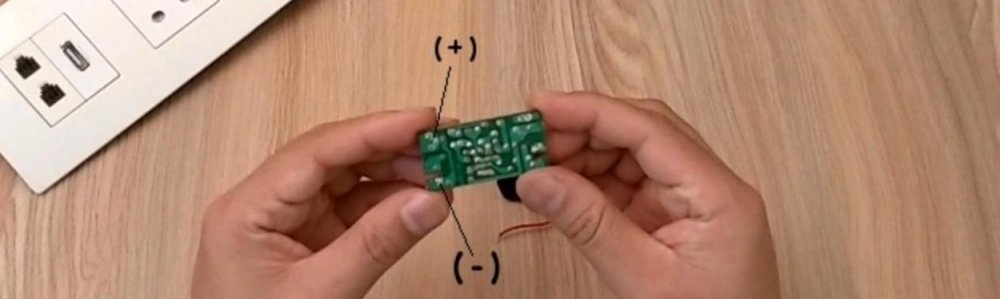
Solder the wires to the USB. Plus to plus, minus to minus. Be careful - don't get confused.
Making a USB socket

We solder the network ones, it is advisable to take them thicker.
Making a USB socket

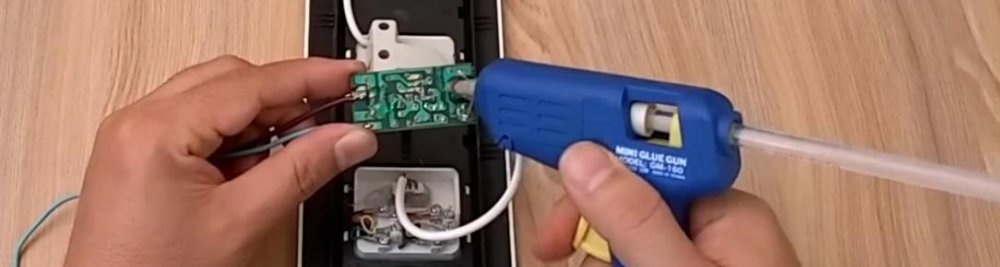
The board, on the side where the contacts exit, is generously watered with hot glue and glued to the socket body itself. Hot glue does not conduct electricity and there can be no short circuits.
Making a USB socket

Making a USB socket

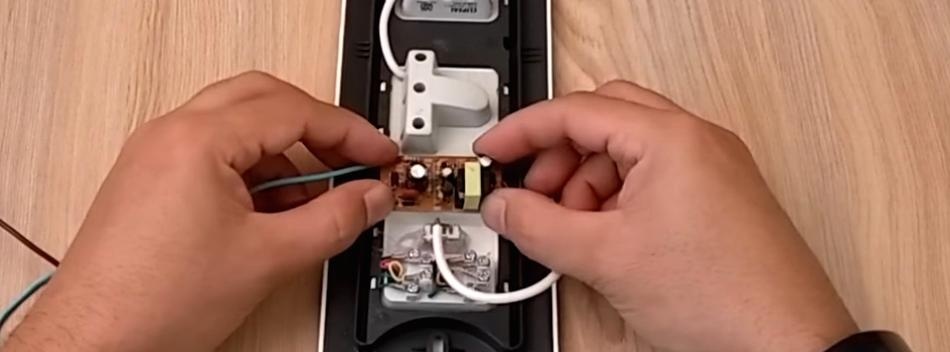
We connect the network wires. To prevent the power supply from working 24 hours a day, I allocated one switch key for it. We connect it to the outlet in series with it.
Making a USB socket

Making a USB socket

Result


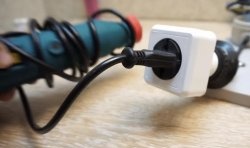
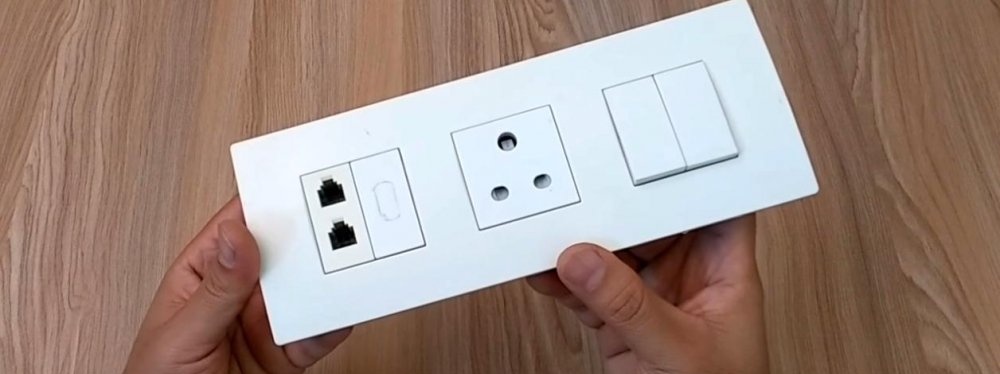
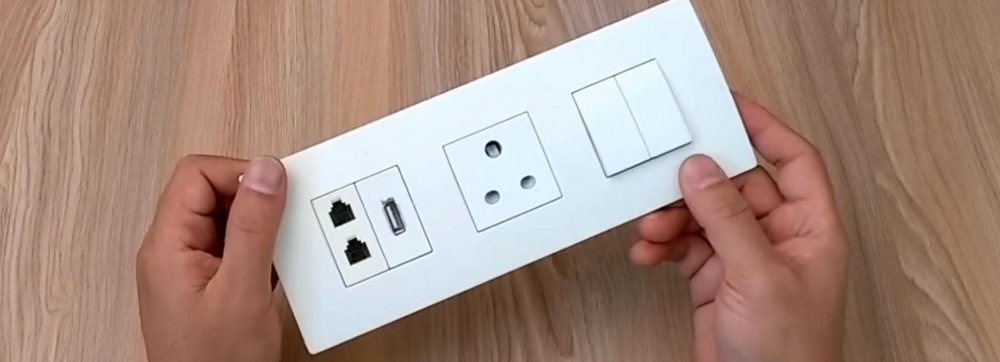
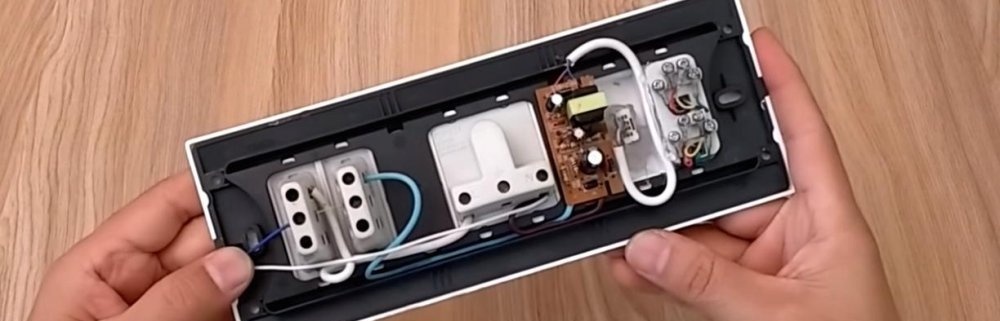
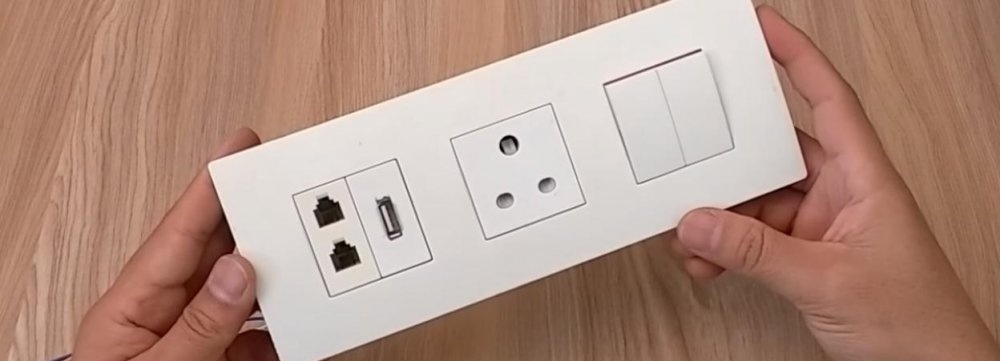
Ready socket with USB output. Everything looks as if it was sold that way. This certainly makes me happy.
Making a USB socket

Checking work


Let's connect the mains voltage to check. Let's connect the phone via an adapter cable. Let's turn on the switch. Charging has started - it means everything is working properly.
Making a USB socket

Watch the video


come back
Comment
  • bowtiesmilelaughingblushsmileyrelaxed relaxedsmirk
    heart_eyeskissing_heartkissing_closed_eyesflushedrelievedsatisfiedgrin
    winkstuck_out_tongue_winking_eyestuck_out_tongue_closed_eyesgrinningkissingstuck_out_tonguesleeping
    worriedfrowninganguishedopen_mouthgrimacingconfusedhushed
    expressionlessunamusedsweat_smilesweatdisappointed_relievedwearypassive
    disappointedconfoundedfearfulcold_sweatperseverecrysob
    joyastonishedscreamtired_faceangryragetriumph
    sleepyyummasksunglassesdizzy_faceimpsmiling_imp
    neutral_faceno_mouthinnocent
5+two=
Comments (4)
  1. Guest Vladimir
    #1 Guest Vladimir Guests 23 March 2018 13:39
    0
    Everything is fine, but...The charger circuit is constantly connected to the network and constantly consumes current from the network, and can also catch fire in the event of a malfunction. So what should I do?
    1. Dimon
      #2 Dimon Guests 23 March 2018 17:56
      2
      Read the article carefully
    2. Guest Vadim
      #3 Guest Vadim Guests November 22, 2018 00:46
      0
      Solder a low-ampere fuse or a 0.125 W resistor of about a hundred Ohms into the break in the “charging” network wire.
  2. Guest Mikhail
    #4 Guest Mikhail Guests 23 January 2019 23:31
    1
    Hot glue, i.e. in a liquid state, a polymer substance conducts current perfectly. But after cooling it is not a conductor. :) A blonde or children can read the article, they will do it verbatim :)

Lifehacks and useful tips | Page 13 | Do it yourself

Topiary with roses | Do it yourself

A quick and cheap way to lay a pipe under the foundation. Personal experience

How to make a poultry feeder from sewer pipes with your own hands

«Do it yourself - with your own hands» - a site of interesting homemade products made from scrap materials and items at home. Step-by-step master classes with photos and descriptions, technologies, life hacks - everything a real master or just a craftsman needs for needlework. Crafts of any complexity, a large selection of directions and ideas for creativity.

We recommend reading

Washing machine error codes