Will need
To ensure that the finishing of the plinth is reliable and lasts a long time, we will use only high-quality materials:
- cement grade M300 (M400);
- sifted quarry sand;
- clean fresh water;
- transparent wide tape;
- liquid soap.
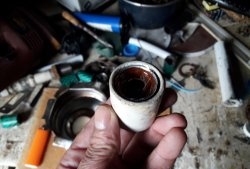
To perform all stages of bleaching, we need the following tools: a trowel, usually a drill with a mixer attachment, a container for mixing the solution, a measuring bucket, a level and tape measure, a narrow steel plate, etc.
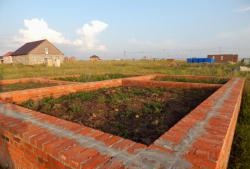
The process of finishing the base with cement mortar

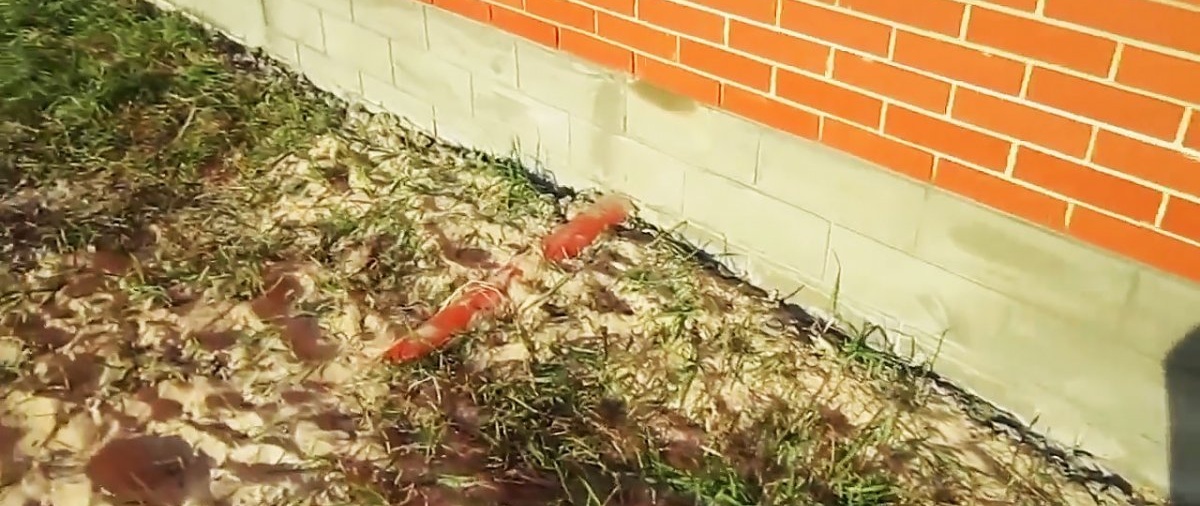
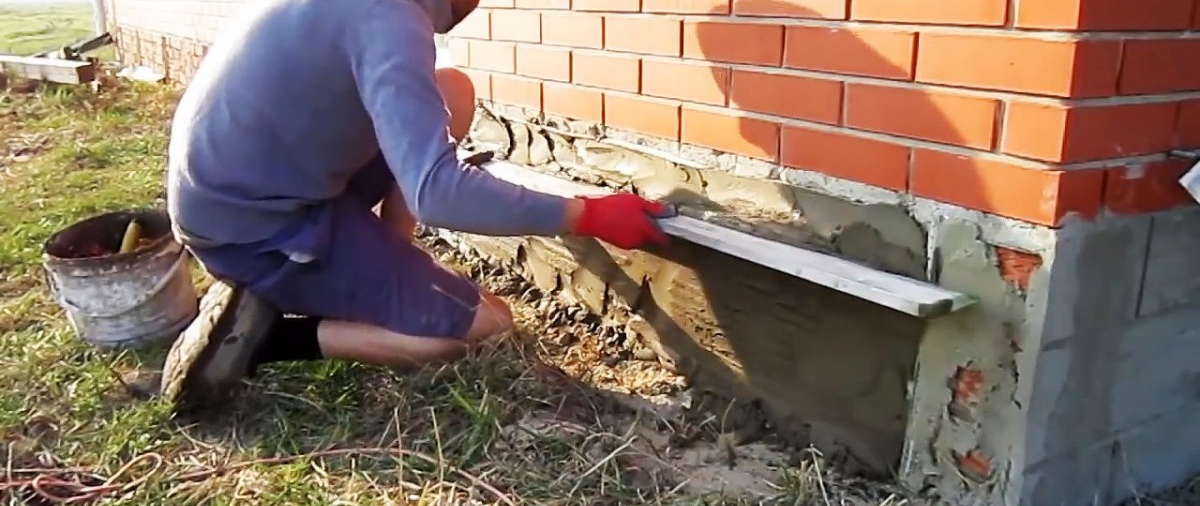
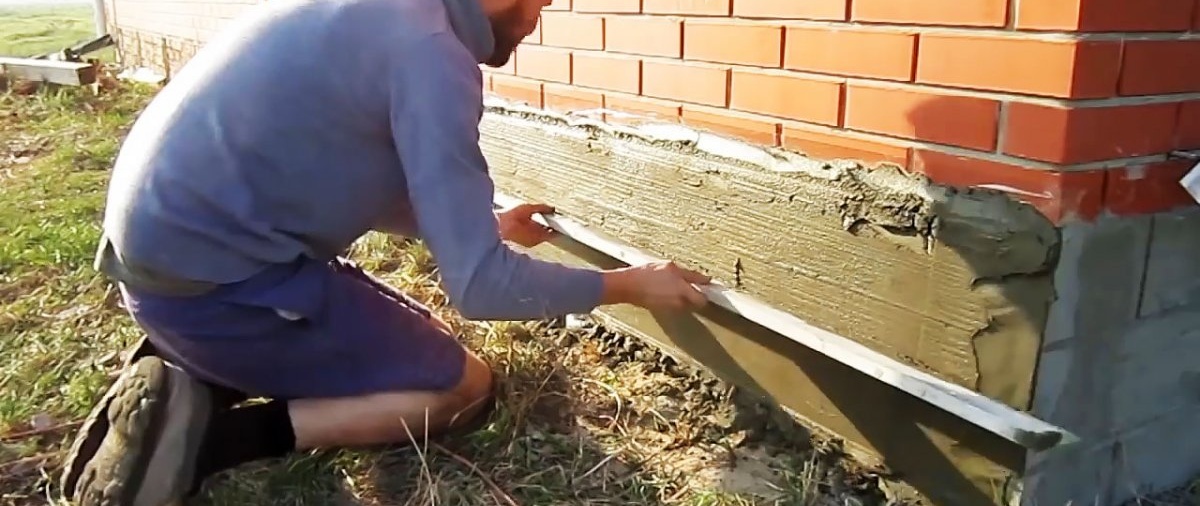
Using a trowel, we apply cement mortar from bottom to top in small sections onto the cleaned and moistened base surface, simultaneously rubbing and leveling it.

We apply the rule to the bottom of the base covered with the solution, press it and move it upward with oscillatory movements.Scrape the solution on the rule with a trowel into a container. We repeat the operation until we remove all the excess solution.
We cover the bottom row of bricks lying on the base with tape and spread the mortar over the top of the base and into places with recesses and crevices. Again, we level the surface using the rule, repeating the operation if necessary.

We apply the rule horizontally along the top of the base and use a trowel to form something in the form of a slope. Then, by moving the rule to the side, we separate it from the outline. Then remove the tape.

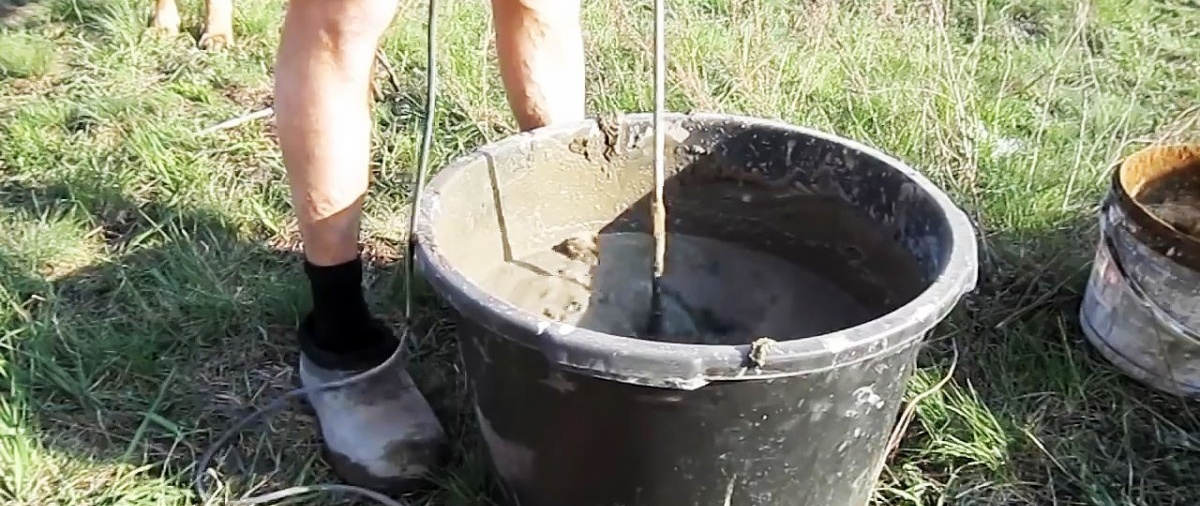
Let the solution dry a little for 20 minutes. Next, prepare the solution again by pouring a measuring bucket of water into the mixing container and pouring out a bucket of cement and sand. We also add a little liquid soap to increase the plasticity and quality of adhesion of sand and cement to each other. Mix the ingredients with a shovel until smooth.
Pour another bucket of sand into the container and then carry out the preparation with a drill with a mixer attachment until the components are completely mixed.
Next, add one or two buckets of sand, if cement was used, respectively, grade M300 or M400. We select the volume of water so that the finished solution is homogeneous and has a creamy consistency.
We apply this mixture in a thin layer on the first, already slightly dried one, and in one go we smooth out small defects and rub in small cracks.
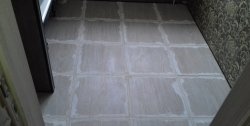
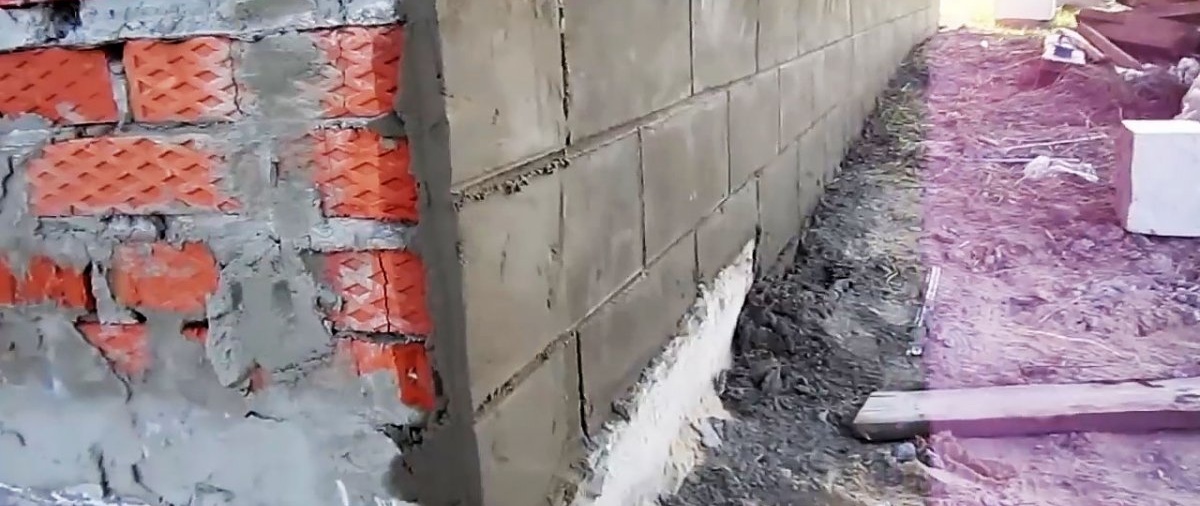
Until the second layer has hardened, using a rule and a level, we draw horizontal lines along the new plinth plaster with a narrow steel plate. Then, using a tape measure, we make marks for the vertical lines, which we draw using a level gauge.

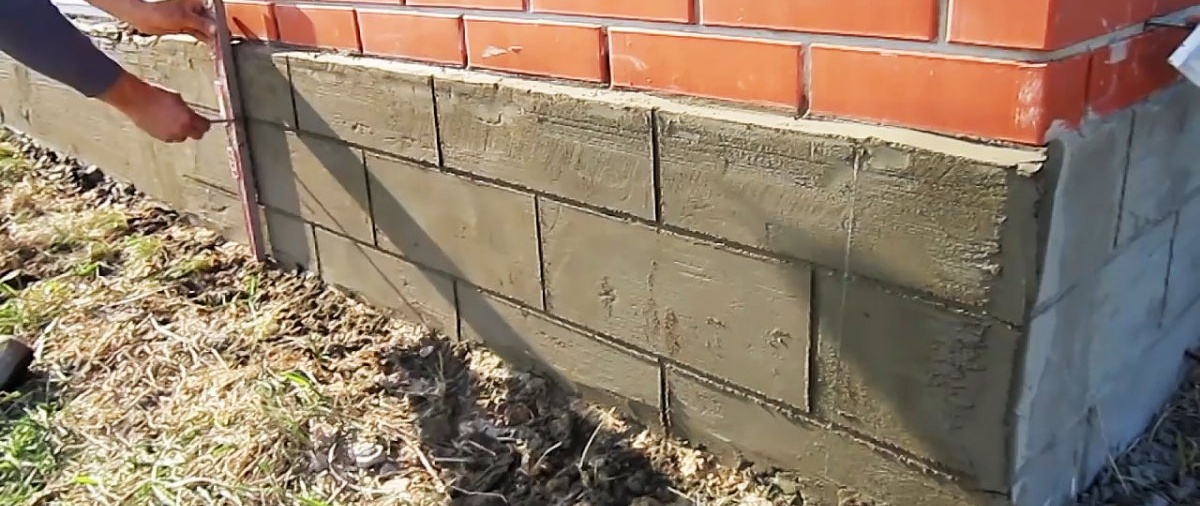
What we get is, as it were, a masonry pattern that harmonizes with the seams of the brick wall. In addition, such a “mesh” serves as a compensator for sudden temperature changes, increasing the strength and service life of the plaster.
If at this stage we find a place where the cement mortar does not hold well, we remove it, increase the roughness of the base, apply the mortar with a trowel and rub it in tightly.
After waiting for about 20 minutes, we level the renewed area with a trowel, removing excess solution. All that remains is to use a flat strip to restore the recesses with a steel plate.
To make the outline even at the corners, we press a flat board to the adjacent side of the corner, which would protrude beyond the corner by the thickness of the plaster. After grouting and leveling the outline, draw a vertical line along the inside of the board with a trowel and remove the board.
Then, using a short rule or just a flat bar, we level the solution and draw horizontal and vertical lines in accordance with the existing ones. So section by section we finish the basement around the entire perimeter of the building.