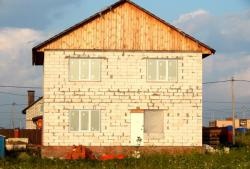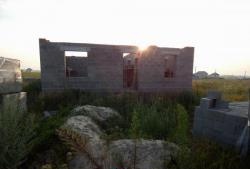
Any construction starts from the foundation. The types and sizes of the foundation depend on the building that will be erected on it. The higher the weight of the building, the more solid the foundation should be. A strip foundation is perfect for building a wooden house or a house made of foam concrete blocks. The main advantage of a strip foundation is that you can build it yourself without the use of heavy construction equipment.
Conventionally, the construction of a strip foundation can be divided into several main stages.

Marking.
To simplify the marking process, the site chosen for building a house should be leveled, bushes and tall grass should be cut off. Then, at the location of one of the walls of the building, mark the edges of the foundation with driven pegs, conventionally calling them A and B. The main task of marking is to give the contours of the building regular shapes with right angles. There are special geodetic instruments for this. But you can do without them. To do this, you will have to remember the school geometry course.From point A, perpendicular to straight line A-B, a distance equal to the edges of the foundation of the perpendicular wall is retreated. Let's denote this point with the letter B. Now we have a right triangle, legs A-B and A-C. Knowing the dimensions of the legs, you can calculate the length of the hypotenuse B-B and compare it with what happened on the ground. If necessary, the peg should be moved to the required point. The location of the fourth corner of the foundation is determined in the same way. A laser tape measure is best suited for measuring distances.
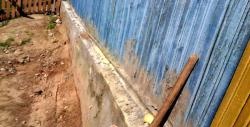
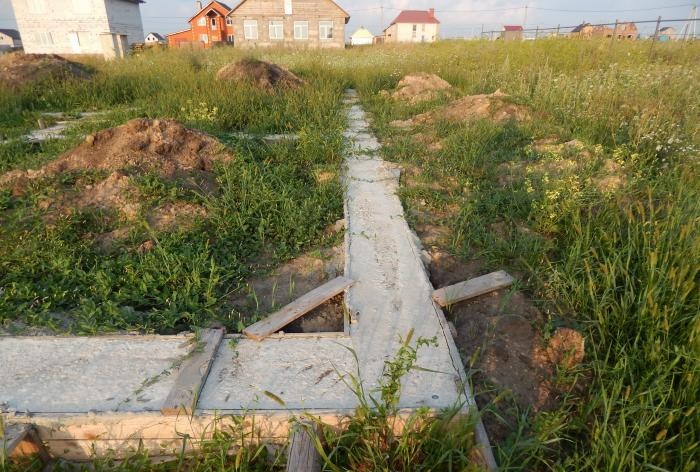
Trench for the foundation.
The trench under the foundation is dug strictly according to the markings. The width of the trench is 40-50 cm, but the depth should be determined by the depth of soil freezing. You should dig 20 cm below the freezing depth. Then any movement of the soil and its swelling during freezing will not be dangerous for the foundation. Before pouring the foundation, a sand cushion 20 cm high is poured into the bottom of the trench and compacted tightly.
To save money, the pile-tape method is sometimes used. At the corners of the foundation and along the perimeter, reinforced piles are poured every one and a half meters to the freezing depth. The reinforcement from them should stick out to the height of the strip foundation. This is necessary for a strong connection between the main strip foundation and the piles themselves. In this case, the foundation strip can be shallow.
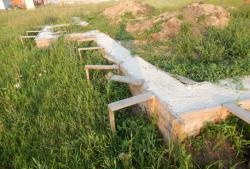
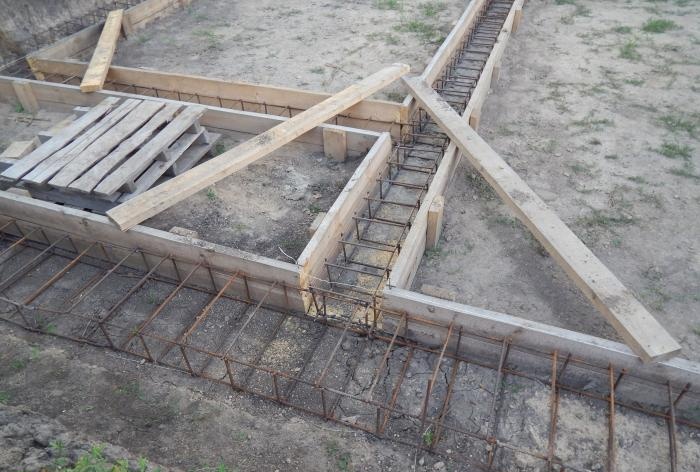
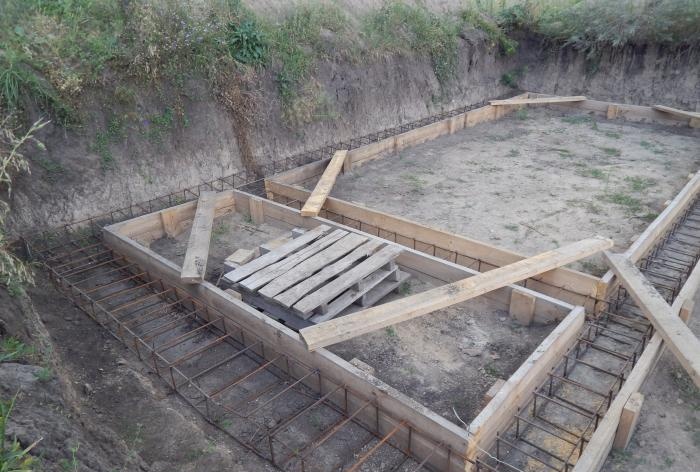
Formwork.

Before pouring the foundation, formwork should be erected, which will give the foundation the required shape. Formwork can be made from boards 40-50 mm thick. Sheets of chipboard or slate sheets are also suitable. The upper edges of the entire formwork must be an ideal horizontal surface. If you assemble formwork from boards, then its inner edges should be covered with film to prevent cement from leaking out and to facilitate its subsequent disassembly.To prevent the formwork from bursting under the weight of the cement mortar, spacers are installed on the outside of the structure. To ventilate the internal volume of the foundation, round holes are cut out in the formwork on both sides, into which plastic pipes are inserted.
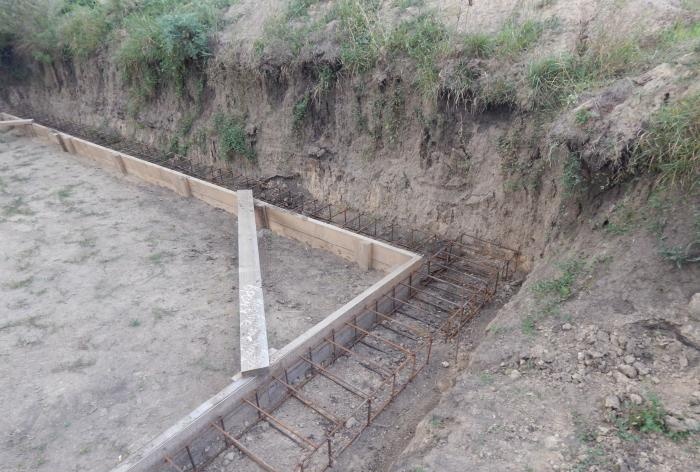
Reinforcement.
To give the foundation tensile strength, the internal volume of the formwork is filled with a reinforcing frame made of iron reinforcement, a cross-section of 8-10 mm. The reinforcement is tied together with a special soft metal wire.
Filling.
For pouring, concrete mortar grade M300 is used. You can buy the solution ready-made, but for this you need to accurately calculate the volume of the foundation. There is one significant disadvantage with this option. The entire solution should be used within 1-2 hours, otherwise it will become unusable. You can pour the foundation yourself. For this you will need sand, crushed stone and cement. Mixing proportions are usually indicated on cement bags. A small electric concrete mixer will significantly speed up the process of preparing the solution. Filling should be done exactly along the top edges of the formwork.
Drying.
After pouring, the foundation should be covered with film in rainy weather and left to dry. If the weather is hot, the foundation needs to be watered. After drying, you can remove the formwork and begin building the house.