Do it yourself
Life hacks, master classes, useful tips, recipes.
home » Useful and interesting » Lifehacks and useful tips » How to unscrew the base of a broken lamp from the socket
Sometimes something as bad as breaking a light bulb happens. For many people, removing the base from the socket is a real headache.
How to unscrew the base of a broken lamp from the socket

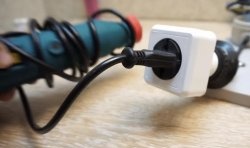
Today I want to give advice on this almost hopeless matter. The main thing in this matter is to make sure that the electrical appliance is disconnected from the network. You must be as careful as possible when repairing an electrical appliance so as not to receive an electric shock!

Required


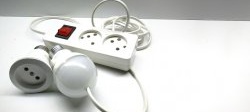
Any plastic bottle (preferably a smaller one for convenience).
A heating device (such as a stove burner).

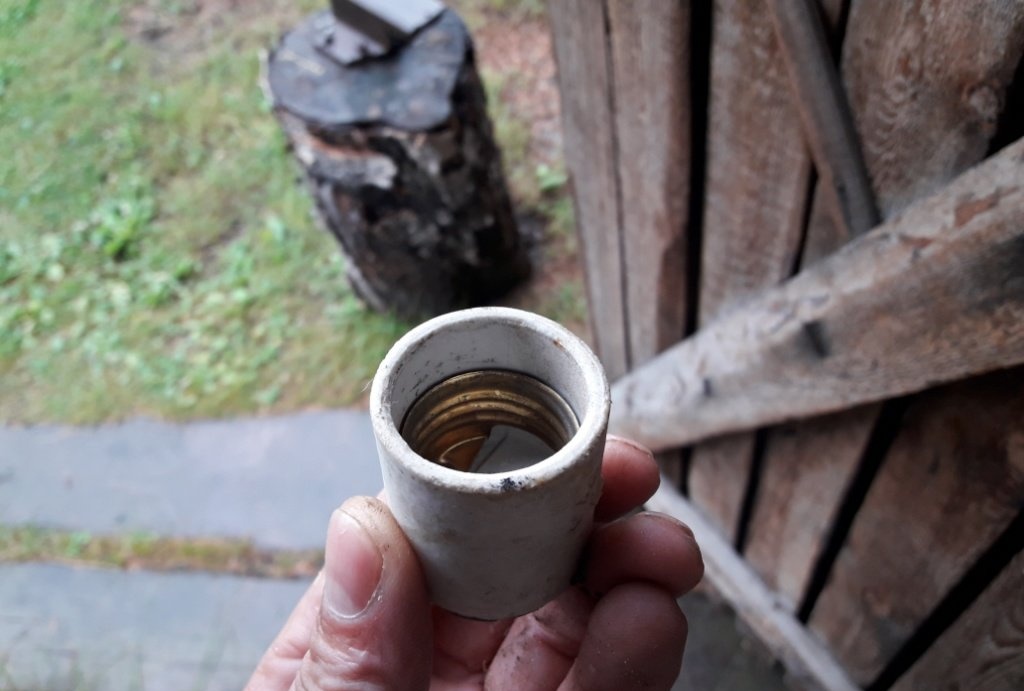
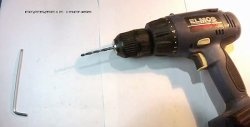
Unscrewing the broken lamp socket


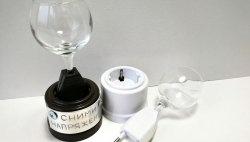
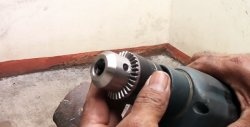
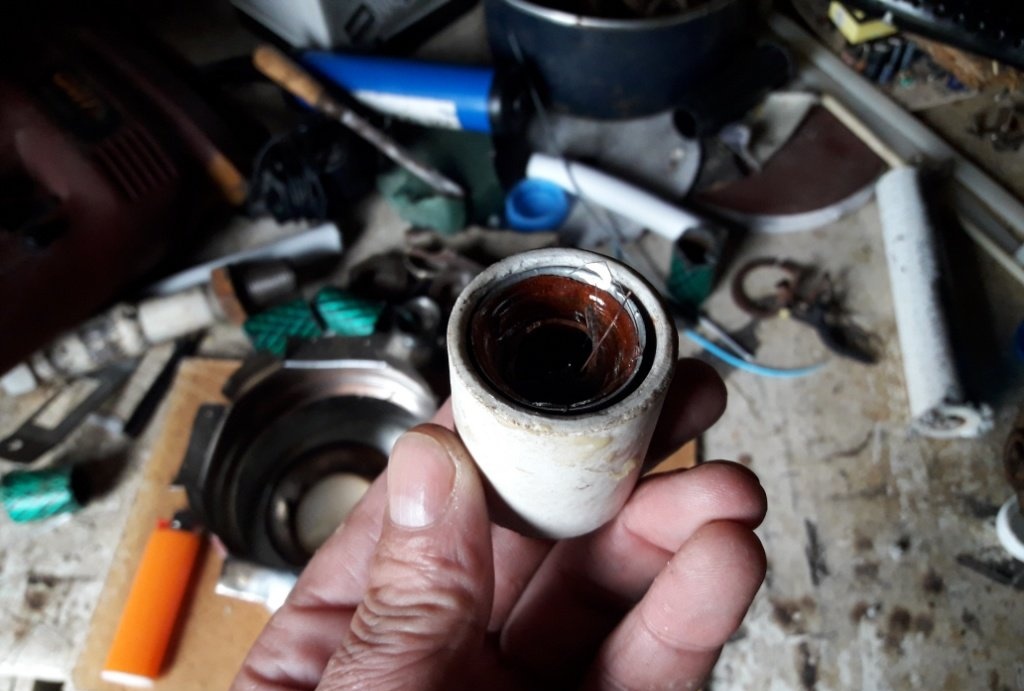
So, having taken all precautions and not forgetting to use rubber gloves, let’s get to work. It would be a good idea to first remove the cartridge from the device, for further convenience... First, let’s clear the stuck base from the glass shards remaining there, so as not to cut yourself while working. Now we heat the thread of the prepared bottle until the plastic begins to melt and, as quickly as possible, screw the thread straight into the broken base!
How to unscrew the base of a broken lamp from the socket

How to unscrew the base of a broken lamp from the socket

Now you need to wait a couple of minutes for the plastic to melt inside the base. After cooling, carefully turning the bottle in the desired direction, remove the base from the cartridge.
How to unscrew the base of a broken lamp from the socket

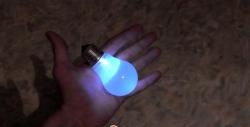
That's all! Next, screw in the new light bulb and continue using it, remembering to be careful!
How to unscrew the base of a broken lamp from the socket
come back
Comment
  • bowtiesmilelaughingblushsmileyrelaxed relaxedsmirk
    heart_eyeskissing_heartkissing_closed_eyesflushedrelievedsatisfiedgrin
    winkstuck_out_tongue_winking_eyestuck_out_tongue_closed_eyesgrinningkissingstuck_out_tonguesleeping
    worriedfrowninganguishedopen_mouthgrimacingconfusedhushed
    expressionlessunamusedsweat_smilesweatdisappointed_relievedwearypassive
    disappointedconfoundedfearfulcold_sweatperseverecrysob
    joyastonishedscreamtired_faceangryragetriumph
    sleepyyummasksunglassesdizzy_faceimpsmiling_imp
    neutral_faceno_mouthinnocent
4 minus one =
Comments (8)
  1. Guest Nikolay
    #1 Guest Nikolay Guests 25 August 2018 23:04
    13
    I’ve been doing this with pliers for 46 years (experience as an electrician)
    1. Vsilij
      #2 Vsilij Guests 31 August 2018 17:23
      2
      You've been making the wrong sandwich for 46 years Nikolai!
      Can you imagine how much money you can get from a client using this miracle technology,
      and you with pliers(((((((((((((((
  2. Guest Vladimir
    #3 Guest Vladimir Guests 3 September 2018 23:35
    2
    Why is it so difficult? Using pliers and side cutters quickly and safely!
  3. worker
    #4 worker Guests 9 September 2018 16:52
    2
    you just need to unscrew the cartridge skirt and that’s it
  4. Guest Victor
    #5 Guest Victor Guests 12 September 2018 20:10
    1
    no problem - side cutters!
  5. Eugene
    #6 Eugene Guests 14 September 2018 07:30
    2
    why waste so much time? put the pliers inside, pressed it down a little, opened the claws and twisted it to your health!
  6. Yuri
    #7 Yuri Guests December 5, 2018 04:30
    0
    Since the 80s, this has been done easily and simply with the base of a new lamp inserted into the old base at an angle (with sockets of at least E27, even E14, or E40). Naturally not under voltage. Only strongly welded ones could not be unscrewed (which could not be unscrewed even with pliers)
  7. Vladislav Balykov
    #8 Vladislav Balykov Guests December 14, 2019 11:57 pm
    0
    "Now you need to wait a couple of minutes for the plastic to melt inside the base. "And what does this spewing out of unconnected words mean???

DIY candy bouquet | Do it yourself

How to make a knife handle from birch bark with your own hands

Palm tree made from plastic bottles | Do it yourself

Computer homemade products | Page 4 | Do it yourself

«Do it yourself - with your own hands» - a site of interesting homemade products made from scrap materials and items at home. Step-by-step master classes with photos and descriptions, technologies, life hacks - everything a real master or just a craftsman needs for needlework. Crafts of any complexity, a large selection of directions and ideas for creativity.

We recommend reading

Washing machine error codes