The installation of a chimney for a bath or sauna should be approached with all responsibility in order to prevent smoke from entering the steam room and not getting burned.
Materials:
- - asbestos-cement pipe with a diameter of 150 mm;
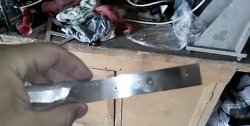
- - brackets;
- - deflector made of galvanized sheet;
- - heater stove;
- - stainless heat-resistant steel pipe 1.5 mm thick;
- - stainless heat-resistant steel pipe 0.5 mm thick;
- - elbow made of stainless heat-resistant steel 250 by 250 mm;
Tools:
- - chain hoist;
- - hammer drill;
A little theory
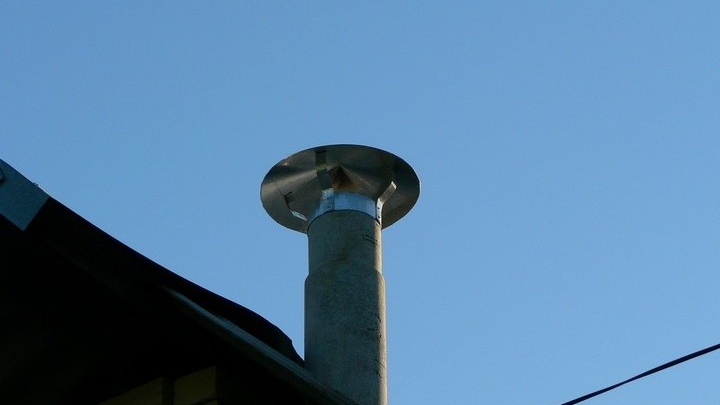
So, a chimney for a bath or sauna must meet the following requirements:- The head of the pipe is made slightly higher than the ridge of the roof.
- The chimney must have at least two bends, with the last bend being made outside the house. For what? The fact is that during combustion, condensation forms in the pipe, which will inevitably flow down. So, in order not to spoil your new steam room with black soot, the last vertical section of the chimney must be installed on the external wall of the house and equipped with a condensate collector.
- If possible, the chimney should be made light and easily dismountable, because sooner or later it will have to be disassembled and cleaned.
Making a chimney
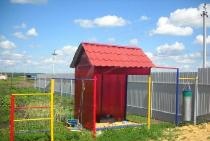
I made the external chimney from an asbestos-cement pipe with a diameter of 150 mm.
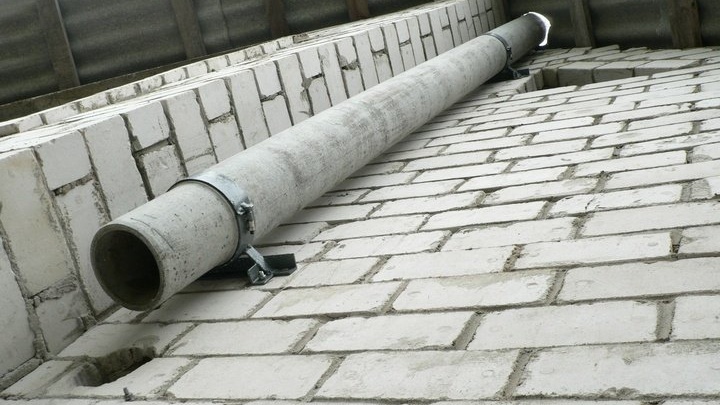
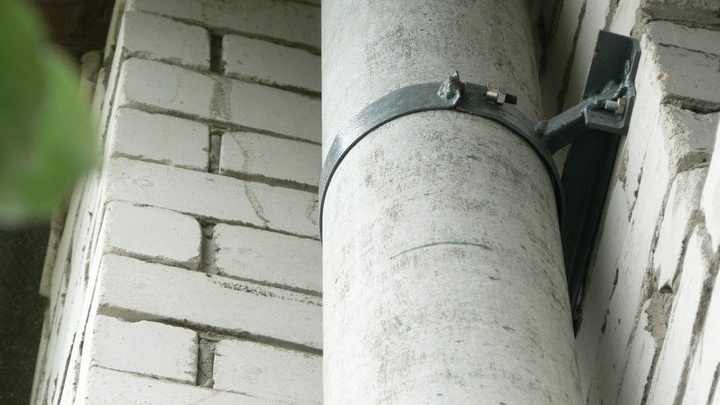
To install the pipe on the wall, special brackets equipped with clamps were mounted.
The installation of the pipe was carried out by two people using a chain hoist in 30 minutes. To improve traction, a deflector made of galvanized sheet is installed on the pipe head.
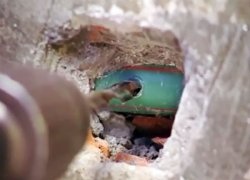
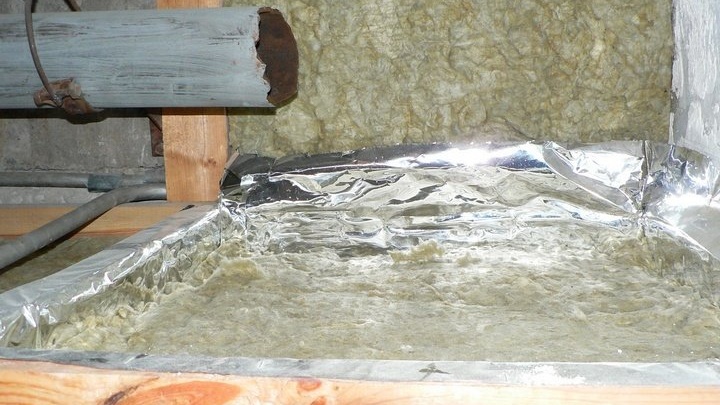
After installing the outer pipe, markings are made on the wall and a hole with a diameter of approximately 150 mm is punched along it using a hammer drill. for the exit of the internal chimney.

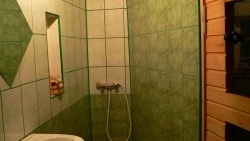
I call the internal chimney that part of the pipe that goes from the stove to the outer wall of the building. The heater stove from Finland “Harvia M1” has proven itself to be excellent over 14 years of operation and has never failed.


Next comes another straight section 250 mm long and an elbow 250 by 250 mm, but this is already behind the ceiling of the steam room. The thickness of the steel in the last two sections of the pipe may be thinner - 0.5 mm.

Of course, several sections of stainless chimneys can also be used as a horizontal pipe, of which there are many on the market, but for those who like to save money I can offer one interesting option.
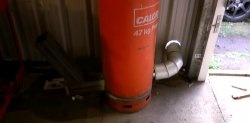
In the last century, pipes and fittings for internal sewerage were made of cast iron. These pipes had an internal diameter of 50, 100, 150 mm. For a chimney, such a pipe is simply an ideal option: it does not burn out almost forever, it has many shaped parts, which allows you to assemble chimneys of any complexity.But there are also problems, firstly, the high mass of these pipes requires the manufacture of reliable fastenings, and secondly, to counteract corrosion, the pipes are impregnated with bitumen, which will inevitably begin to melt and burn when hot gases pass through, so before installation, cast iron pipes must be burned over a fire, and then paint it with heat-resistant enamel.
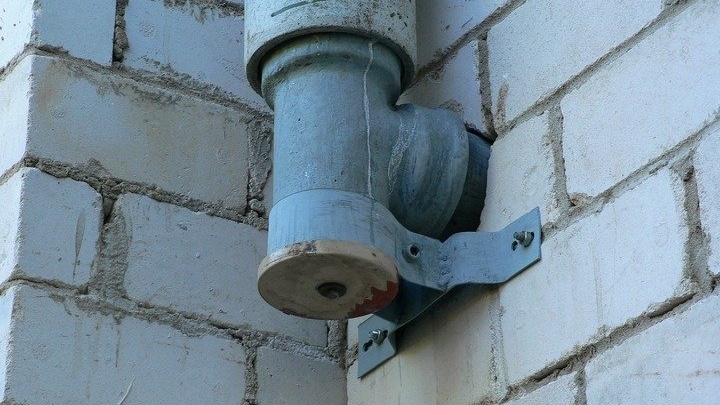
Considering all of the above, I made a cast iron pipe with a diameter of 100 mm. installed one end on a special bracket, and the other end into a hole in the wall.

To connect this pipe with a vertical pipe, which is made of an asbestos-cement pipe, I used a cast iron tee, which is ideal for this purpose.

To seal the joints of cast iron pipes, asbestos cord and clay are used, and for stainless pipes I purchased a special heat-resistant sealant in a standard 310 ml package. It is black when applied, but after a few burns it turns silver, so there is no need to worry too much about carefully applying the sealant.
So, the work on installing a chimney in my mini sauna has been completed. Read my articles on other work during the construction of a built-in bathhouse, watch the video, write a comment and I will be glad if my experience is useful to you. Worry about your health.
Watch the video
In this video you can see the construction of a chimney, and in this video you can see how a sauna with this chimney looks and works after 14 years of operation.