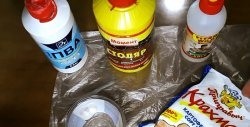
I think that substances based on acrylates can be found in everyone’s household, especially those who are engaged in repairs. This could be varnish, glue, or paint. Better, of course, is varnish. In general, the main thing is that it is acrylic. Well, of course, everyone probably has starch.
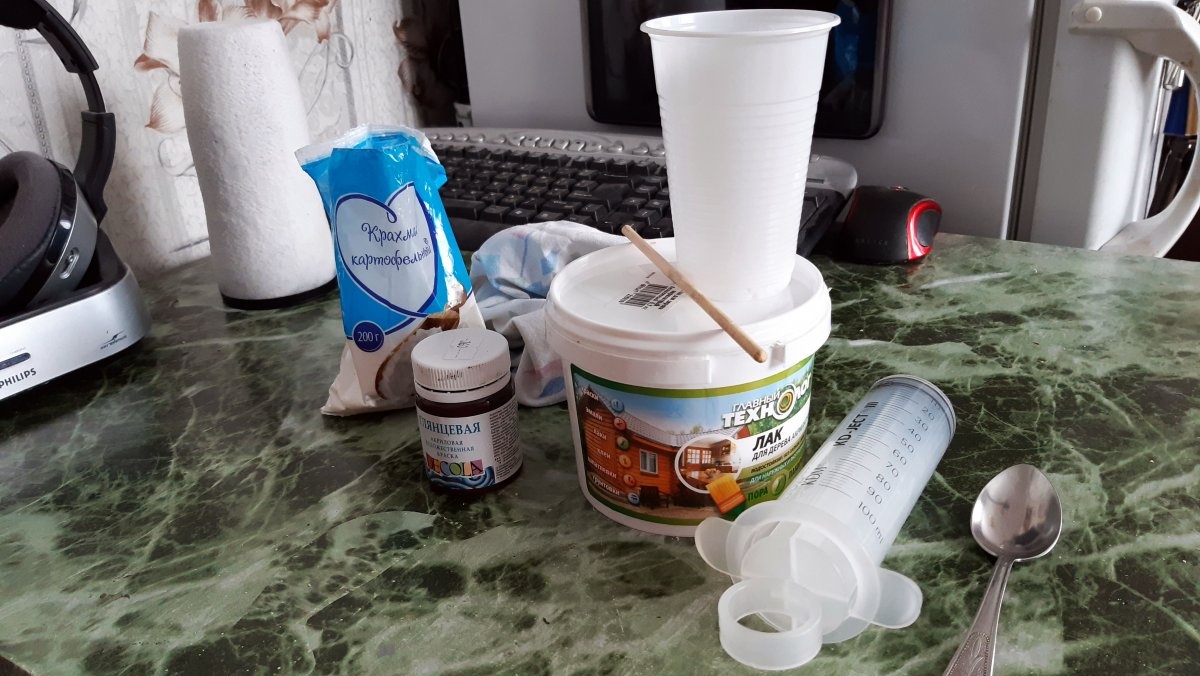
Will need
- Acrylic varnish.
- Potato starch.
- Teaspoon.
- Measuring syringe or cup.
- Mixing stick.
- The cup is disposable.
- Dye (optional).
- A rag.
Making acrylic putty
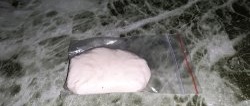
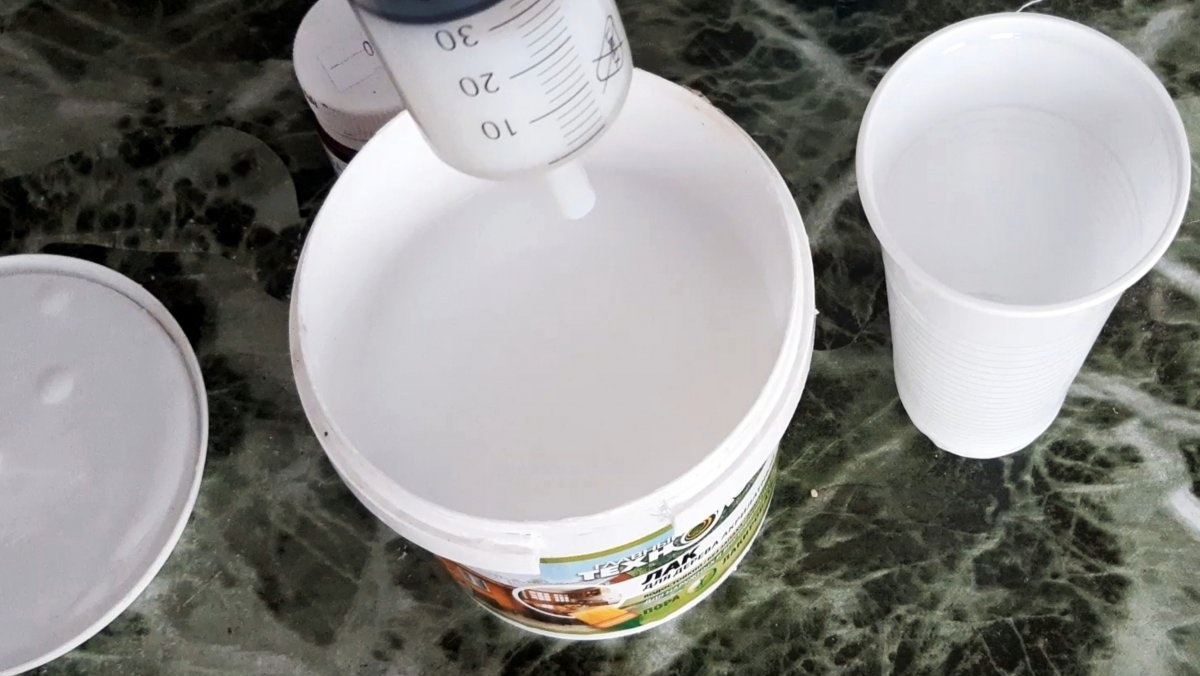
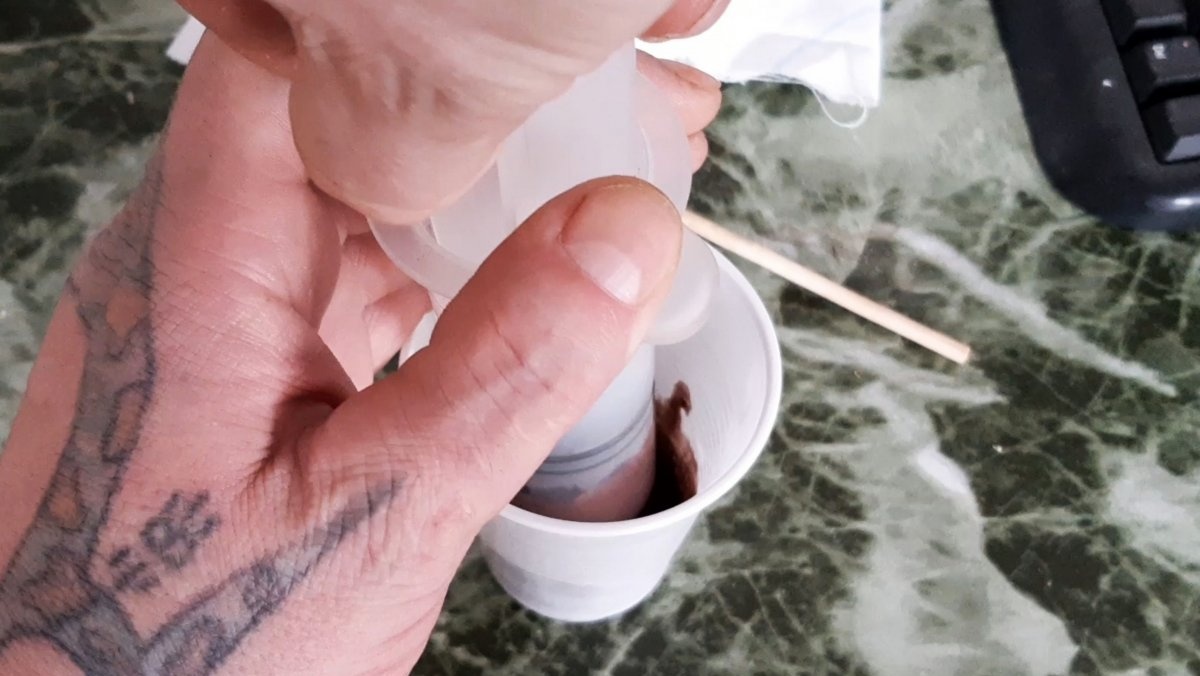
The work does not take long and is not dusty - everything is as simple as shelling pears; normal mixing. Using a measuring syringe or cup, add 30 ml of acrylic varnish into a disposable glass.
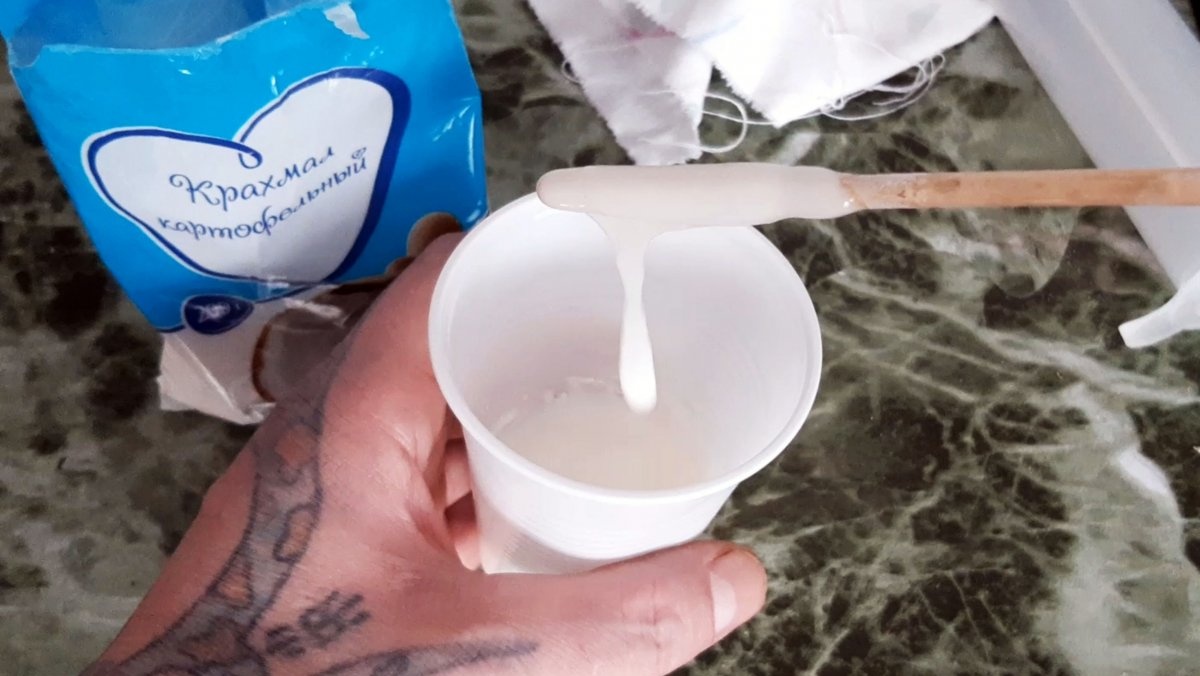
Pour in two heaped teaspoons of potato starch.

Mix it all thoroughly with a stick. Until the consistency of sour cream, smooth, without lumps. That's not for long; starch mixes well in varnish.

As a dye, I used acrylic art paint. 3-4 drops are enough.
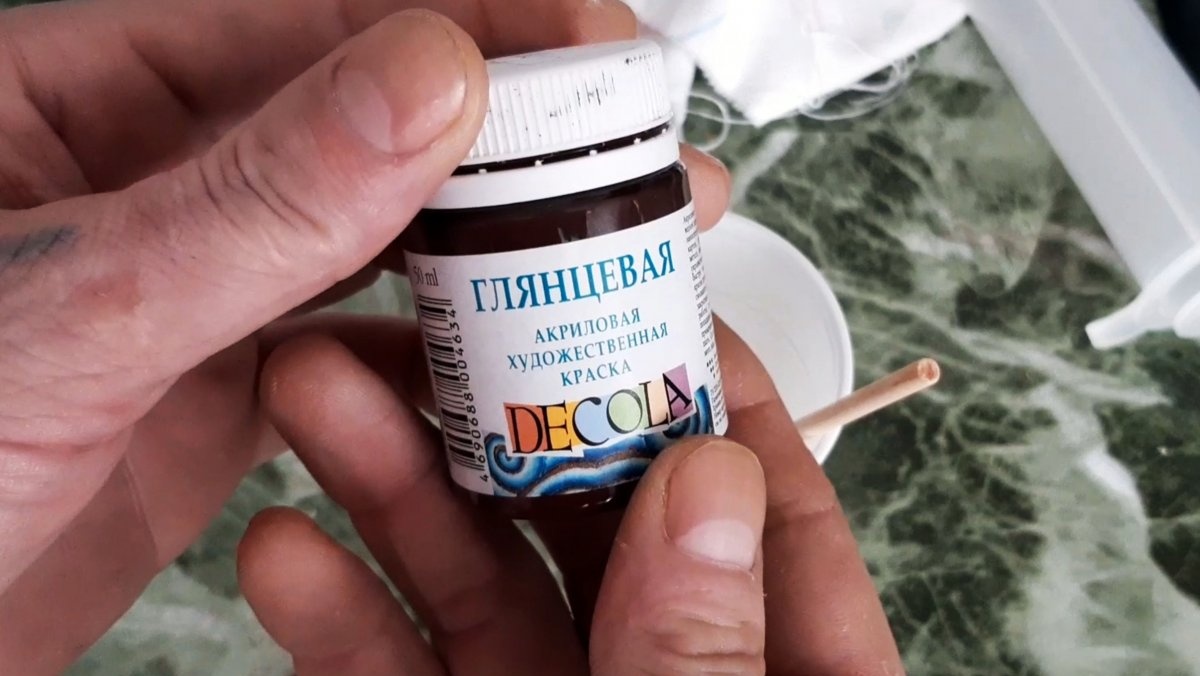
Although, it is possible without dye. It depends on what purpose the putty is made and used. I needed brown putty... So, after mixing all the ingredients, let the resulting putty brew. 10-15 minutes. Well, in general, that’s all, you can apply it. For a clear result, I also decided to conduct a small test. I putty on the frayed edge of the plywood and made a few drops on the paper to make sure the result was positive.
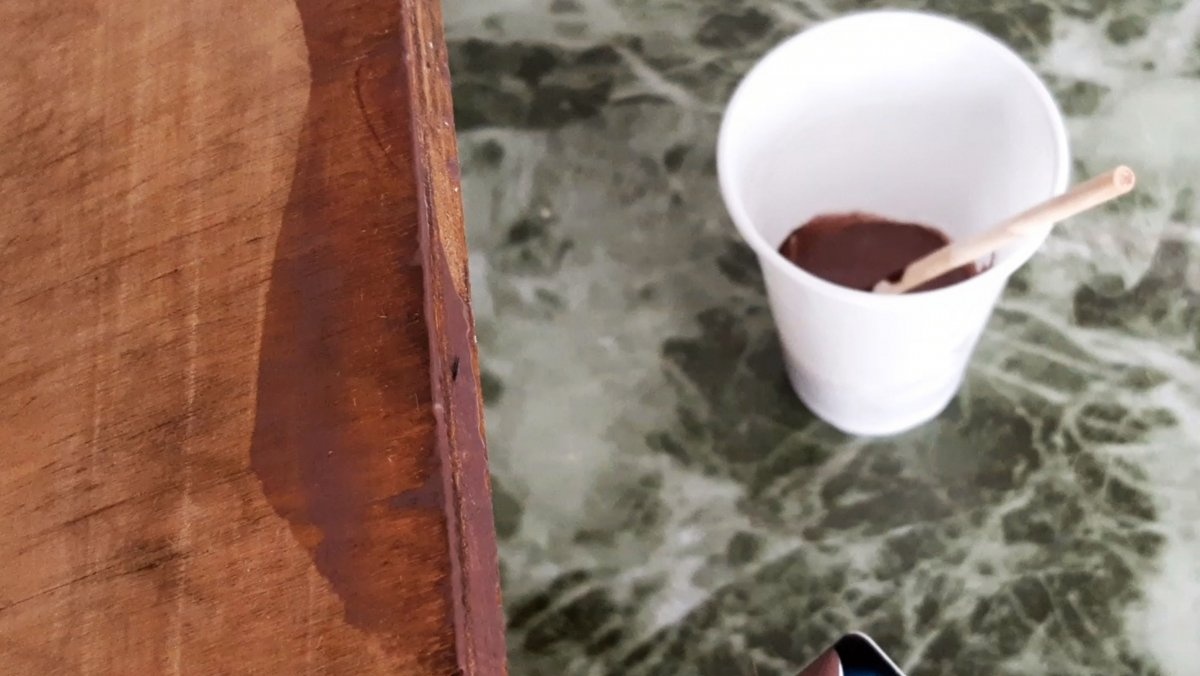

And the result really turned out to be very positive; the edge of the plywood became even and smooth. And most importantly, it became durable. Now it can be painted or pasted over.

As for the drops and streaks on the paper, they are frozen. The drops became hard, like frozen hot glue. The strips also hardened, but remained flexible.

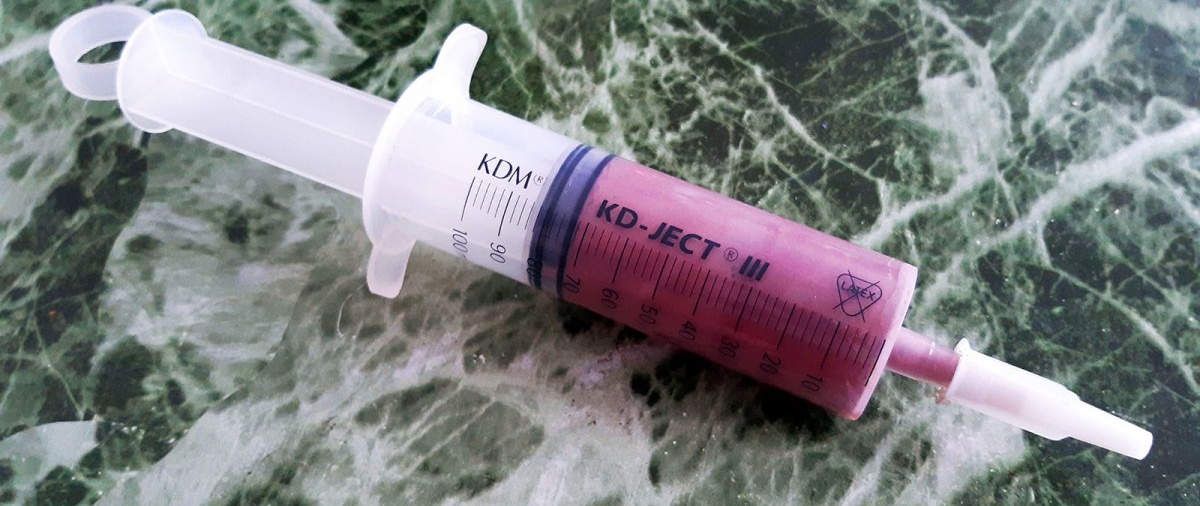
Very good result! Next, for convenience during further work, I placed the resulting material in a syringe. Even if a little remains after work, in a syringe, without access to oxygen, this material will retain its properties for several more months.

Some may be interested; why exactly from acrylic varnish, and not from PVA, for example. It's simple, acrylic varnishes, paints, and other acrylate-based substances dry faster. In addition, they are much stronger when frozen than PVA.And again, why exactly with starch, and not with gypsum, for example, or alabaster. Because with starch the substance will be more elastic and flexible. However, despite its apparent viscosity, it retains its shape well. It does not spread and does not hang from a vertical surface, which is proven by the above experiments, as well as the modeling work I have already done using this putty.

It is ideal for leveling vertical surfaces, both straight and curved, as well as small parts. It can also be used as a sealant in places not exposed to direct water, since acrylates are very unstable in direct contact with water. For example, you can use it to seal not too wide gaps between the dried boards of a veranda or closed gazebo, to avoid drafts. For larger-scale work, you can dilute any amount of this putty. You just need to use a calculator to correctly multiply the above proportions.