Basic materials:
- 775 series engine -
- Stepper motor from an old printer;
- a set of 2 toothed pulleys and a drive belt;
- aluminum corner 50x50 mm;
- sheet aluminum;
- plywood;
- wooden block;
- speed controller;
- plexiglass.
Jigsaw assembly
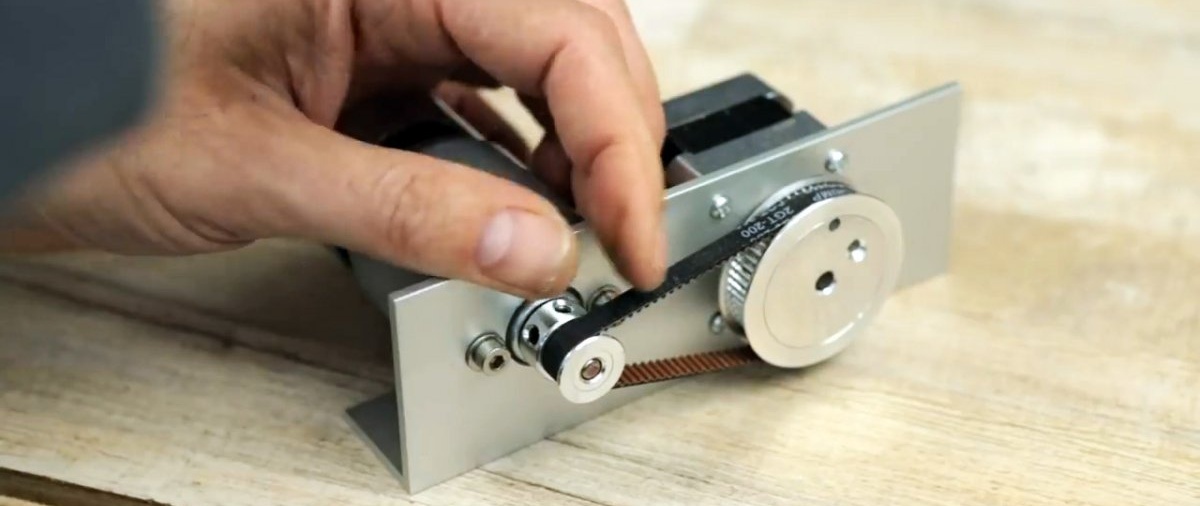
The engine rotation speed is excessive for a string jigsaw; in addition, it may not have enough traction power. In this regard, it is necessary to reduce its speed using a large pulley. Typically, for lowering, a shaft mounted on bearings located away from the engine and connected to the engine by a belt is used.

In this case, a stepper motor from an old scanner or printer will be used instead.To make it easier, the anchor is removed and replaced by a spring that holds the shaft in the desired position.
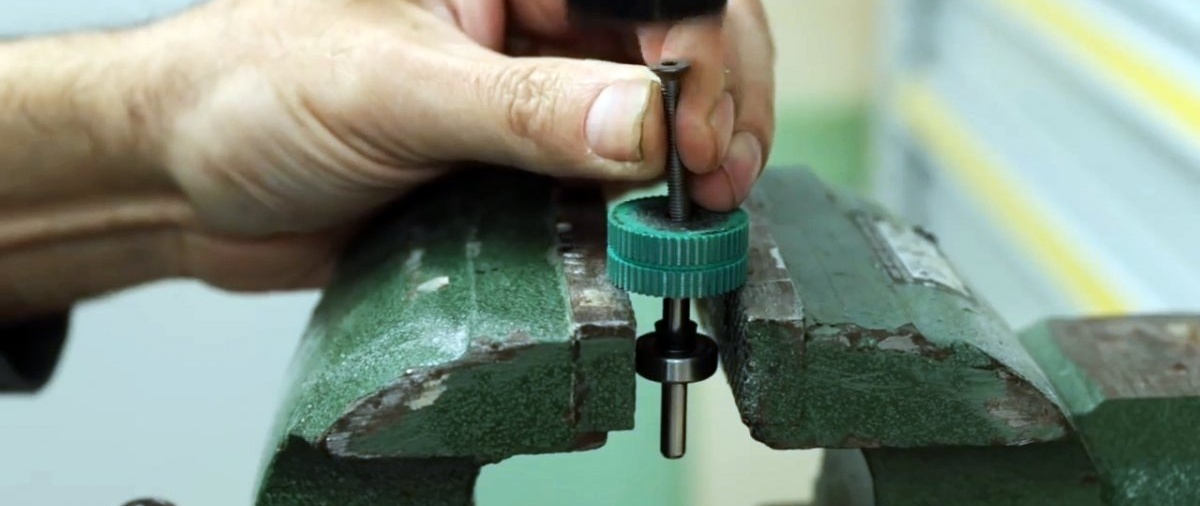


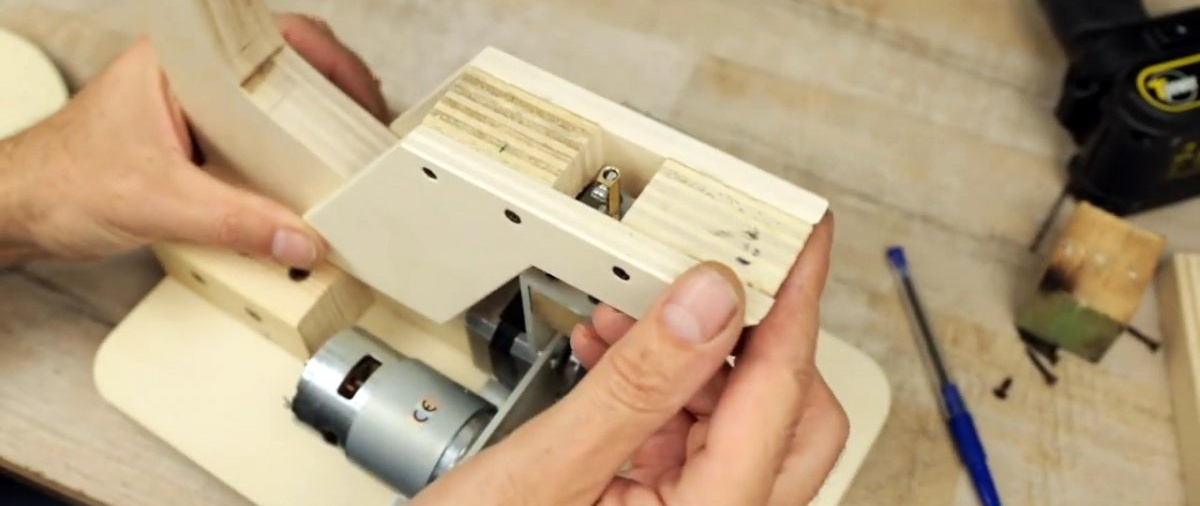
A motor mount is made from an aluminum angle. The engines are installed so that the belt thrown over their pulleys is taut. It is important that the larger pulley should be on the shaft of the broken motor, which will reduce the speed and achieve an increase in power.

An eccentric lever is cut out of an aluminum plate, which allows you to convert the rotational movement of the motor into a translational one, transmitted to the saw blade. Holes are drilled along the edges of the lever. One side of it is screwed to the edge of the larger pulley. It is important that the lever is not pinched and can turn freely.

A vertical stand from the same corner is screwed to the corner with the motors.
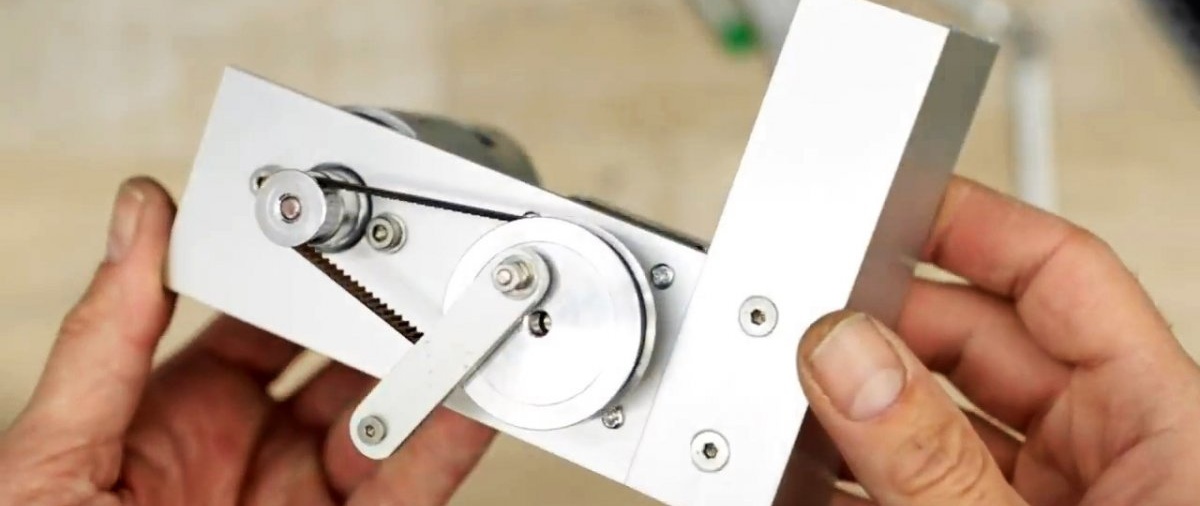
Another section of the corner is attached to its top parallel to the bottom. A wooden block is screwed to the latter from below.

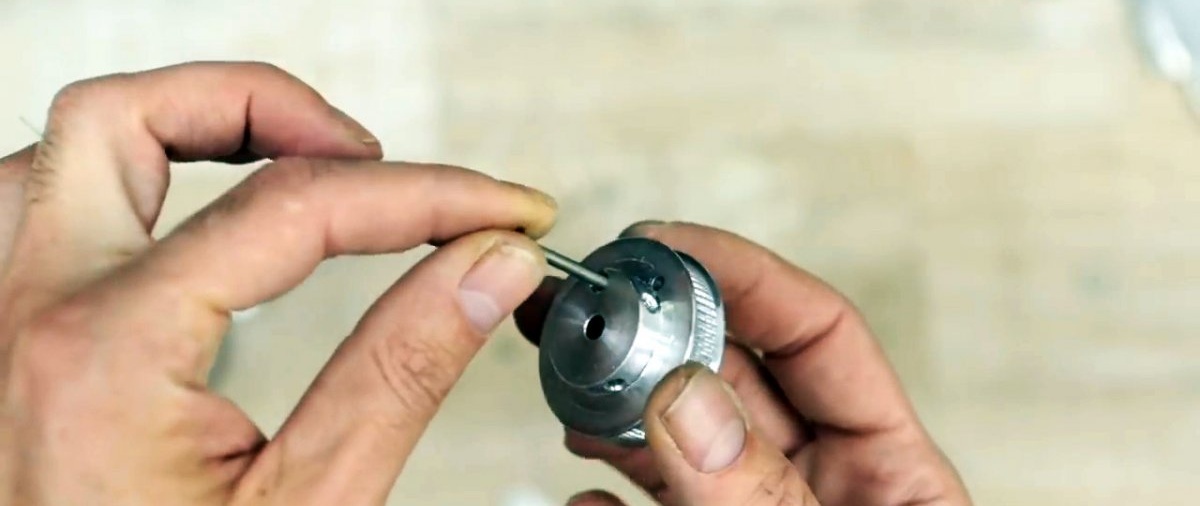
A through hole is drilled in the block and corner. A pin is inserted into it and movably attached to the eccentric lever. A clip cut from the terminal for connecting the wires is attached to the edge of the stud.
The sole and stand of the machine are cut from plywood. The stand is screwed onto the sole using 2 bars.

This will give a more secure connection than straight screwing plywood to plywood.

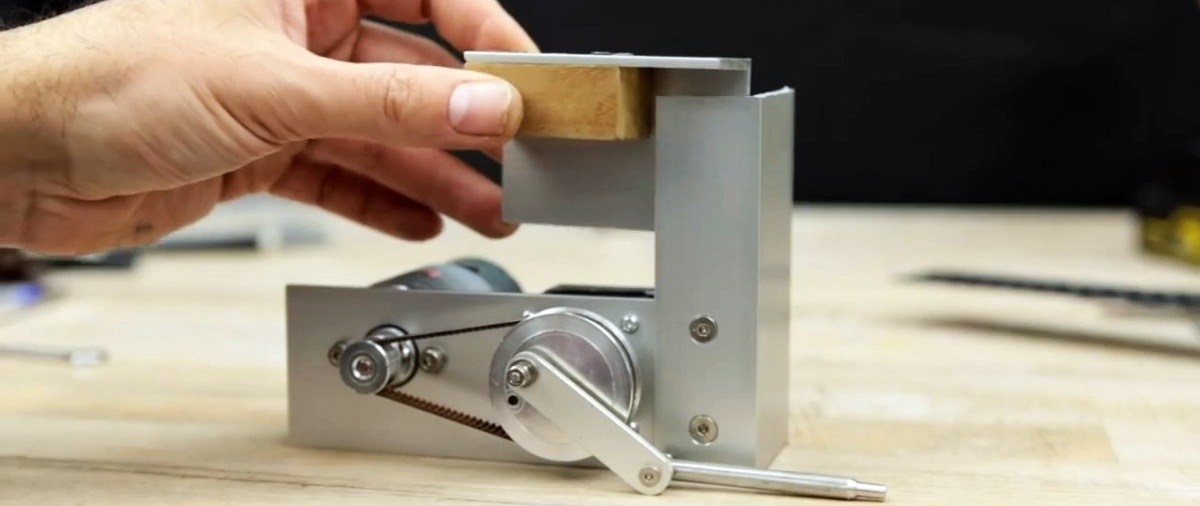
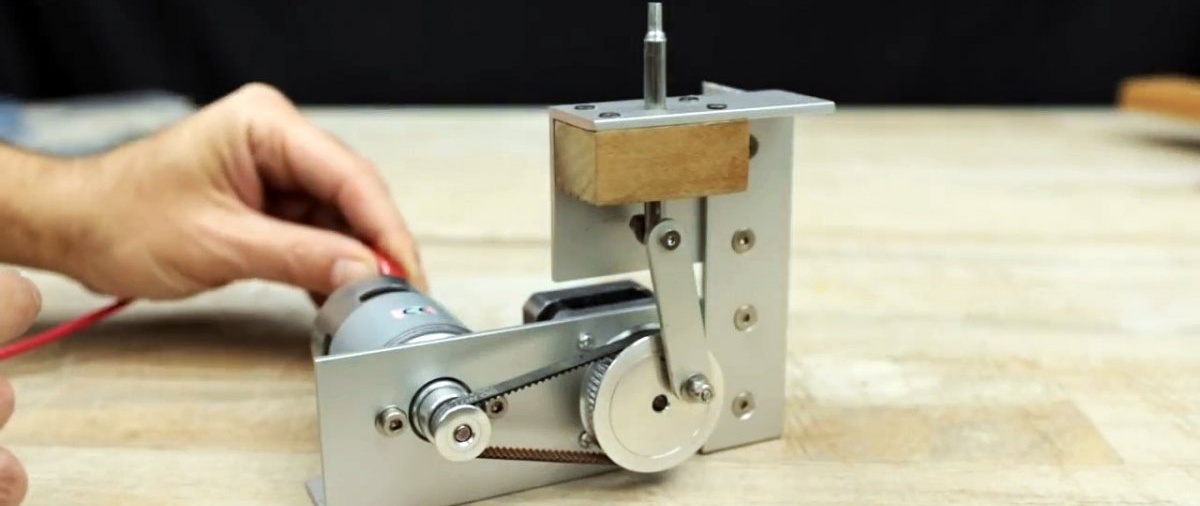
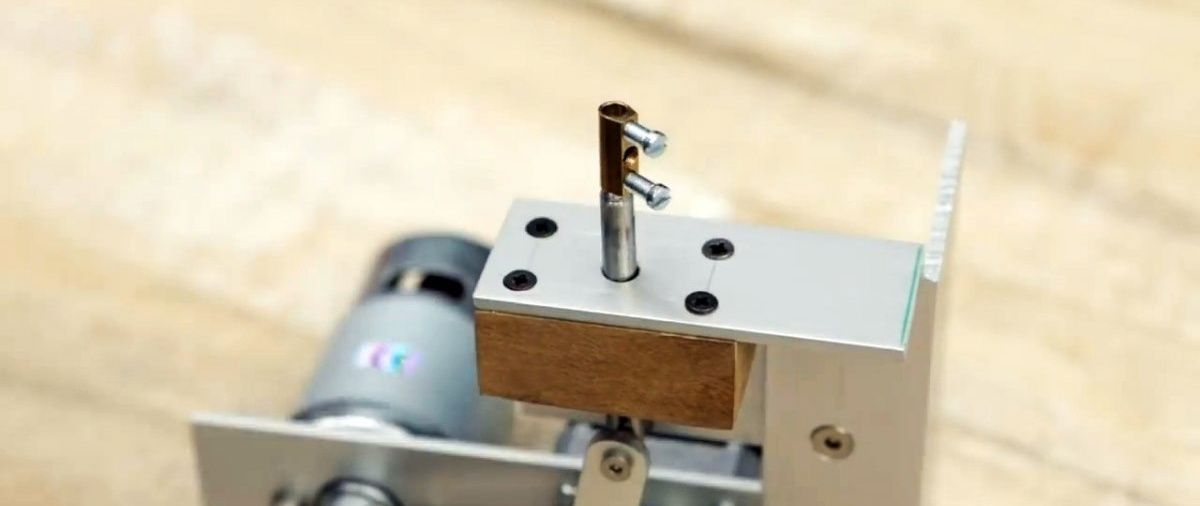
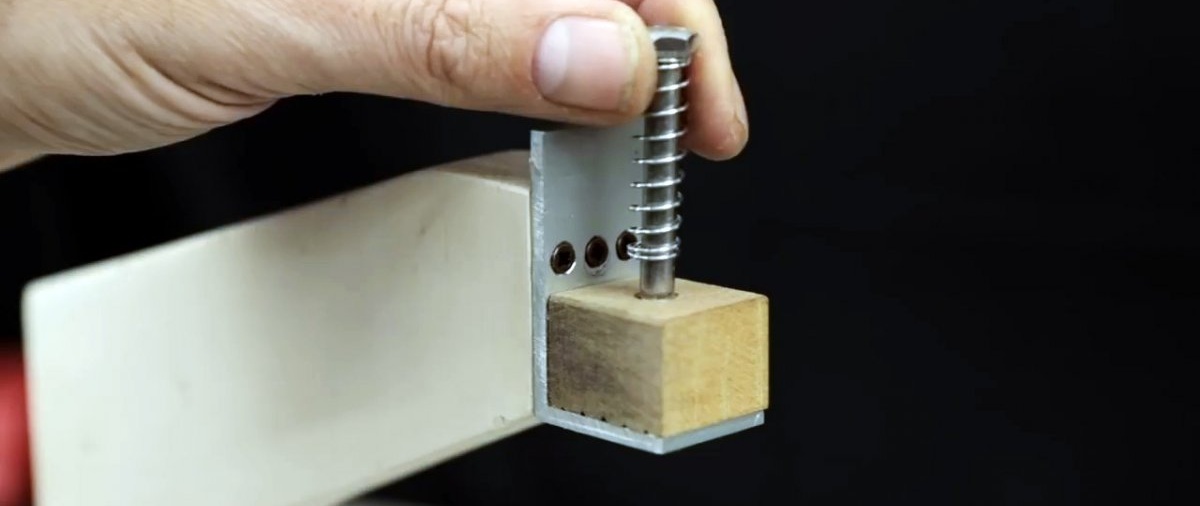
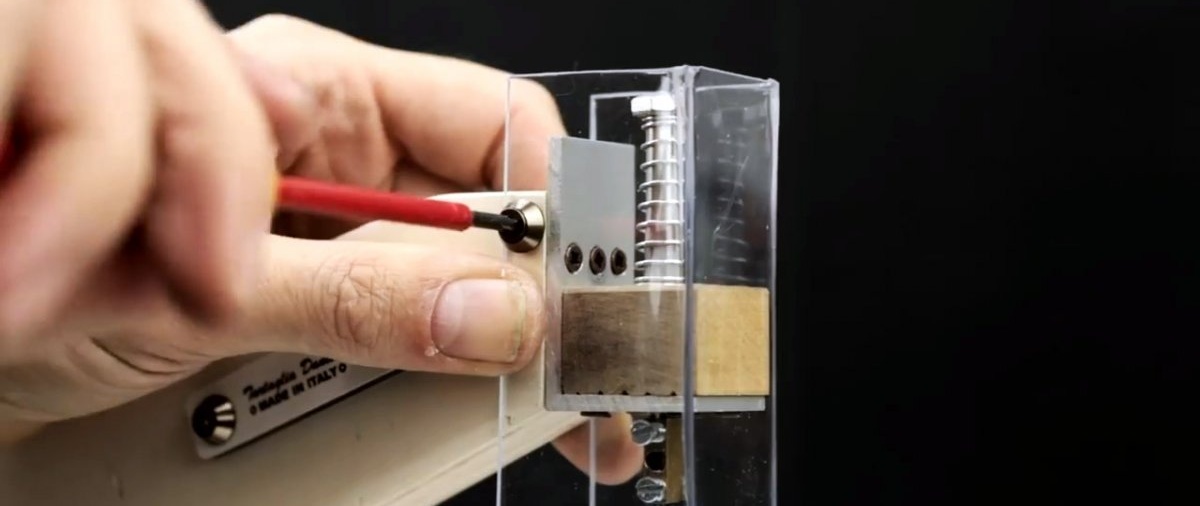
A piece of angle with a wooden backing is screwed onto the top of the post, which will serve as the top guide for the string. A hole is made in the guide, a pin with a spring is inserted into it.

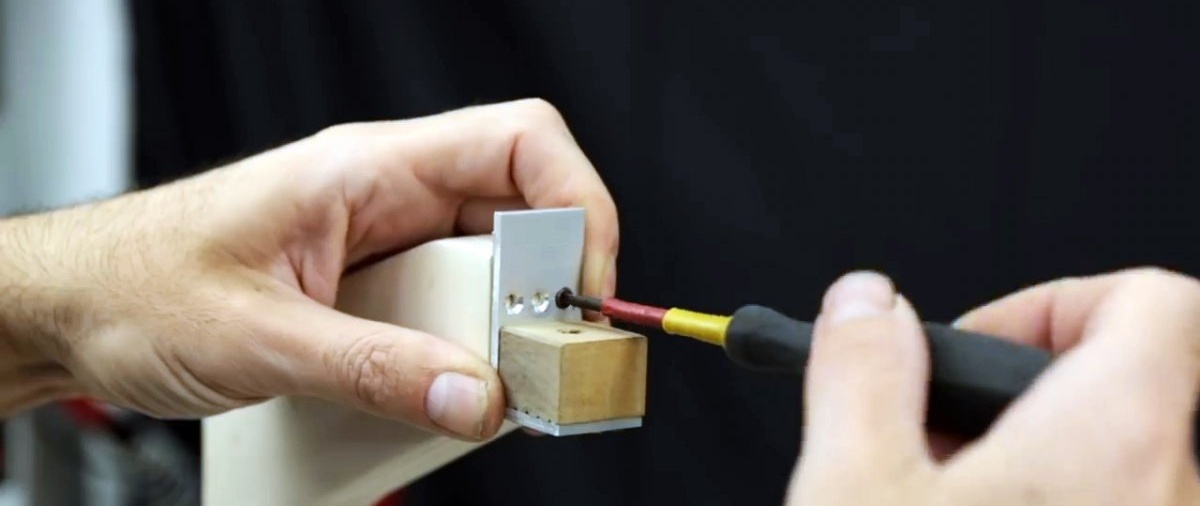
At the end of the pin, the contact from the wire terminal is clamped. It is important to adjust the machine so that when the string is clamped between the upper and lower guides, the mechanism does not jam and the pulleys can make a full rotation.

Rubber furniture feet are screwed onto the sole of the machine to prevent it from vibrating. Next, a support table for the jigsaw is made in the form of a circle. It is made from sheet aluminum and plywood glued together. A hole for the string is drilled in the center of the table.

Next, an L-shaped leg for the table is made from plywood. It consists of 2 parts connected through a lining of bars.

The table is screwed onto the leg, and the leg onto the stand. You will need to make a hole in the leg opposite the clamp on the bottom rail stud so that you can access it with a screwdriver.
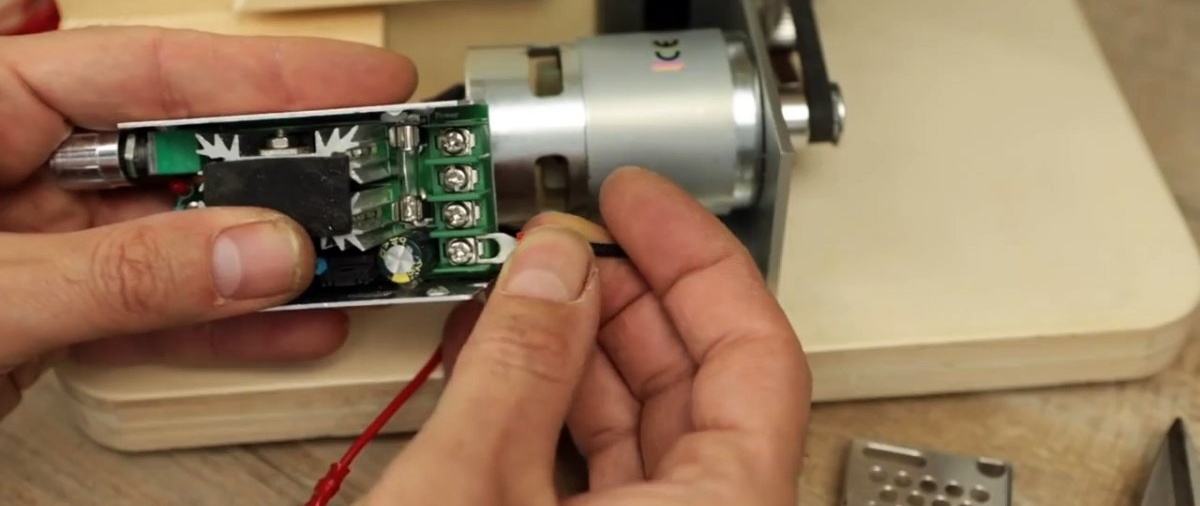
Wires are soldered to the machine motor. They are connected to a speed controller attached to the sole. The wires from it can be taken directly to the power supply or soldered to the connector if the block is also used to connect other mini machines.

Protection on the motor and regulator is bent from plexiglass using a hair dryer, which will prevent sawdust from getting on them. It is also worth bending the folding protection for the top guide.

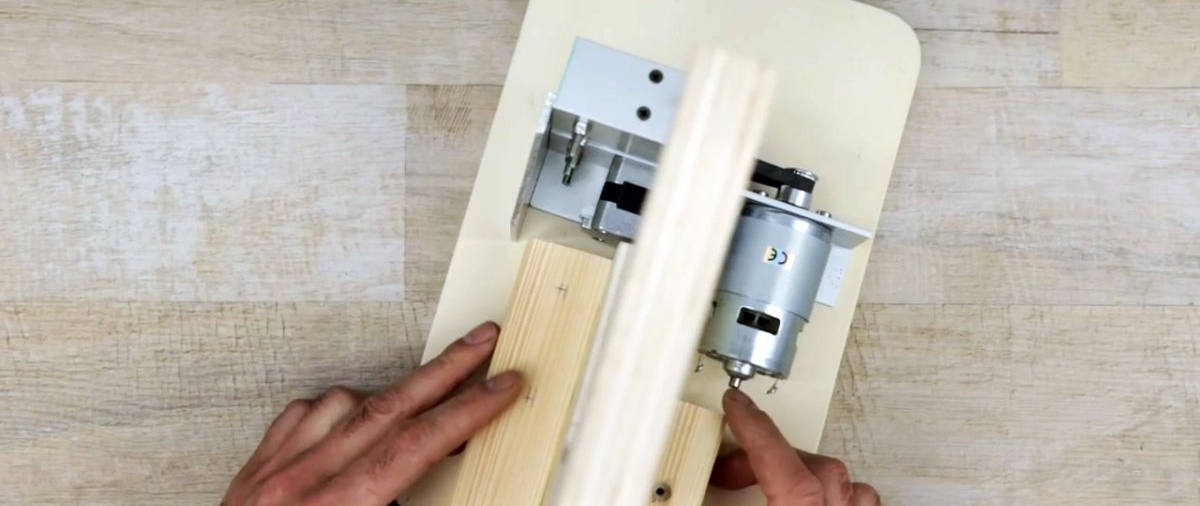
To equip the assembled machine, you need to pass the string through the hole in the table and clamp its ends with the upper and lower guide clamps. After turning on the power, turn the knob to set the optimal sawing speed for the required material. For wood you can set it to the maximum setting, and for sheet metal or textolite to a slower setting.