Do it yourself
Life hacks, master classes, useful tips, recipes.
home » Useful and interesting » How to convert a kitchen blender into an engraver
A common situation is that the blender is working, but its attachments are broken, and it is impossible to find and buy replacements for them. In this case, it can be converted into an engraver, which is done simply and quickly.
How to convert a kitchen blender into an engraver

Materials:


  • immersion blender;
  • mini drill chuck -
  • push-button switch or toggle switch;
  • electrical wire

Blender conversion


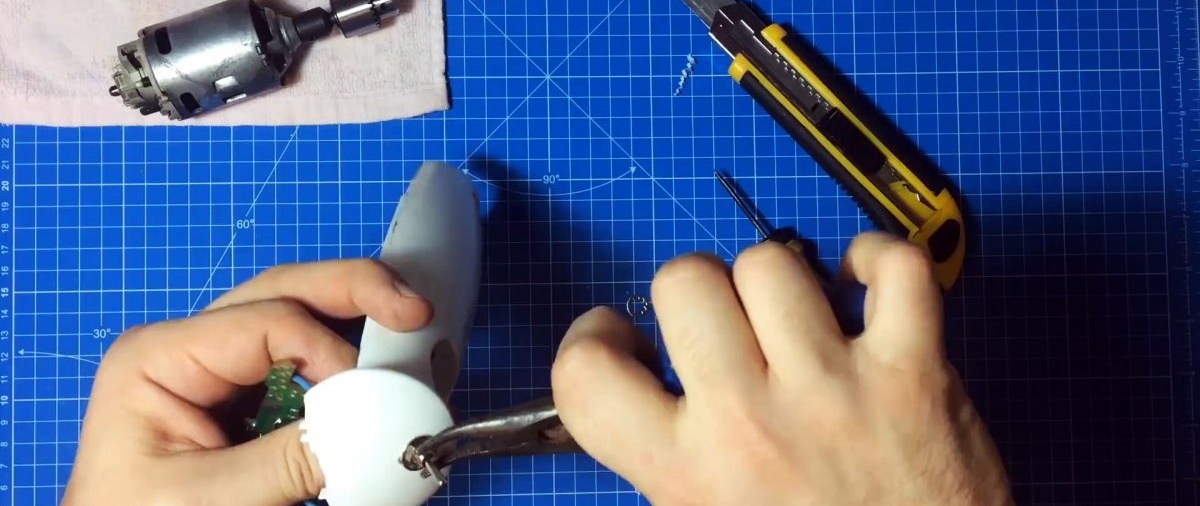
First you need to disassemble the blender body. The screws holding it together are usually located under rubber or plastic pads, which are simply removed. Most likely the screw heads are made for a screwdriver with curly slots. In this case, it is better to use it, since in the future everything will have to be put back together and if the edges on the heads are licked off with a regular screwdriver, then it will not be possible to tighten the screws again.
How to convert a kitchen blender into an engraver

How to convert a kitchen blender into an engraver

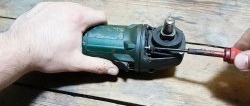
After opening the case, you need to remove the board and motor. After this, the adapter is removed and thrown out from the motor shaft to the nozzle retainer, along with the retainer itself.
How to convert a kitchen blender into an engraver

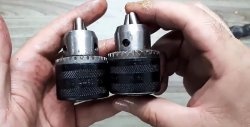
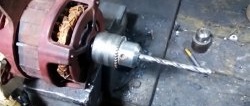
Instead, a drill chuck of a suitable size is installed on the shaft. It can be quick-clamping or designed to be clamped with a key. The main thing is that it is fixed to the shaft with side screws.
How to convert a kitchen blender into an engraver

How to convert a kitchen blender into an engraver

How to convert a kitchen blender into an engraver

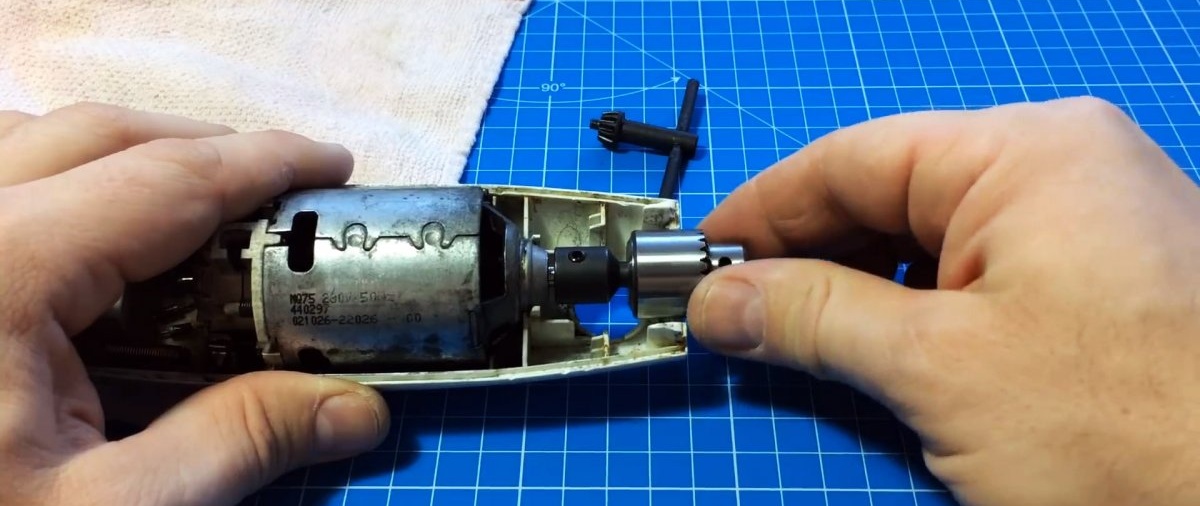
Next, you need to modernize the switching system.The standard blender button only works when pressed.
How to convert a kitchen blender into an engraver

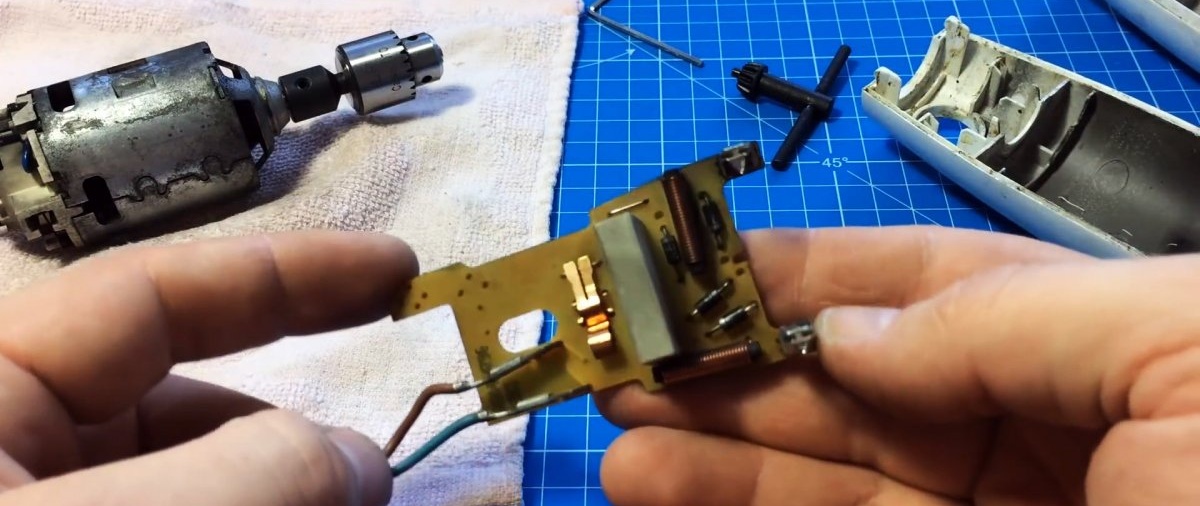
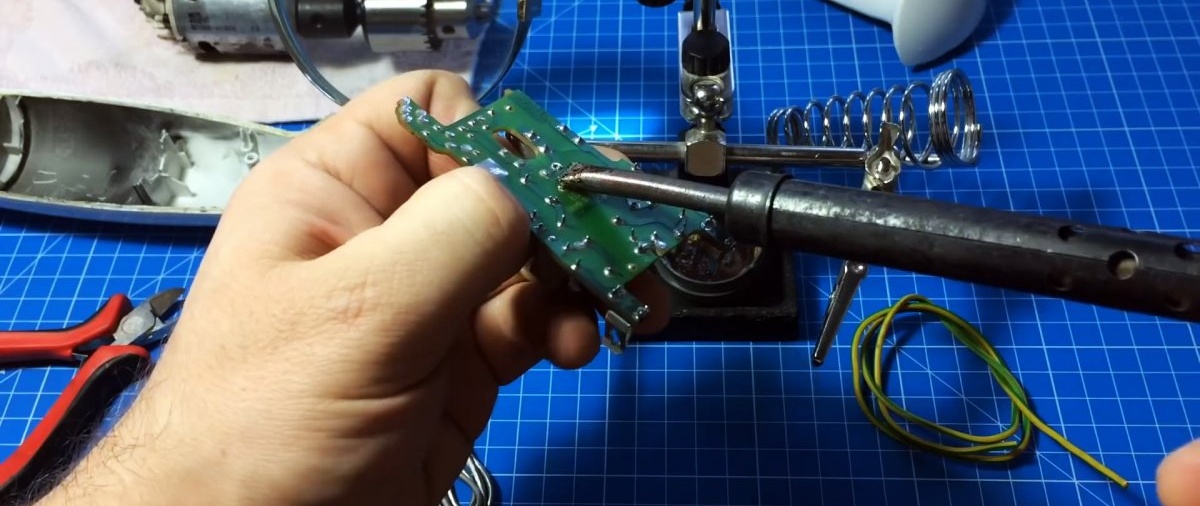
This is unacceptable for an engraver. If you constantly press it, it will be uncomfortable to work. In this regard, you need to remove it from the board. Instead, 2 wires are soldered in. They are soldered onto the contacts of a key switch or toggle switch. The switch itself cuts into the blender body from the back side, there is just free space there.
How to convert a kitchen blender into an engraver

How to convert a kitchen blender into an engraver

How to convert a kitchen blender into an engraver

How to convert a kitchen blender into an engraver

If you don’t want to deal with soldering, you can leave the standard button. In the future, it is simply pressed with electrical tape and the engraver will be started by plugging the plug into the socket. This is inconvenient, but if you don’t have a soldering iron or a suitable button, you can do it this way.
Before reassembling, you should wipe the inside of the case, and then put the motor and board back in place. If the embedded button does not fit well, it can be strengthened from the inside with hot glue. The housing may not be able to snap over the chuck due to its size, in which case the plastic will need to be filed down with a file.
How to convert a kitchen blender into an engraver

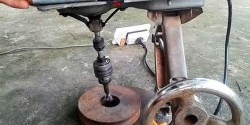
The resulting engraver can work not only with light equipment, but also with fairly heavy drills, grinding stones, and saw blades. The blender engine is designed to handle loads that are orders of magnitude greater than those that an engraver usually has to deal with, so there should be enough power reserve.
How to convert a kitchen blender into an engraver

How to convert a kitchen blender into an engraver

How to convert a kitchen blender into an engraver

How to convert a kitchen blender into an engraver

Watch the video


come back
Comment
  • bowtiesmilelaughingblushsmileyrelaxed relaxedsmirk
    heart_eyeskissing_heartkissing_closed_eyesflushedrelievedsatisfiedgrin
    winkstuck_out_tongue_winking_eyestuck_out_tongue_closed_eyesgrinningkissingstuck_out_tonguesleeping
    worriedfrowninganguishedopen_mouthgrimacingconfusedhushed
    expressionlessunamusedsweat_smilesweatdisappointed_relievedwearypassive
    disappointedconfoundedfearfulcold_sweatperseverecrysob
    joyastonishedscreamtired_faceangryragetriumph
    sleepyyummasksunglassesdizzy_faceimpsmiling_imp
    neutral_faceno_mouthinnocent
3+three=
Comments (0)

Bathroom rug | Do it yourself

Dry salted capelin

Metal crafts | Page 11 | Do it yourself

How to germinate seeds for seedlings in 24 hours

«Do it yourself - with your own hands» - a site of interesting homemade products made from scrap materials and items at home. Step-by-step master classes with photos and descriptions, technologies, life hacks - everything a real master or just a craftsman needs for needlework. Crafts of any complexity, a large selection of directions and ideas for creativity.

We recommend reading

Washing machine error codes