Necessary materials:
- polyethylene film;
- road reinforcing mesh;
- concrete grade M300 or higher;
- fixative;
- concrete separator;
- mold for printed concrete with the required relief;
- hydrochloric acid;
- protective varnish.
Laying technology
Markings are made on the site for pouring concrete and formwork from boards is assembled along its perimeter. The height of the slab for a car to enter must be at least 100 mm; for a pedestrian area, 60 mm is sufficient. A polyethylene film is laid on the prepared base with an overlap on the walls if the slab is in contact with them. Then reinforcement is done with road mesh.


After the mesh, concrete is laid and leveled to a glossy surface.At the junction with the formwork, the edges are rounded with a trowel to avoid edging of retaining settlement.


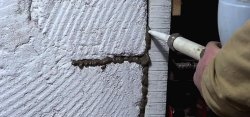
Immediately after leveling the surface, dry fixative of the required color is poured in several layers. Its approximate consumption is 3-5 kg/m2. As soon as the sealer absorbs moisture from the slab and becomes wet, it needs to be smoothed out.
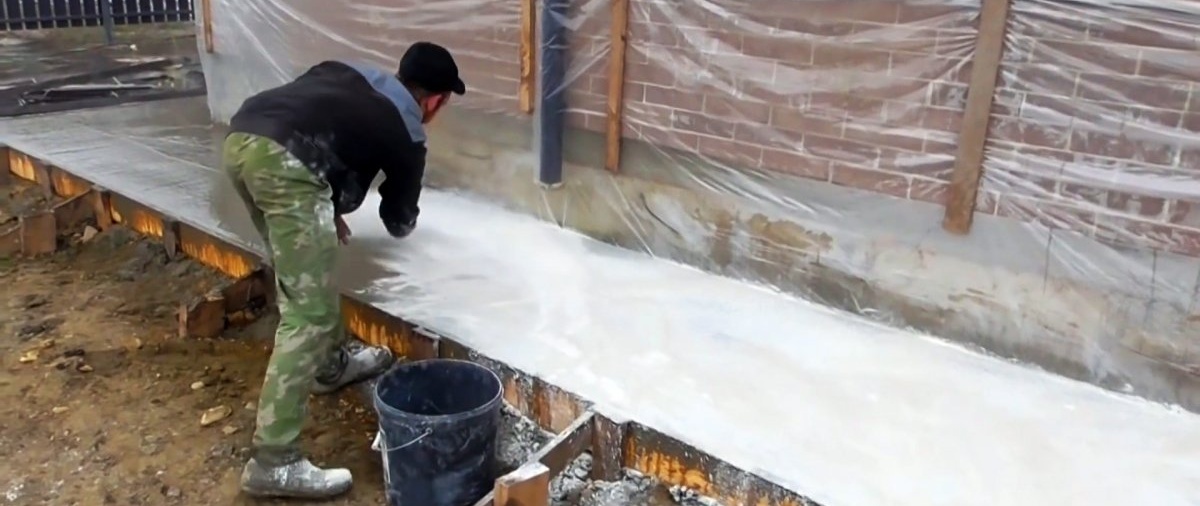

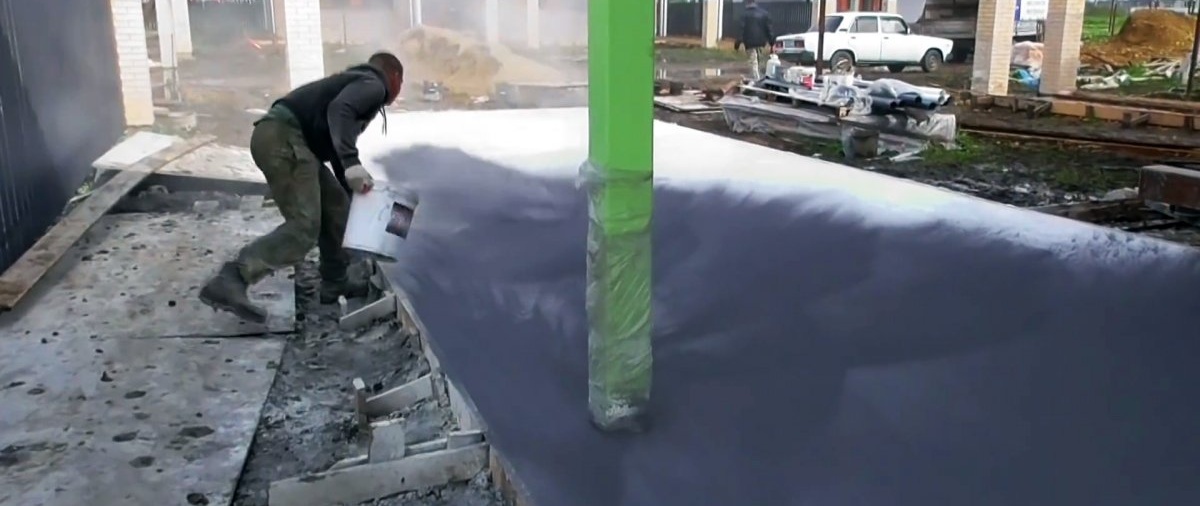
After rubbing in the fixative, dry separator is poured onto the slab. Its presence will prevent the stamp from sticking to the concrete. After this, a pause is made until the surface hardens enough to be walked on without leaving a mark. Its duration depends on temperature, humidity and thickness of the slab.
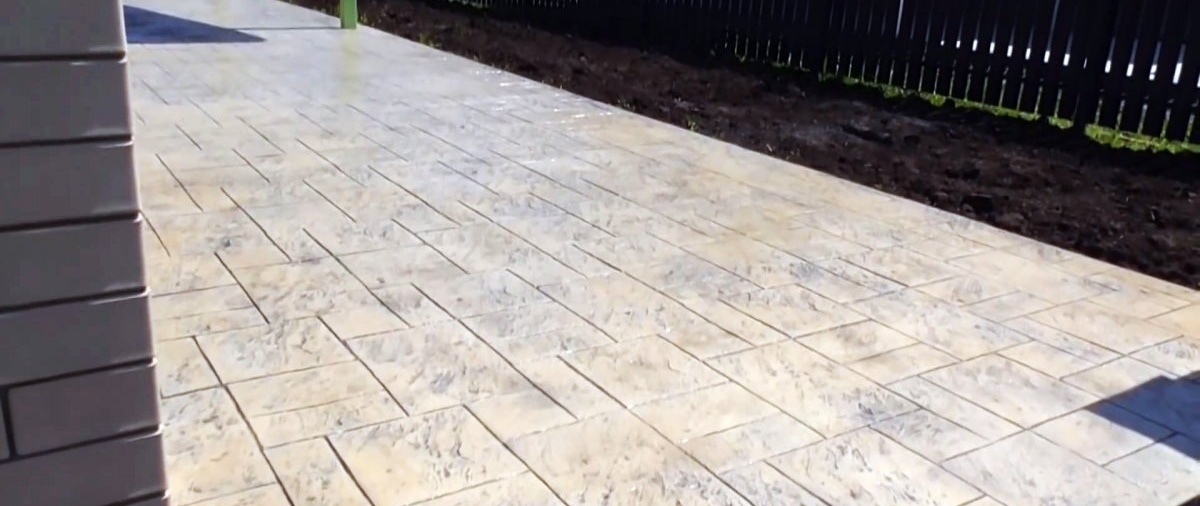
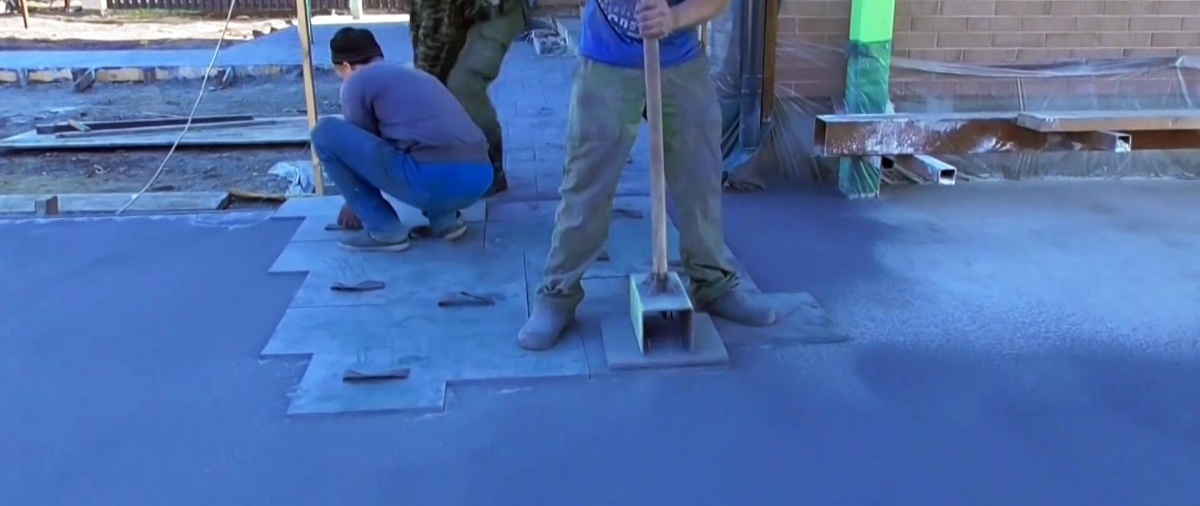
Once sufficiently cured, a stamp is placed on the slab and the concrete is sealed. You need to apply the form, stand on top of it and tap additionally, leaving a clear impression. It is better to do this work in pairs and with several stamps in order to complete it before the concrete hardens.


On the second day after printing or later, you need to make several cuts in the slab with a grinder with a diamond blade across the entire perimeter, from edge to edge. A cutting depth of 3-5 cm is sufficient. In the future, if it wants to crack during deformation, the crack will go straight along the cuts, so it will remain invisible.

After 5-6 days from the moment of pouring, the separator is swept out and washed off. Then the surface is additionally washed with a solution of hydrochloric acid to reveal the design.

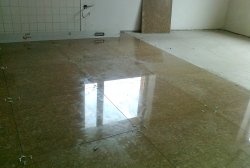
As soon as the slab is completely dry, apply varnish in 2-3 layers. It will protect the surface from absorption, increase wear resistance and create a wet shine. Then all that remains is to trim the protruding film.