Do it yourself
Life hacks, master classes, useful tips, recipes.
home » Handicraft techniques » Sewing » Sewing for Beginners » Master class on sewing a simple reusable anatomical mask
Master class on sewing a simple reusable anatomical mask

Necessary:


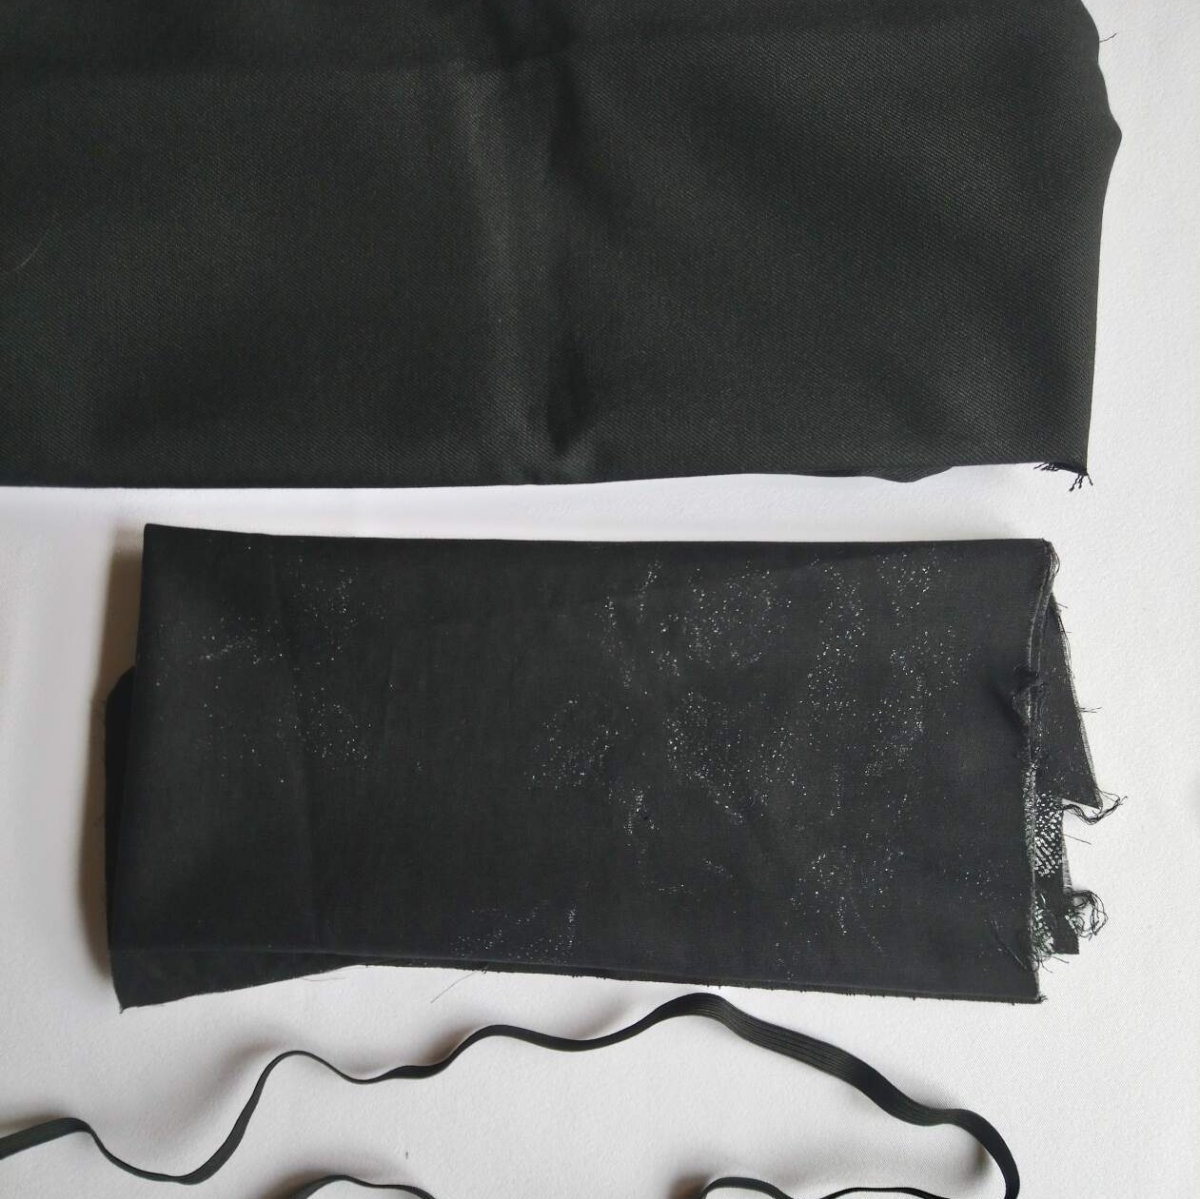
Thick fabric for the outer part (for example, black denim), fabric for the lining inside (black satin with a silver pattern) and elastic 24 - 28 cm, depending on the desired size.
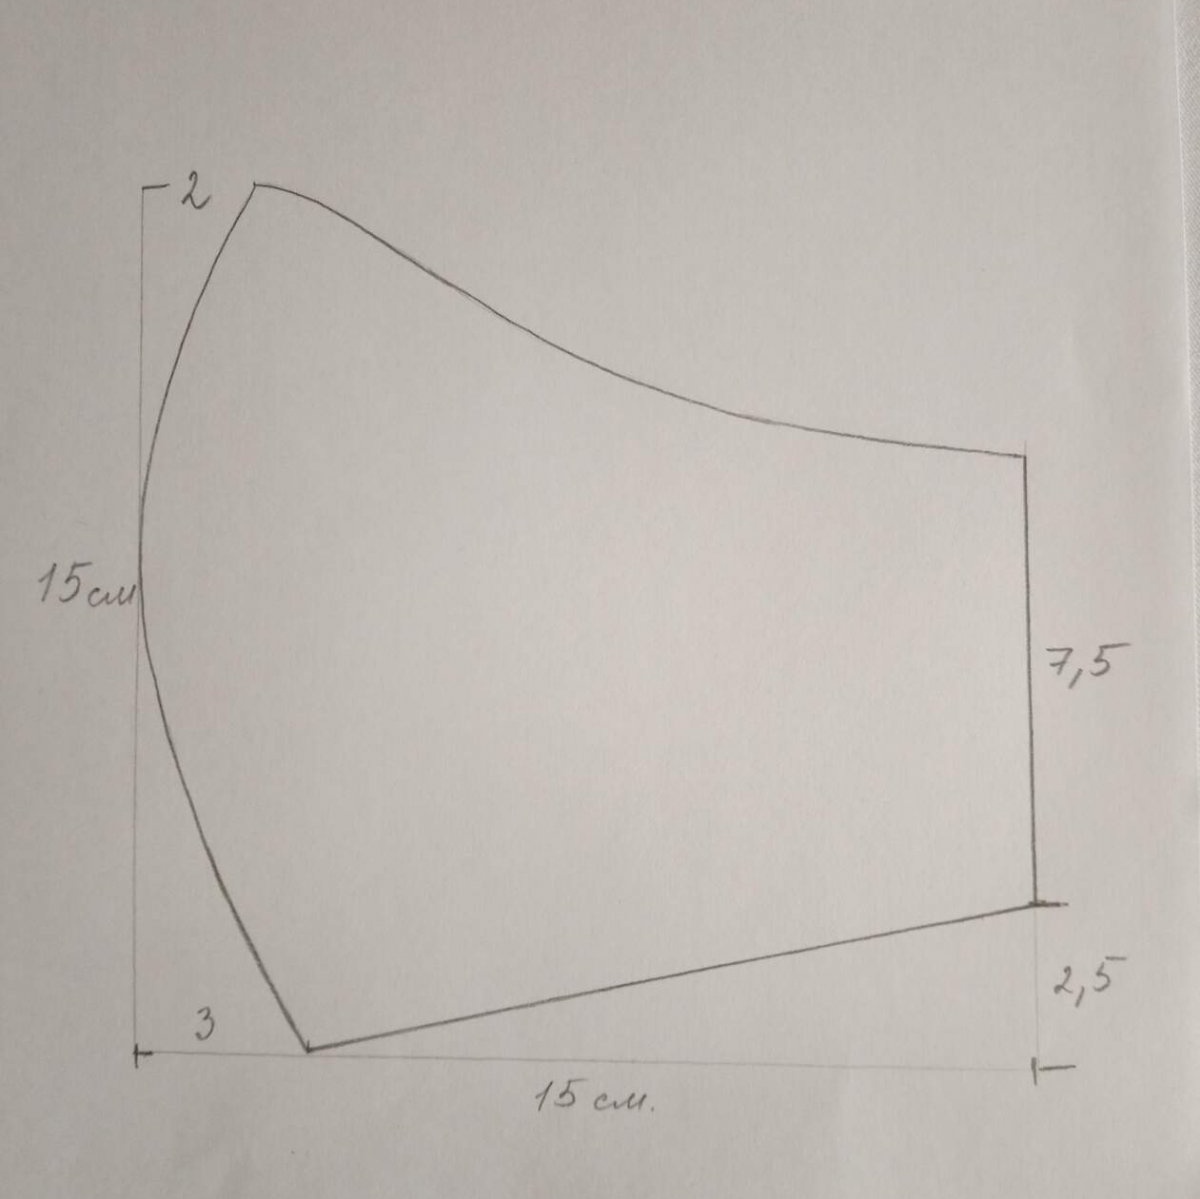
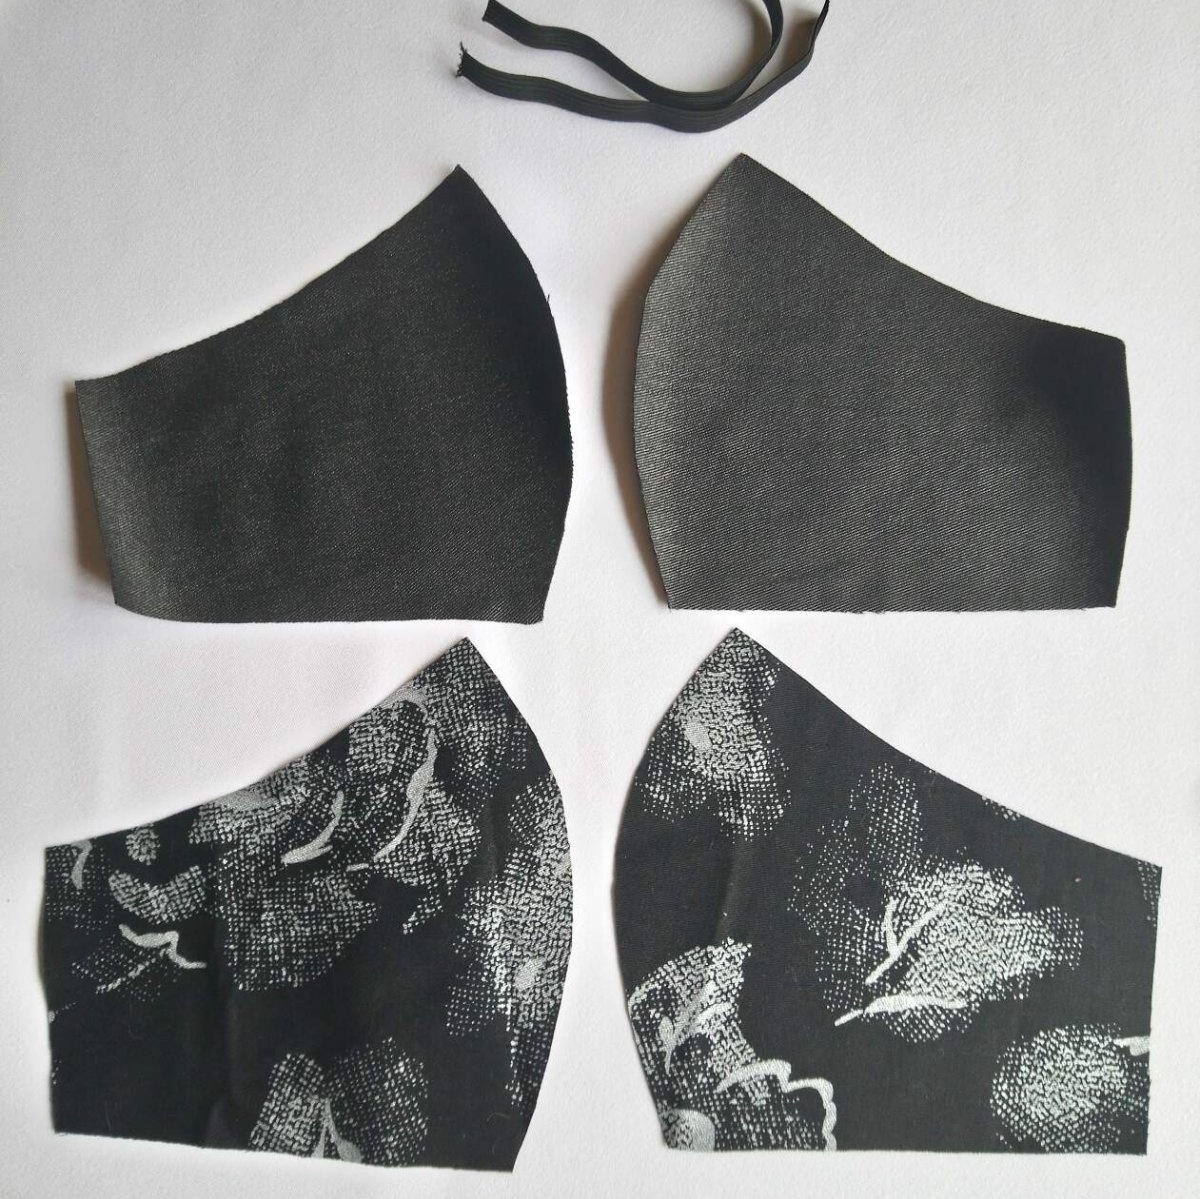
1. In accordance with the drawing, we build a pattern and cut it out.
Master class on sewing a simple reusable anatomical mask

2. Using the pattern without allowances (they are already included), we cut two mirror parts from denim and two from satin.
Master class on sewing a simple reusable anatomical mask

3. Place the two denim pieces right sides inward and sew a middle seam. Similarly, we fold and lay the middle seam on the satin (internal) parts.
Master class on sewing a simple reusable anatomical mask

4. Be sure to lay out the middle seam on the outer (denim) part and sew up the seam allowances if you have thick fabric. If the fabric is soft, you may not need to adjust the seam allowances.
Master class on sewing a simple reusable anatomical mask

5. Cut the elastic bands into two parts. The smallest size is 12 cm, the largest is 14 cm. It is better to attach a denim piece and try on the elastic length you need.
6. We attach elastic bands to the short sections of the denim part with pins and sew them with securing stitches.
Master class on sewing a simple reusable anatomical mask

Master class on sewing a simple reusable anatomical mask

Master class on sewing a simple reusable anatomical mask

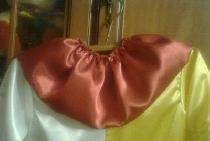
7.Place the satin side on the front side of the denim part and fasten the parts with pins starting from the middle seam so that it does not move.
Master class on sewing a simple reusable anatomical mask

Master class on sewing a simple reusable anatomical mask

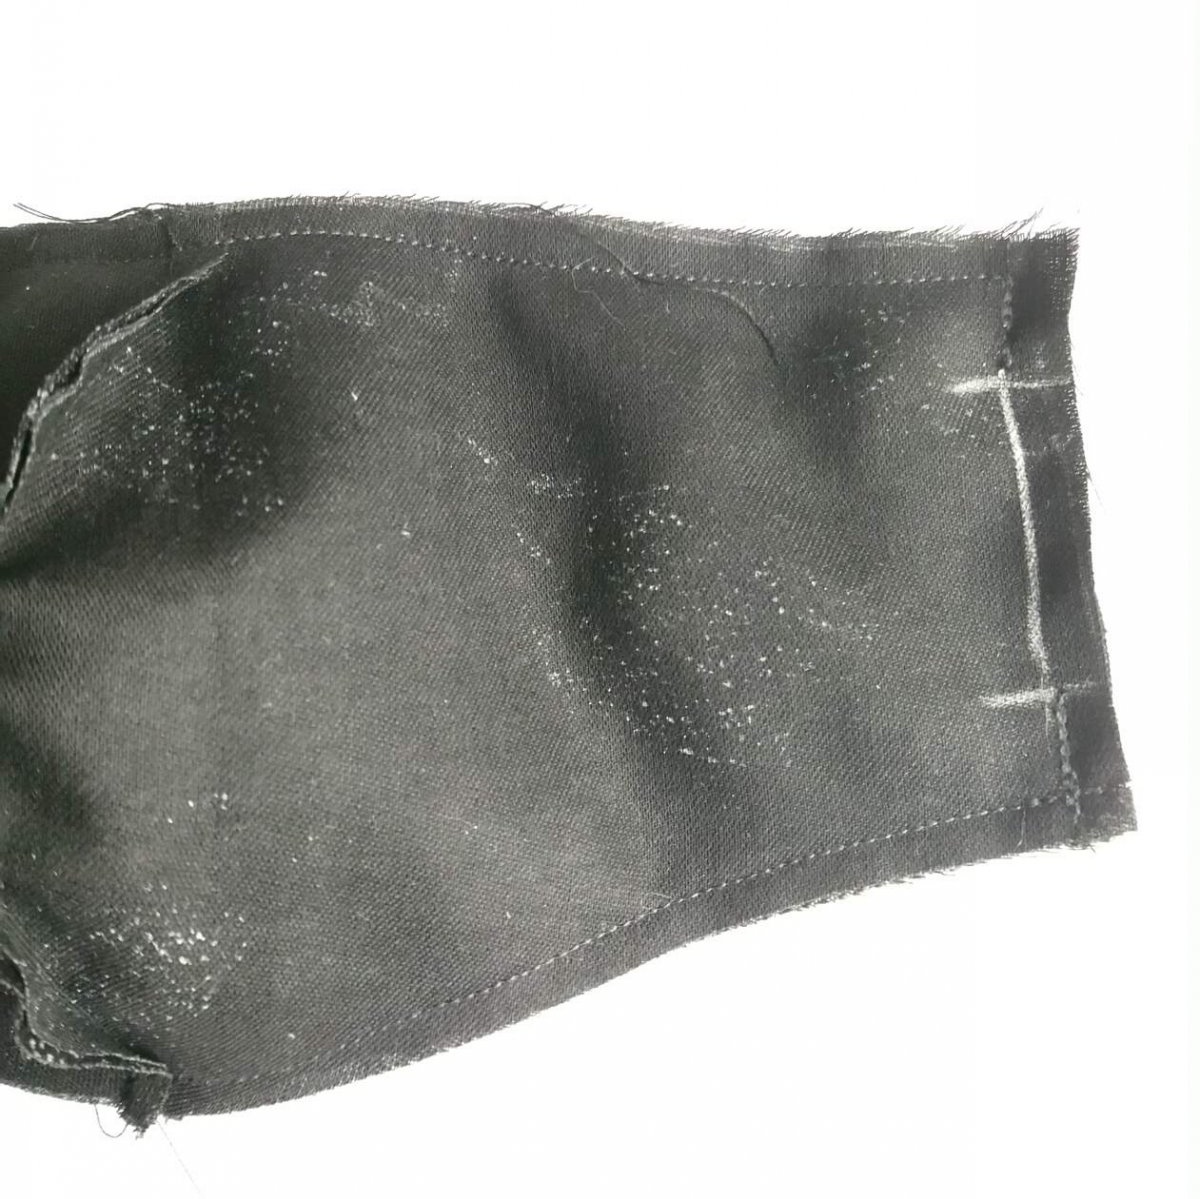
8. We sew a stitch along the entire perimeter of the part, approximately 0.7 cm from the edge. Important: leave the short section between the elastic bands on one side unstitched (see photo).
Master class on sewing a simple reusable anatomical mask

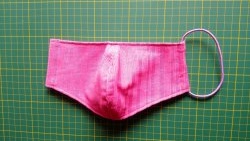
9. Carefully turn the workpiece inside out through the unstitched area. The corners can be straightened with mild scissors or a thick knitting needle.
Master class on sewing a simple reusable anatomical mask

Master class on sewing a simple reusable anatomical mask

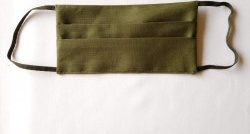
10. We tuck the allowances of the unstitched area inward, and along the front side we sew a line along short sections close to the edge. We also sew a line on the other side for symmetry.
Master class on sewing a simple reusable anatomical mask

Master class on sewing a simple reusable anatomical mask

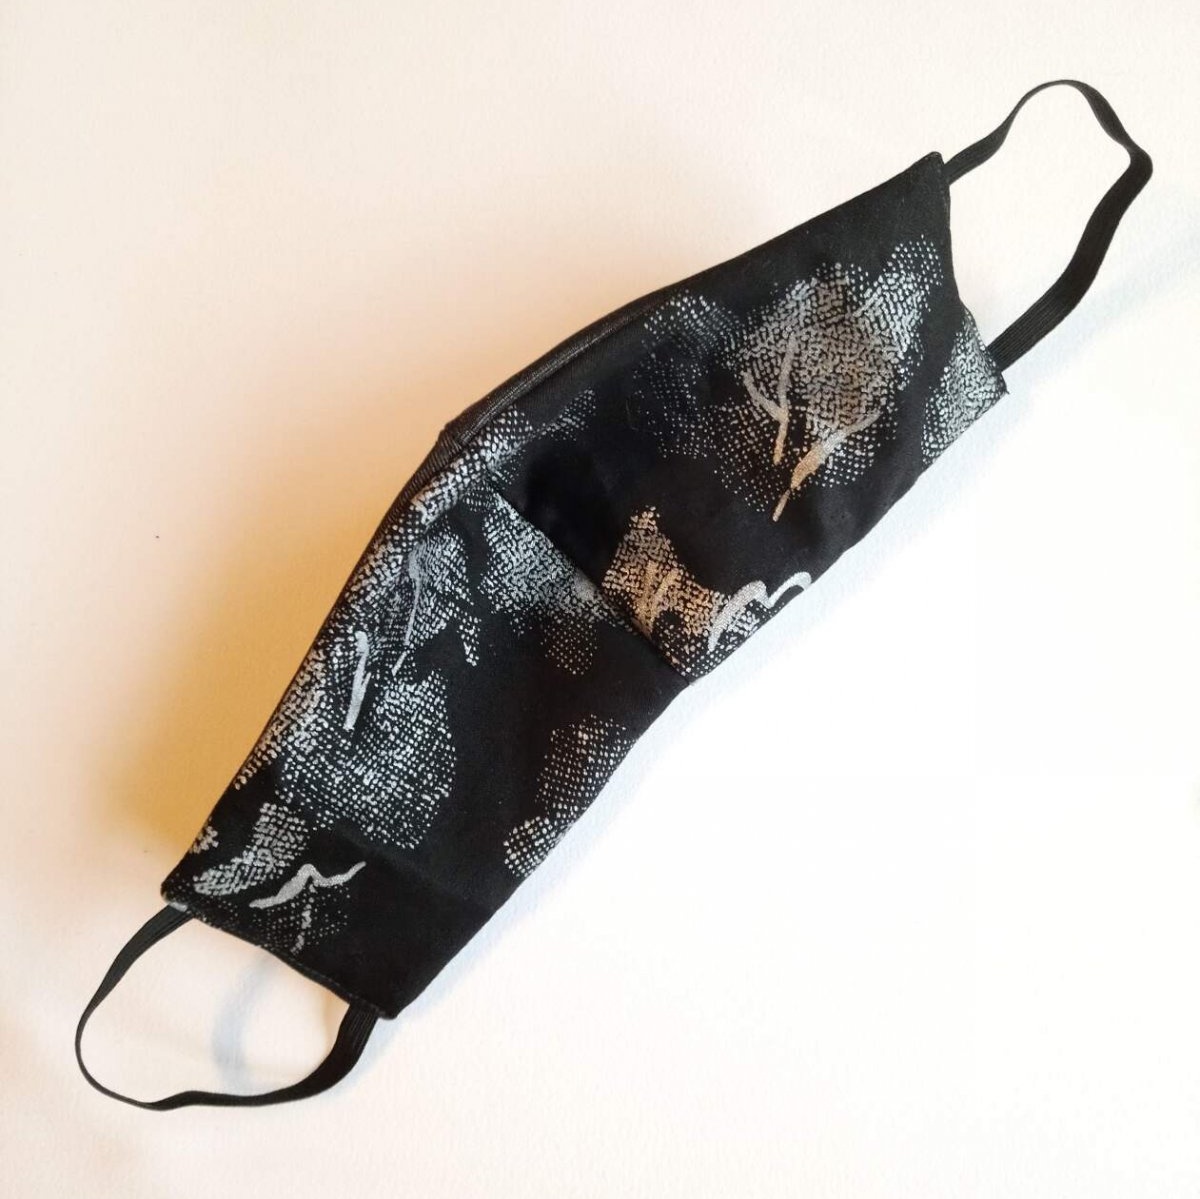
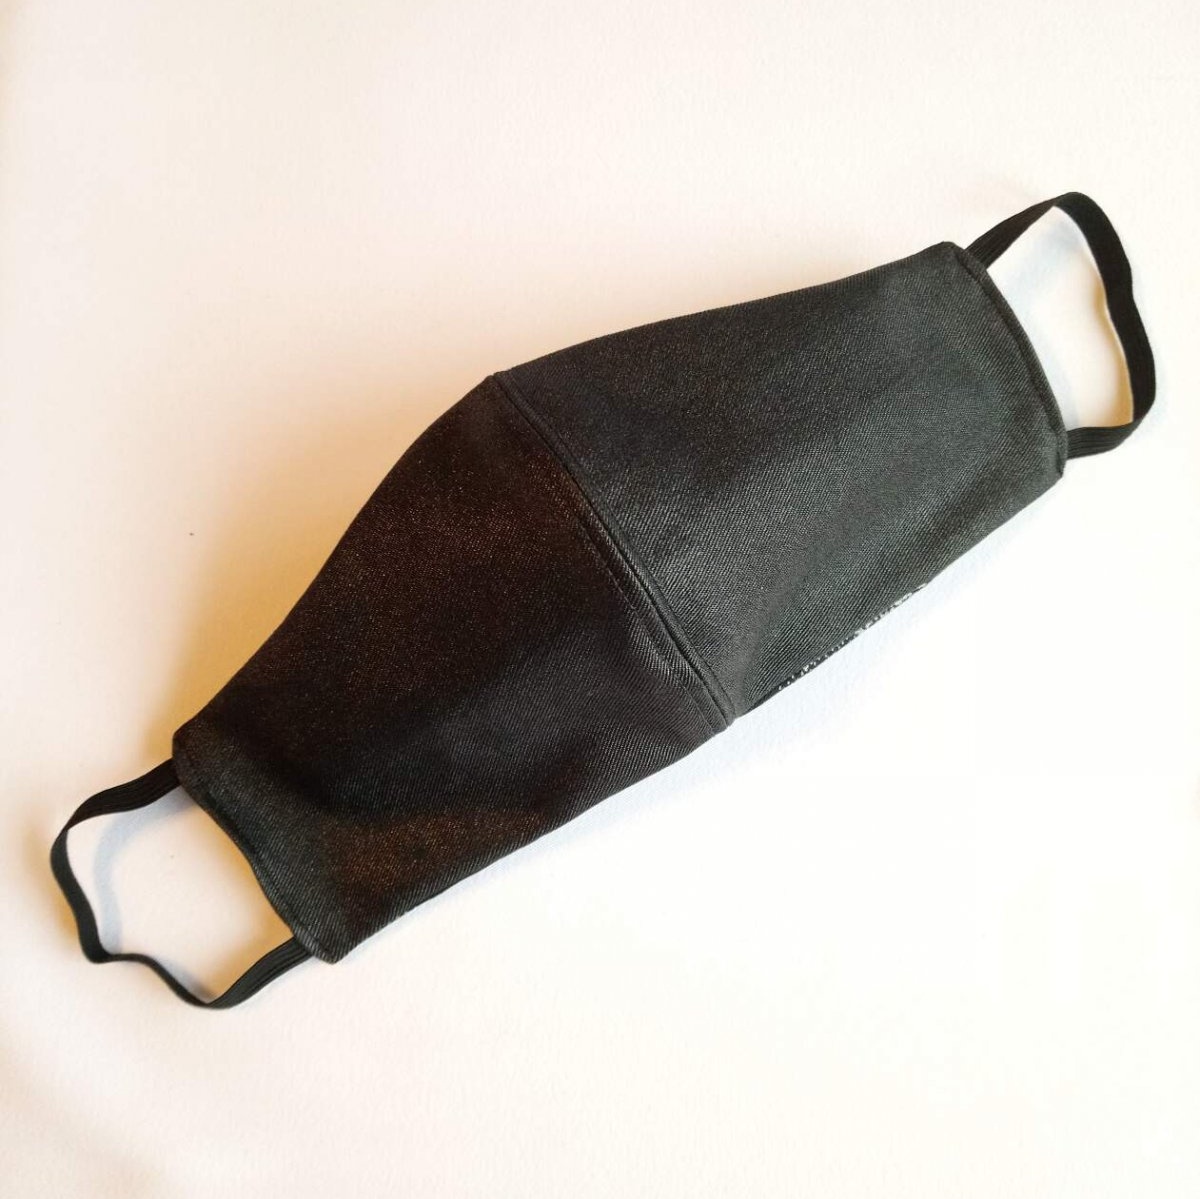
That's all, you have a stylish and comfortable mask ready.
come back
Comment
  • bowtiesmilelaughingblushsmileyrelaxed relaxedsmirk
    heart_eyeskissing_heartkissing_closed_eyesflushedrelievedsatisfiedgrin
    winkstuck_out_tongue_winking_eyestuck_out_tongue_closed_eyesgrinningkissingstuck_out_tonguesleeping
    worriedfrowninganguishedopen_mouthgrimacingconfusedhushed
    expressionlessunamusedsweat_smilesweatdisappointed_relievedwearypassive
    disappointedconfoundedfearfulcold_sweatperseverecrysob
    joyastonishedscreamtired_faceangryragetriumph
    sleepyyummasksunglassesdizzy_faceimpsmiling_imp
    neutral_faceno_mouthinnocent
3+three=
Comments (0)

Do it yourself - crafts and master classes | Page 94

Top 10 Unusual Uses for Cloves

How to quickly and inexpensively pour a foundation on concrete supports

How to make a USB charger for Li-ion 18650 batteries

«Do it yourself - with your own hands» - a site of interesting homemade products made from scrap materials and items at home. Step-by-step master classes with photos and descriptions, technologies, life hacks - everything a real master or just a craftsman needs for needlework. Crafts of any complexity, a large selection of directions and ideas for creativity.

We recommend reading

Washing machine error codes