Today we will simply transfer the image onto a separate piece of fabric, this will make it easier to practice. And then you can transfer the drawings to a T-shirt, T-shirt, and other things. It is important to understand that the easiest way to transfer an image is to cotton. You can also transfer pictures onto silk. The image will be brighter than that of a cotton product.
In this example, I'm going to show you a very simple way to transfer images onto fabric. We will use items that can be found in almost every home.
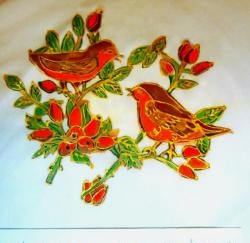
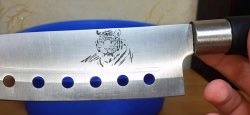
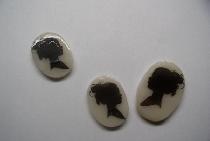
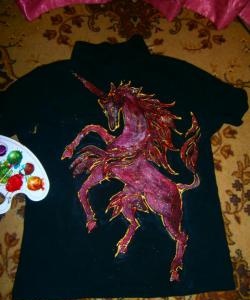
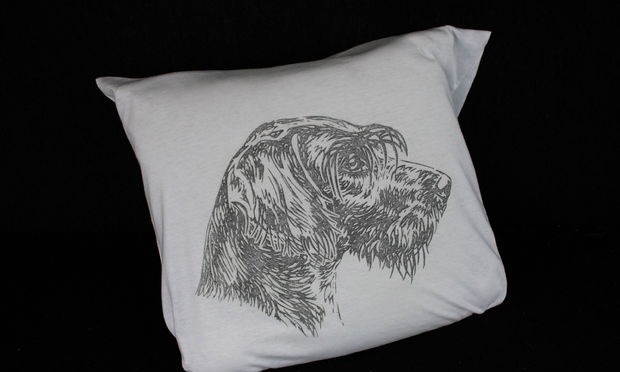
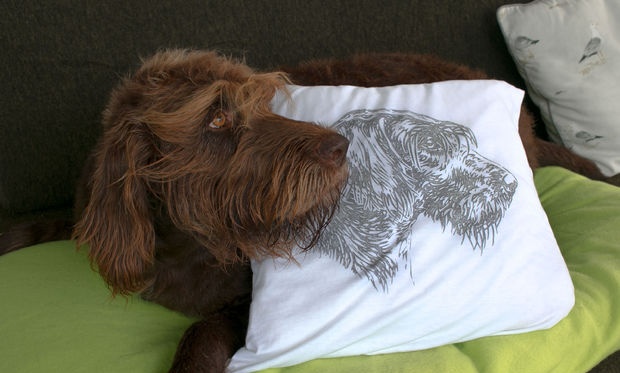
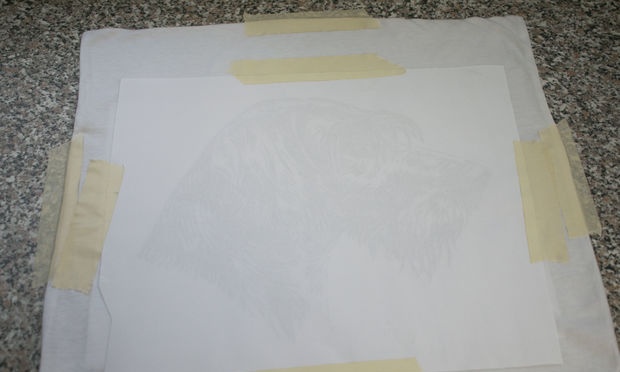
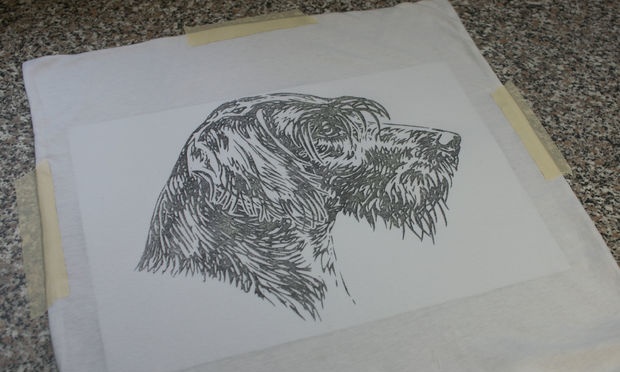
As you can see, I used a painted picture of our dog, but this method will work for any photo.
Step 1: What you need to prepare
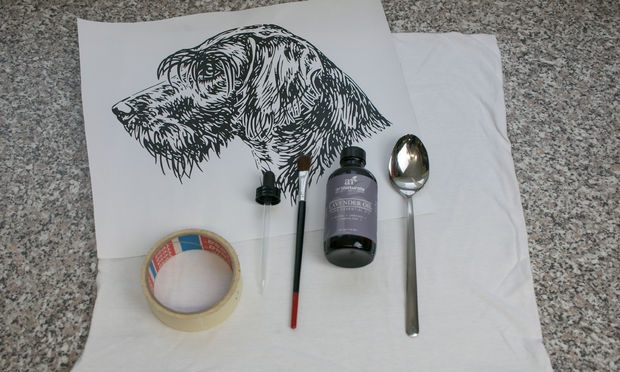
You will need the following items:
- Textile.
- An image printed with a laser printer (if it is printed with an inkjet printer, nothing will work)
- Lavender oil.
- Paper.
- Duct tape.
- Spoon.
- Brush.
- Iron.
2nd step: Preparation
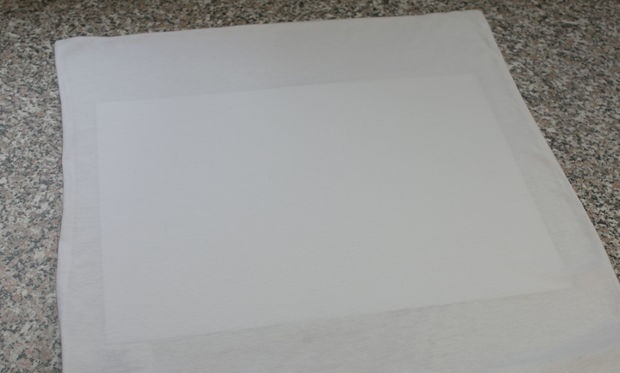
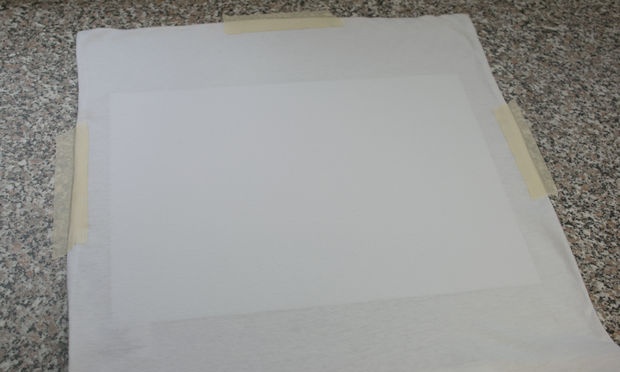
Iron a piece of fabric. As you can see, I used a pillowcase for this.
You need to place a sheet of paper under the fabric; it is needed to absorb excess liquid.
Use adhesive tape to secure the image to the fabric. It should be mirrored, especially if you plan to move the text. If this is not done, the result will be that the image on the fabric will be placed backwards. It is necessary to fix the image, otherwise it may move during the work.
3rd step: Image transfer
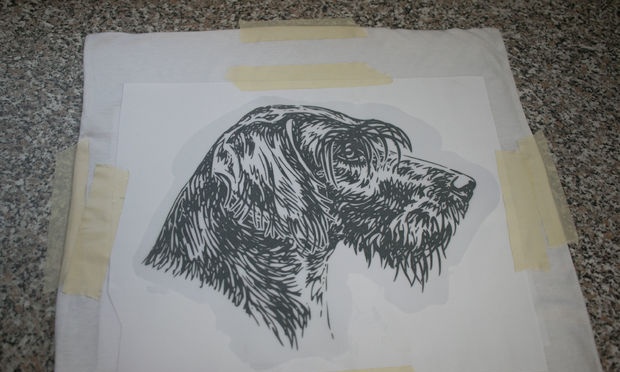
Place a few drops of lavender oil onto the picture and use a brush to spread it evenly over the entire surface. Here it is important to process the entire picture very carefully so that there are no dry spots left.
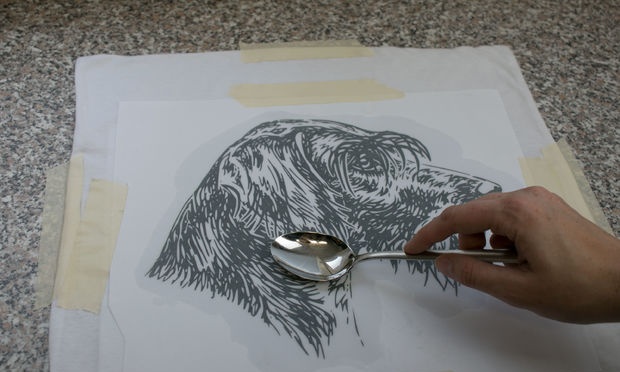
After about 1-3 minutes you can start transferring the image. I used a spoon to do this. Using a spoon, begin to gently press on the image. Here it is important to push through the entire image. From time to time you can carefully lift the drawing to see what happens.
Once the image has been transferred to the fabric, you can remove the paper and let the fabric dry. It should be said in advance that the transferred image will be slightly less clear than the original. In addition, if not all areas are pressed well enough, there will be gaps in the fabric.
4th step: Conclusion
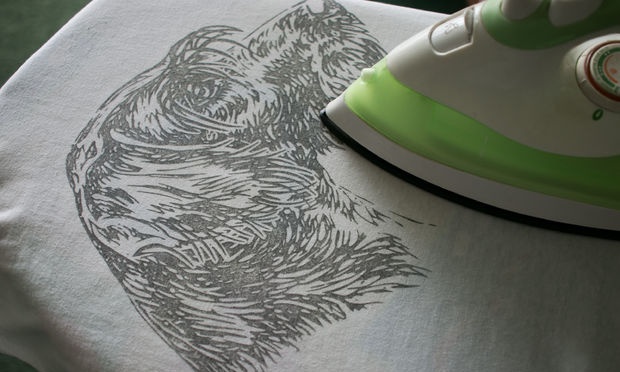
All that remains to be done is to iron the fabric with the transferred image. Do not use the steam function. Depending on the type of fabric, the ironing temperature may vary. Set the temperature to the highest possible temperature that is suitable for this type of fabric.
When transferring a large image, it is best to smooth the sheet in several passes. To do this, you need to slowly move the iron, pressed tightly to the table, along the long side of the design. The time for one pass should be about 30 seconds.
The finished transfer masterpiece is machine washable at 40°C (104°F). But here it is important to consider that with each wash, the transferred image will become paler.
In addition to this method, there is a slightly different option. But to implement it, you will first need to starch the fabric, then wait until it dries. Starch will not affect the final result in any way.
That's it, you've done it, congratulations!
The article was translated specifically for enn.washerhouse.com
Source website.