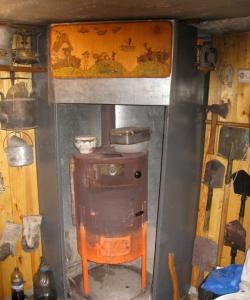
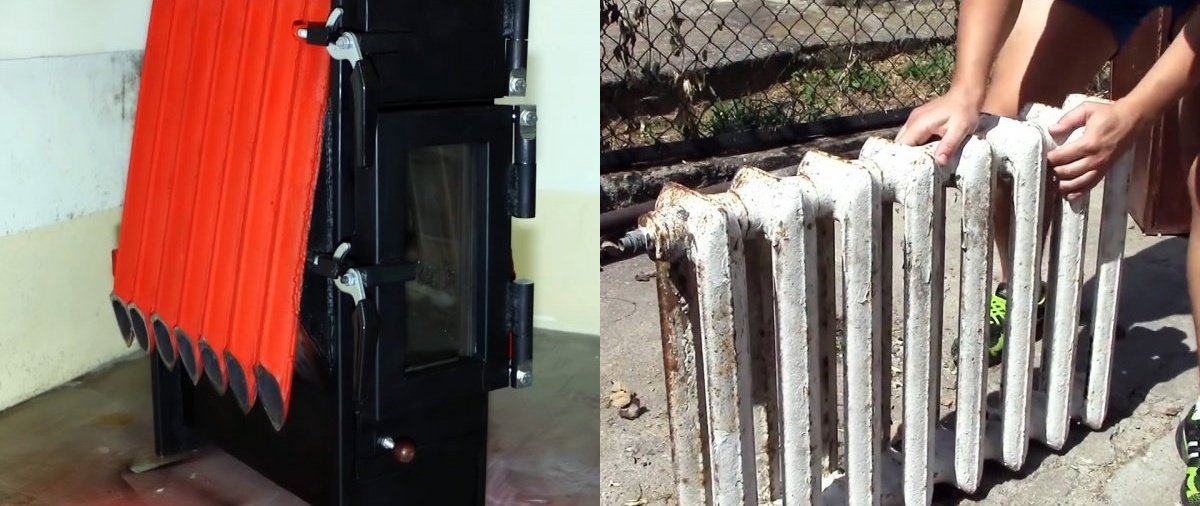
For heating garages, workshops or temporarily heating a house under construction, it is convenient to use a potbelly stove. It takes up little space and allows you to quickly reach a comfortable temperature. In the factory version, potbelly stoves are very light, so after the wood burns out, they quickly cool down and stop heating. If you need the stove to additionally work as a heat accumulator, you can make it yourself, using cast iron batteries as its components.
Materials:
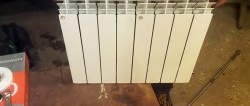
- cast iron heating radiator 7-8 sections;
- profile pipes 50x20 mm, 20x20 mm, 10x10 mm;
- sheet steel 3-5 mm;
- strip 20 mm;
- asbestos cord;
- heat-resistant glass;
- welded hinges – 3 sets;
- bolts for stove doors – 3 pcs.
Wood stove manufacturing process
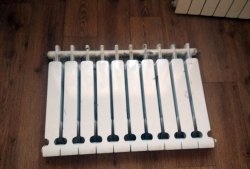
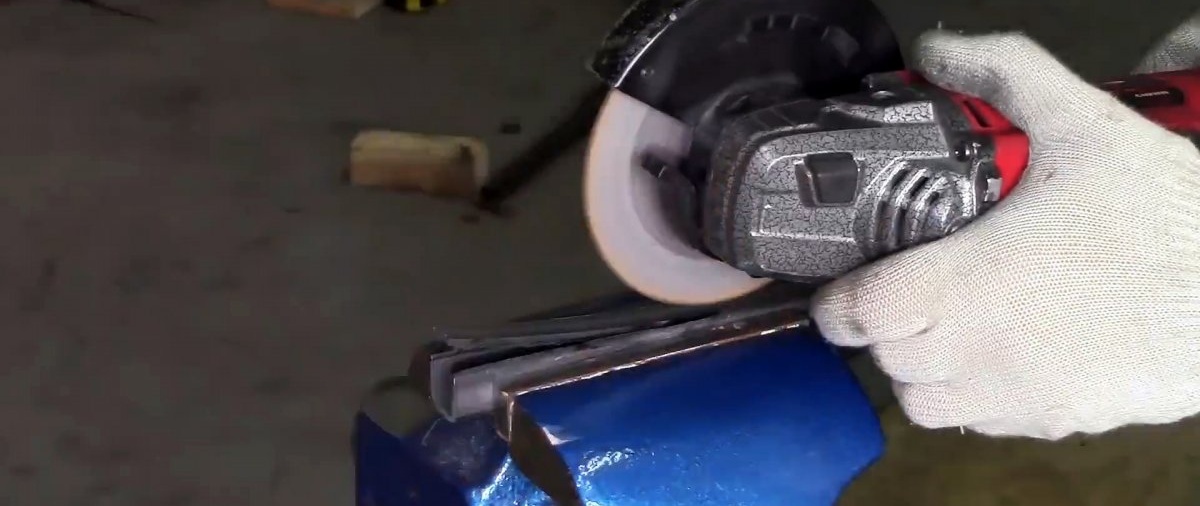
To make the sides of the stove, you need to disassemble the radiator into sections. In order not to look for keys and not to unscrew rusty nipples, you can simply cut the battery into sections with a grinder.

Then the ribs are cut from each of them.


There are a lot of deposits inside the ribs, and they are covered with thick layers of paint on top.All this needs to be burned out. To do this, the ribs along with firewood are piled into a fire. When it burns out, they need to be cleaned with a metal brush.

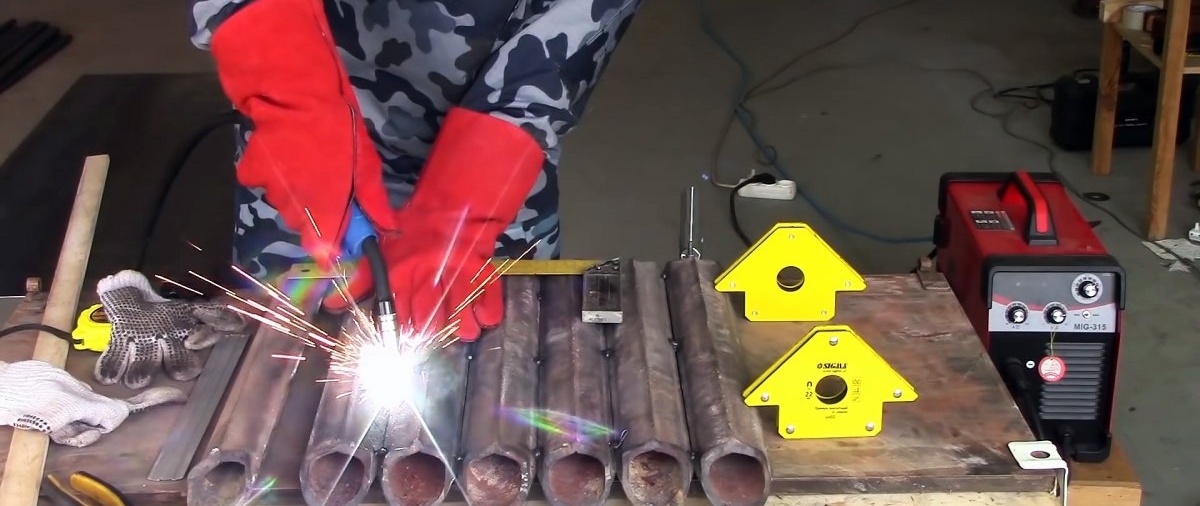
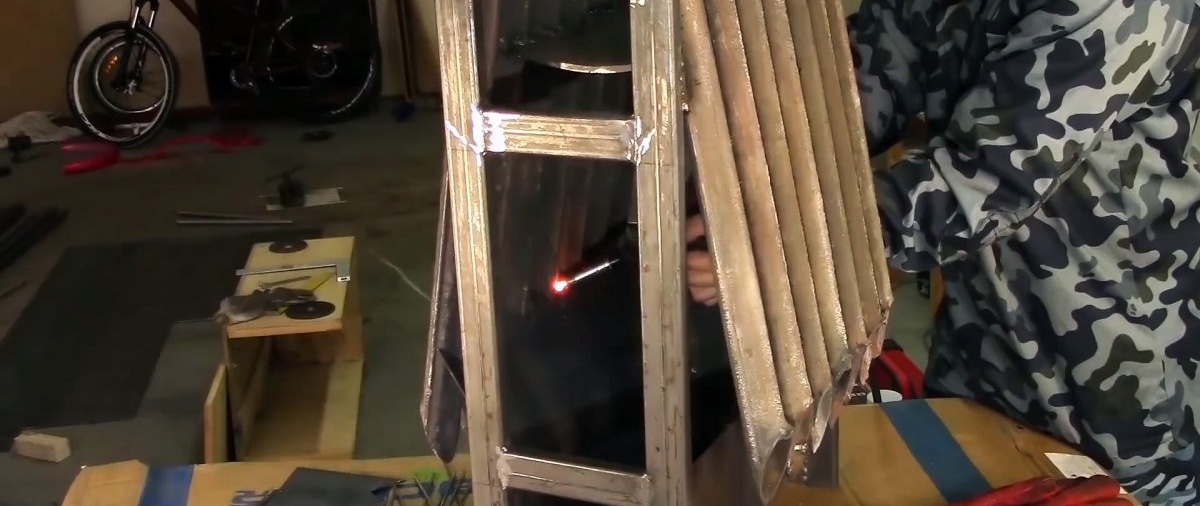
Then 2 side walls for the stove are welded from the ribs. For a potbelly stove, using 7-8 ribs per wall will be sufficient. It is necessary to weld with a continuous seam, achieving complete tightness.

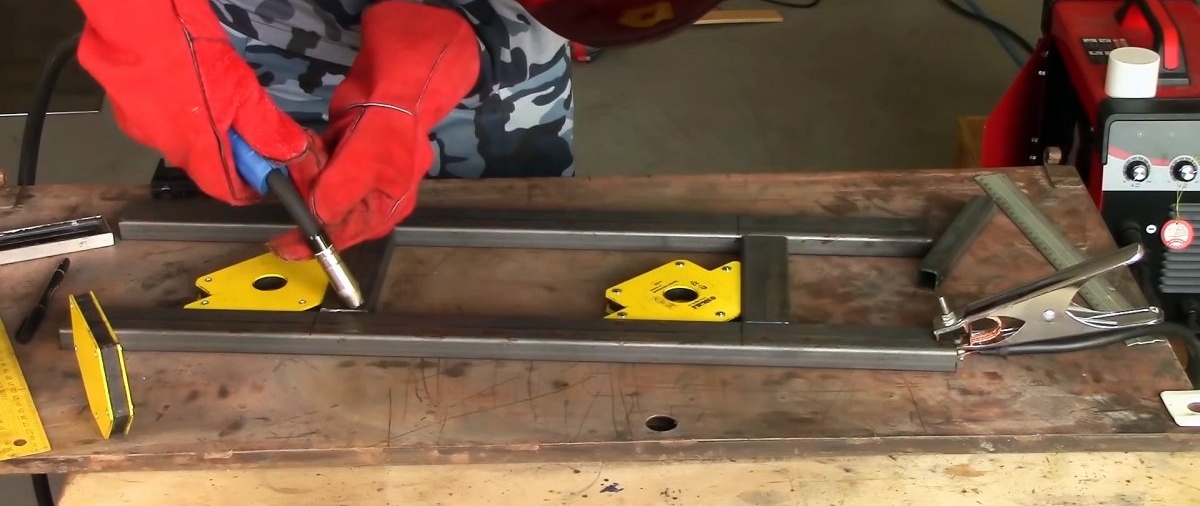
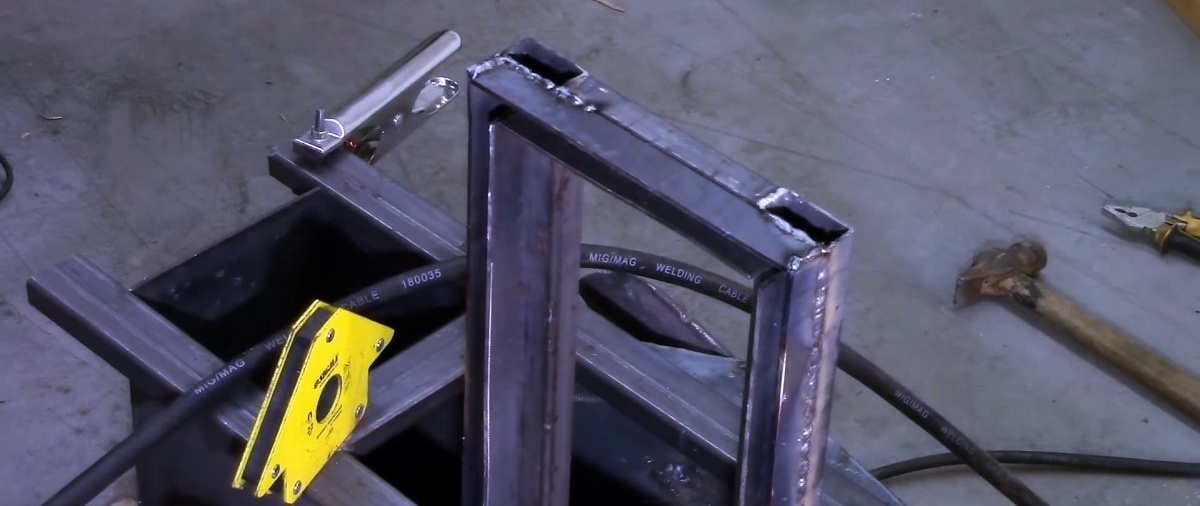
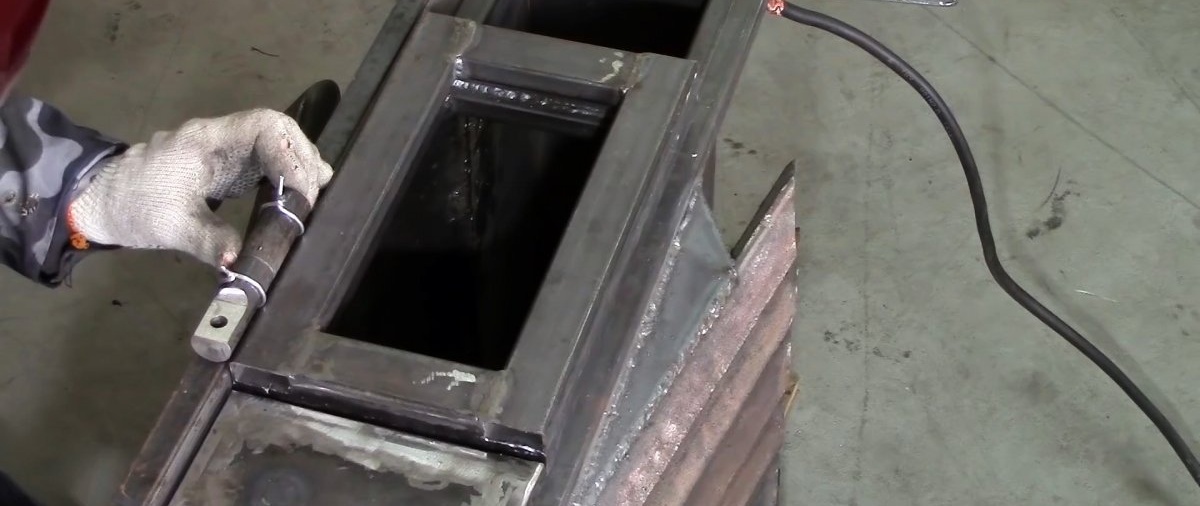
The frame of the front wall of the stove is welded from a profile pipe 50x20 mm and 20x20 mm. The cross tubes are arranged in such a way as to be able to install 3 doors in it. One will be for the ash pan, the second for adding firewood, and the third for access to the afterburner for the purpose of cleaning soot.

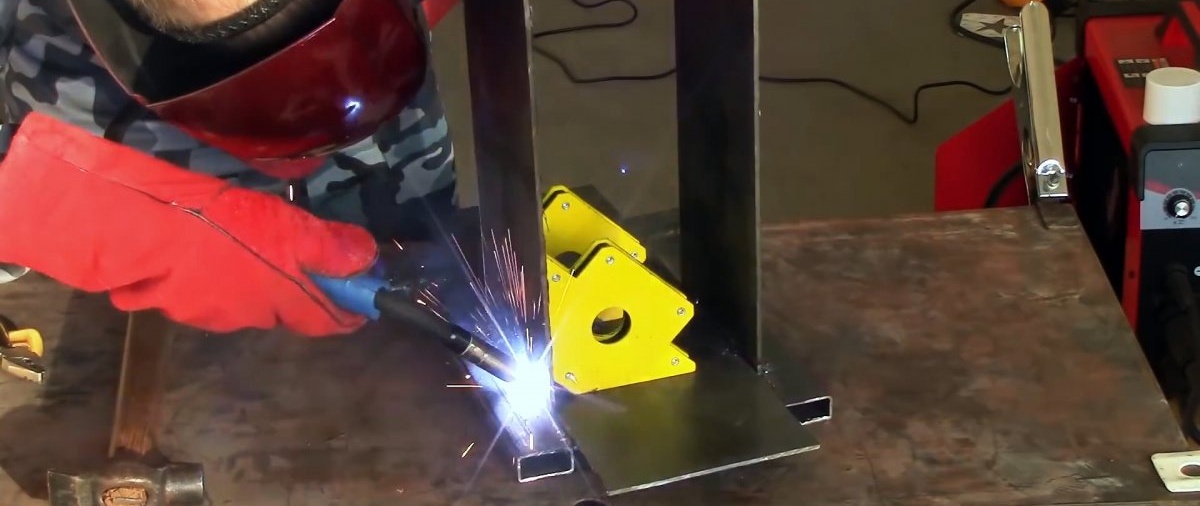
The frame of the rear wall is made U-shaped. Moreover, it should be only slightly higher than the section for the ash pan, allocated along the opening in the front wall. The transverse tube of the frame is made wider, while the verticals should be welded in the same way as in front. Then the opening between the tubes is welded with sheet steel.

Next, you need to connect the frames of the front and rear walls of the stove with sheet steel sidewalls. They are cut according to the height of the ash pan and the width of the prepared radiator walls. The bottom of the stove made of the same sheet steel is immediately welded to the sides.
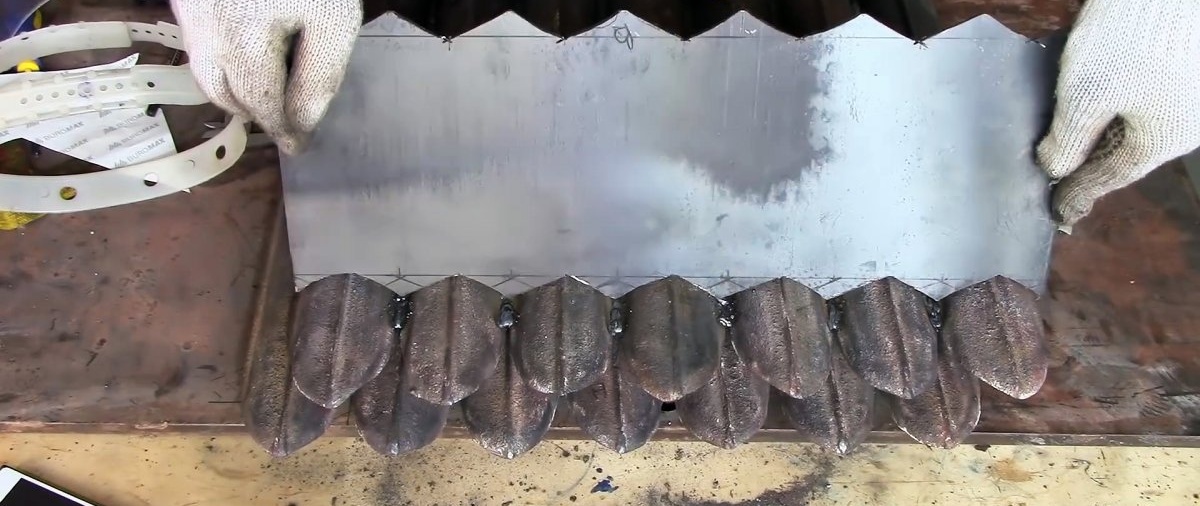
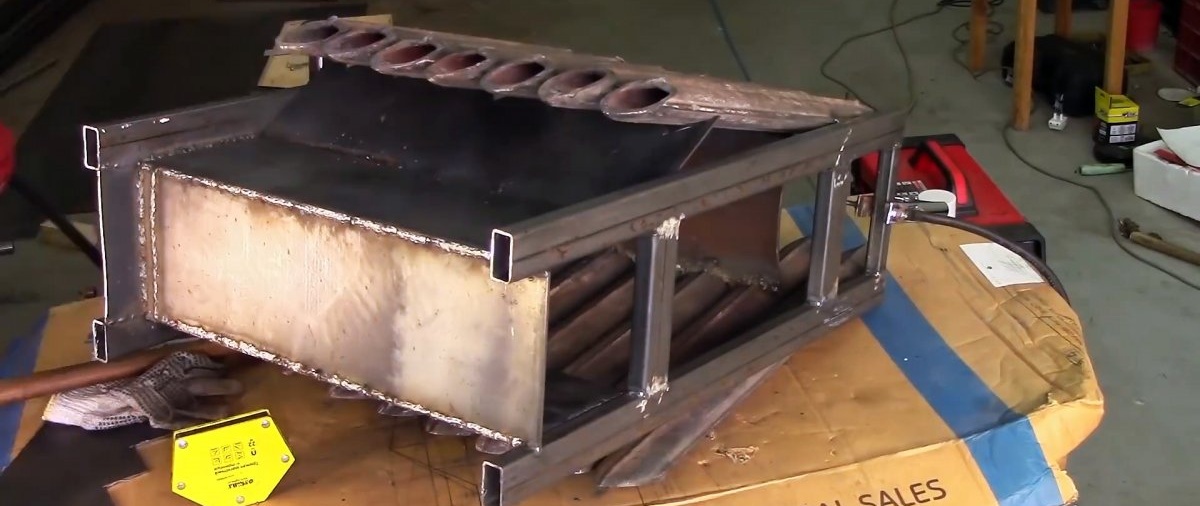
At the next stage, it is necessary to cut out a wavy insert from sheet steel that fits tightly to the ribs of the welded batteries. Its length should be shorter than the walls by 1 edge. Then you need to weld the walls of the radiators to the stove frame, placing them at an angle. At the same time, a wavy insert is welded between them. It should be located in the middle of the upper opening of the afterburning chamber.


Turning the stove on its side, you need to weld the gap between the beveled walls of the battery and the smooth lower sides made of sheet steel.To do this, inserts of the appropriate size are cut out and hermetically welded.
Next, the top of the stove is cut out and welded. Its long sides are also made wavy to fit snugly to the ribs. Before welding, a hole for the chimney is cut in the workpiece.

You need to cut and weld an insert into the back wall to close the remaining gap there. Also, narrow inserts are used to weld the gaps between the ribs and the frame in the front wall.


Next, the firebox door is welded from the profile pipe. In order for it to fit tightly, its thickness needs to be increased with a steel strip. One row of it is welded around the perimeter of the door, and the second is indented by 10 mm. The result will be 2 walls, between which an asbestos cord is laid.


After this, a frame made of strip is welded onto the opening under the firebox door so that when it is connected to the door, it touches the asbestos. This will give the combustion chamber a complete seal.

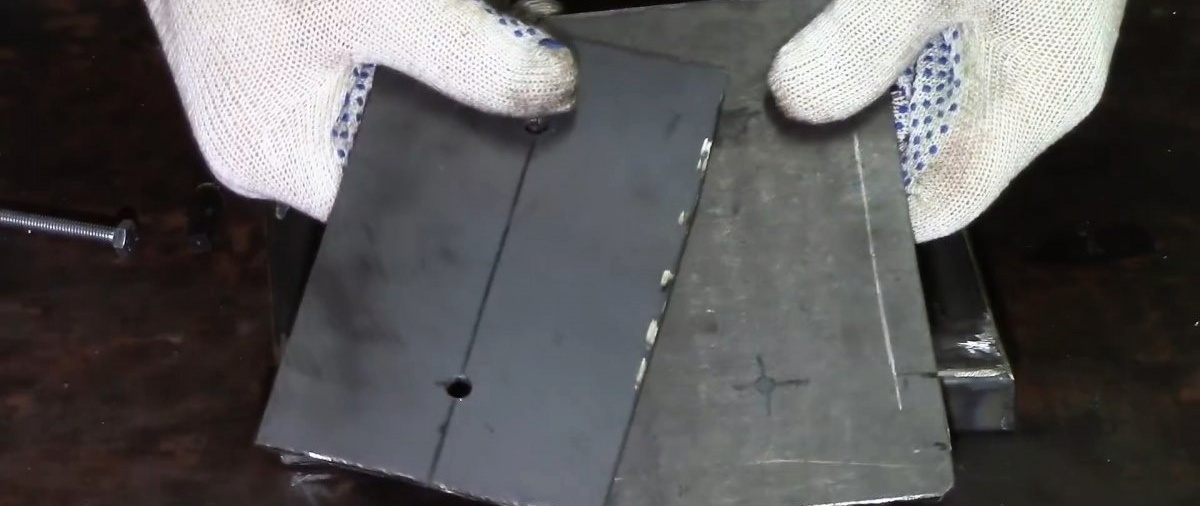
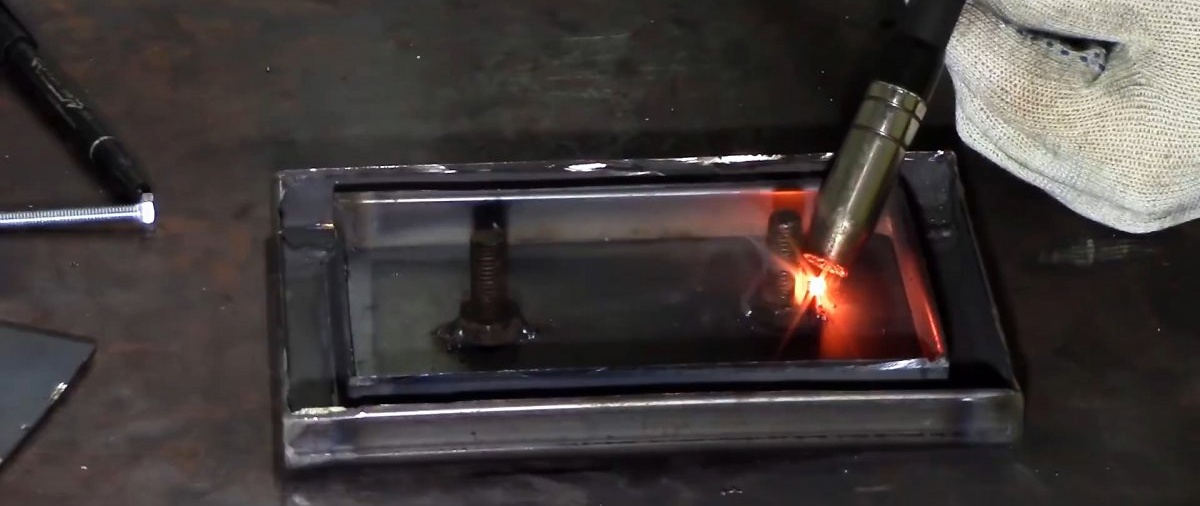
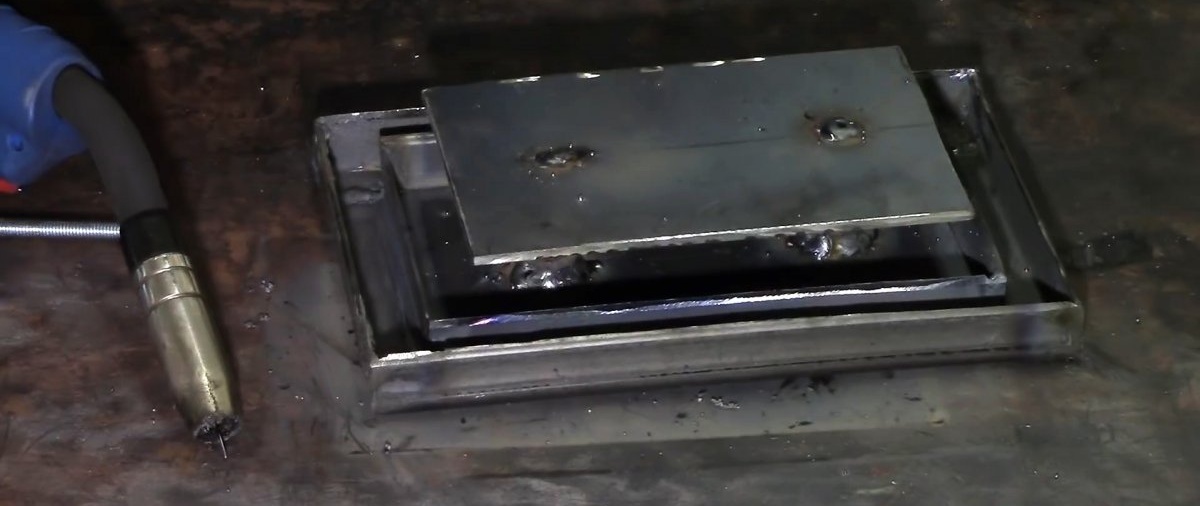
The door for the ash pan is welded from a thinner profile pipe. One wall needs to be cut off to install the asbestos seal. The door frame is welded with sheet steel. To make this door heat up less, 2 bolts are welded to it from the inside and a small screen insert made of sheet steel is attached to them. A strip is welded to the opening itself to seal the door against asbestos, just as before on the opening for loading firewood. The upper door for cleaning soot is done in a similar way.

The resulting doors are welded onto the openings through the hinges.
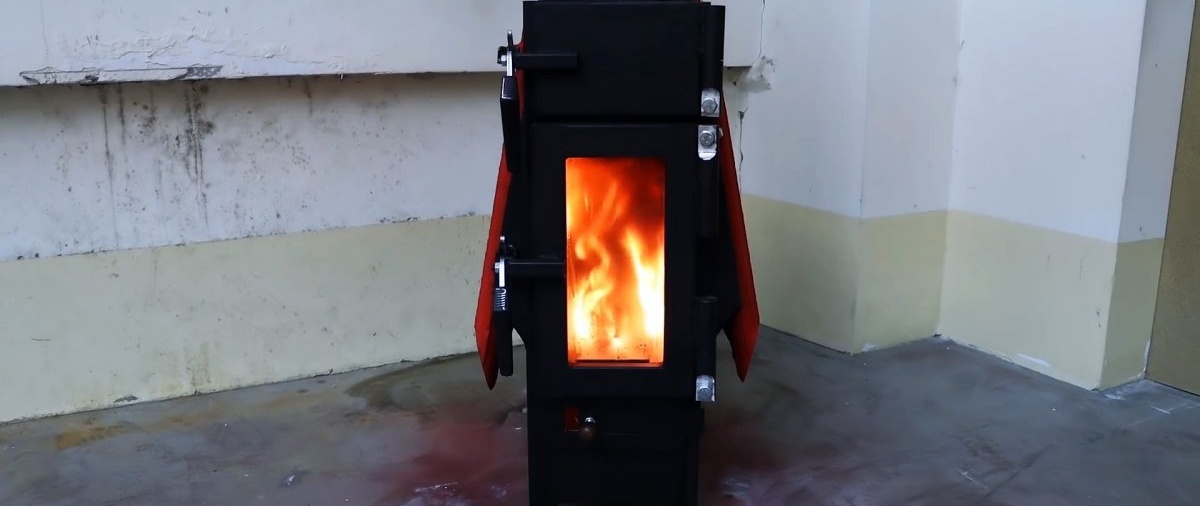
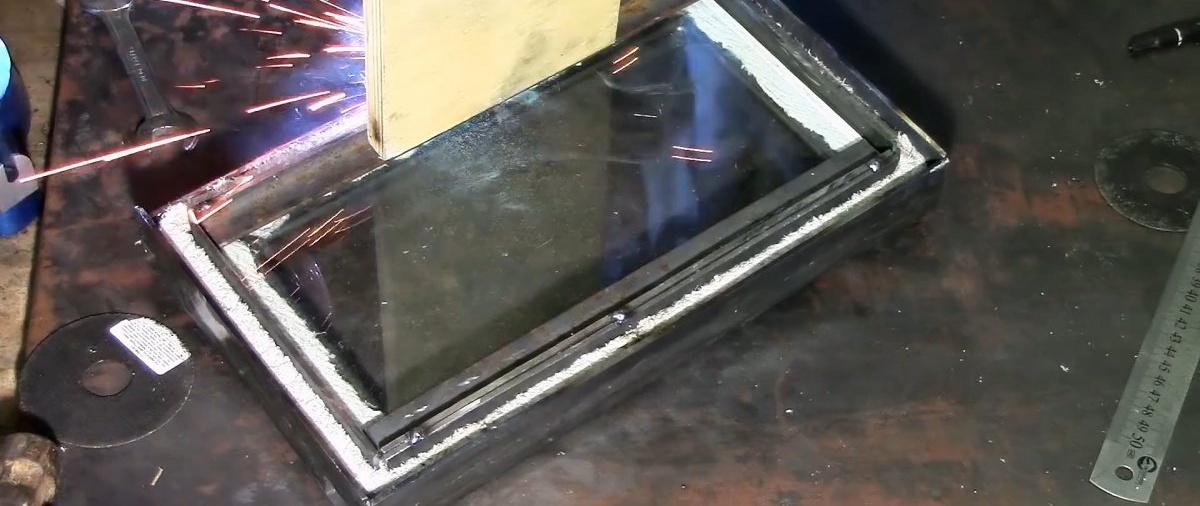
A seal is placed on the combustion chamber door and heat-resistant glass is inserted. To secure it, you can apply a couple of drops of welding. Then valves are welded to the doors and stove. If desired, the stove can be painted with heat-resistant paint.

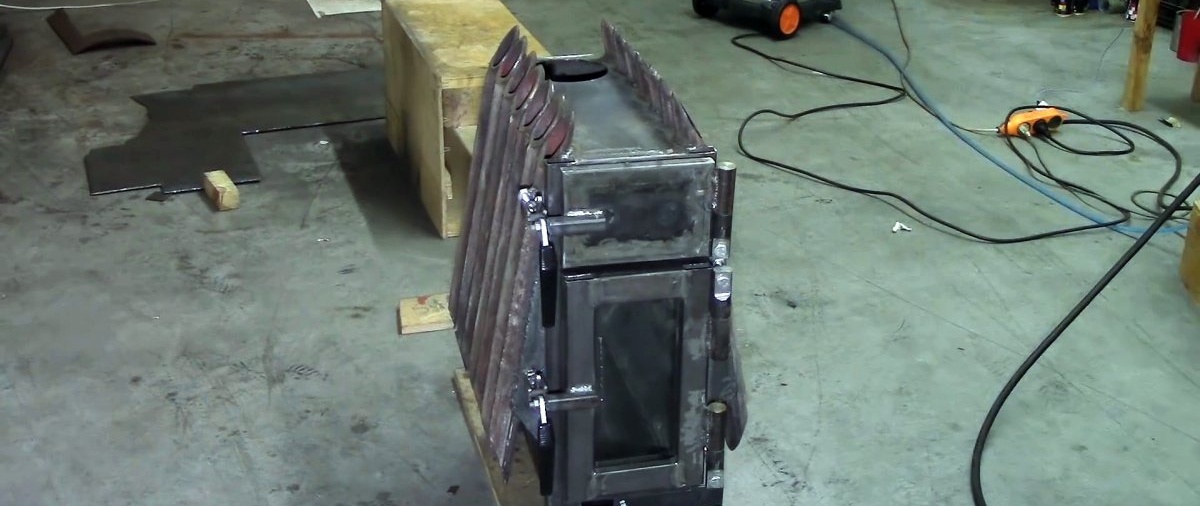
The peculiarity of the resulting stove is that, thanks to the radiator fins, it has an increased contact area with the room air. Also, due to its mass, it retains heat longer after the wood burns out. Although cast iron is used in the manufacture of the stove, since it is small and designed for wood, the temperature of the metal does not rise so much that the seam between the cast iron and steel bursts as a result of linear expansion.