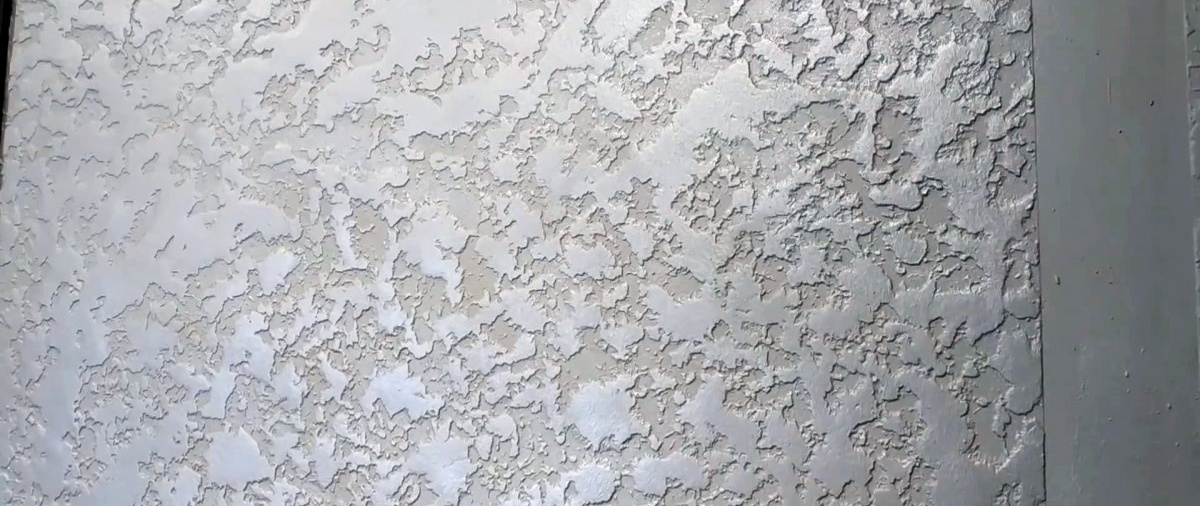
For relief decorative finishing of walls, special expensive plaster compositions are usually used. Using simple techniques, you can achieve a similar result using cheaper materials. An example is finishing walls with regular plaster to create a Grotto texture.

Materials:
- gypsum plaster;
- gypsum putty;
- Wall paint;
- pearlescent pigment;
- putty;
- interior polyurethane varnish.
Technique for creating Grotto texture
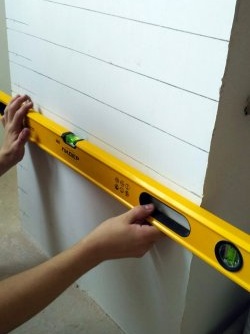
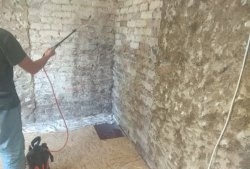
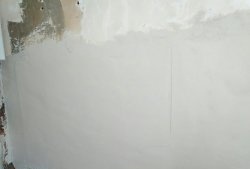
The surface for applying decorative plaster must be leveled, primed and dried. The plaster is mixed in water with the addition of putty. Putties and plaster are mixed in a 1:1 ratio. The presence of putty will make the mixture more plastic and increase the setting time. You can do without putty with just plaster, but working with this composition is more difficult.
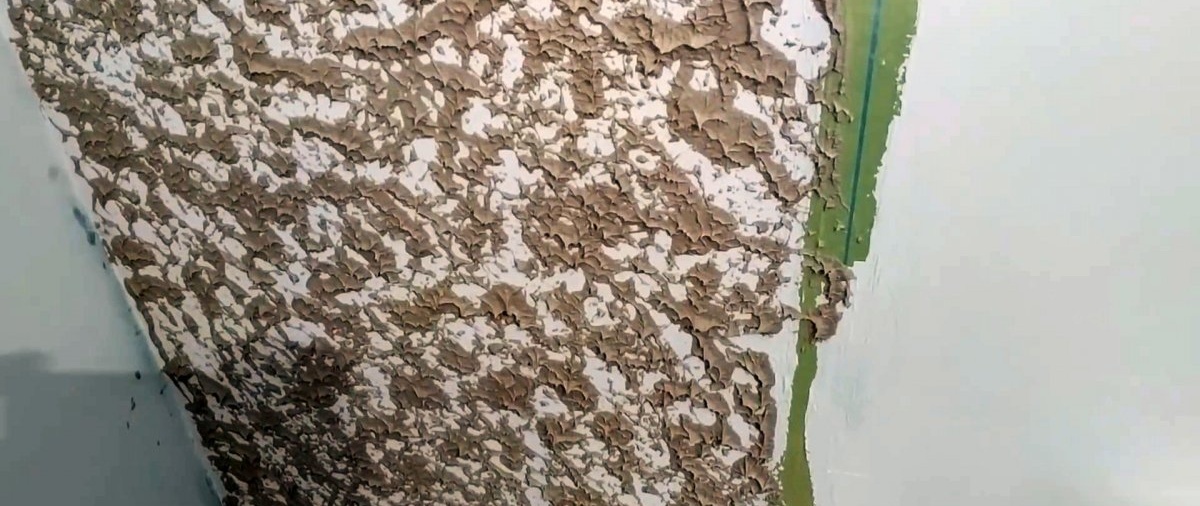
The composition is applied using two trowels of different sizes. The solution is applied to a large trowel, then a smaller one is easily applied to it without pressure. It is necessary that part of the composition sticks to the second trowel. Next, a smaller trowel is applied to the wall to remove it.


A uniform pattern is created on the wall.You need to move in a row, leaving islands of drawn solution of approximately the same size. When there is not enough plaster left on a large trowel for it to transfer, you need to press a second tool against it with great pressure.
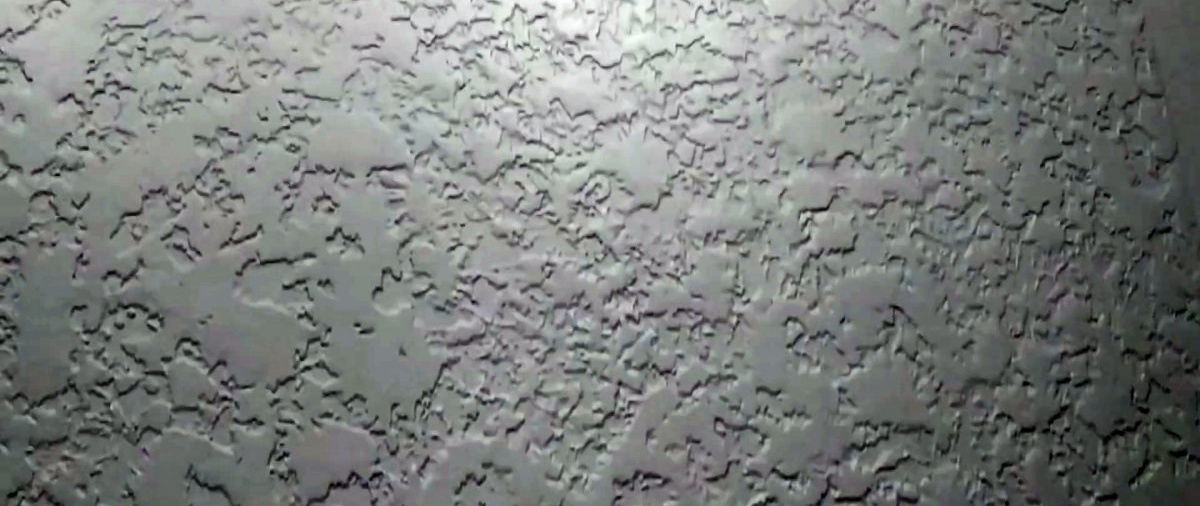
After 20 minutes of work, you should stop and smooth the drawn solution. To do this, use a clean trowel soaked in water. The composition sticking to it must be removed with a spatula. After smoothing the treated area, the solution is applied further. Alternating between application and smoothing, you need to plaster all the walls.
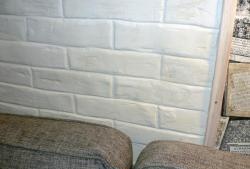
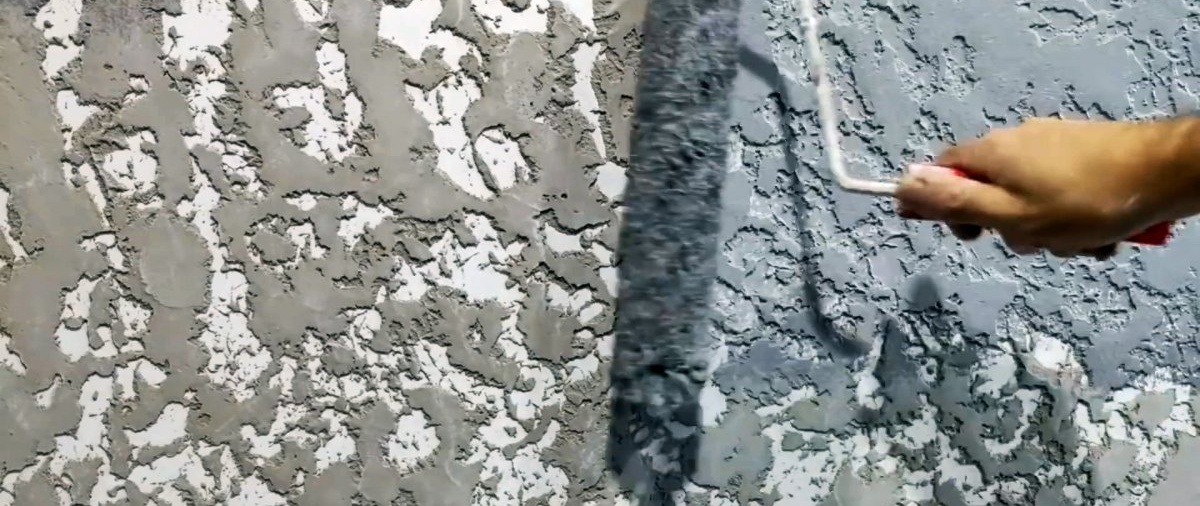
After complete drying, you should walk along the walls with a wide façade spatula to knock off any sharp protrusions. Then painting is done with a long-nap roller.


Mother of pearl looks very good on Grotto. After the paint has dried, you can mix the pearlescent pigment with the primer in a 1:1 ratio and apply it with a foam roller. The pigment should remain only on the protrusions. Application is carried out with a semi-dry roller.
After a couple of hours, you can apply the matte interior varnish with a long-nap roller. It is better to apply the varnish in at least 2 layers so that the surface is moisture resistant and can be washed when dirty.