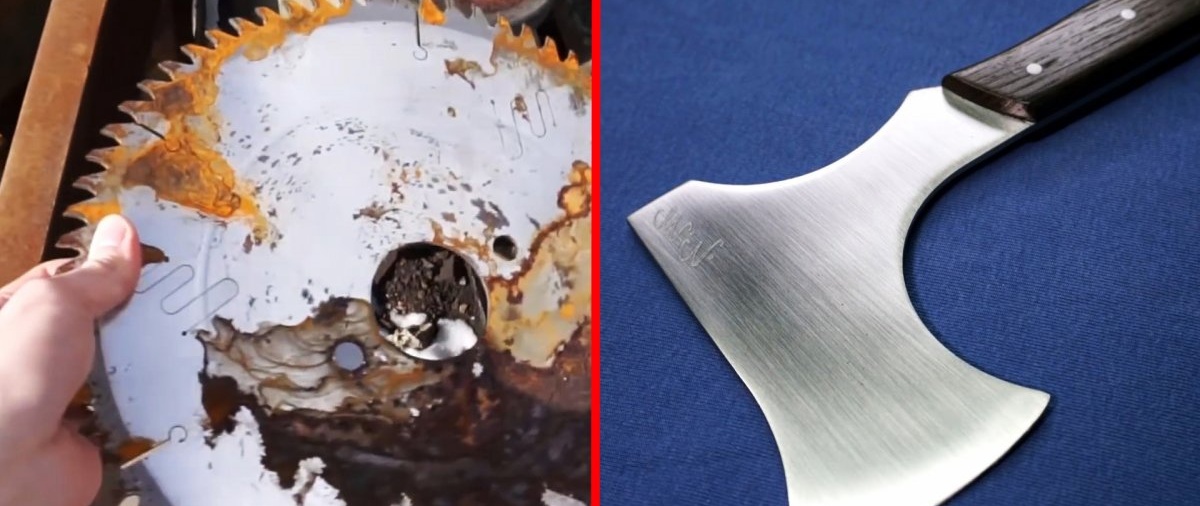
What you will need:
- large diameter circular disk;
- lath or textolite;
- rivets;
- paper.
Ax making process
An ax template is made from a sheet of paper and glued to the disk.
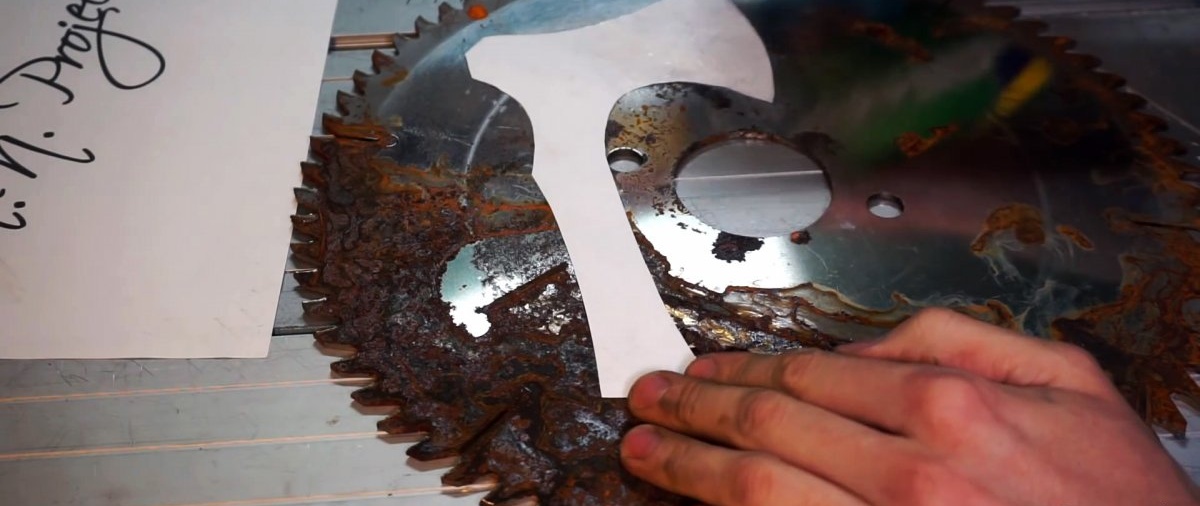
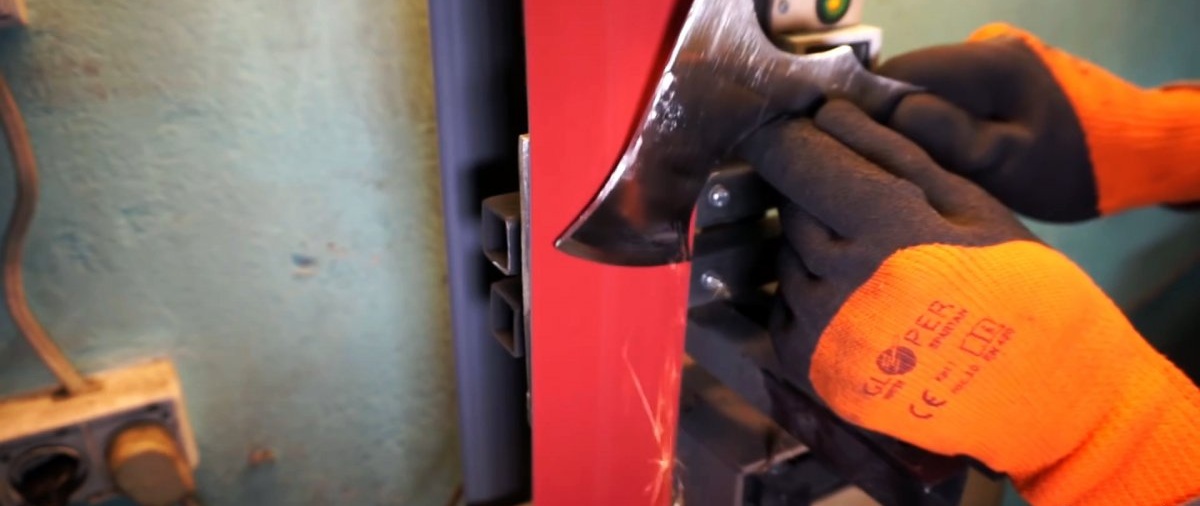
Then the disk is clamped in a vice, and using a grinder with a thin cutting wheel, a workpiece is cut out of it. Where there are complex bends in the template, it is better to step back and cut with a margin so as not to catch too much.

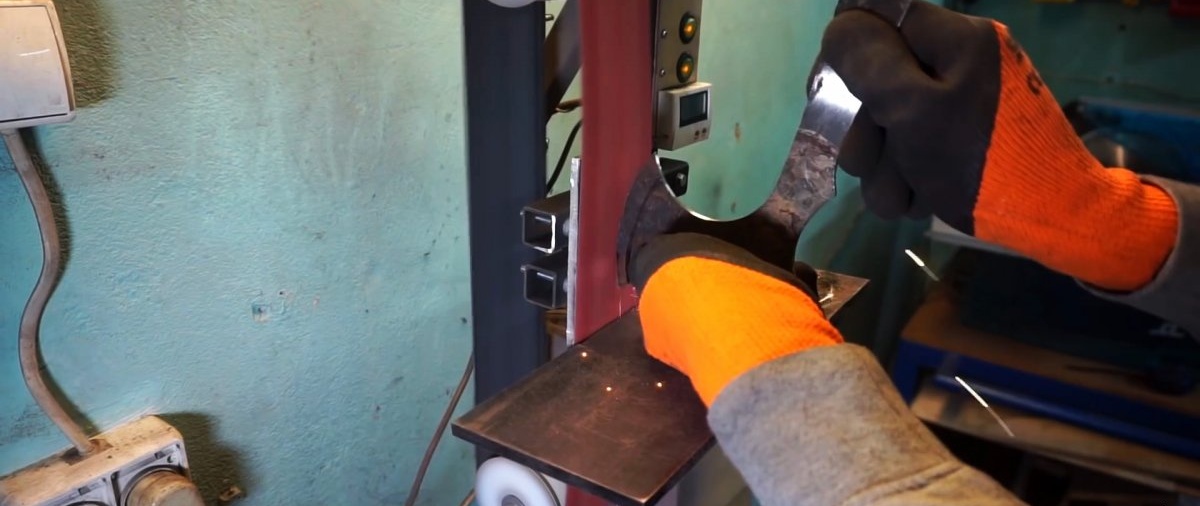
The rough cut blank is clamped in a vice and carefully ground along the contour of the template.

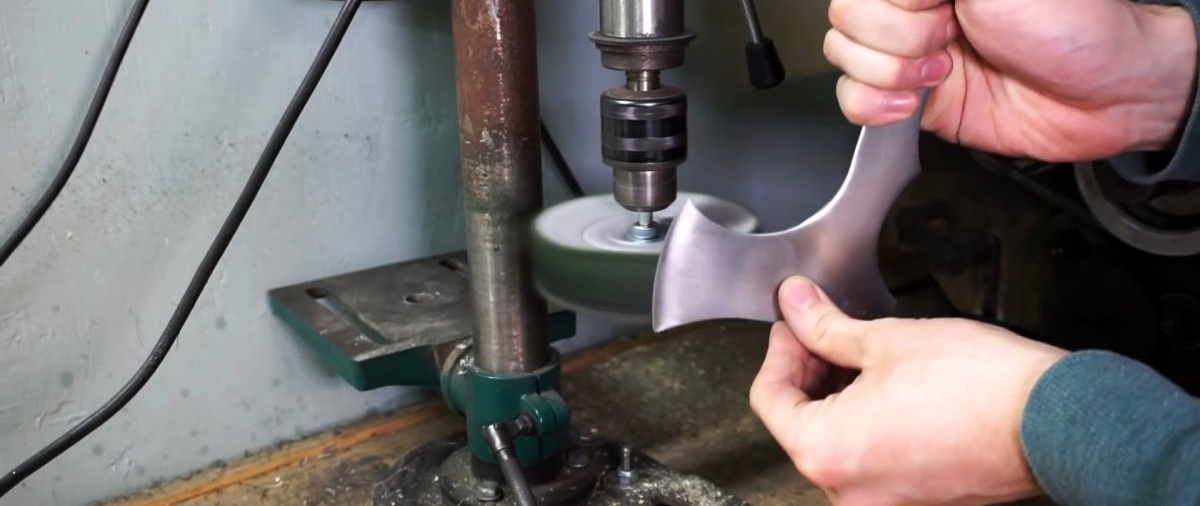
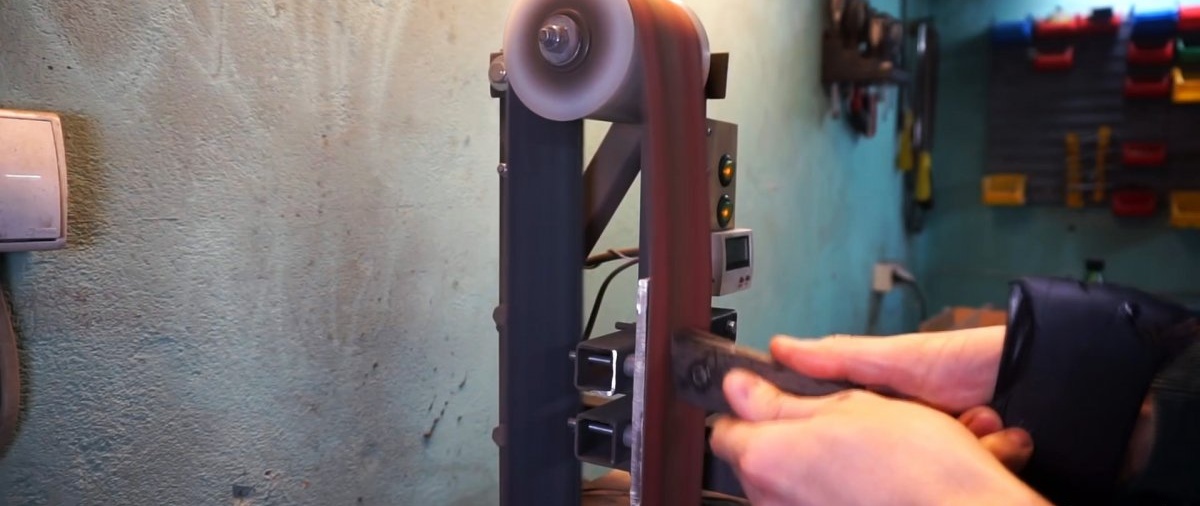
To speed up the process, large projections can be cut off piece by piece with a cutting disc. Then the contours are finished using sandpaper or a belt grinder.
Having turned the workpiece to the desired shape, you need to tear off the paper template and grind it to bare metal. The slopes on the blade are immediately displayed.
If scratches remain after sanding with a coarse abrasive, you can correct them manually with sandpaper. By reducing its grain size, you need to try to bring the surface to a mirror shine.
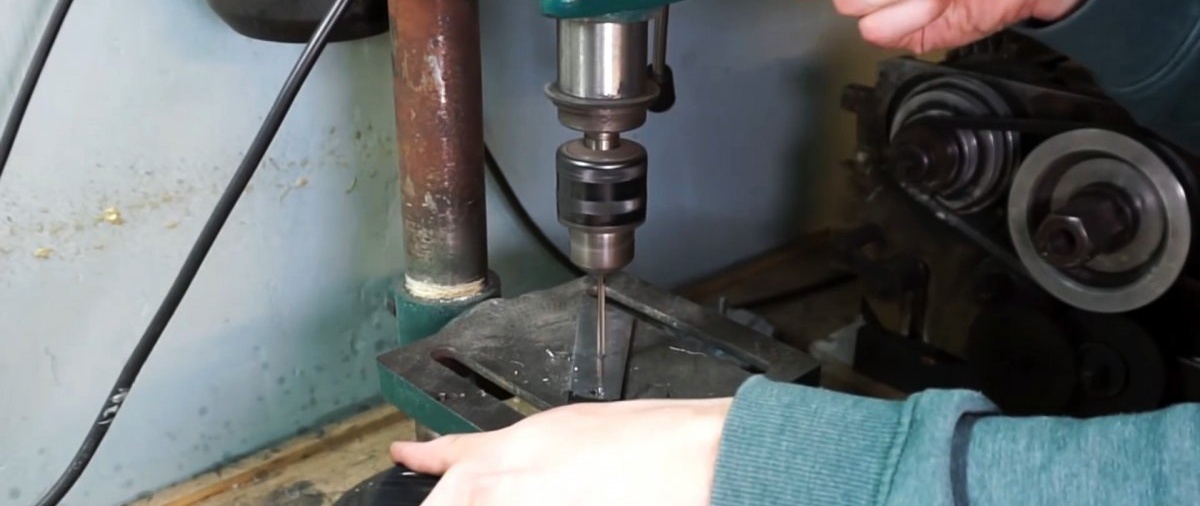
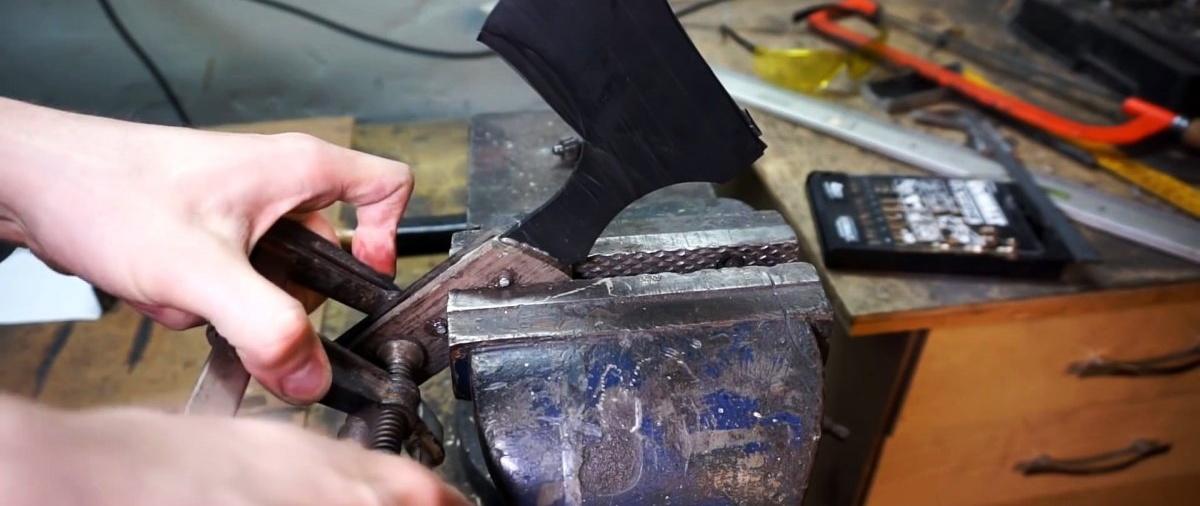
Before further processing, it is necessary to wrap the ax blade with masking tape or electrical tape to avoid injury or leave new scratches. Then holes are drilled on the handle of the hatchet for fastening the linings. If you need to move the tool's center of gravity closer to the blade, you will need to drill more holes to lighten the back of the tool.
2 linings for the handle are cut out of the lath or textolite.
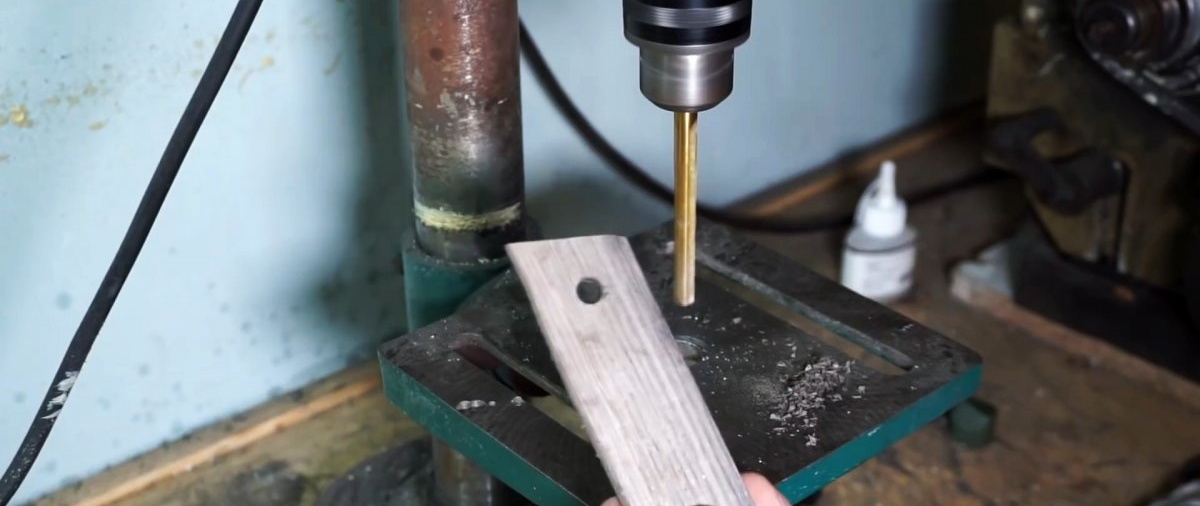
They are drilled and glued with epoxy glue while rivets are installed.
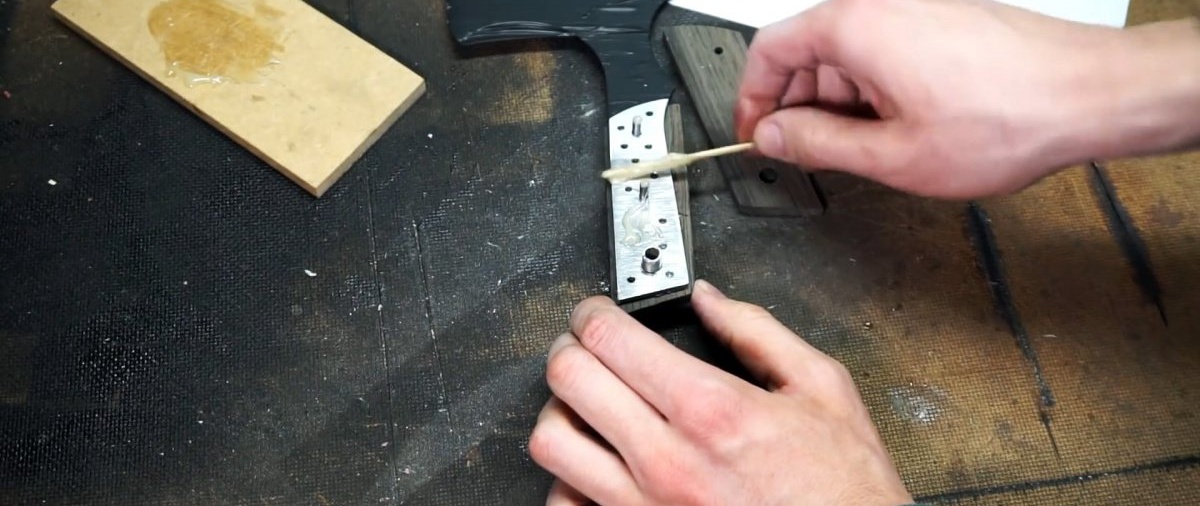
After the epoxy has set, the linings and rivets are sanded.
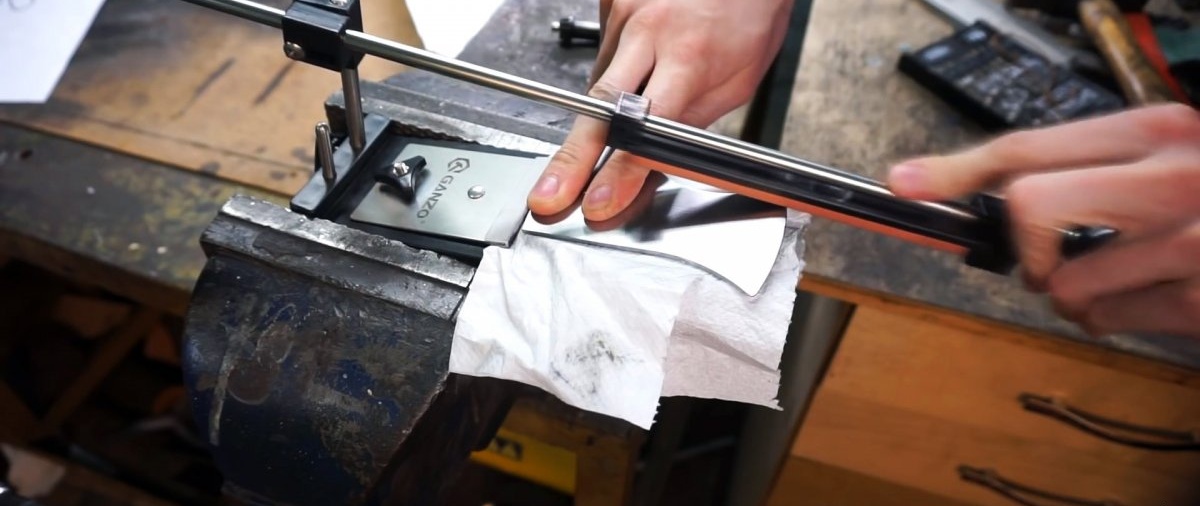
If necessary, they are impregnated with oil or painted. After this, the protective tape is removed and the blade is sharpened.
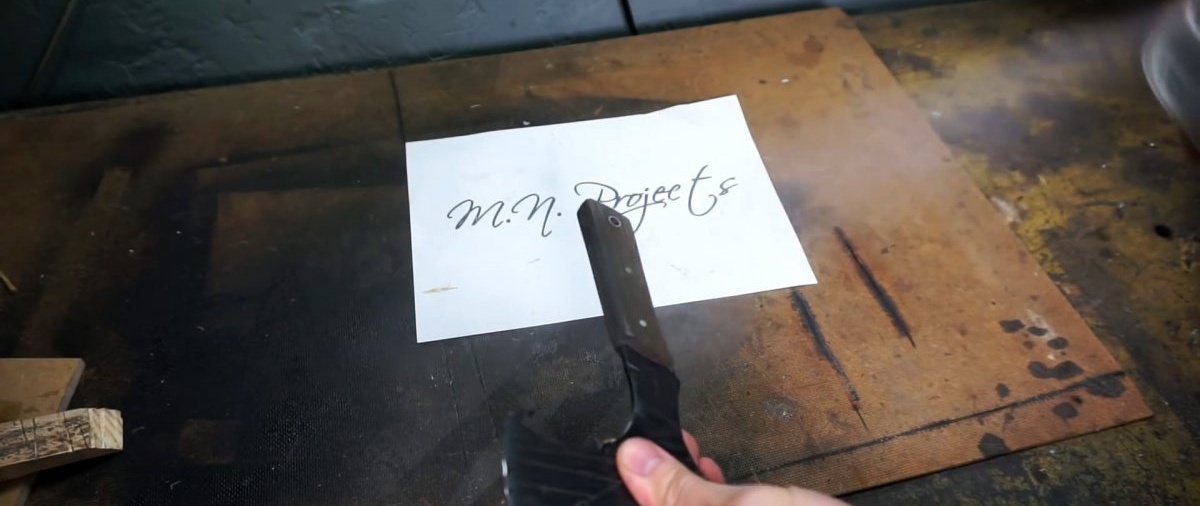

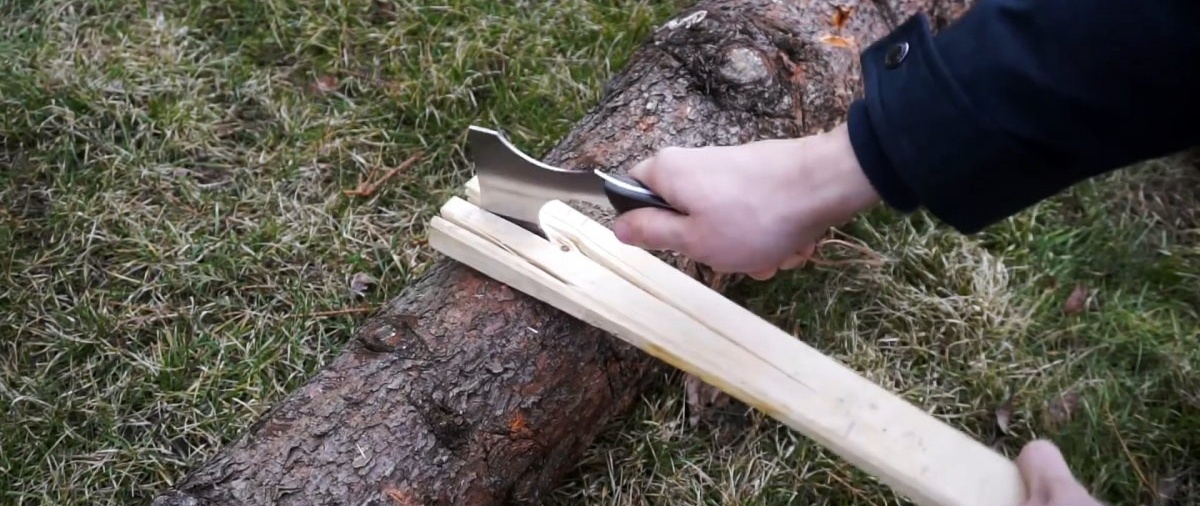
The result is a universal tool that can be used for both chopping and cutting.