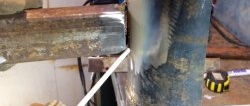
To obtain a reliable horizontal (and any other) seam, the electrode is moved in three planes at once: translationally in the direction of its axis, straight along the weld bead and oscillating across the seam. At first it seems impossible, but regular attempts and perseverance will soon bring the desired result.
Will need
For effective and safe training, we will prepare the following materials, equipment and supplies:
- manual welding machine;
- welded metal;
- electrodes of the appropriate diameter;
- hammer for beating slag;
- welding equipment (mask, gloves, etc.).
Welding process
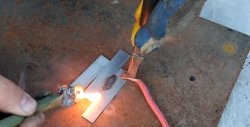
Oscillatory movements across the axis of the weld ensure the required width, reliable welding of the weld root and edges, slowing down the cooling of the liquid metal bath and removing slag from the combustion zone. Taking into account the thickness of the metal and the diameter of the electrode, we select the welding current strength of 91 A.

Crescent forward

During this movement, the end of the electrode moves along a circular arc with the convex pointing forward.It is used to join seams with beveled edges at the bottom and fillet seams, the leg of which is no more than 6 mm.

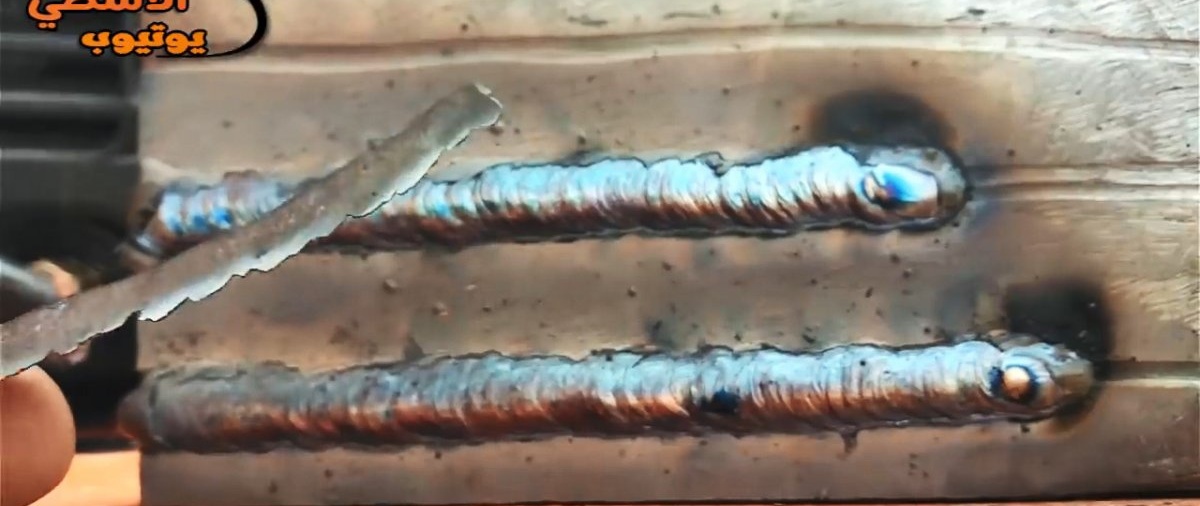
If these movements are performed correctly, then all the slag ends up at the top of the roller and you don’t even need a hammer to remove it. The seam is the desired width and constant in length.

Spiral

Here the end of the electrode makes circles or ovals, outlining the edges of the weld pool. In this case, uniform heating occurs along the width of the seam. Often used when welding in the plane of the lower horizon.
This movement is considered simple and easy to perform. It provides constant and easy control of the molten metal. When done correctly, slag also forms on top of the seam and is easily removed along its entire length at once.
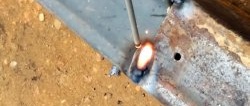
Thread stitch
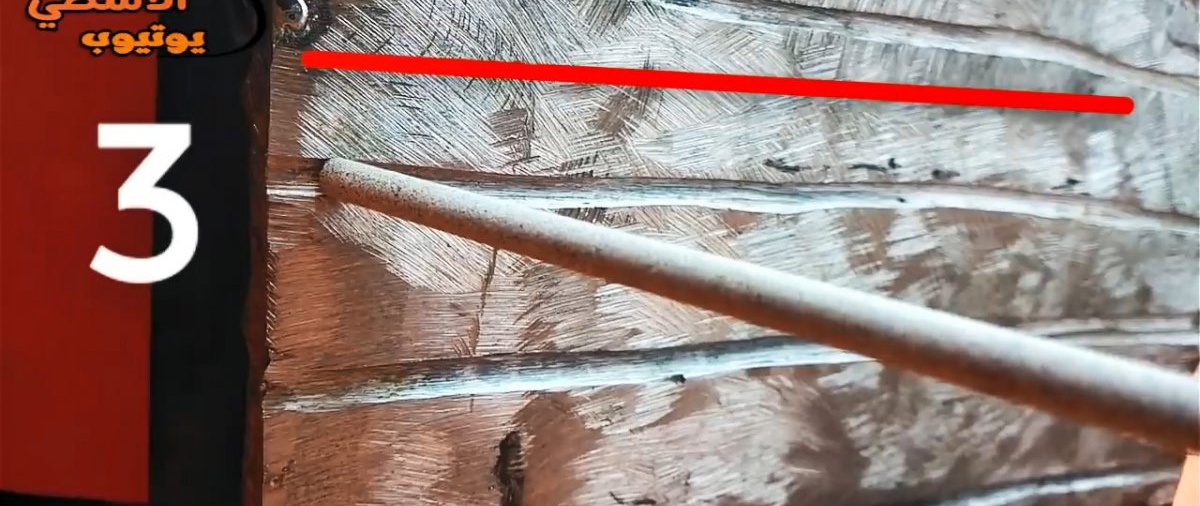
When the end of the electrode does not oscillate across the seam, but moves straight in the longitudinal direction relative to the roller, a narrow or thread seam is formed with a width of 1.2 ± 0.4 the diameter of the electrode. They are used when welding thin metal and when applying the first layer in a multilayer weld. This type is the easiest to perform.

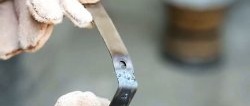
Zigzag

To create a weld of a given width, the end of the electrode is moved along a zigzag line symmetrically to the axis of the bead. But in the process, we must not forget about the length of the arc in order to get a smooth path without slag inclusions.
This method is used when welding metal up to 6 mm thick. The highest quality seams are obtained when butt welding and in the lower position. It also allows you to reliably weld joints without bevelling the edges.

Reverse Crescent

With this method, the left and right edges of the weld warm up better, since the end of the electrode makes arcs, convexly directed backwards. It is used when thickly coated electrodes are used to better melt metal and slag.
This method of moving the electrode is used when welding in the lower position and when vertical and ceiling seams that have a convex outer surface are welded.