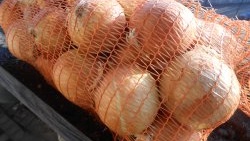
Preserving garlic grown in a garden plot throughout winter and spring is a task that requires a special approach. Bulbs of winter varieties of garlic, collected in July, remain fresh and juicy until January - February. But spring garlic, dug up at the end of summer - beginning of autumn, has a higher shelf life, and if properly stored, it does not germinate or dry out until the next summer.

Cold and warm method of storing crops
Garlic is stored for the longest possible time in vegetable storage facilities specially equipped with ventilation systems at temperatures from +1 to +3°C and air humidity of about 70%. Similar conditions can be created in small cellars or subfloors.
If there is no cellar in the summer country house, then a small amount of garlic intended for culinary purposes can be stored in a warm way in a city apartment (temperature from +16 to +20°C, humidity from 70 to 75%).
Using ash to store crops

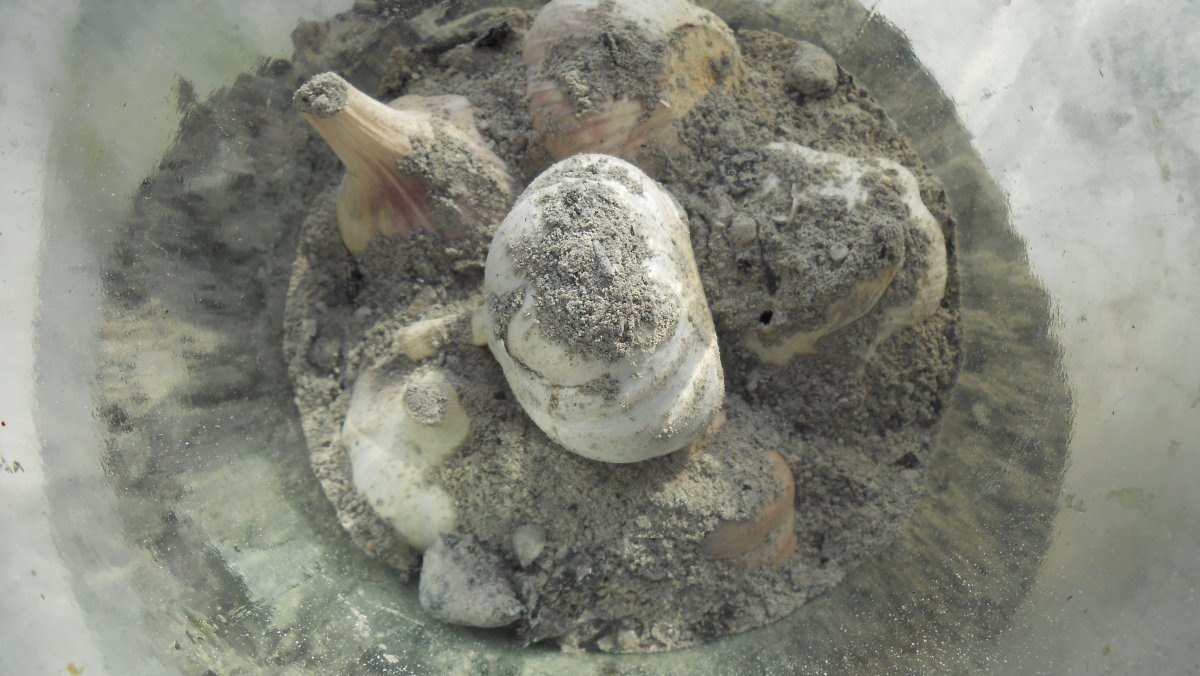
And in order to ensure that the garlic heads remain fresh for as long as possible, do not dry out, do not hatch and are not affected by fungal diseases, experienced gardeners use ordinary vegetable ash left after burning firewood, tops, straw or grass when planting for long-term preservation.
This product has powerful hygroscopic properties, absorbing excess moisture from the environment. In addition, ash, which has an alkaline reaction, prevents the proliferation of phytopathogens that may be present on the integumentary scales of garlic bulbs.
Garlic heads sprinkled with ash can be stored in a cold cellar or in a warm pantry or kitchen, for example, on shelves. Many housewives place pre-prepared bulbs in three-liter jars, sprinkling them with ash, and then save the harvest throughout the winter, using it as needed for culinary purposes.
Preparing garlic for storage
How thoroughly you dry the harvested garlic crop, and also sort it correctly, directly determines the time you will eat your own grown vegetable.
The dug up garlic seedlings are laid out under a canopy to dry for two weeks. During this time, plastic substances from the drying leaves and central stem flow into the heads. At the same time, excess moisture evaporates from the bulbs, which negatively affects the keeping quality of the crop.

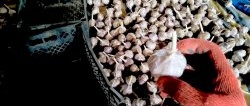
After the tops have completely dried, they are cut off, leaving stubs from 2 to 5 cm. Then the dirty integumentary scales are carefully removed from the heads - they peel off very well, starting from the stem stump. As a result, the garlic becomes pure and has a color characteristic of the variety, for example, white, purple or with lilac veins.
Dry roots (“beard”) are also cut off (up to 1-3 mm), while simultaneously removing the remaining sand and soil stuck to the root base. To further protect the bulbs from phytopathogens penetrating into them through the root bed, the roots are scorched over an open flame of a fire, gas burner or paraffin candle.
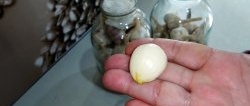
Next, the garlic bulbs are sorted. All specimens with decayed cloves and a cracked outer shell are left for use as food in the near future. For culinary purposes and preservation, heads with flaws are also left, that is, those with spots, dents, cracks, darkened areas on the husk, etc.
And for storage, only the largest, densest and healthiest heads with intact shells and well-formed (protruding) teeth are selected. It is this kind of garlic that has increased shelf life.
Garlic in three-liter jars (warm method)
The bulbs are placed in dry and clean three-liter jars, the bottom of which is covered with a centimeter layer of ash, and then the layers are sprinkled with sifted plant ash.

The top layer in the jar should be ash. There is no need to cover the neck with a plastic cap. The hygroscopic material completely protects the bulbs, preventing the spread of pathogenic microflora, but does not interfere with air circulation.
Garlic in boxes (cold method)

If there is a cellar, prepared bulbs are stored in cardboard boxes or wooden boxes. The bottom of the selected container is covered with ash (1-2 cm), the heads are placed on it with the bottom down (the garlic should fit tightly to each other), covered with ash and proceed to placing the next layer. The last layer is always ash.
After the expiration of the storage period, the plant ash is not thrown away, but is left for use in the garden. It is used to increase soil fertility in a summer cottage (for spring digging) or to prepare water extracts (ash decoction and infusion) that have powerful nutritional, insecticidal and fungicidal properties.
Happy garlic harvests to you every season!