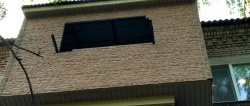
Hello ladies and gentlemen, today we’ll talk about insulating a house with mineral wool! In my case, this is a country house, which I insulate for winter living. Also, I will talk about external wall insulation, and later I will explain why.
The main thing we need:
- Mineral wool (stone).
- Hydro and wind protective membrane (I’ll explain what this is later).
- Screwdriver.
- Self-tapping screws.
- Thin plastic (or fiberboard).
- Thick gloves, respirator and goggles.
Selection of materials

First, what do you need to buy? Insulation of course! I chose mineral wool for a number of reasons. Advantages of mineral wool:
- Excellent thermal insulation qualities!
- Low price.
- Ease of installation.
- Light weight, which gives minimal load on the structure of the house.
- Resistance to external factors, rodents, fungus, mold.
- Long service life.
Characteristic disadvantages include high moisture absorption, that is, it will easily get wet, which will cause it to lose its thermal insulation properties. This is why you need a hydro and wind protective membrane. This is practically a film that protects from precipitation and wind.In addition, mineral wool cannot be insulated from the inside, it is harmful to human health! And in principle, insulation should be done from the outside. Also, to insulate a wall, it is better to take cotton wool in slabs rather than in rolls. What’s also important is that it’s better to take stone wool, it’s much safer than glass wool and slag wool. Well, you will also need that same hydro-wind-protective membrane.
Installation of insulation
The surface must be dry, and it is better to carry out insulation at above-zero temperatures. Due to another remarkable property of mineral wool, namely its vapor permeability, there is no need to install a vapor-permeable membrane to the house. That is, the insulation can be attached to bare walls, but dry and clean. There are two most common options here. The first is to install the sheathing to the size of the mineral wool slabs. Insulation is placed in the sheathing and secured with slats along the sheathing.

This method is not the best, since the part of the wall on which the sheathing remains uninsulated, and the second method is less expensive.
It consists of attaching the insulation to the walls using dowel nails. For example, this is how they are attached to residential buildings that need to be insulated during construction. But here I propose something like an alternative to dowel-nails.
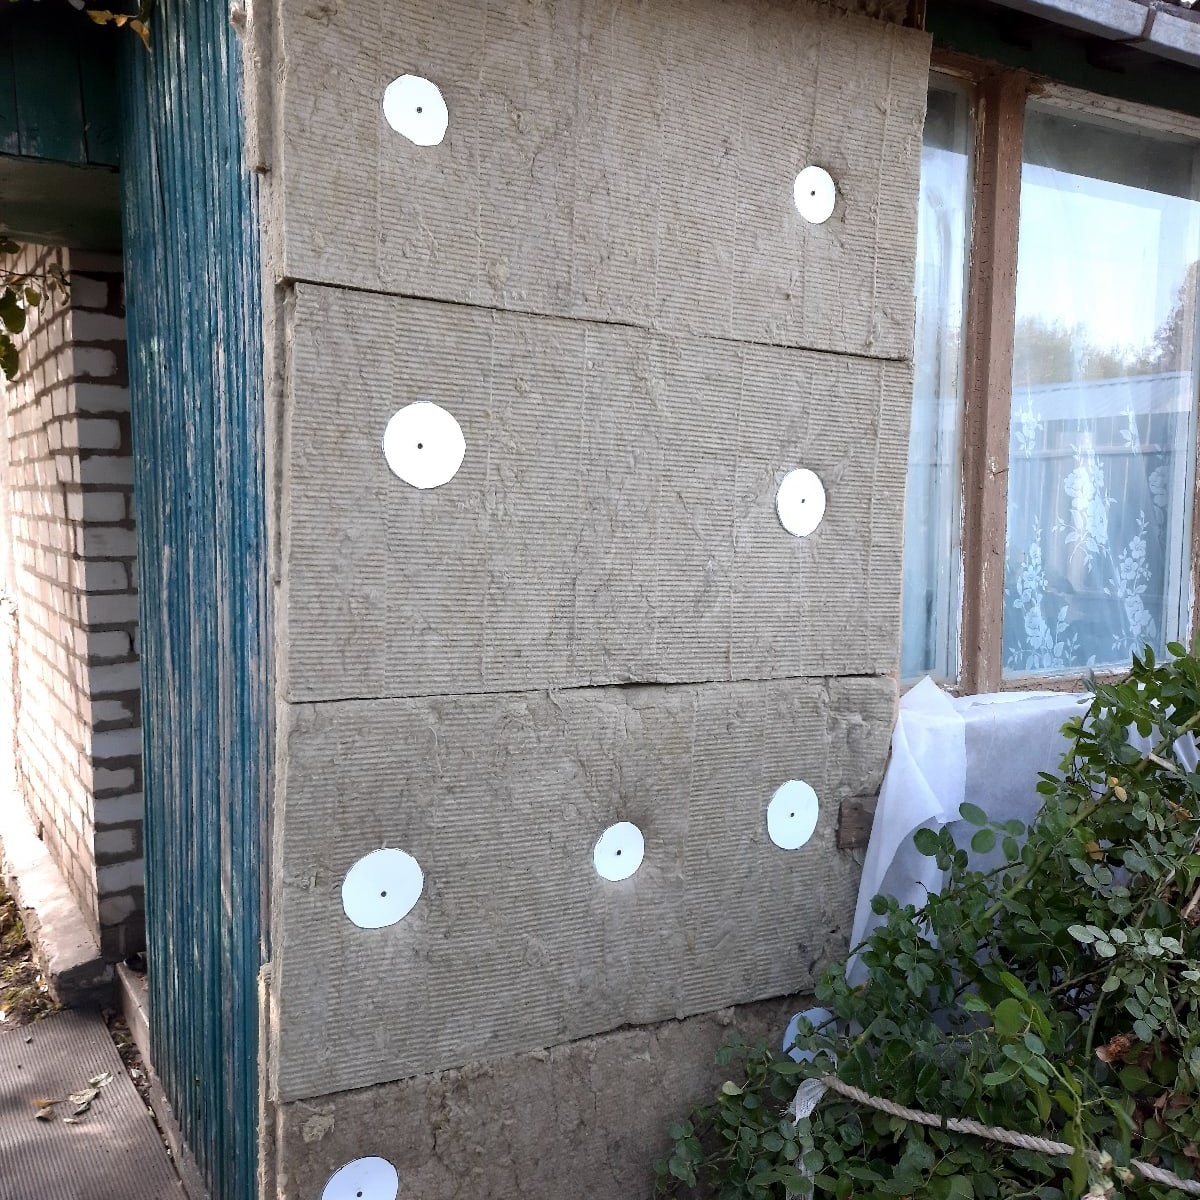
For this we need thin plastic or even fiberboard. We cut the material into circles with metal scissors without any problems.

And screw the self-tapping screw into the center. All! The dowel-nail is ready. What is the advantage of this method and isn’t it easier to buy dowel nails in a store? The advantage is that if you insulate a wooden veranda, like me, then you can simply screw screws into it and that’s it.
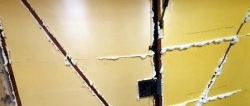
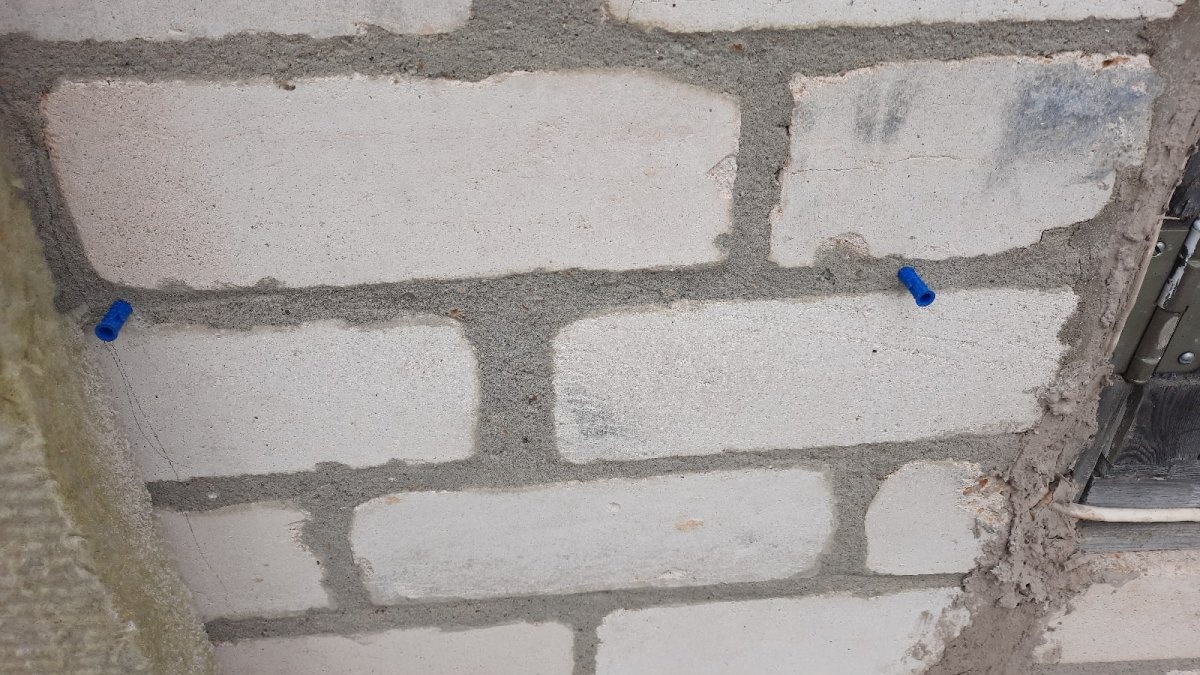
This is much more convenient than pre-drilling the wall, hammering in a dowel, and only then driving in a nail or screwing in a self-tapping screw. But when insulating the brick part of the house, I used the same method.But, of course, first you need to drill a brick and drive a regular dowel into it, and then screw in our improvised dowel-nail for the insulation. The photo shows a dowel driven in halfway (drived in all the way).
The advantage here is that you can choose the length of the dowel, because the first floor is built of brick, and the attic is built on the floor of brick, therefore I need shorter dowels there.
Actually, now we attach the mineral wool slabs to the wall of the house using dowel nails.
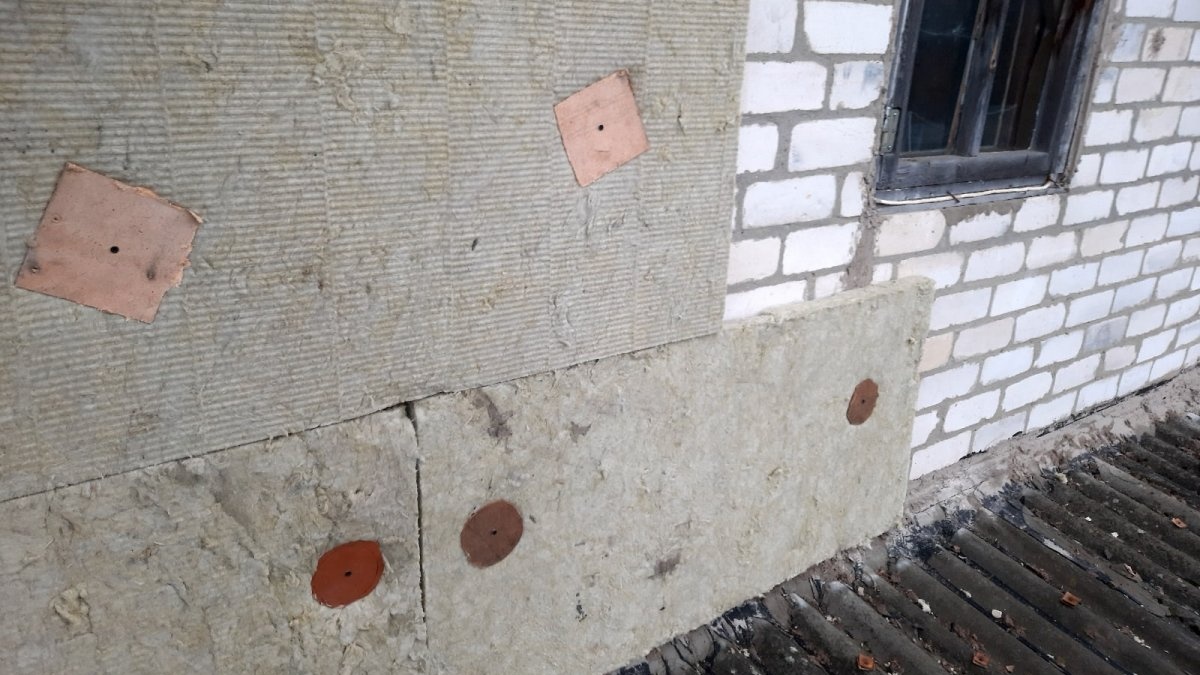
The recommended thickness is 10 cm. The slabs are 5 cm, so we overlap between the first and second layers to eliminate cold corridors.

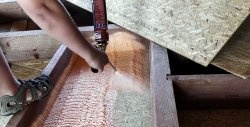
After this, the insulation must be “hidden” from precipitation and wind! To do this, we fasten the membrane using a construction stapler.
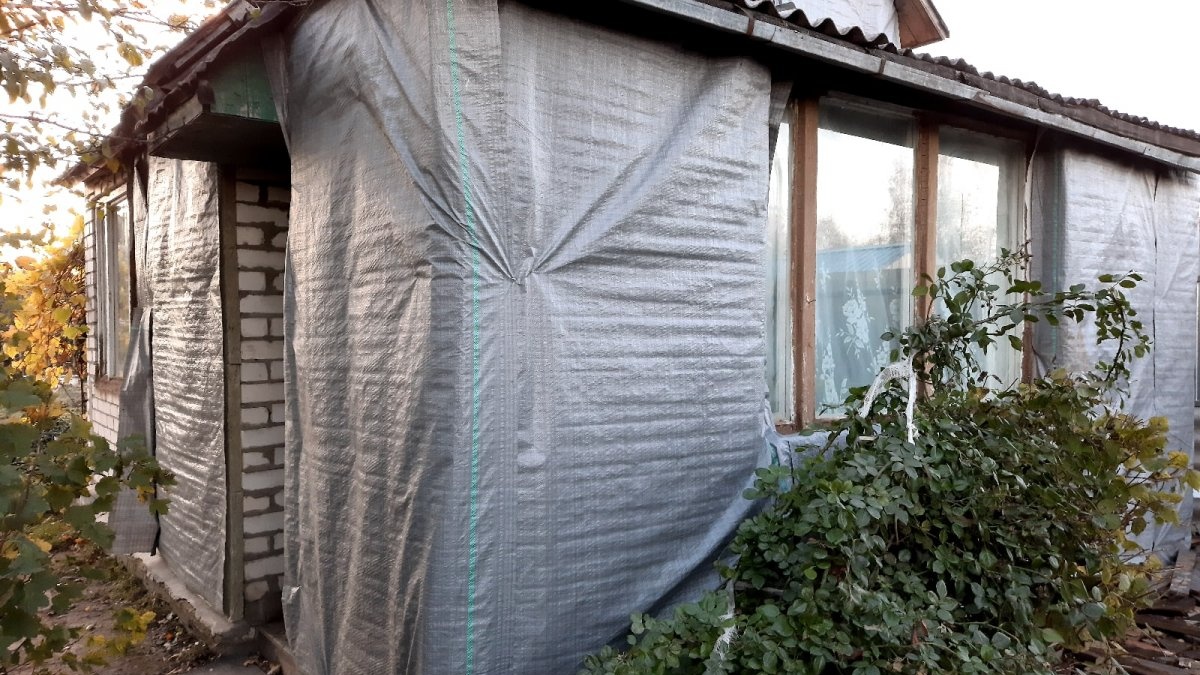
In general, this is where the insulation process ends. But leaving the insulation like this, even if protected by a membrane, is still not recommended. The top should be sewn with facing material. Insulation must also be carried out in closed clothing, thick gloves, goggles and a respirator!
General tips for insulation
Firstly, a good result will only be achieved after comprehensive insulation. That is, it is not enough to insulate two walls. I got a noticeable result after completely insulating the wooden extension, since it was the coldest part of the house. Well, this is a really good result, in which I can even spend the night on cold days, including autumn and winter, after insulating all the walls of the house.
You should also understand that by insulating a house, it will not automatically become warm. Imagine that the heating is turned off in your apartment, the heat goes away after some time. That is, the insulation prevents heat from escaping to the street and prevents cold from penetrating into the house. But the house needs to be warmed up somehow. Your own gas boiler for your home or stove for your dacha.
Also remember that approximately 40 percent of the heat escapes through the walls. They need to be insulated, of course, but again, comprehensive insulation gives a good result.
Warm windows and doors, and of course an insulated roof. Then the house will be truly warm at any time of the year. While there is no warm door, I cover it with a blanket; the blanket prevents the heat from escaping through the door. The windows in the dacha were covered with clay from the outside and sealed with paper tape from the inside. This does not make the door and windows warm, but it eliminates drafts.
I also tried insulating it with clay and sawdust. The result is good, but the work of such insulation is too hard. Therefore, insulating with mineral wool is the best option. Good luck with your insulation.