Hello ladies and gentlemen, today we’ll talk about making charcoal at a minimum cost.
You will need:
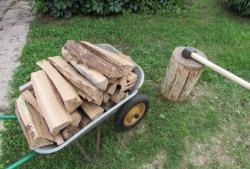
- Firewood.
- A small plot of land.
- Shovel.
- Metal lid, about 50 cm in diameter.
Making charcoal
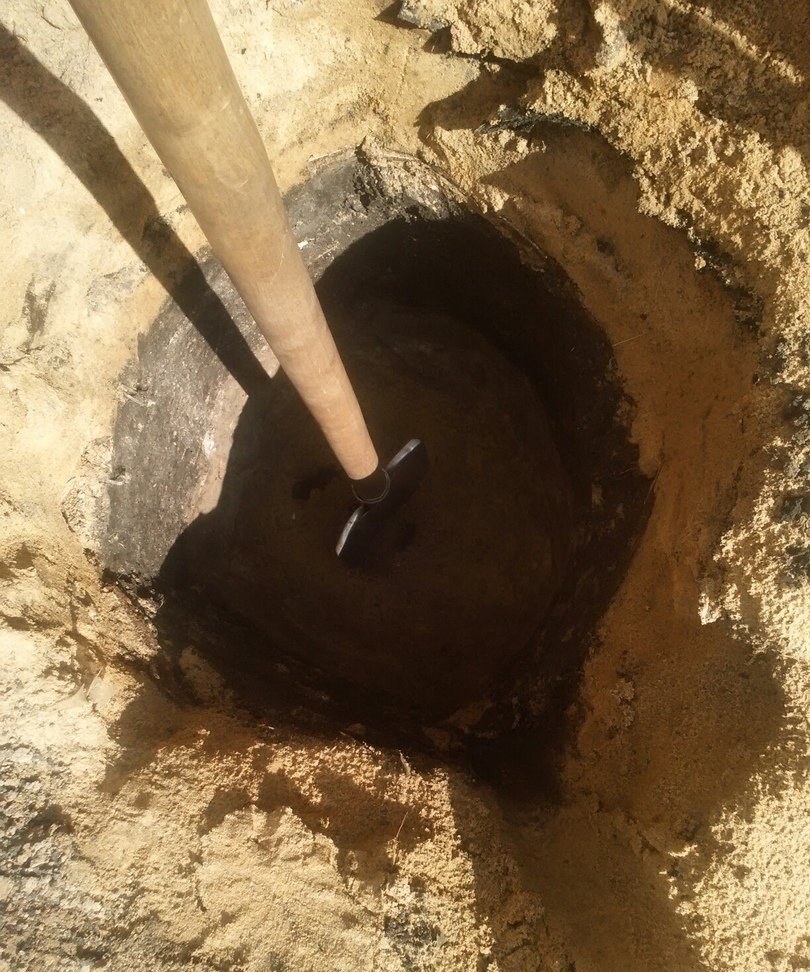
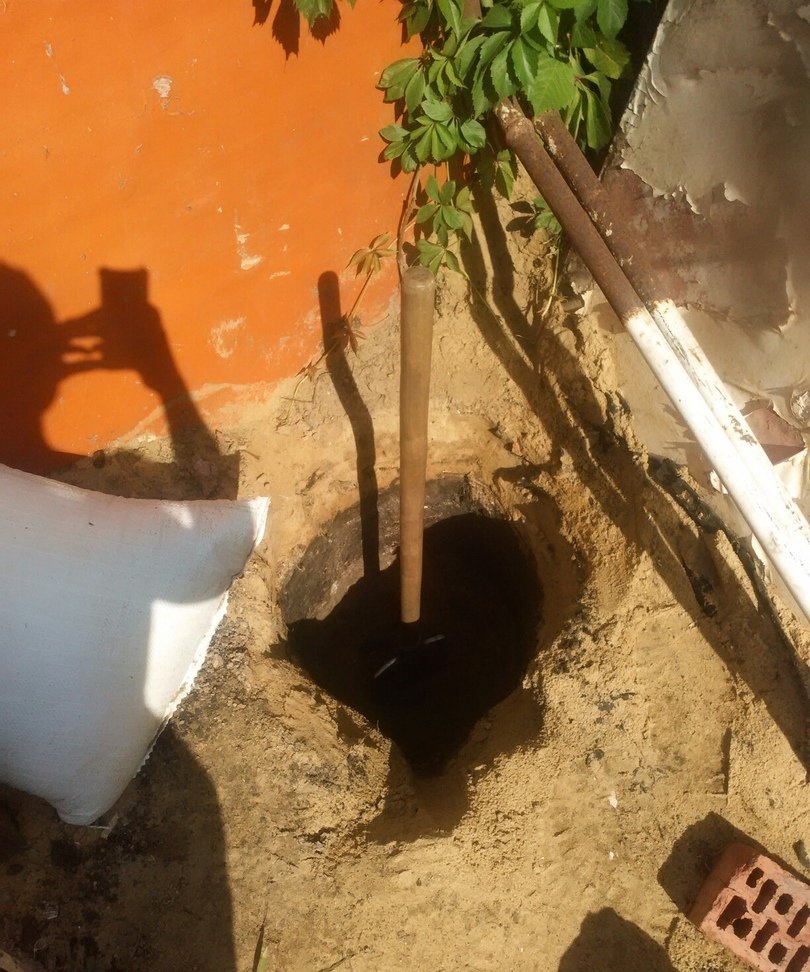
First you need to dig a hole about one meter deep and half a meter wide. These sizes may vary.
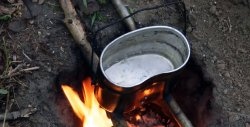
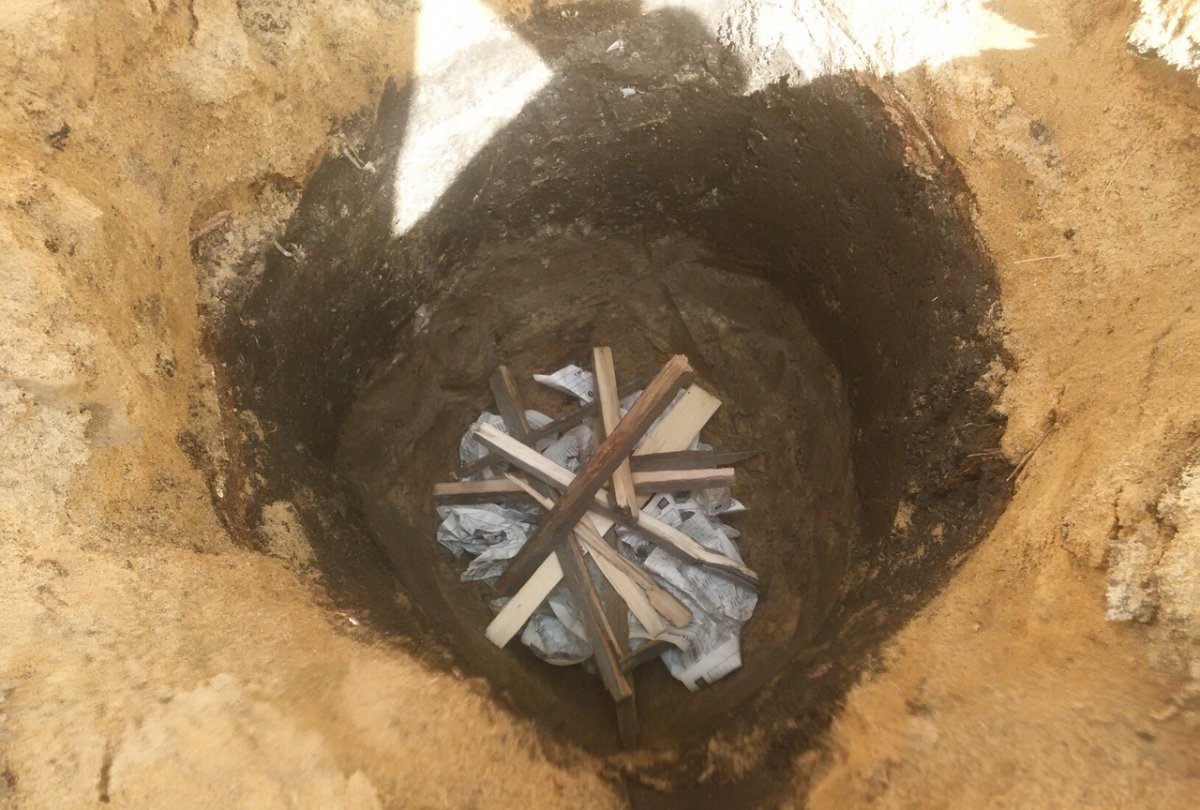
Next, we prepare firewood, which will turn into coal. You need almost twice as much firewood as your pit can hold. And we begin to make a fire in it. At first I was afraid that there would not be enough oxygen inside and the fire would not burn well, but everything turned out to be exactly the opposite. A natural draft arose (most likely), and the wood burned beautifully.
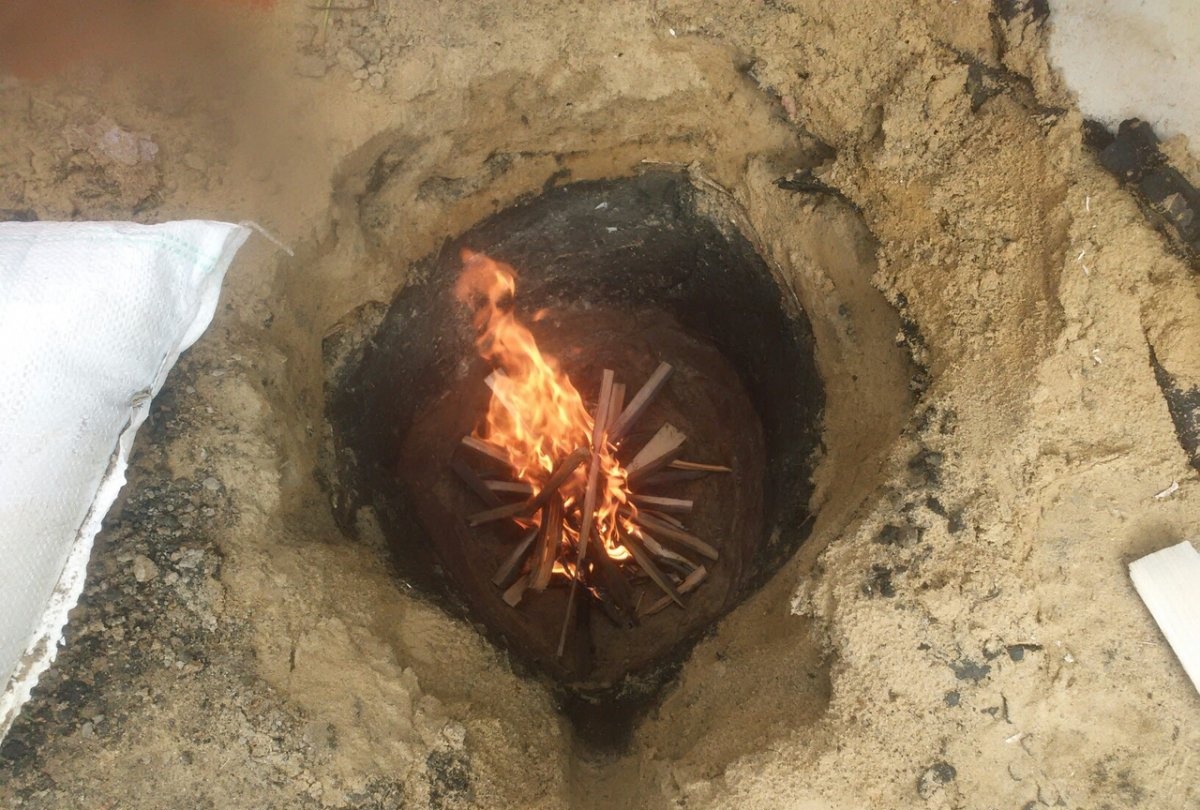
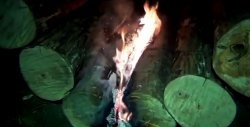
And then we gradually raise the fire to the very top, adding more wood when the old ones burn out. Don’t be afraid to throw a lot of firewood at once, as everything burns quite well. And when I thought that I had gone too far with the wood, and the fire went out, it soon flared up again.
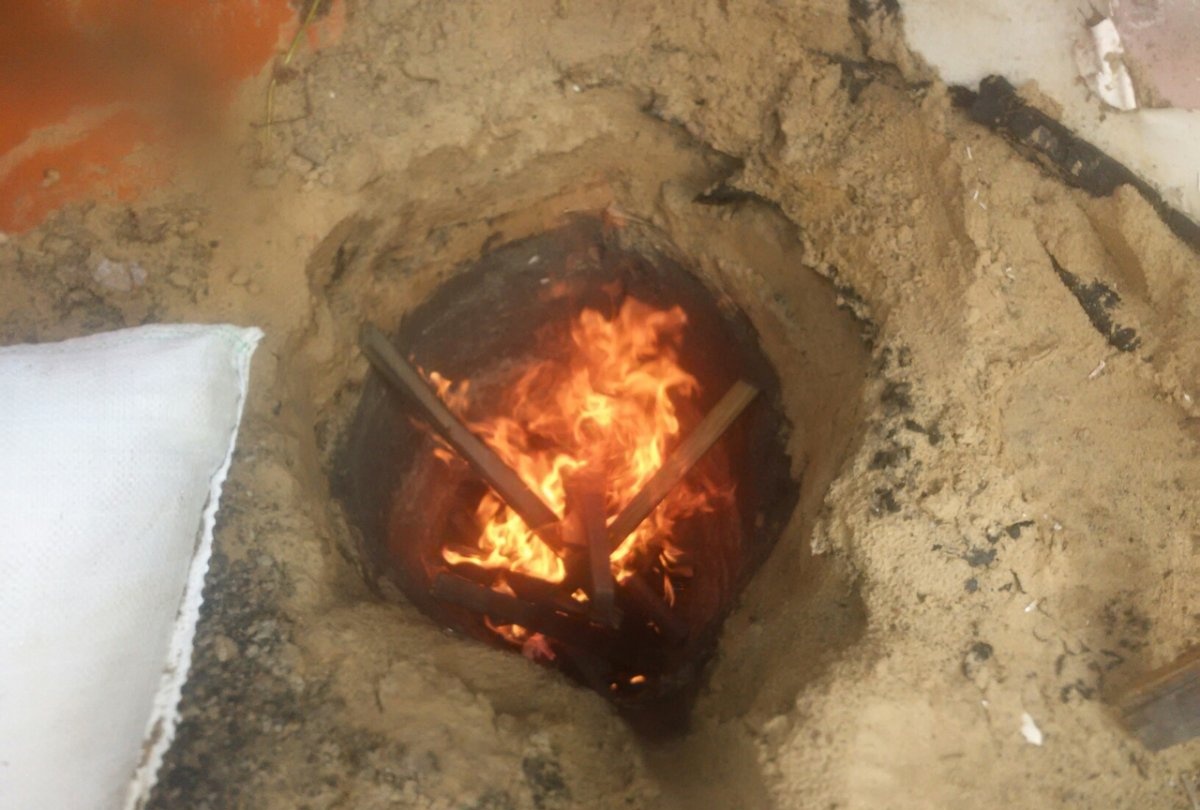
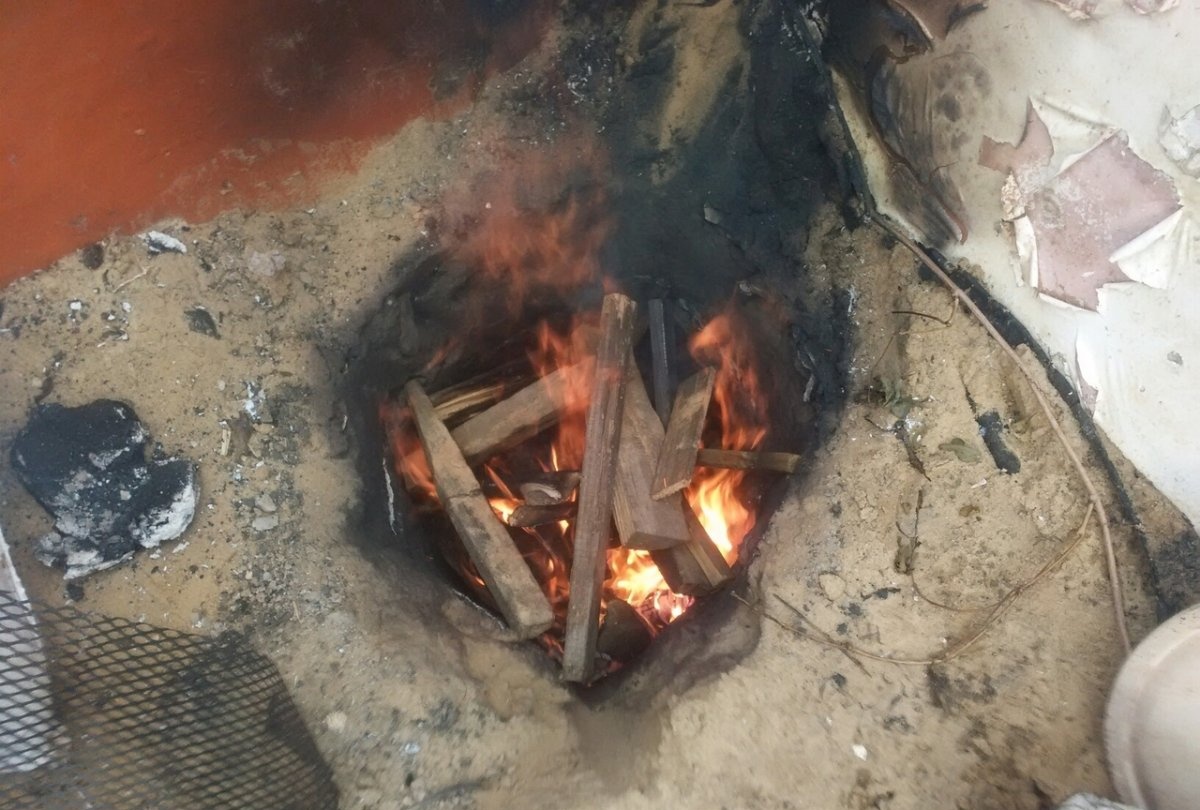
I filled the pit completely with wood, and the fire rose quite high.Here, I confess, I did not photograph this fireplace, because I was seriously afraid that I might start a small fire. Here is my first problem - you need to choose an open place, so that there are no flammable objects, at a distance of a meter from the pit.
So, when the top layer of firewood has almost burned out, you need to cover the pit with a lid. This is where problems may arise with finding a suitable cover. In general, I have a leaky barrel on my farm, from which you just need to cut off the bottom with a grinder, and you will have a wonderful lid. But are we looking for easy ways? There is an option to get out without a large enough lid. I took some kind of metal mesh, threw it over the hole, and pressed it on the sides with bricks so that it wouldn’t move anywhere. Next, I placed several flat metal sheets on this mesh, which replaced one large lid.
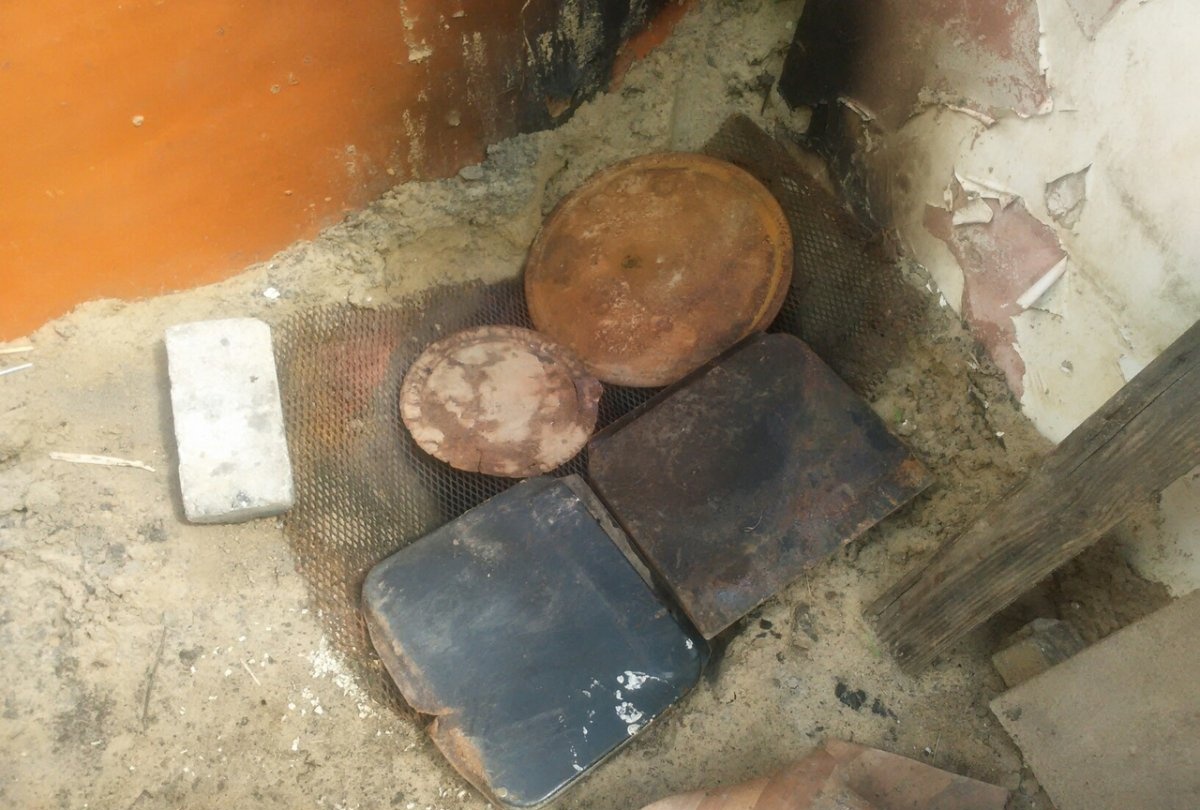
This particular photo was taken after I finished and took out the finished coal, I’ll explain why later. Well, then we pour sand onto these covers so that oxygen does not enter the pit.
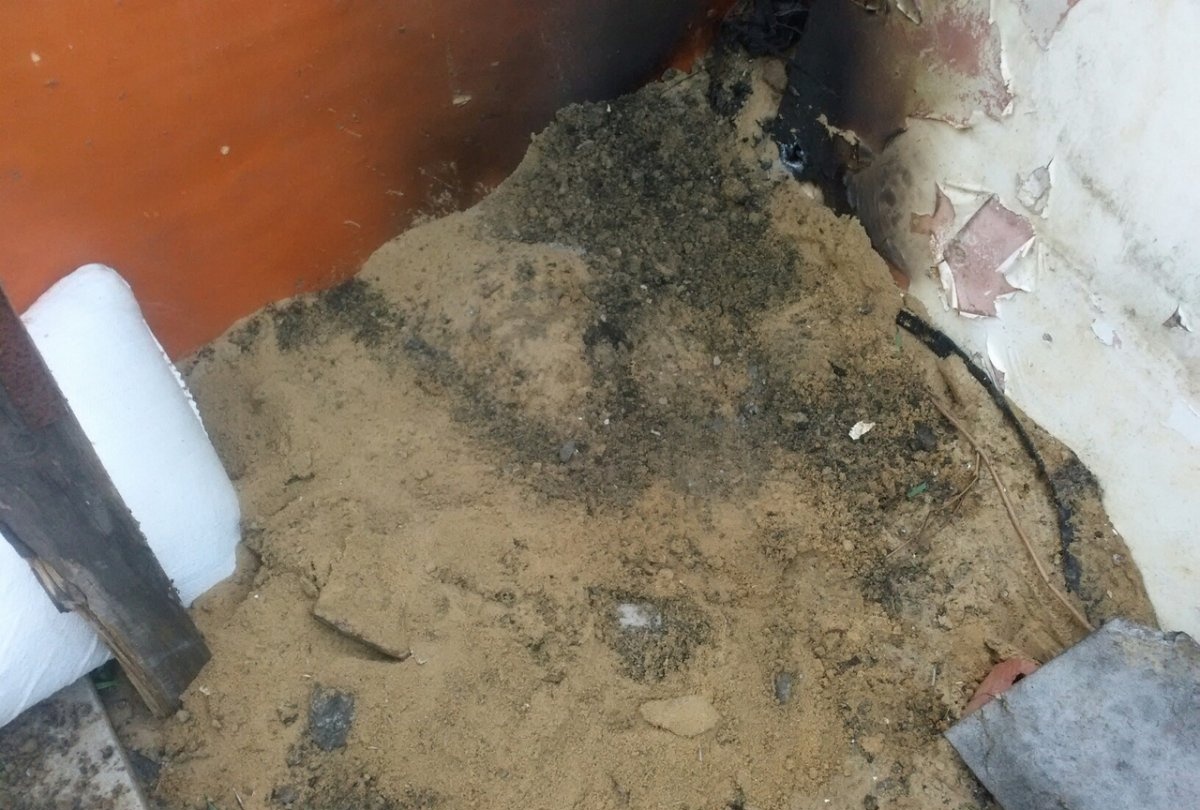
You can’t really say that there is some kind of hole here. In general, we leave this whole thing for about ten to twelve hours. I usually start making a fire at six o’clock in the evening, and in the morning, at ten o’clock, I already take out the finished coal. That is, all that remains is to wait some time, remove the lid, or lids, and take out the finished charcoal.
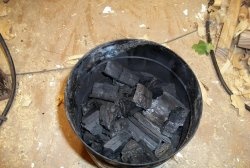
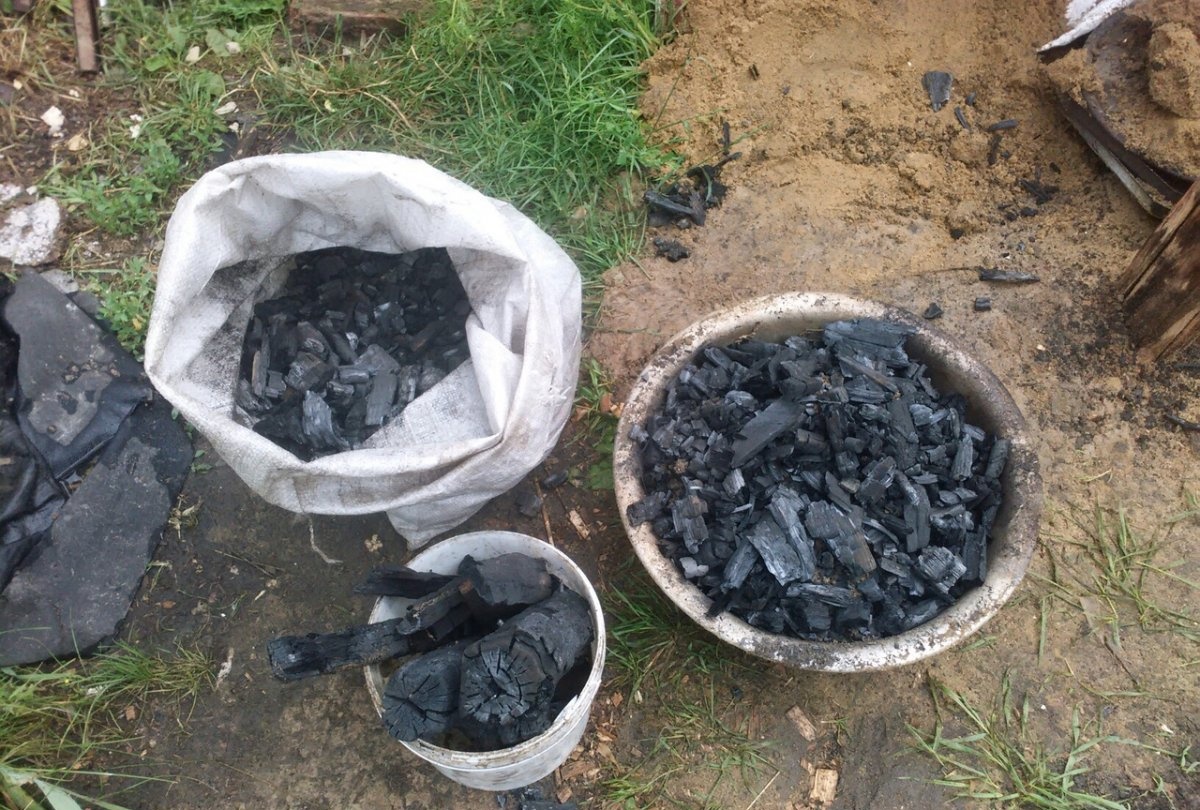
When I did all this for the first time, at first I thought that the coal would be about halfway up the pit, and at the bottom there would only be ash. But it turned out that the entire pit was completely filled with coal! On the contrary, some of the wood at the top remained firewood, since I started covering it too early.
Adviсe
Firstly, it is better to use one large lid. But if you still do it like me, then do everything very quickly.Actually, during my first experiment, I closed and filled the hole too slowly, which caused a fierce column of smoke to rise, be prepared for this!
Secondly, choose an open area, and not, like me, near a wooden fence and wooden doors. Plus, I have a top layer of soil, i.e. a third of the pit is sandy. Because of this, I also pulled out a lot of sand with the coal, which will then have to be separated.
Also, this method is more suitable for those who have a large amount of unnecessary firewood at their disposal. Since buying special firewood is not very profitable, it is cheaper to buy ready-made coal.
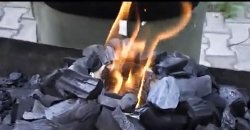
Well, in the end, this is really coal, and not burnt firewood! I used it to kindle the blacksmith's forge, and I liked it much more than the store-bought one.
Good luck to everyone who decides to follow my example!