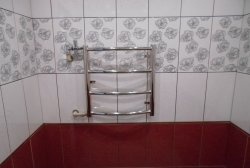
The simplest solution for heating a room is to install an electric heater. Moreover, you can do it yourself, using inexpensive available materials.
What you will need:
- floor tiles 60x60 cm;
- heating cable 33 Ohm – 11 m;
- laminated chipboard;
- CD profile;
- expanded polystyrene;
- concrete;
- mounting corners – 2-3 pcs.

Electric heater manufacturing process
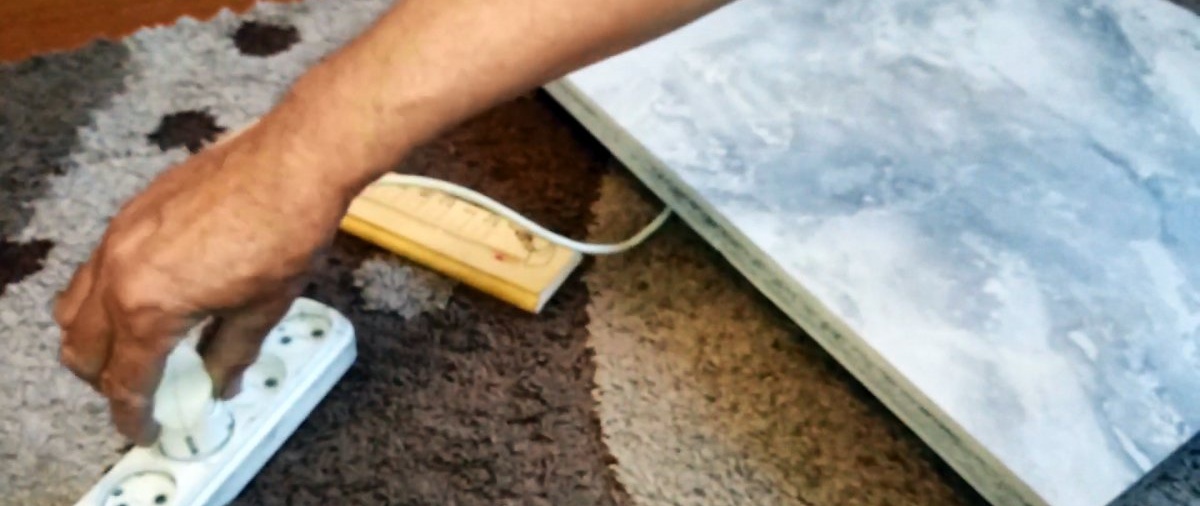
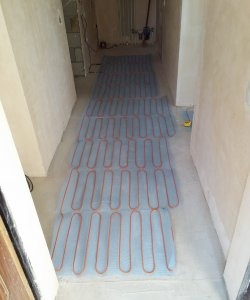
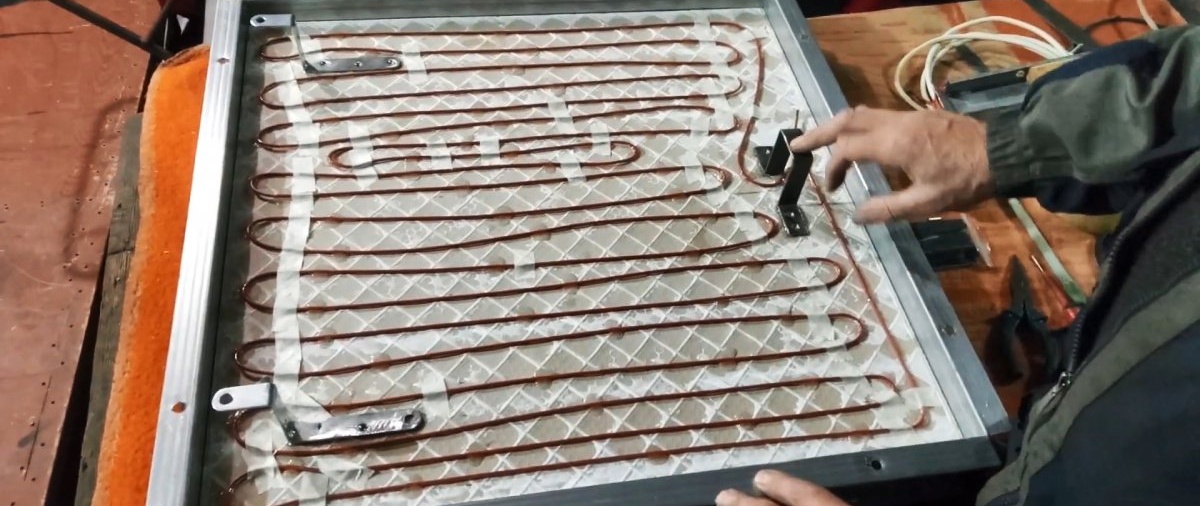
On the back side of the tile, using liquid nails, you need to glue 11 m of heating cable with a snake, with the power cord and plug installed. The fastenings for mounting the heater to the wall are also glued. To do this, you can use curved mounting angles or a strip.

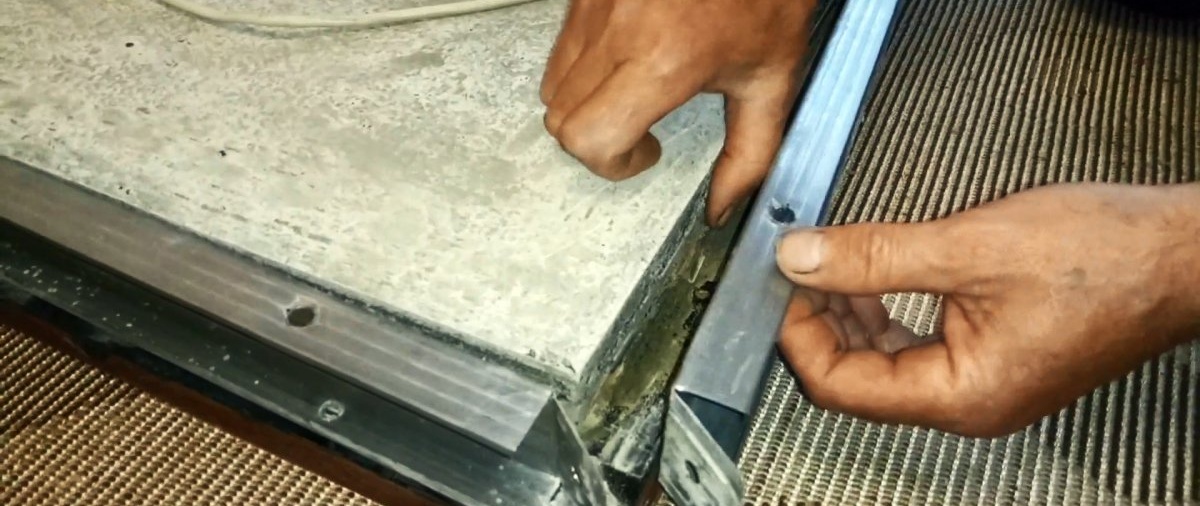
Next, formwork is made into which the tiles can be inserted and the cable with fastenings can be filled with a layer of concrete. It bends from a CD profile for drywall. To do this, it is cut in three places on the sides, and bent along them into a square with internal sides of 60 cm. The edges of the profile need to be made longer by a couple of centimeters in order to drill them and tighten them with a bolt.
The formwork is applied to laminated chipboard.It needs to be glued from the inside with tape to remove any gaps. The profile is drilled from the side to screw the formwork to the base. You need to make a couple of holes in the slab itself so that you can then push the tiles out of the formwork.

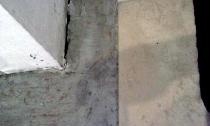
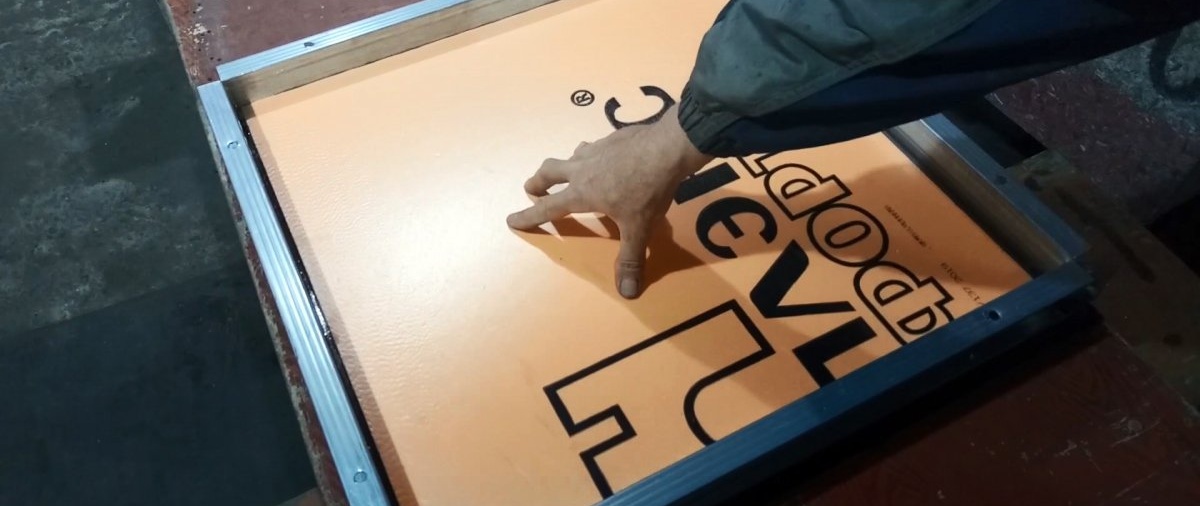
A polystyrene foam backing is first placed into the formwork. It will close the gaps. The tile is then placed and a thin layer of concrete is poured on top. If possible, it is better to use tile adhesive for heated floors; it is guaranteed not to fall off.
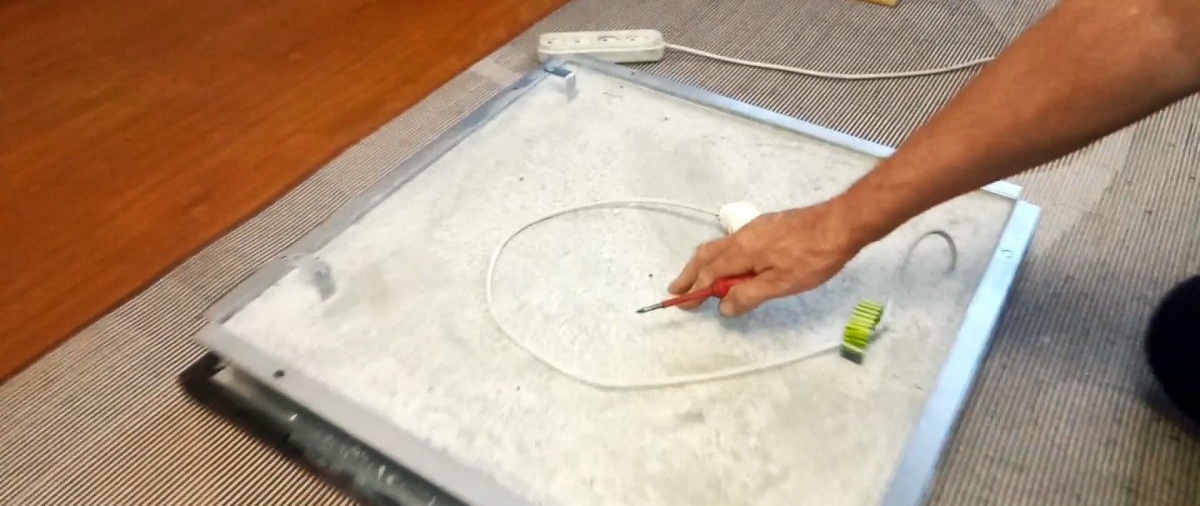

After 3-4 days, the heater can be removed from the formwork and cleaned of concrete stains. When turned on, it will heat up to a temperature of about +50°C. Due to the use of a cable with a resistance of 33 Ohms, the device does not require a thermostat or timer. It will maintain approximately the same temperature and consume an average of 120 W/hour.