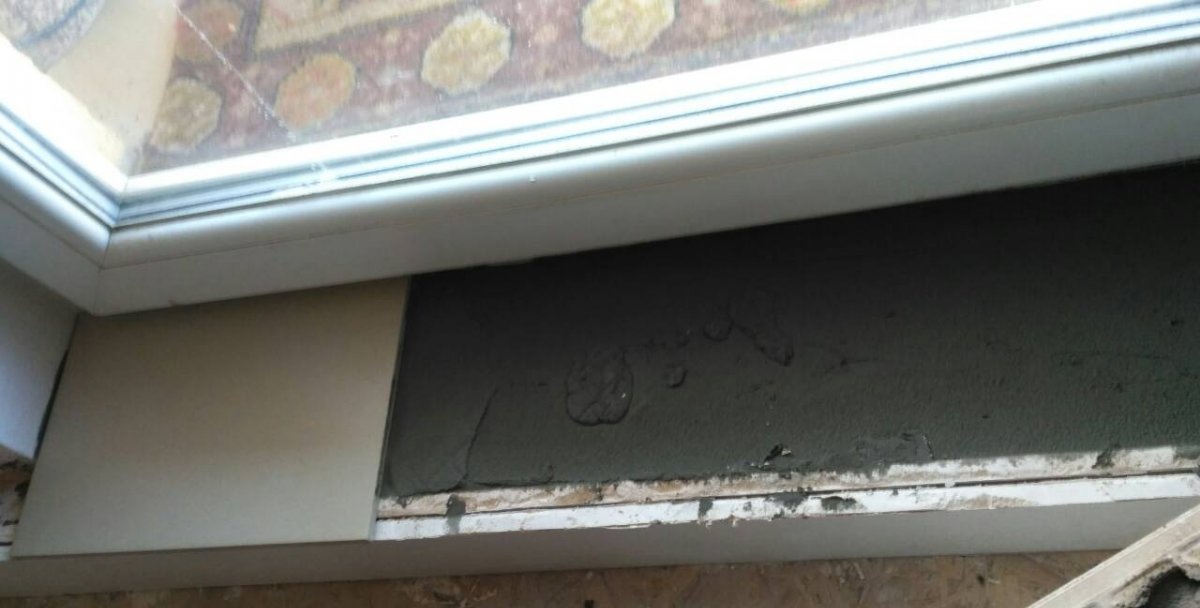
While renovating an apartment, in one of the rooms I needed to figure out how to improve the threshold in front of the balcony. I decided that the most practical material for this would be tile. Since in the future I planned to insulate the walls with plasterboard, I immediately attached it to the side of the threshold with glue. This had to be done right away, since the size of the tiles had to be calculated taking into account that drywall would be attached to the wall.
Let's start installing tiles on the balcony threshold
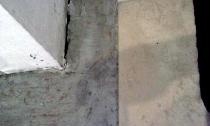
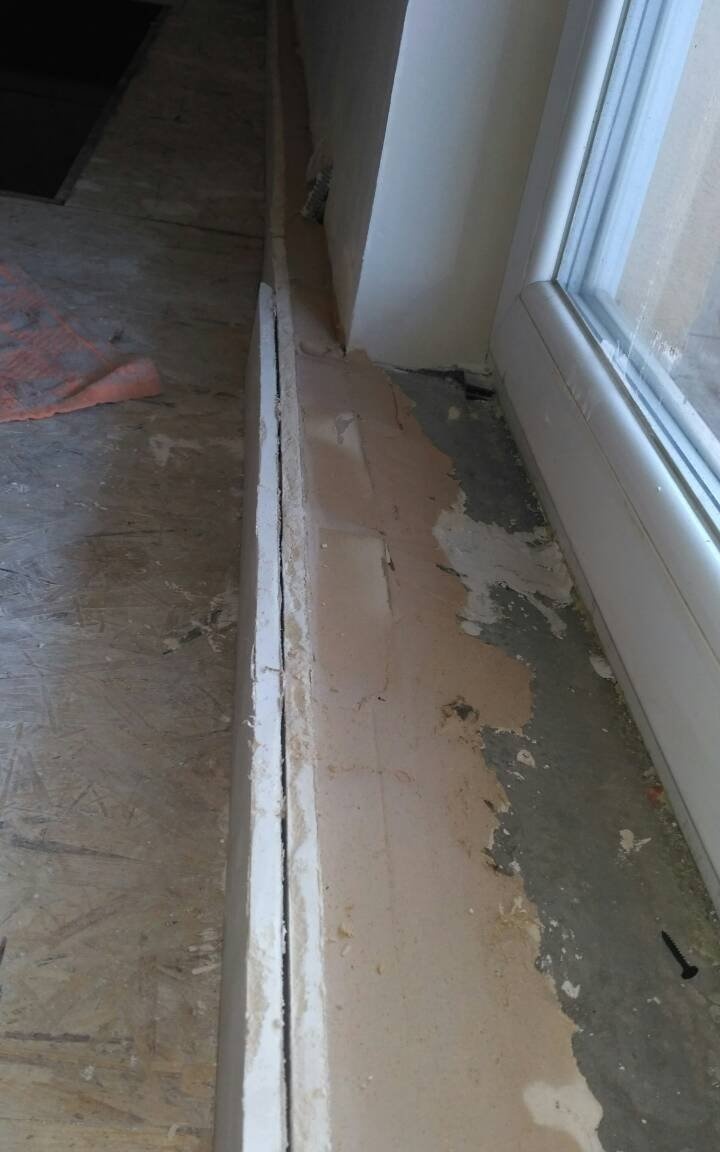
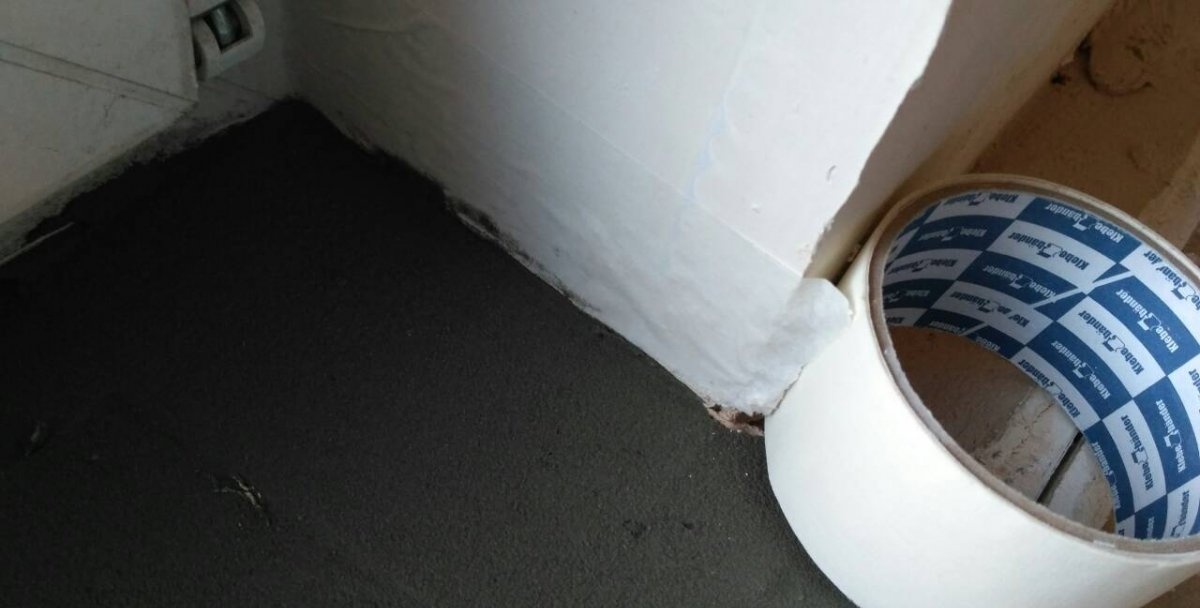
Since the balcony door slopes were already made, I glued masking tape at the bottom so as not to stain or damage the slopes when finishing the threshold.
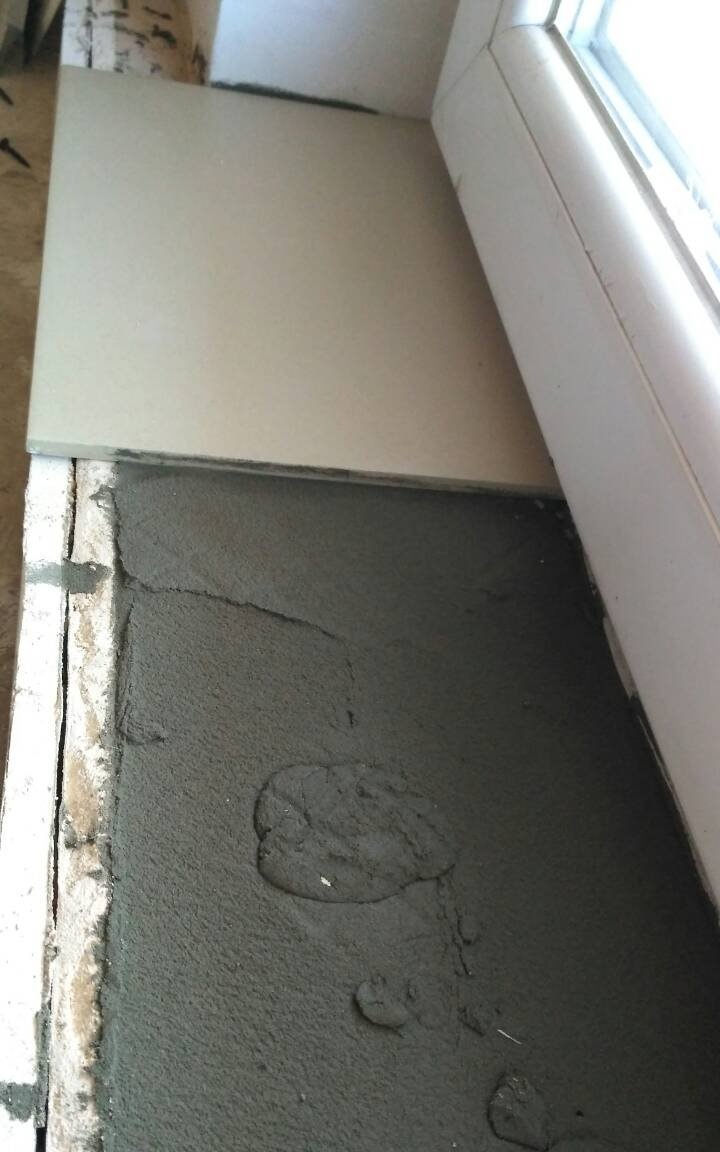
Next, I leveled the surface on which the tiles will be laid. For the screed I used cerazite glue. Having approximately leveled the surface, I began laying the tiles.
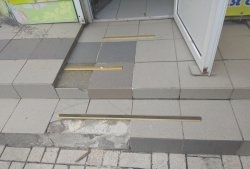
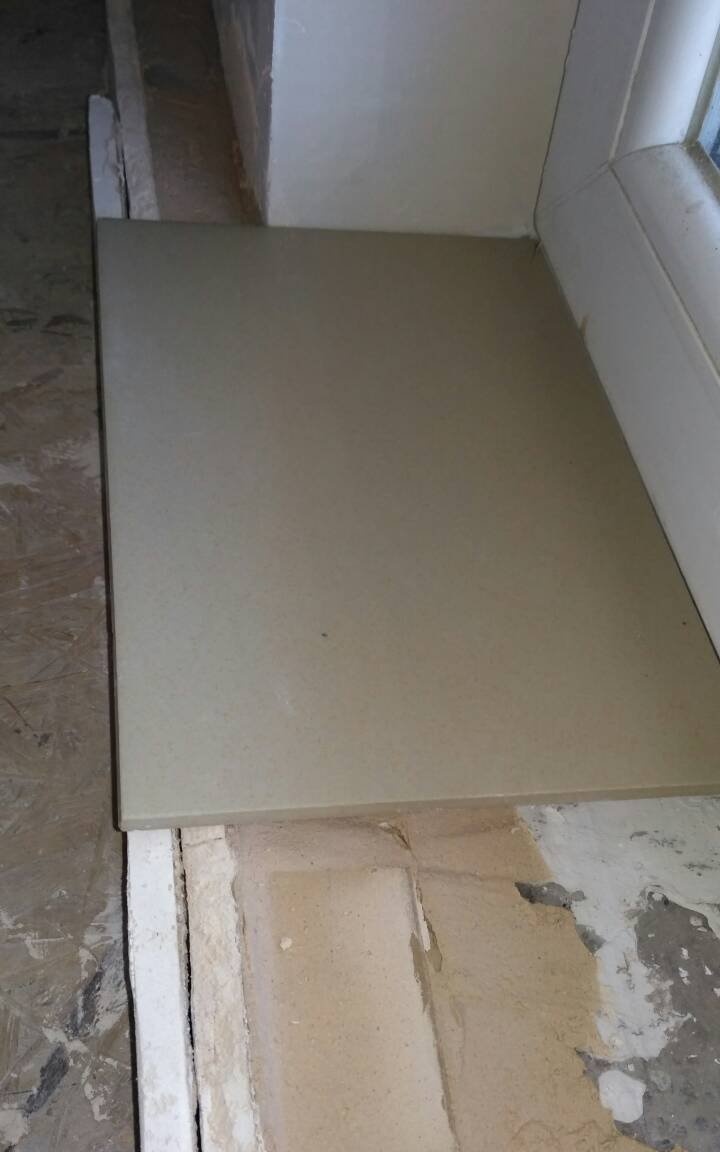
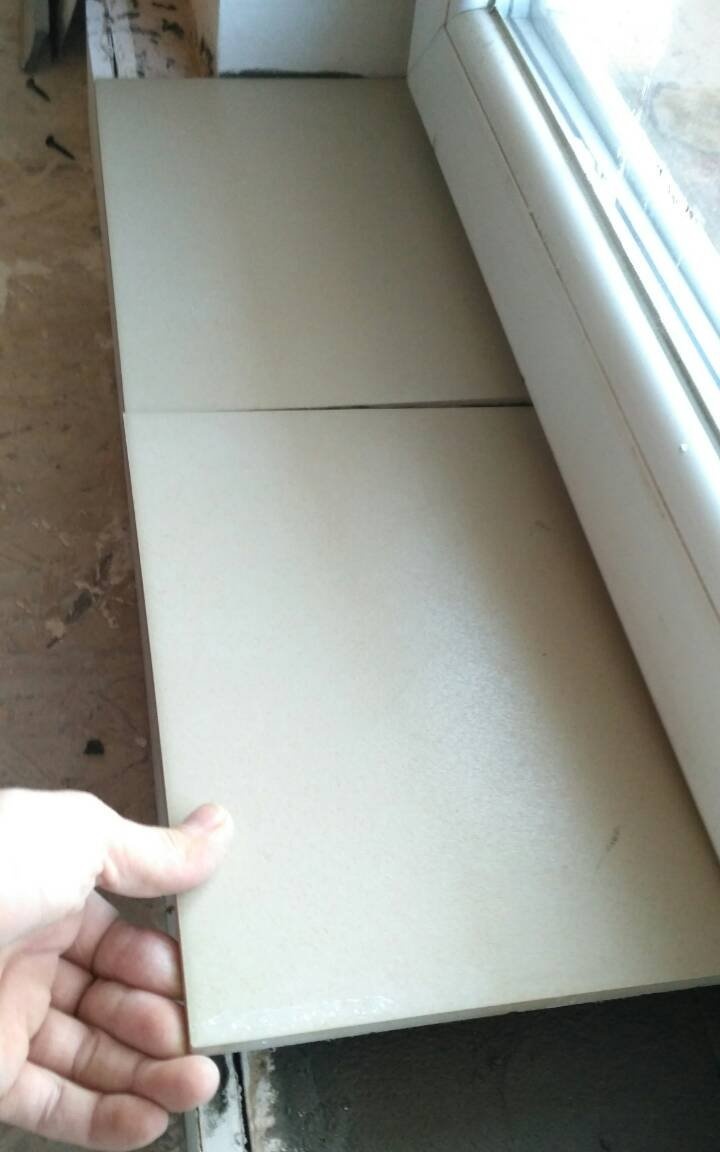
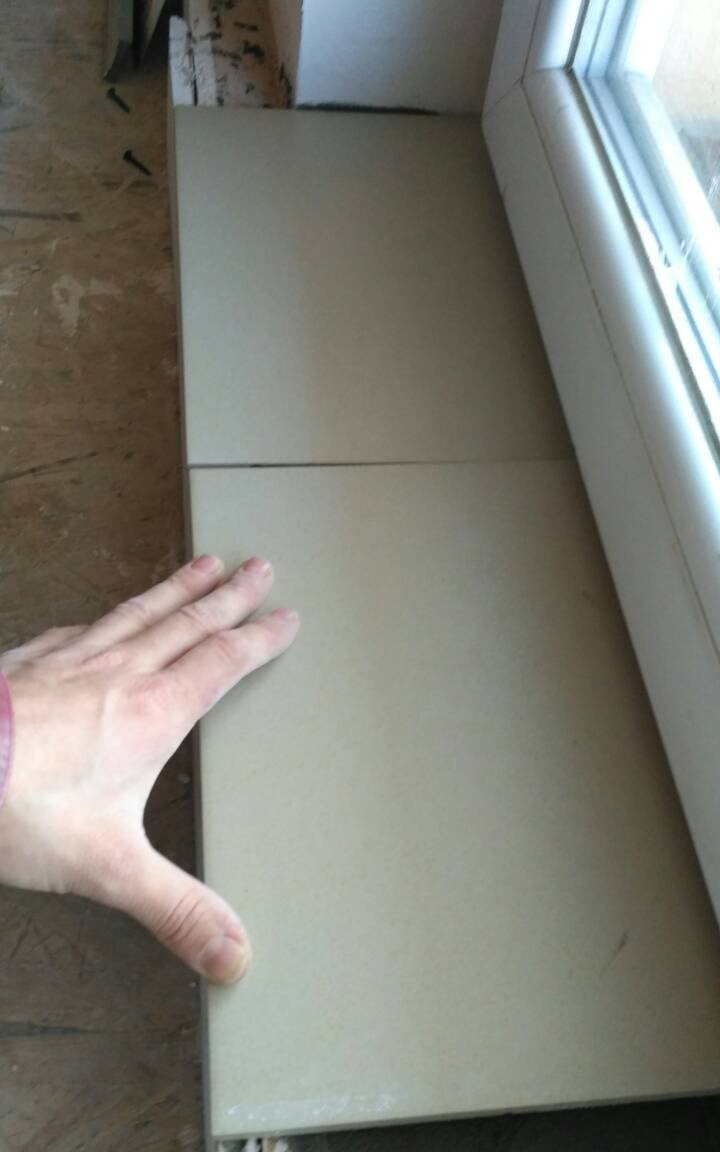
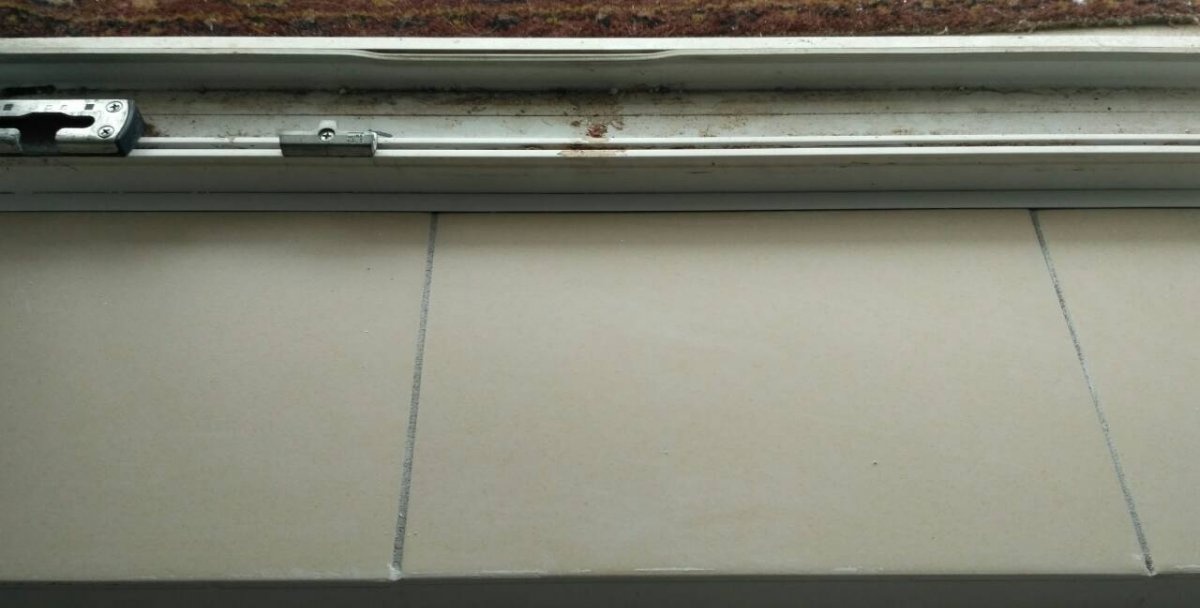
First I decided to adjust the three tiles to fit the threshold.
I had to cut a small portion of the tiles using a grinder with a diamond blade so that the tiles would not extend beyond the dimensions of the drywall and would be flush with the wall.
I also laid the tiles using cerazite glue, mixing it with water, without adding cement or sand.You can mix it manually with a trowel, since this work does not require a large amount, or with a special mixer. Since I had almost leveled the surface, I didn't have to apply a large layer of glue to the tile. Using a spatula I applied a minimal layer. When placing the tiles on the threshold, you need to apply a building level, and using a rubber mallet, lightly tap the tiles in order to set them level.
Unfortunately, I did not have special crosses and wedges for the tiles. Therefore, I used improvised means to ensure that the seam between the tiles was even.
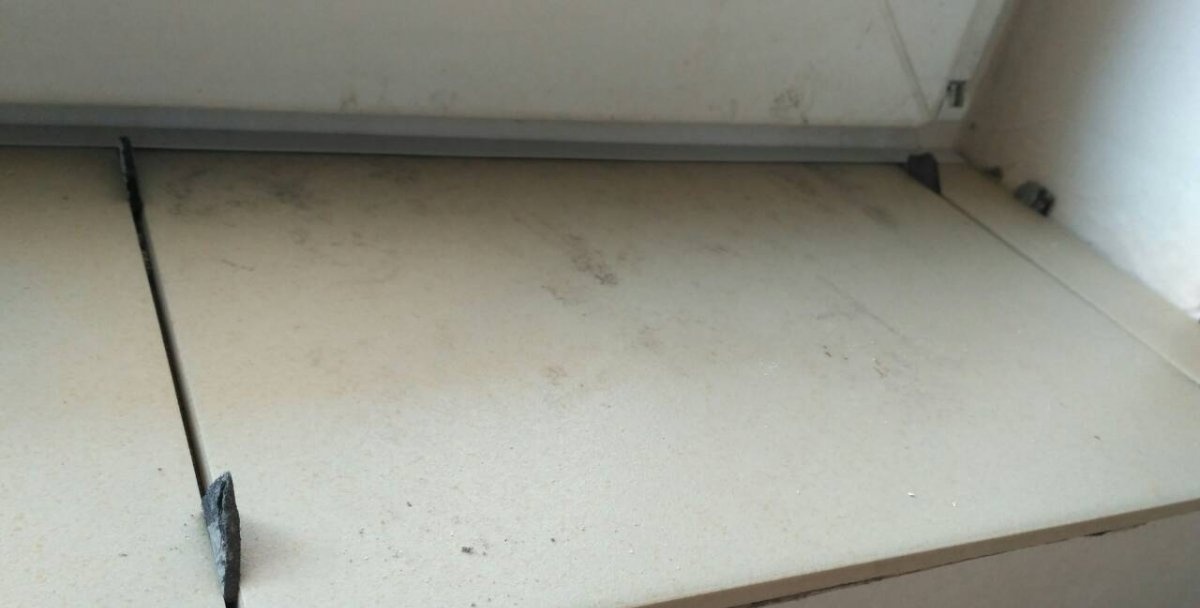
Of course, in case of large volumes of tile laying, it is important to use crosses to avoid unevenness. I didn't plan on sealing the seams with colored putty, so they were filled with the same glue. To keep the seam smooth, you can immediately go over it with a damp sponge before the glue dries.
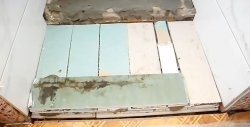
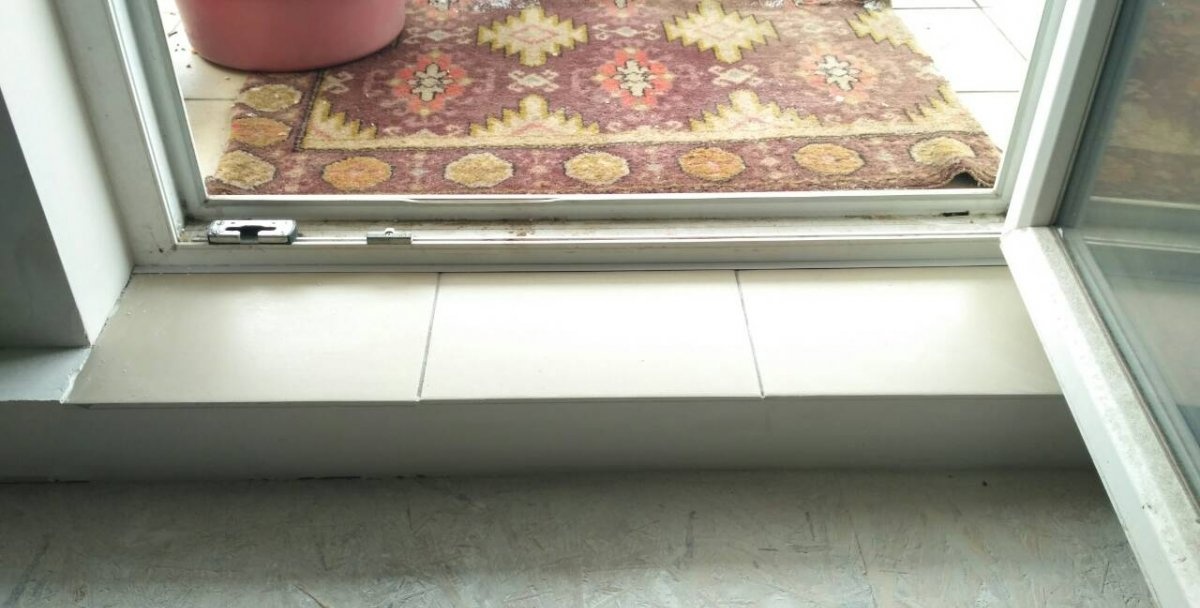
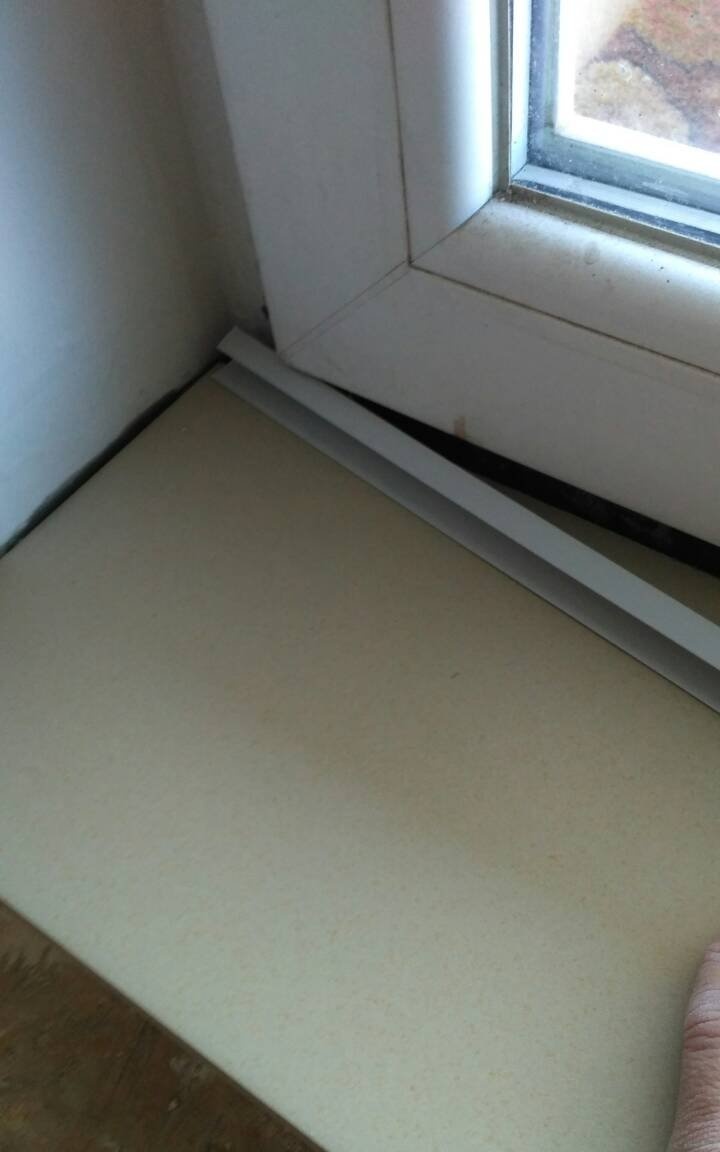
Thus, I installed 3 whole tiles (this is exactly the size of the threshold). I had to use a small piece of tile on one edge. I placed it on the right side, where the door opens. This was done taking into account that when the door is opened, this trim will not be noticeable.
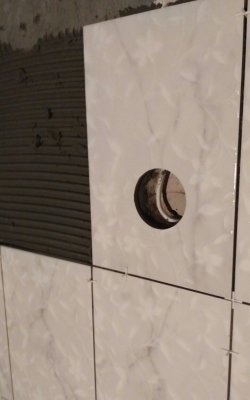
When installing the tiles, I placed the flat part on the front side, and the side that I cut with a grinder was towards the door. To hide the unevenness, I installed a plastic plug on the silicone.
So, I improved the balcony threshold in the room. In my case, this material is the most practical, since in this part of the room in front of the balcony there is condensation and dampness during the cold season. This may cause a small amount of moisture (water) to form.Therefore, the tiles can be easily wiped with a cloth, and the material itself will not deteriorate from moisture, such as laminate or wood. It is also best to use floor tiles that are non-slippery to avoid injury.