Headphones come in two main types – wired and wireless. Wireless headphones are good for everyone; the cable does not dangle, they are comfortable, almost weightless, etc... But they have one huge drawback - even the most expensive wireless headphones, from the most famous manufacturer, are not able to convey the full depth and richness of the sound. If you have an excellent ear for music, this will be immediately obvious. In addition, they need constant recharging. In general, most connoisseurs of good music will never exchange high-quality wired headphones for a wireless headset. Wired headphones are also divided into many types. The three main ones are large external headphones, vacuum headphones, and in-ear headphones. These are the latest headphones, the safest and most practical, in my opinion, that we will now talk about. The only downside to wired headphones is their wires. A short wire is good for an MP3 player; you can hang it on your chest and it will stay right on your headphones. Convenient and no need for pockets. Good in summer.But sometimes you need to connect your headphones to your phone, and then the short cable goes past the cash register! Therefore, I suggest making a small extension cord for short headphones.

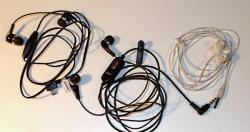
Specifically, we are talking about headphones with a microphone, with a four-pole connection.
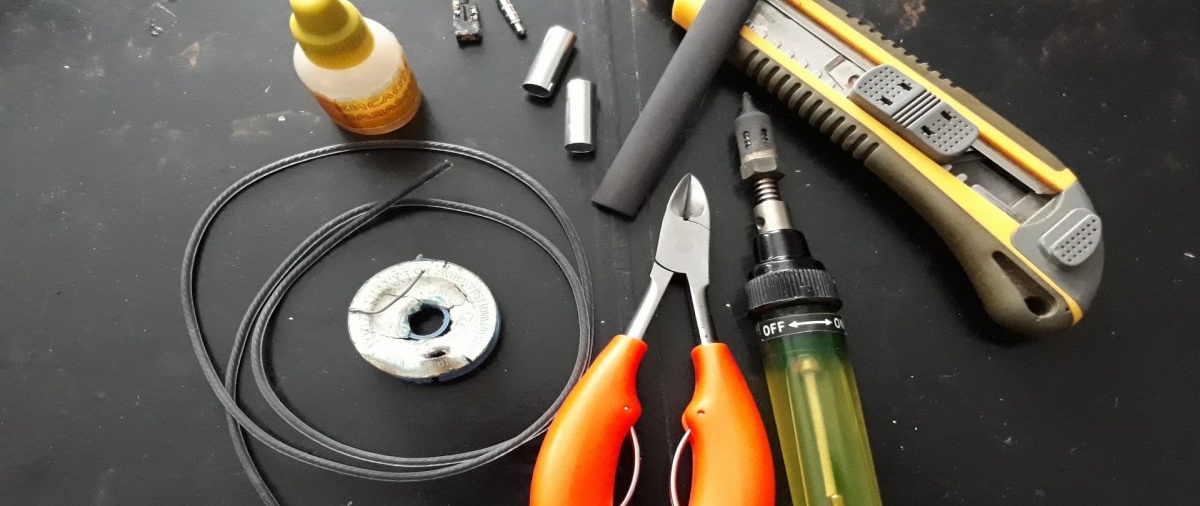
Will need
- The cable is four-core, thin, it can be from old headphones.
- Small nippers.
- Soldering iron, with tin and flux.
- Stationery knife.
- Scissors.
- Heat-shrinkable tubes, different calibers.
- Secondary glue.
- Two metal tubes, 7 mm in diameter and 25 mm long.
- Four-pole 3.5 plug and corresponding connector to it.
Headphone extension cable assembly
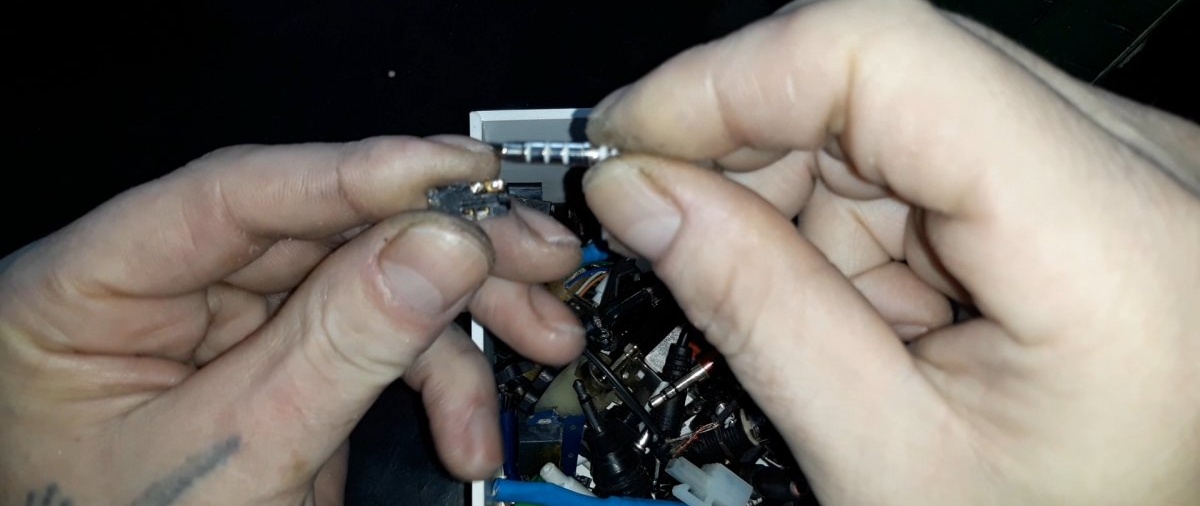
This work is not long - it took me about 20 minutes. It's pretty boring though. All work mainly involves soldering small parts. So, we select the four-pole plug we need and the connector for it.
Clean the end of the cable.

I took 50 cm of cable. This is quite enough, in my opinion. In order not to get confused in the contacts of the plug and connector, I hastily drew a simple diagram on paper. And for those who want to solder a similar extension cord, I drew a more detailed diagram in a photo editor:
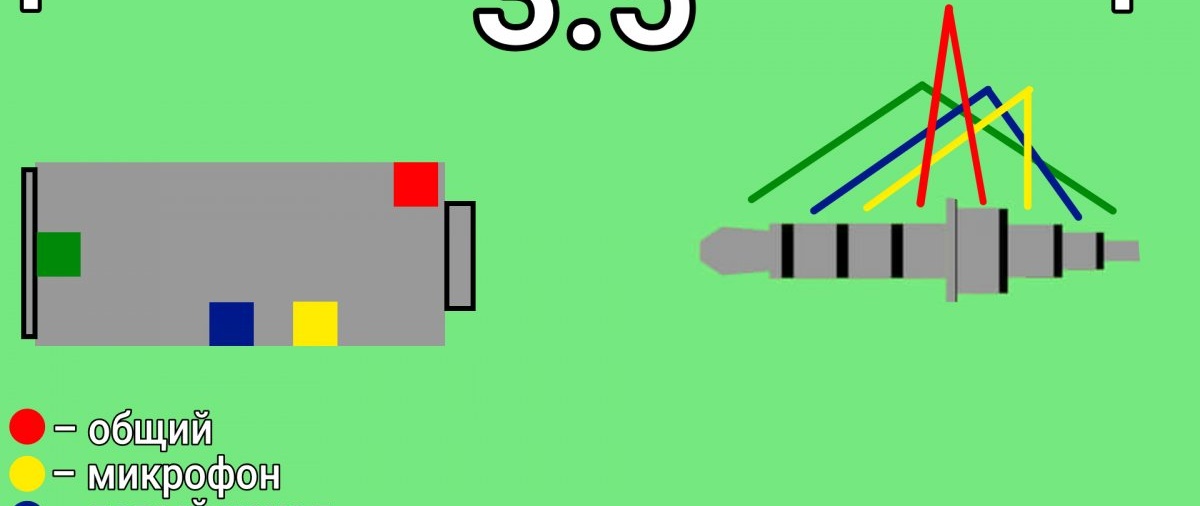
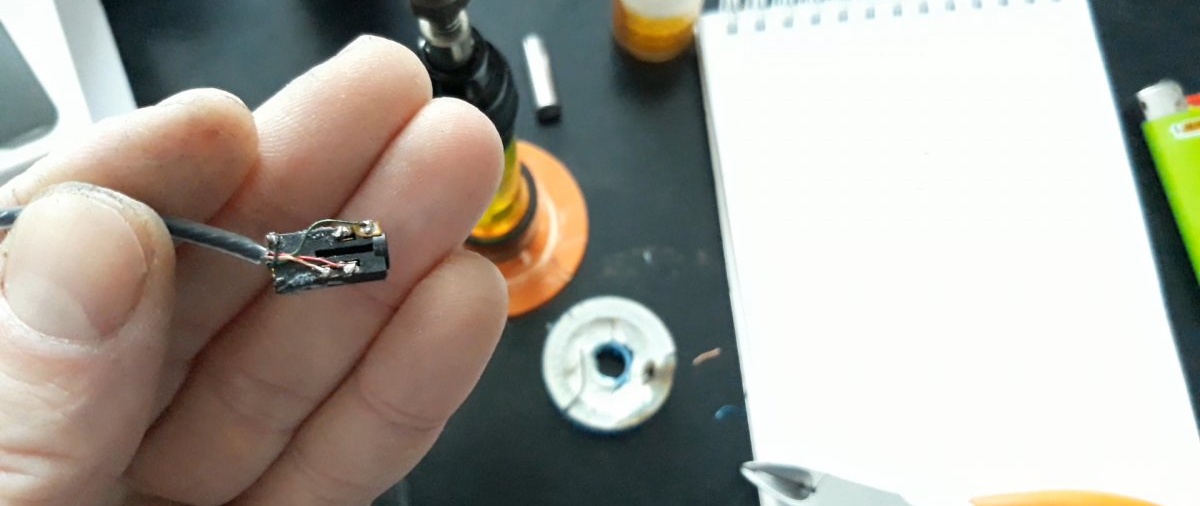
The colors of the wires in different cables may differ, but the main thing is not to confuse the contacts. Namely: connect the contacts that contact each other in the connector and plug with the same color! Next, we use wire cutters to adjust the wires to the required contacts of the plug, tin them, and solder them to the plug.

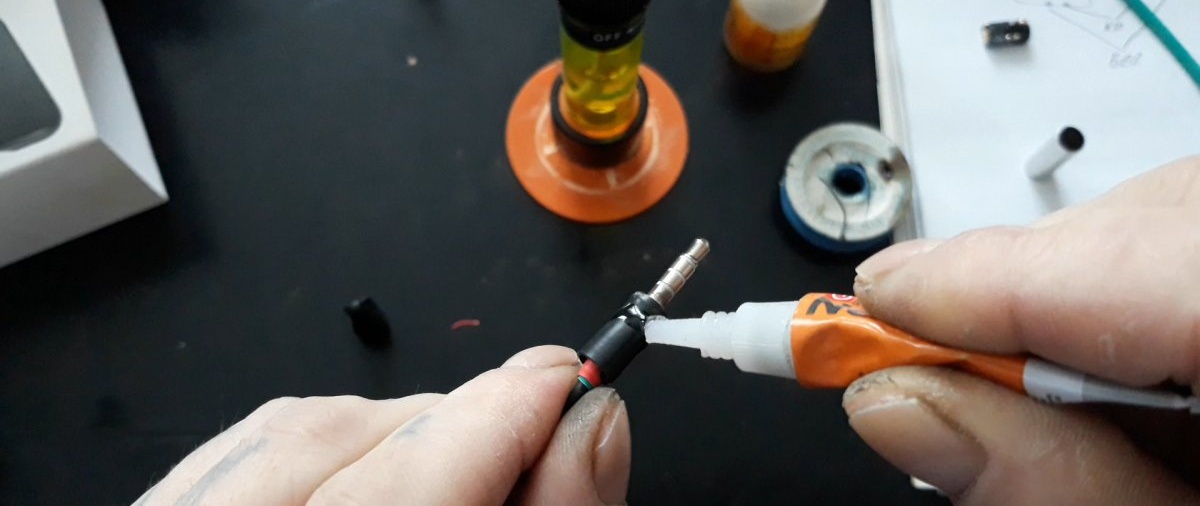
Now we isolate and secure the whole thing with heat-shrinkable tubing of the appropriate caliber. And so that the thickness of the braid corresponded to the caliber of the tube, I placed several more tubes on the plug. Like this:
You can, of course, adjust the thickness using electrical tape, but it will be more reliable this way. Next, drop a couple of drops of second glue onto the resulting braid and put on a piece of tube prepared in advance.
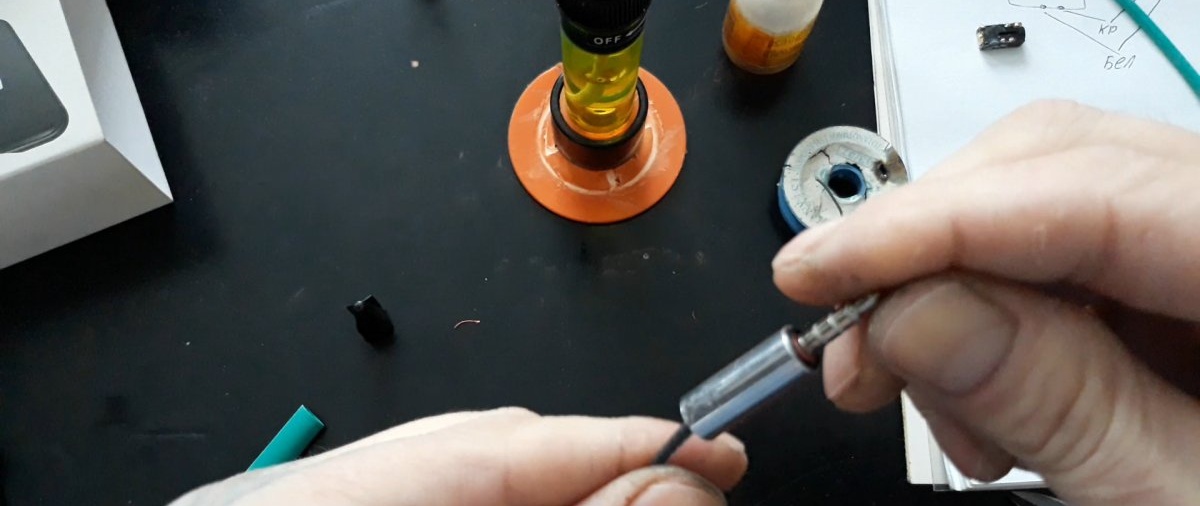
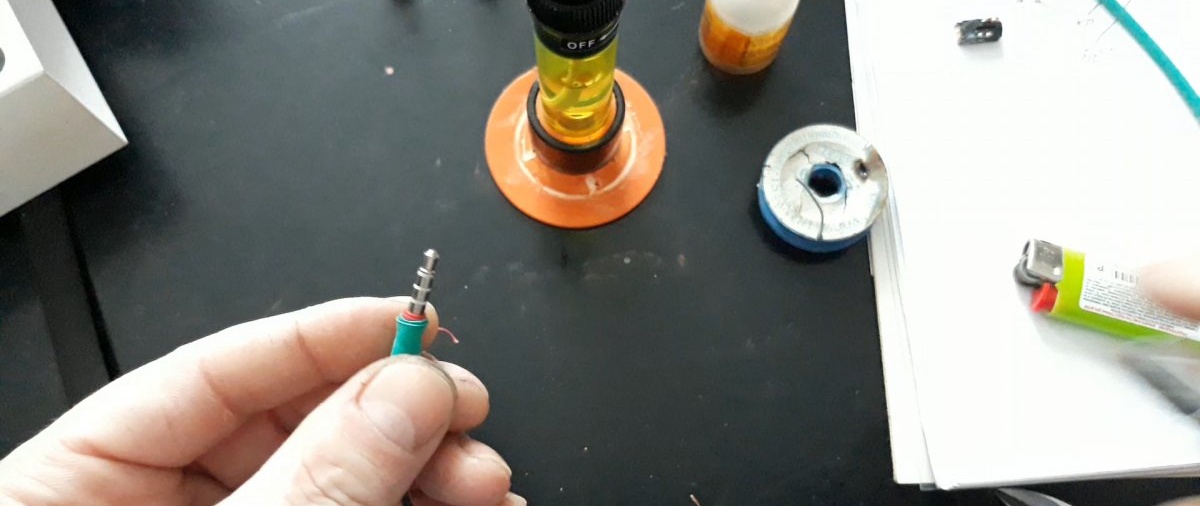
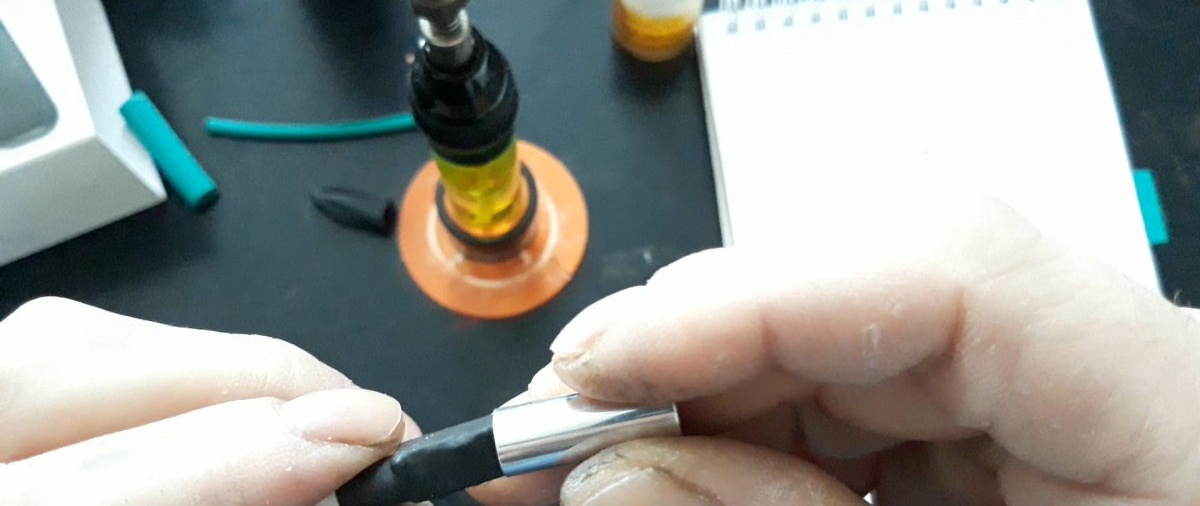
Now we put black heat shrink on the tube, with a margin of 10 millimeters, and seat it with a lighter. Here's what you end up with:

The plug is ready. Well, we repeat the corresponding procedure on the other side of the cable, with the connector.

Just don’t forget to look at the diagram so as not to make a mistake with the contacts. Also, do not forget to put the required number of heat-shrinkable tubes on the cable to insulate the connector - after soldering the connector, this will not work.
Inattention will cost another ten minutes of work and several thermal tubes. Well, the extension cord is ready.


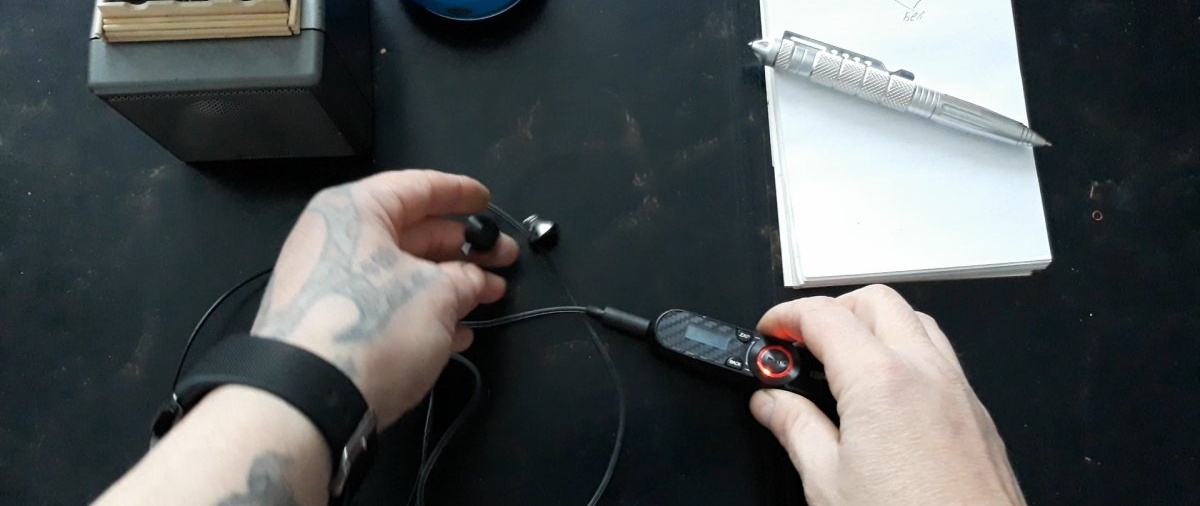
I tested it on my phone first. The microphone and volume control work unchanged. The sound is also free of noise and distortion. Then I checked it on an MP3 player - everything was as clear as before.
Now in winter you can connect headphones to your phone like a headset, so as not to freeze your hands when talking, and in summer, in a shortened version, wear these same headphones around your neck, with the player dangling from them, if you are wearing a T-shirt without pockets. And all this with one pair of headphones!
Watch the video
Also see how you can assemble two broken headphones into working ones - https://enn.washerhouse.com/5122-sobiraem-odni-naushniki-iz-dvuh.html