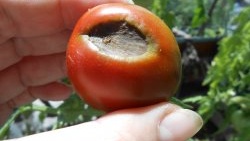
Unlike the usual leafy vegetables, such as dill or lettuce, which are cultivated in garden beds in summer and in greenhouses in winter, microgreens are young seedlings of any crops, usually cereals, spices and vegetables, which are in the cotyledon leaf phase. Only plants whose sprouts have a bitter taste are not suitable for microgreens, including nightshade tomatoes, peppers, eggplants, and regular beans. That is, these are no longer seed sprouts, but also not full-fledged seedlings that have entered the stage of active vegetation.
It takes from 10 to 20 days to obtain juicy microgreens, which, you see, is very convenient for organizing a “vitamin conveyor” at home.Another advantage of growing microgreens on a kitchen windowsill or warm loggia is that there is no need for contact with the ground. Typically, such sprouts are driven out on a substrate or mat made of natural materials, for example, flax, felt, coconut, jute, cellulose, etc.
Today, it is not difficult to buy all the necessary elements and equipment for growing microgreens. Many suppliers of agricultural products have included in their assortment entire kits for germinating seeds, which include planting containers (containers), mats (substrates, substrates), and the planting material itself (seeds of individual crops, as well as mixes and all kinds of mixtures).
But since such kits cost a lot, zealous gardeners with many years of experience in growing seedlings have no problem finding an almost free way to obtain microgreens. You just need to have at your disposal the seeds of the plants you would like to grow. You can use the cheapest toilet paper as a substrate for germinating grains. The container for obtaining sprouts can be small transparent plastic containers and trays, which remain in abundance after eating many foods.
What's the best thing to grow at home?
All plants with small and medium-sized seeds are suitable for this method.

To obtain microgreens in the shortest possible time, it is best to use early ripening crops that produce sprouts on the second day.
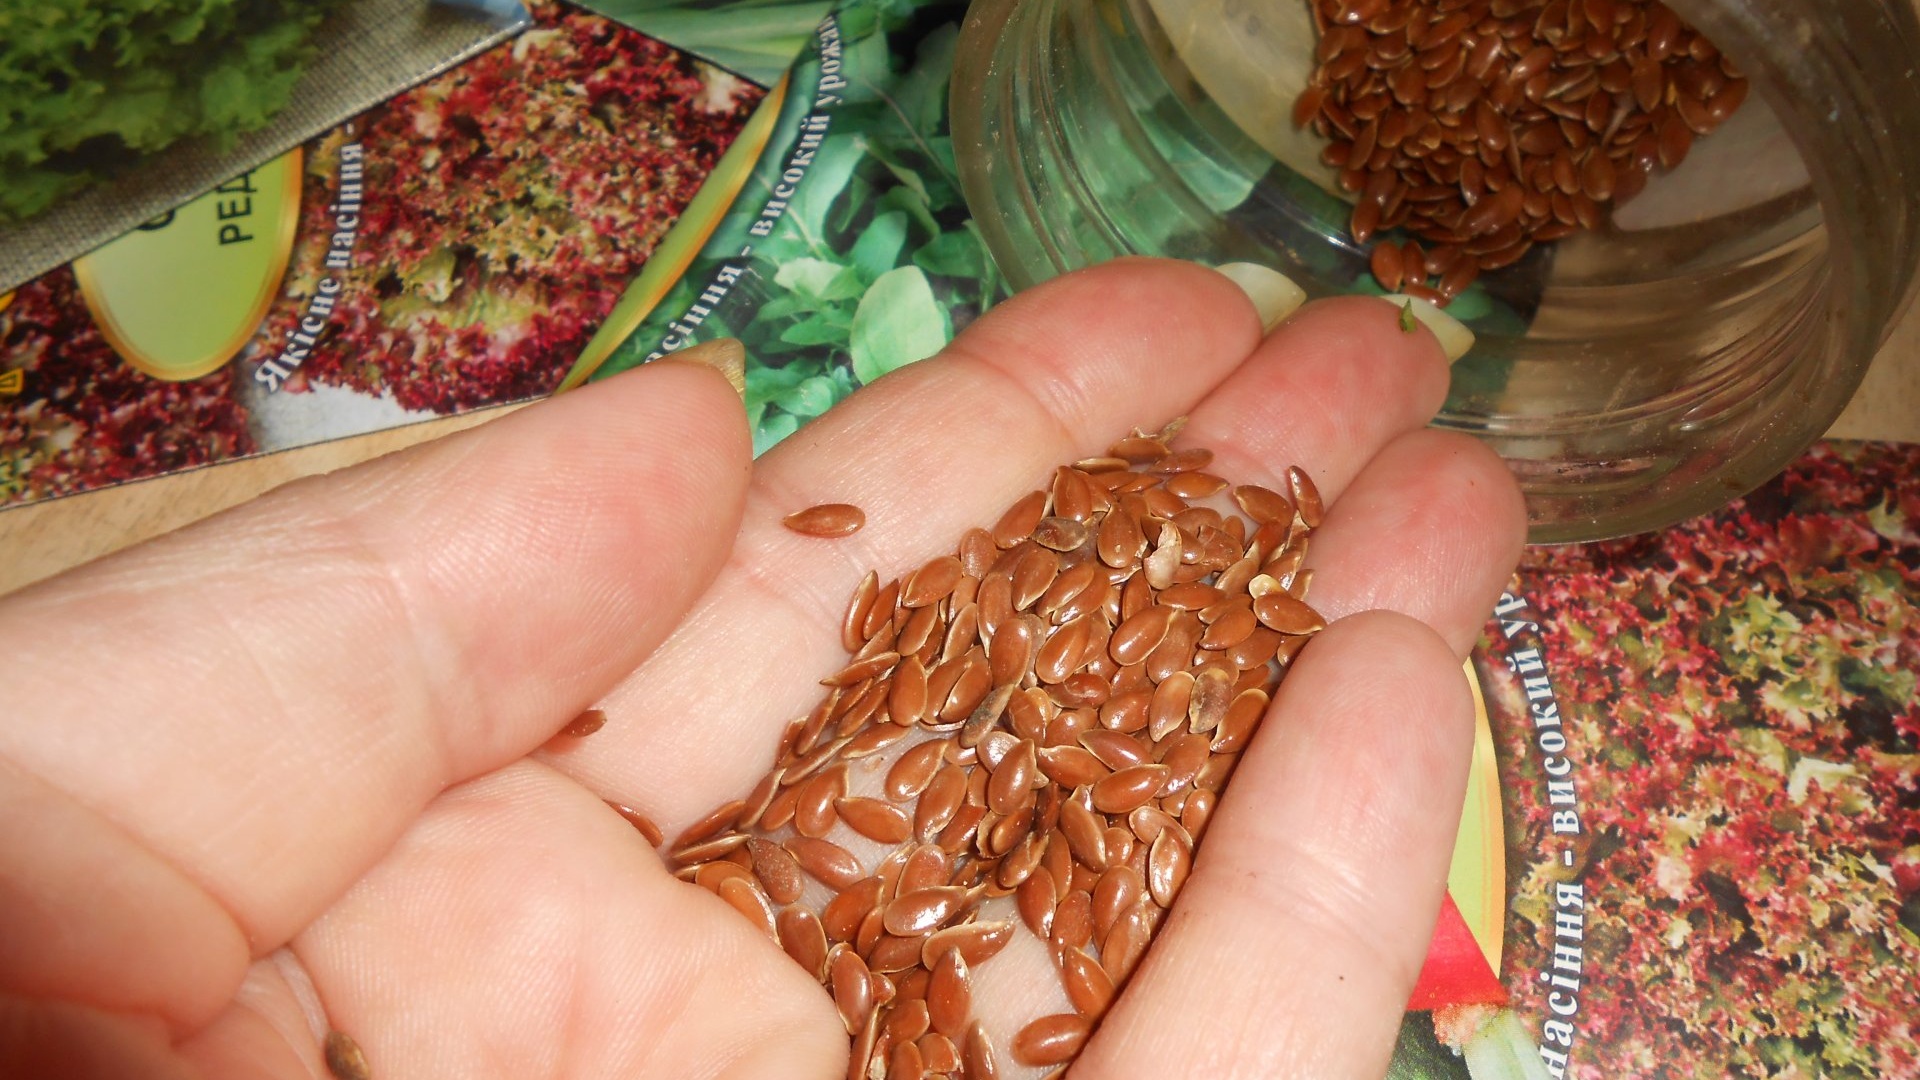
This includes flax, and numerous types of cabbage (broccoli, Savoy, Peking, red cabbage), and all varieties of salads, including arugula and watercress, and radishes, and mustard, and beets, and alfalfa.On damp toilet paper and in a microgreenhouse, such seeds swell and hatch in just a day.
Spicy herbs - basil, onion, spinach, chervil, chalcedony onion - are excellent for distilling on wet toilet paper and in small containers. They have a piquant taste, a subtle spicy aroma and are rich in healthy phytonutrients.
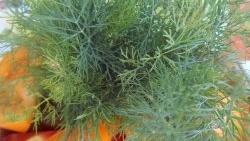
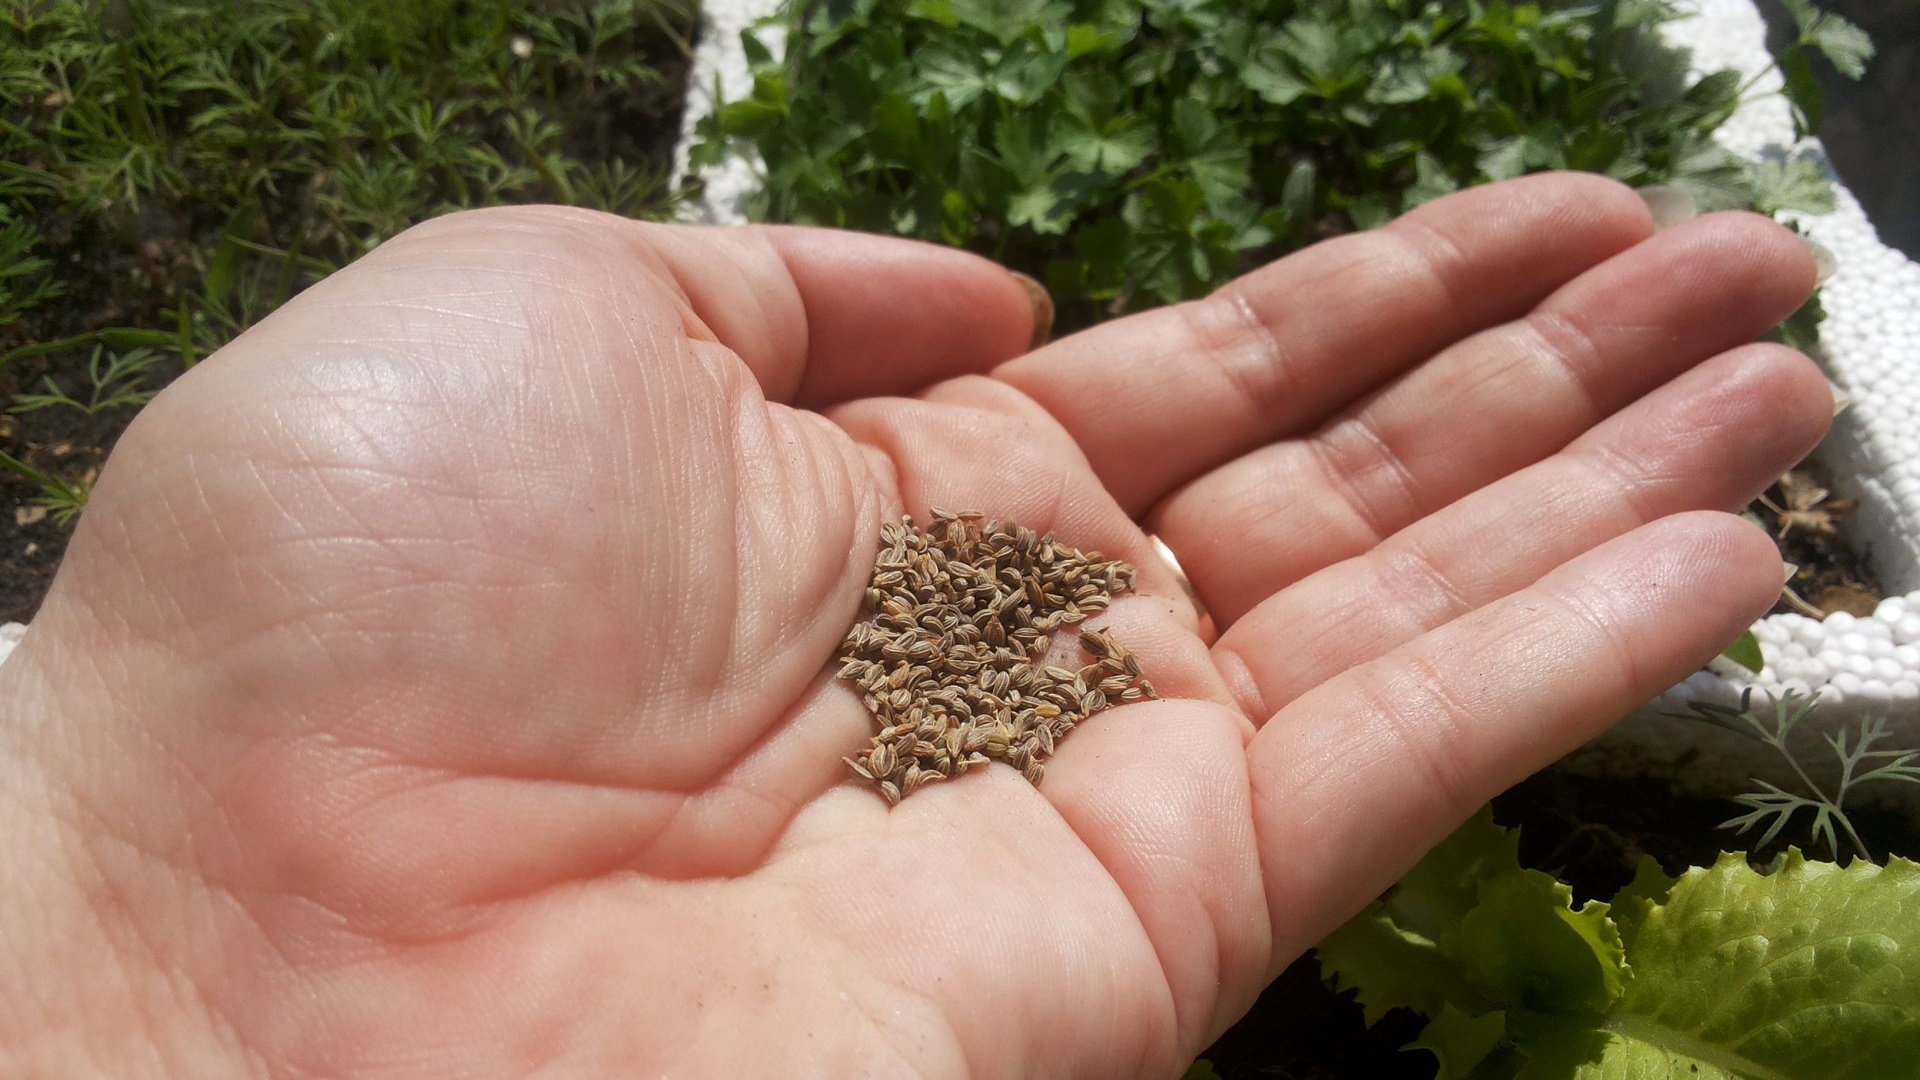
If you are willing to wait a little, then plant umbrella crops on microgreens - dill, fennel, parsley, parsnips, carrots, coriander. It is these seeds that, as a rule, are available in large quantities to experienced summer residents and gardeners. Such grains take much longer to germinate due to the shell of essential oils covering them. But tasty sprouts of dill, cilantro and parsley help make almost any cold appetizer a real delicacy.
But sunflower, oats, peas, chickpeas, corn, lentils, wheat, rye, soybeans and other grains with large seeds germinate better in large and medium containers on special jute mats or coconut substrate.
How to properly sow and care for microgreens? Here are the step-by-step instructions:

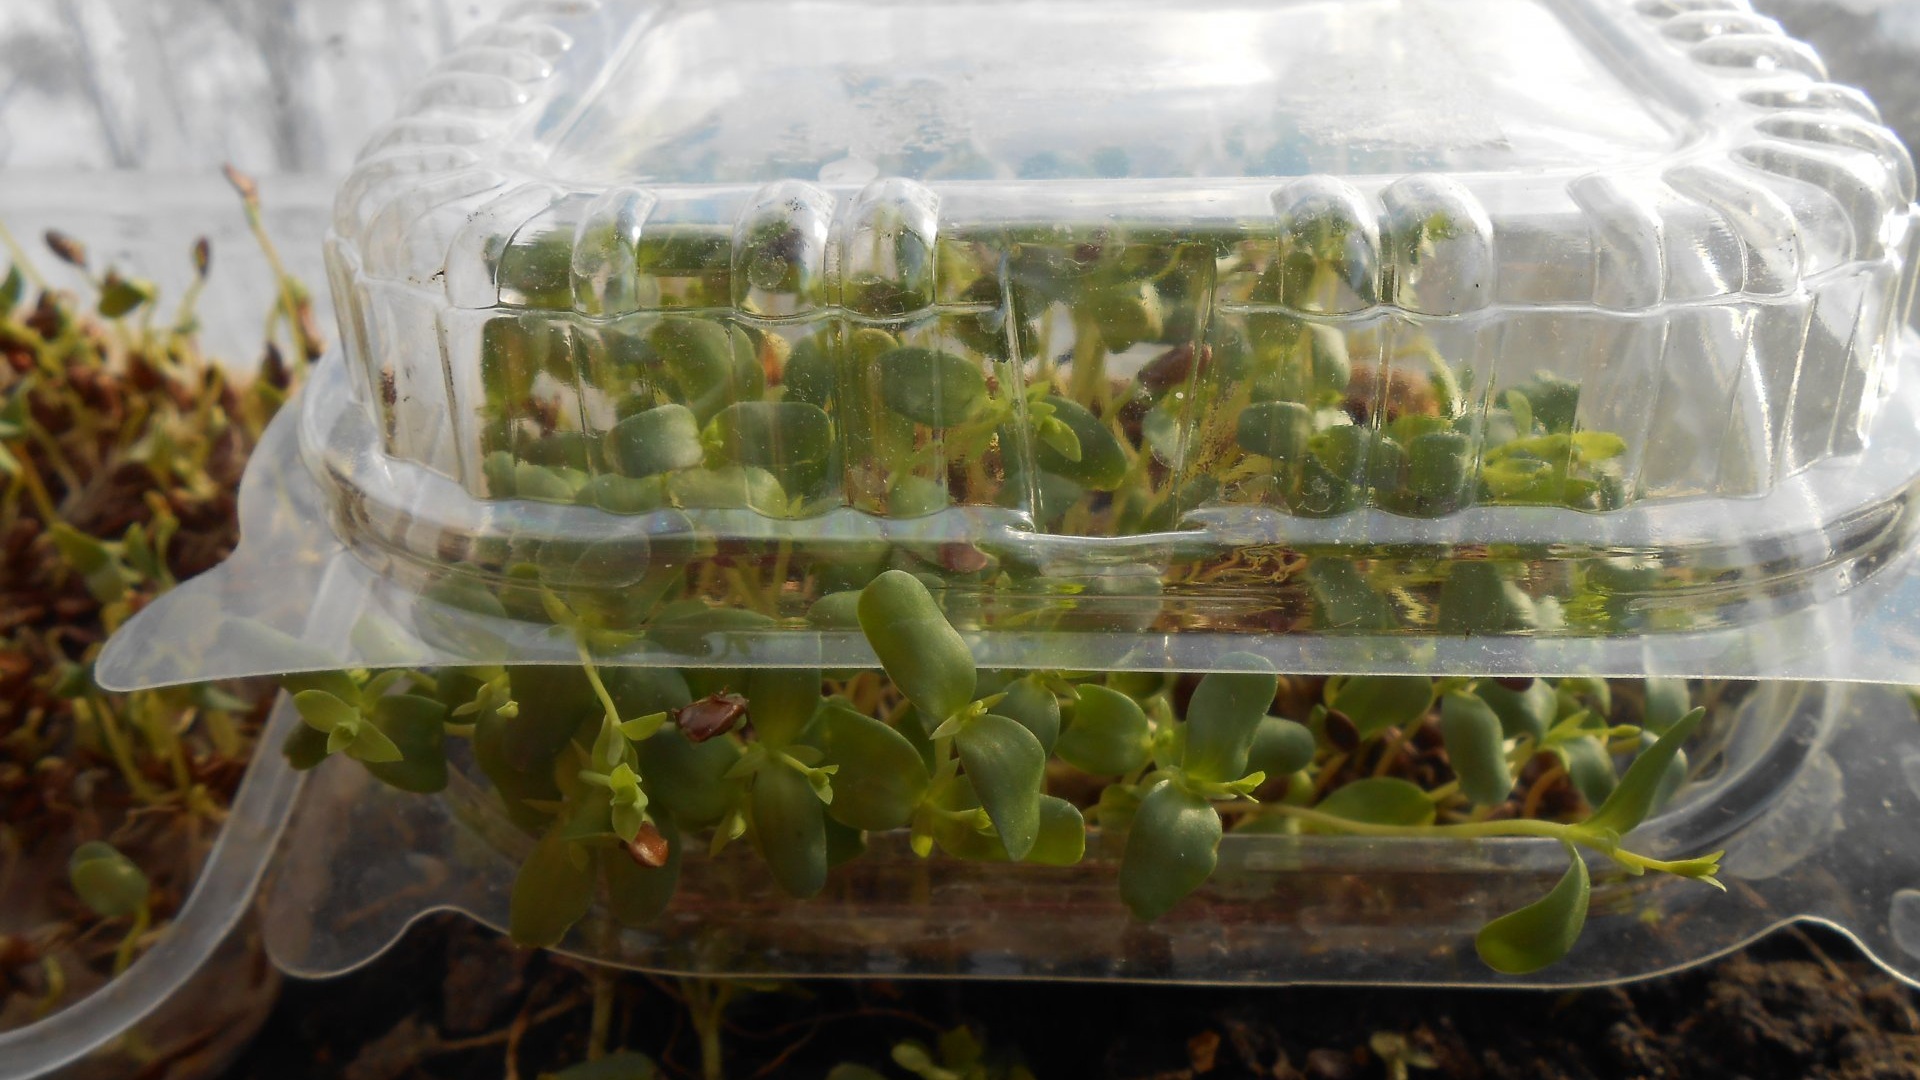
1. Take a transparent container, cover its bottom with toilet paper folded in 4-5 layers or a white napkin in 3-4 layers, fill the base with melt or drinking water so that it becomes wet.
2. Press down the paper with your fingertips and drain off excess water.
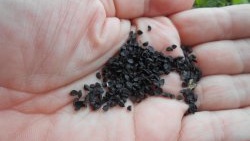
3. Scatter the dry seeds evenly over the substrate, trying to distribute them thickly, but in one layer.
4. Cover the container with a lid (if you don’t have one, use food-grade polyethylene).
5. Place the tray in a warm place, for example, on a windowsill above the radiator.

6. On the second day, remove the cover for 2 hours and wet the seeds with a spray bottle, and then put the cover back.Condensation accumulates abundantly under the cover, so if there is no ventilation, mold may appear on the paper and seeds, so it is necessary to remove the lid from the container every day.
7. On the third day, remove the cover for 5-6 hours and do not forget to spray the hatched sprouts with structured water using a spray bottle.

8. On the fourth day, remove the cover completely. Be sure to moisturize growing plants in the morning and evening, avoiding the toilet paper from drying out.
9. On the fifth day, the stems begin to straighten and cotyledon leaves form on them.

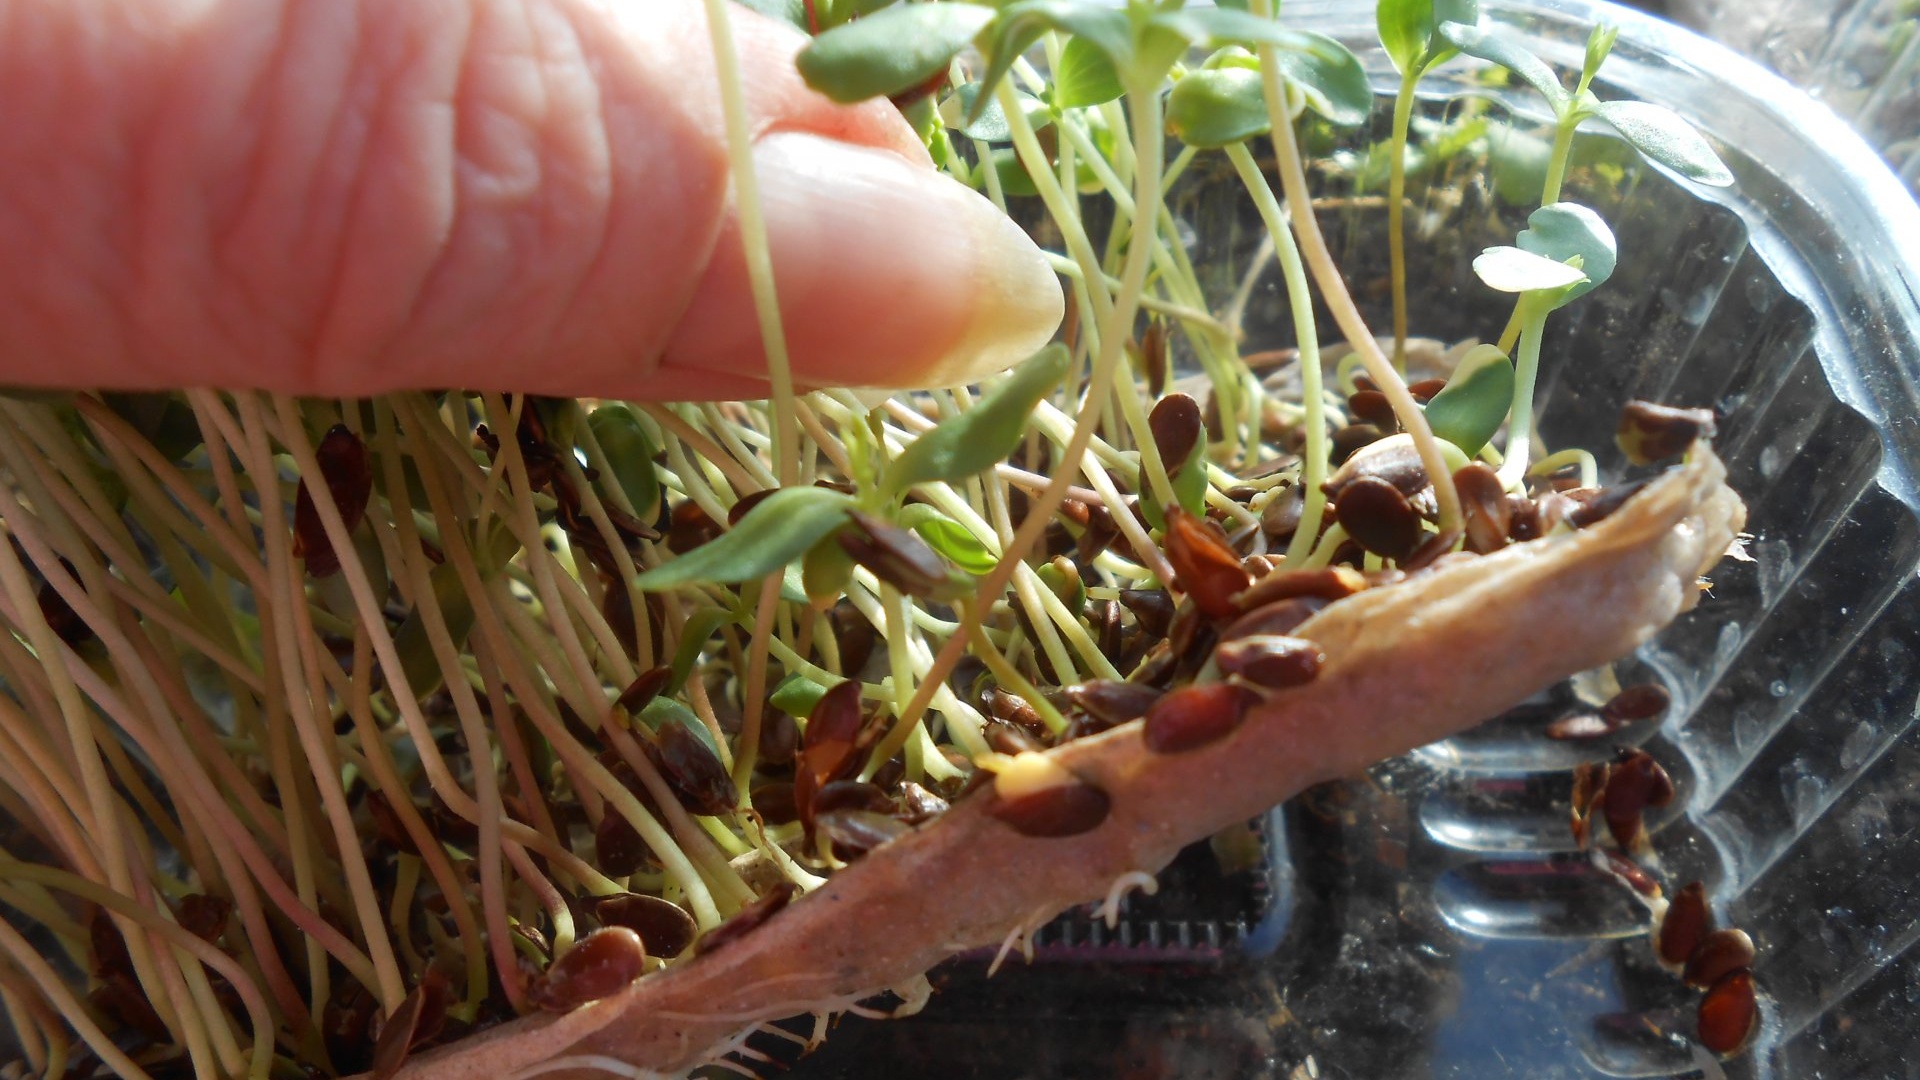
10. Microgreens are ready for cutting when the height of the seedlings exceeds 4-5 cm. For example, flax, arugula and watercress ripen in 10-12 days, and parsley, carrots, beets and basil in 20 days.


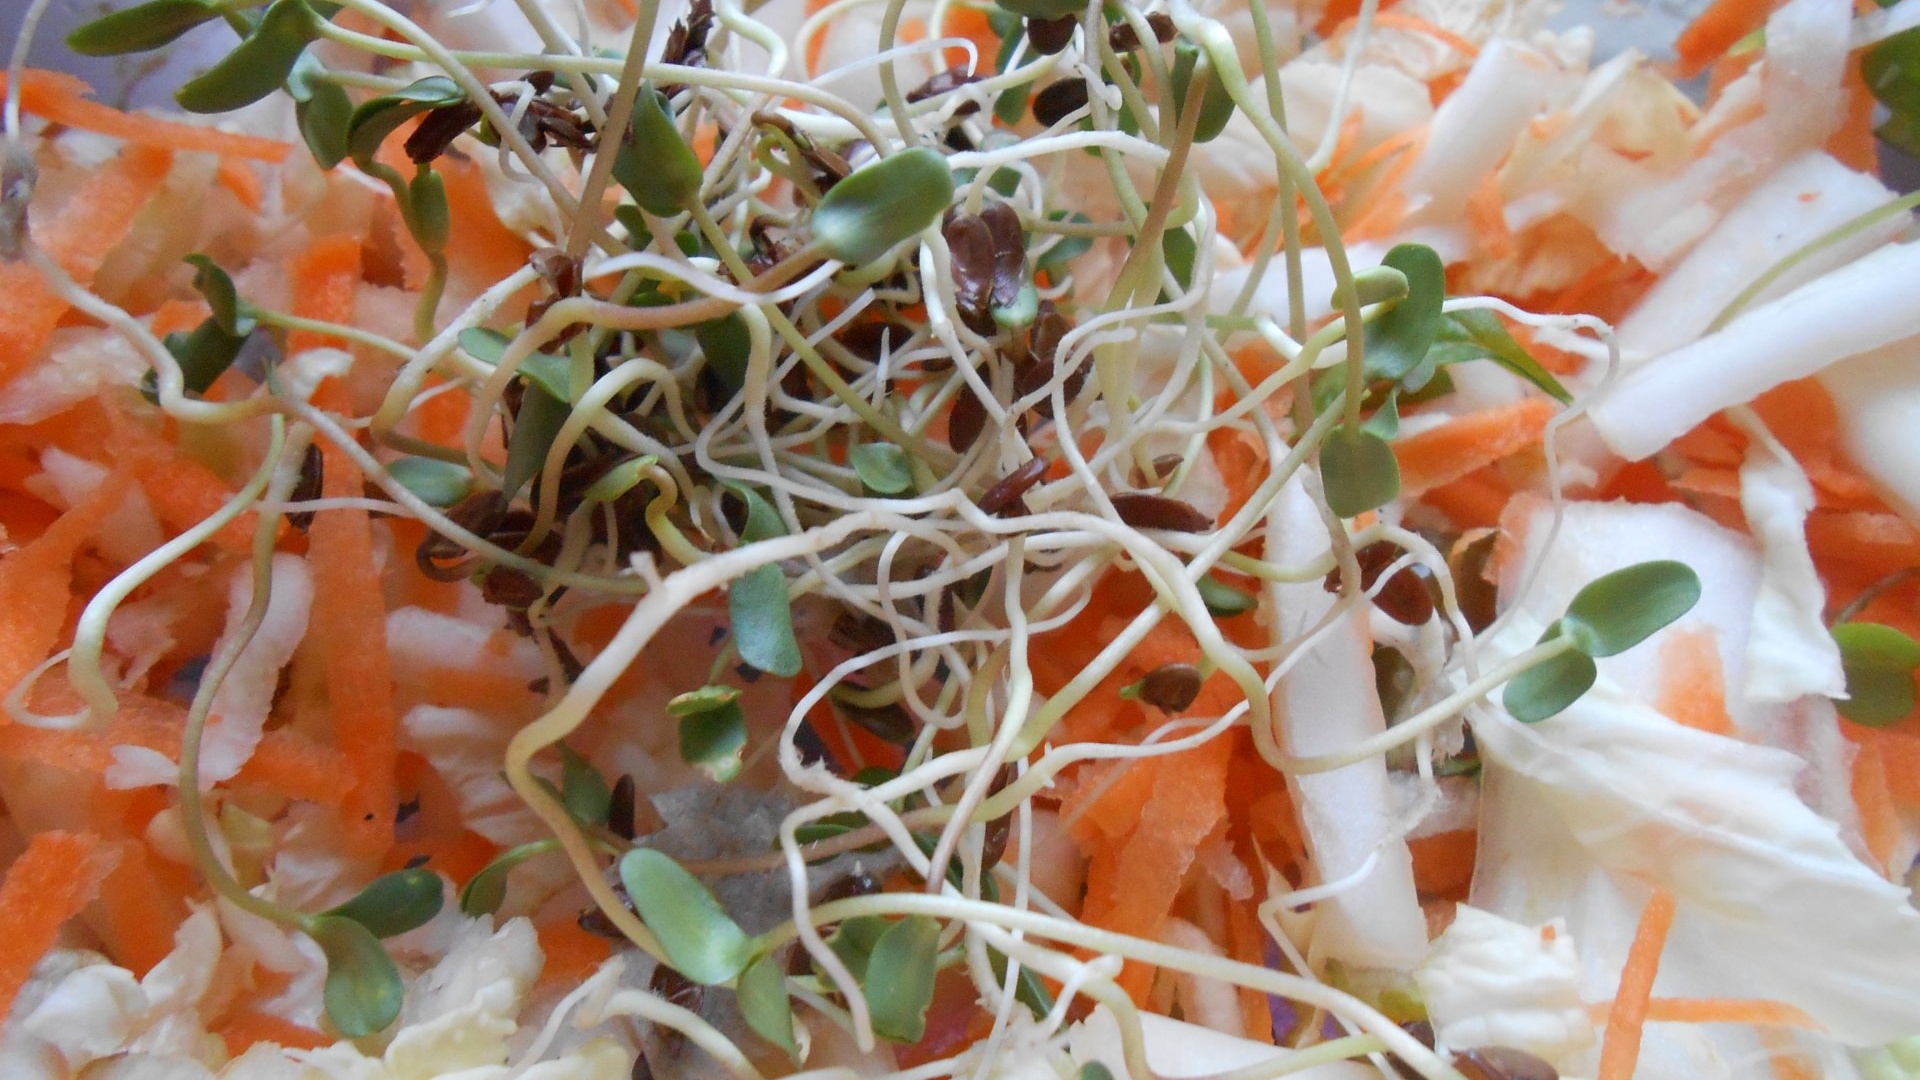
11. Remove the paper mat, thickly braided and riddled with white roots, from the container, trim the microgreens with scissors and add the sprouts to the salad.

12. Immediately sow a new portion of seeds into the empty container on wet toilet paper, white napkins or paper towels.

Try growing microgreens on a paper mat once and you will understand how simple, convenient and useful it is. Wishing you excellent harvests on your windowsill!