Hot-melt adhesive has been widely used for quite some time and has become almost indispensable both among DIYers and needlewomen, and in everyday life in general. It is easily applied to surfaces, has good adhesion, comes in different colors, and creates a fairly strong adhesive seam.
However, most heat guns for applying such glue have a posistor PTC heater in the cheapest and very unreliable design. Essentially, it is a ceramic heating element sandwiched between two conductive plates, to which the network wires are connected. When heated, brass plates expand and deform, which sooner or later leads to their shorting.
Still, this is not a reason to buy a new instrument. The heat gun can still be repaired and even made safer. You just need to modify it a little.
Do-it-yourself repair and modernization of a hot-melt glue gun
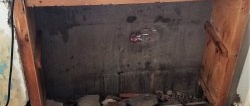
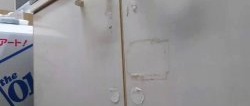
Photo of a burned out “patient”:

- The schematic diagram of the future device is as simple as possible:

Will need
In order to remake an existing or repair a burnt-out heat gun, you will need only a few parts, which can be bought at any radio parts store or ordered online:
- resistor MLT-2 with a resistance of 20 Ohms;
- copper wire approximately 1 mm in diameter;
- power supply 9-16 volts, with an output current of 1 ampere or more (for example, from a laptop);
- suitable power connector.
- any Light-emitting diode 3-5 mm and 3 kOhm resistor;
- heat-resistant Kapton tape.

A 20-ohm resistance will replace the heater, and it is advisable to use a domestic resistor with an MLT-2 housing. Firstly, it is designed for a power much greater than the nominal 2 Watts and is able to withstand prolonged heating without any consequences for itself. Secondly, in size it fits perfectly in place of the old heater.
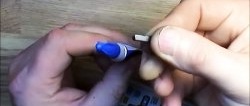
We disassemble the glue gun (remembering to unplug the plug from the socket) and remove the nozzle with the heater attached to it. Usually everything here is covered with a thick layer of frozen hot glue, so we take a utility knife and carefully clean the outside of the nozzle. You can help yourself a little with a lighter to soften the remaining glue.
ATTENTION! When working with a knife, follow safety precautions! Then remove the old heater. It is usually wrapped in Kapton tape - a special colored (usually orange or green) film that can withstand temperatures up to 400 °C. This tape can also be purchased with other radio components in the form of a roll like this: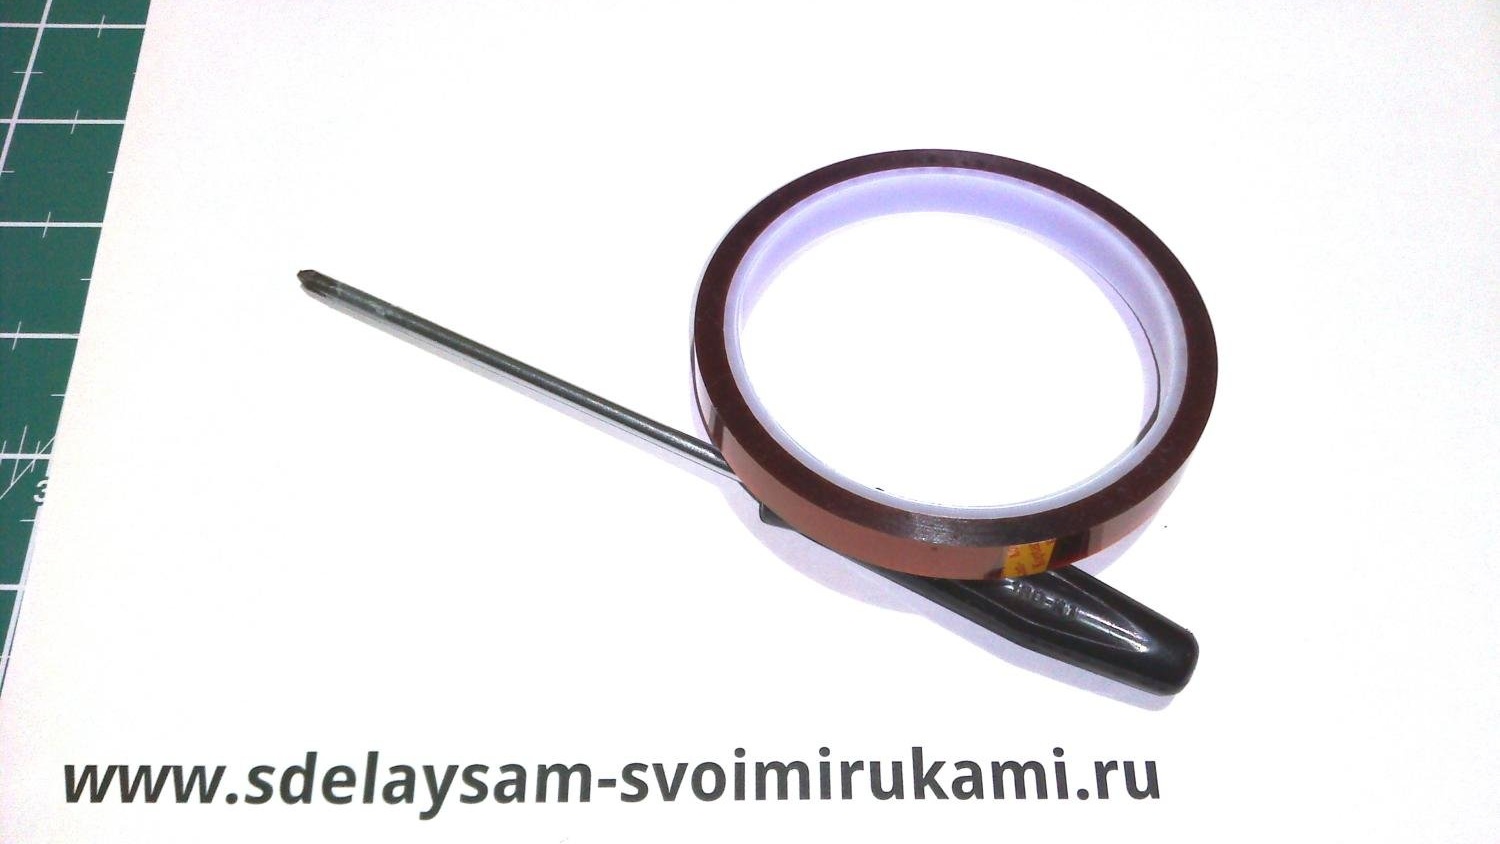
If you don’t have this, it doesn’t matter. Carefully remove the old tape from the heater and set it aside. The heater itself can now be thrown away; it will no longer be needed.
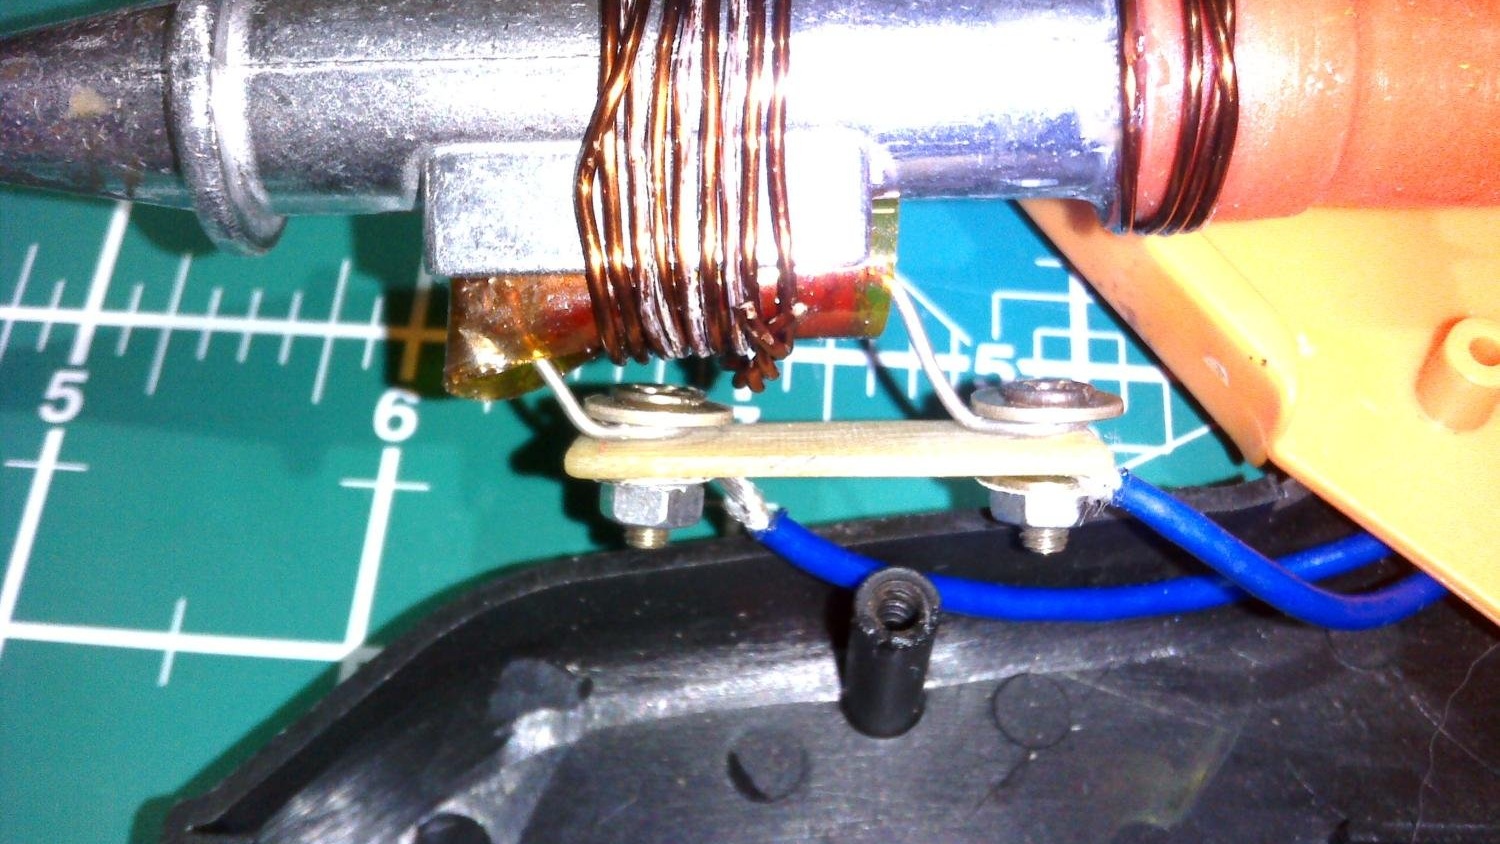
The resistor leads should be bent into rings and connected to the wires using screws. For reliability, I also secured the screws on a PCB plate (any other non-flammable insulating material will do). Now we wrap the resistor in Kapton, put it in place of the heater and tightly wrap it to the nozzle with wire. Additionally, we wrap wire around the junction of the nozzle and the rubber tube into which the glue stick is inserted - this will prevent the glue from flowing into the body.
The second ends of the wires need to be soldered to the power connector - here the polarity does not matter, so you can connect as you like. If desired, to indicate that the heat gun is turned on, you can add Light-emitting diode with a current limiting resistor as in the circuit above. It is better if it is dim so that its light does not hit your eyes and does not distract you when working. Remember that you LEDs there is an anode (plus) and a cathode (minus):

All that remains is to widen the hole for the network cable with a file so that the power connector can be installed in its place, and drill (or pierce with a heated awl) a hole somewhere for LED.

After assembly, you can test the glue gun in action. You just have to take into account that the resistor takes a little more time to heat up to the desired temperature.

After this modification, there is no longer any mains voltage in the tool, which makes it much safer and virtually eliminates the possibility of electric shock. Video of the glue gun in action: