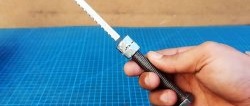
For cutting thin sheet plastic, leather, cardboard and similar materials, it is convenient to use a scalpel with removable blades. If you don’t have such a tool yet, then its handle can be made from a regular anchor. All you have to do is buy a package of removable blades, and you can use a durable, comfortable scalpel made by yourself.
Materials:
anchor;
extended nuts – 2 pcs.;
copper wire.
Handle holder manufacturing process
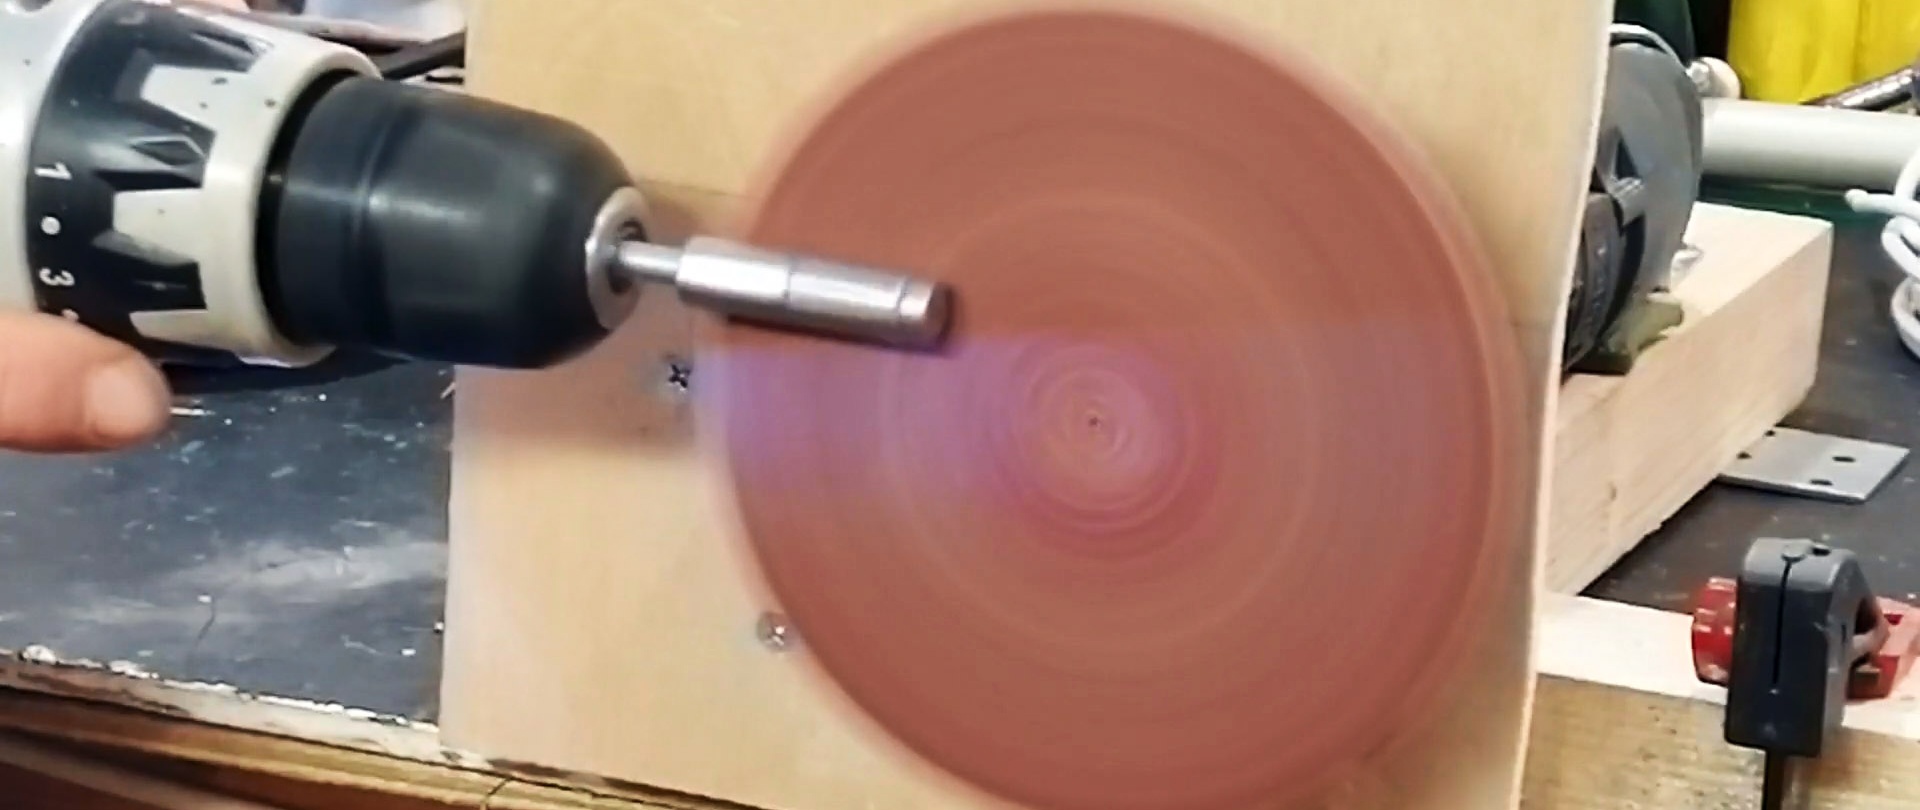
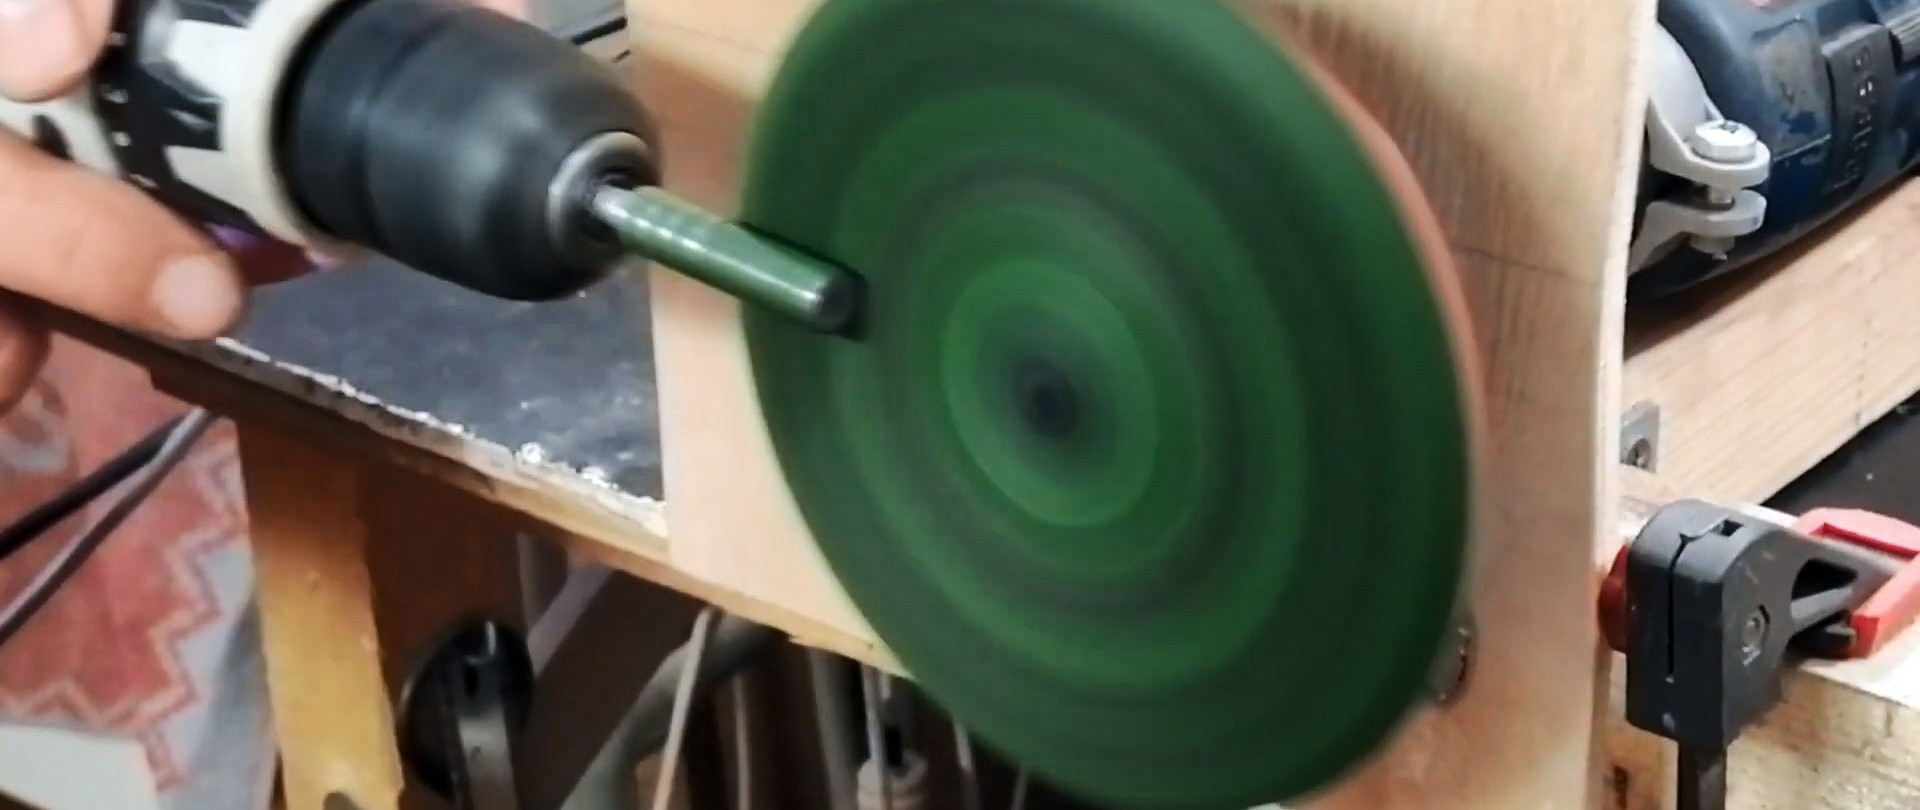
You need to remove the rod from the anchor and select 2 extended nuts for it.
It is important that the thread on the selected screw goes along the entire length to the head itself. The nuts are screwed onto it, then their edges are ground off. To do this, the screw with them is clamped in the drill chuck. After this, rotating, it is sharpened using sandpaper or an angle grinder.
This way you can achieve the quality and processing speed of a lathe, but without it.
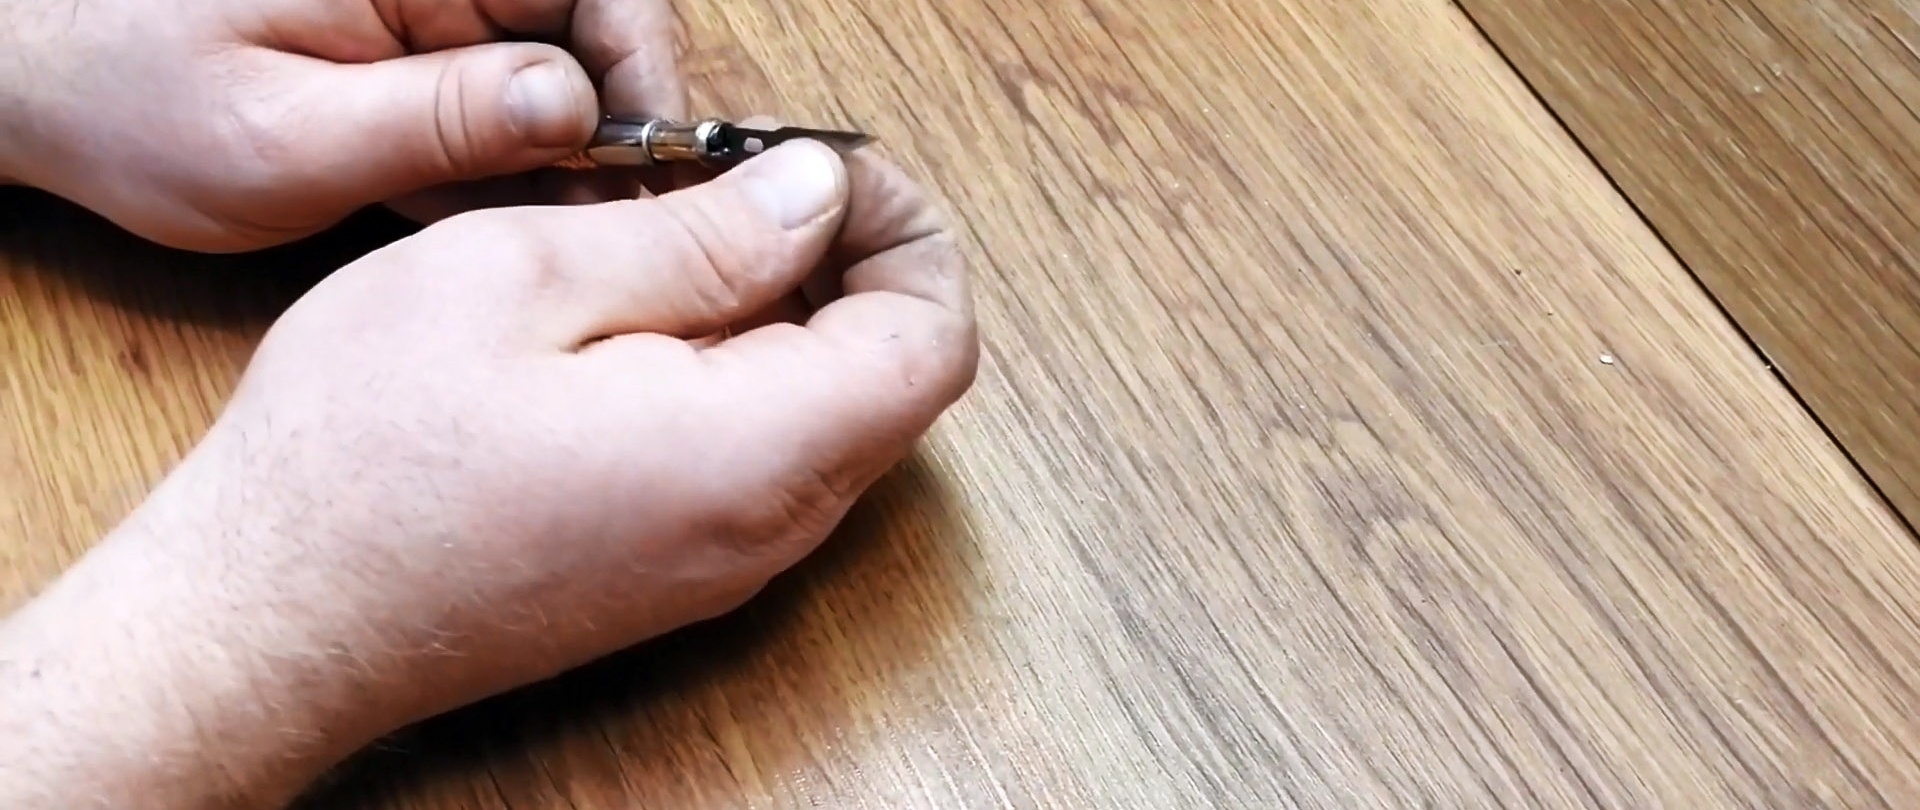
Next, you need to cut off part of the screw head and cut its neck lengthwise in order to insert a scalpel blade into the gap.The cut should be very thin, so it is better to do it with a drill or a hand jigsaw.
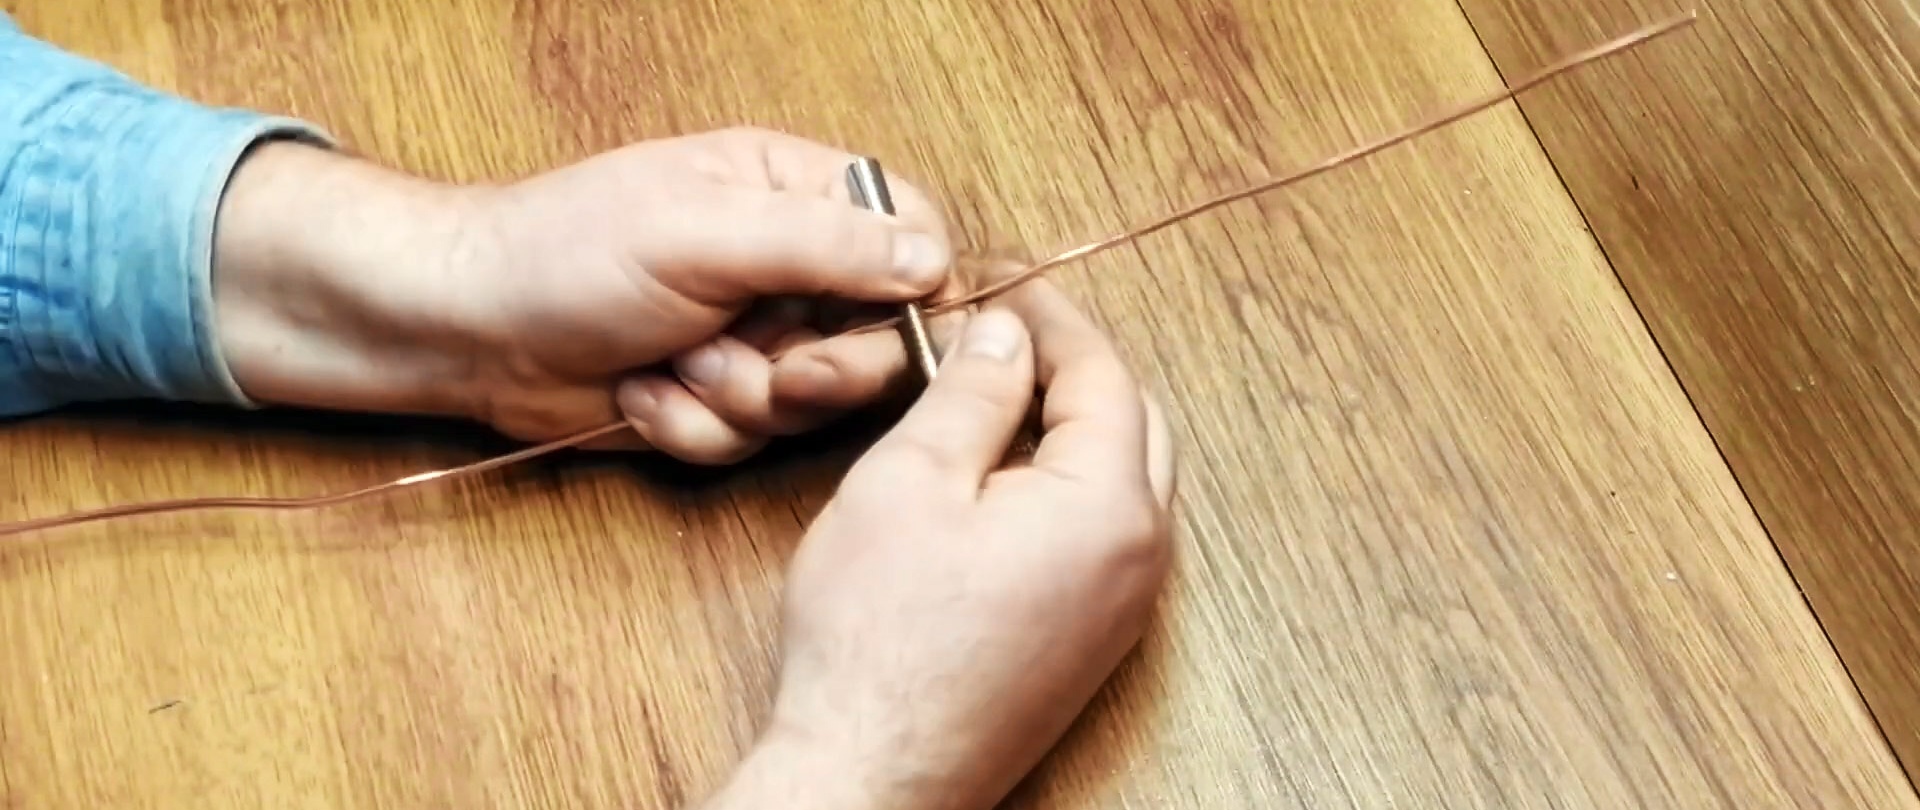
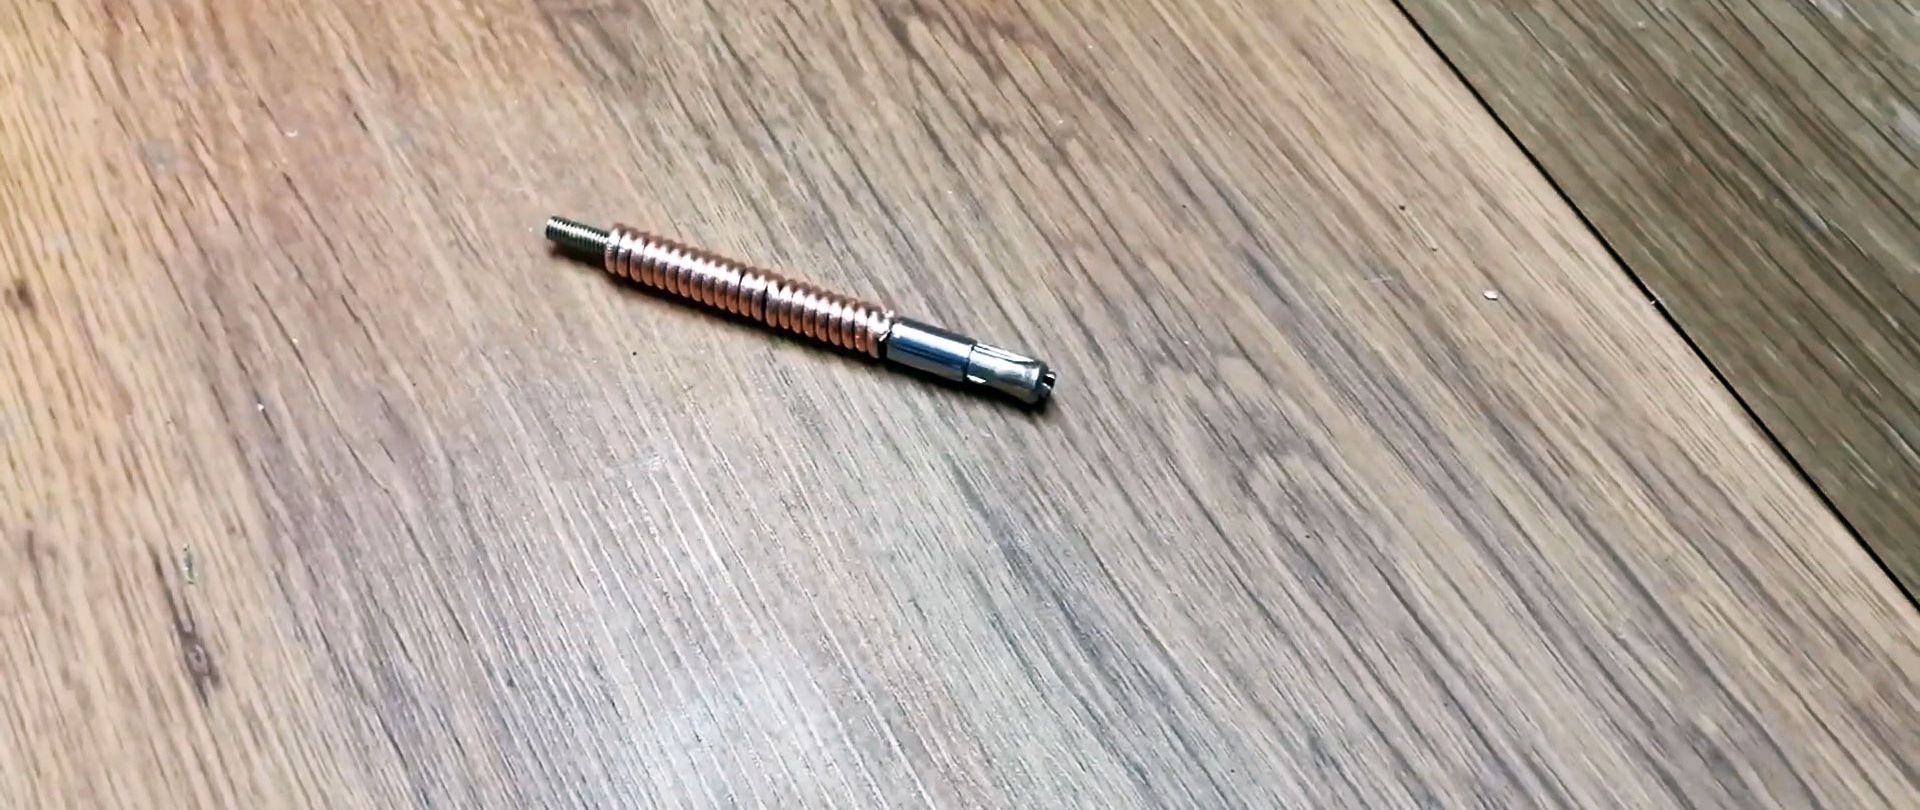
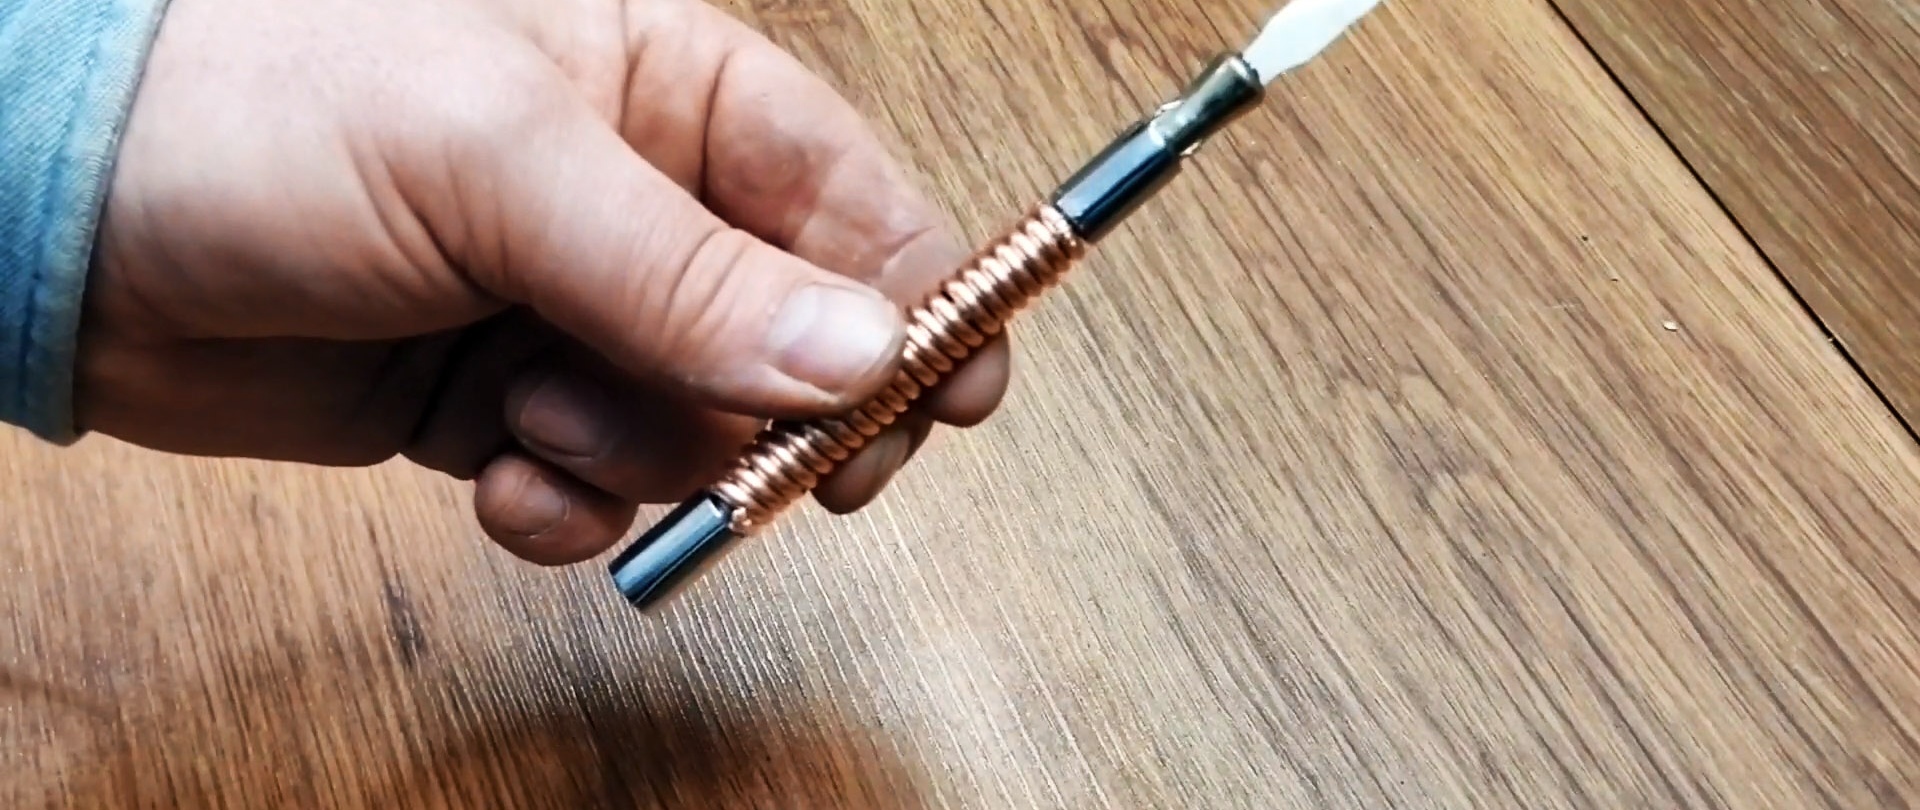
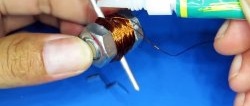
After this, you need to screw one nut close to the remains of the head, and attach the second one to the edge, and wind thick copper wire around the screw, turn to turn. The result is a simple, quick-to-make handle.
All that remains is to loosen the first nut and insert the scalpel blade into the cut.
She then presses down to close the gap along with it. Next, the second nut is screwed on, and the scalpel is ready for use.