To protect a garden or summer cottage from animals and strangers, they are fenced. The market offers the necessary materials, but at a rather expensive price. To cut costs, you can make some of them yourself, and you don't need any special skills to do it.

Will need
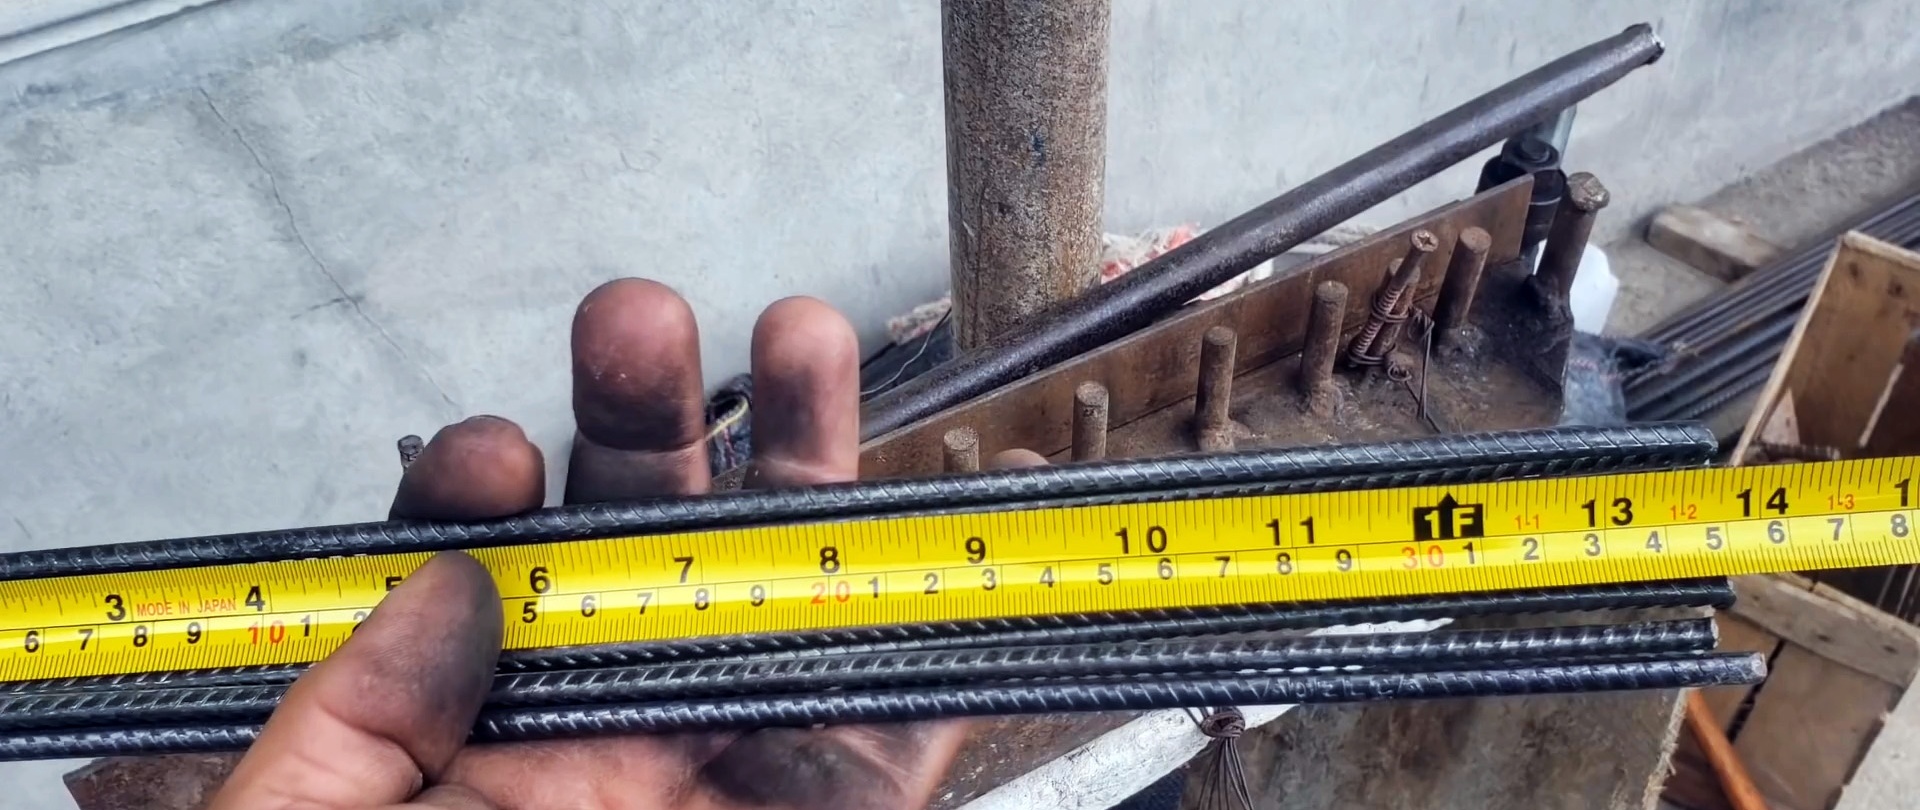
We will prepare the following materials:- Reinforcement with a diameter of up to 8 mm;
- form for concrete pillars;
- plastic tubes of two different diameters;
- cement, sand, crushed stone and water;
- enamel paint;
- double core barbed wire.
The process of making concrete pillars
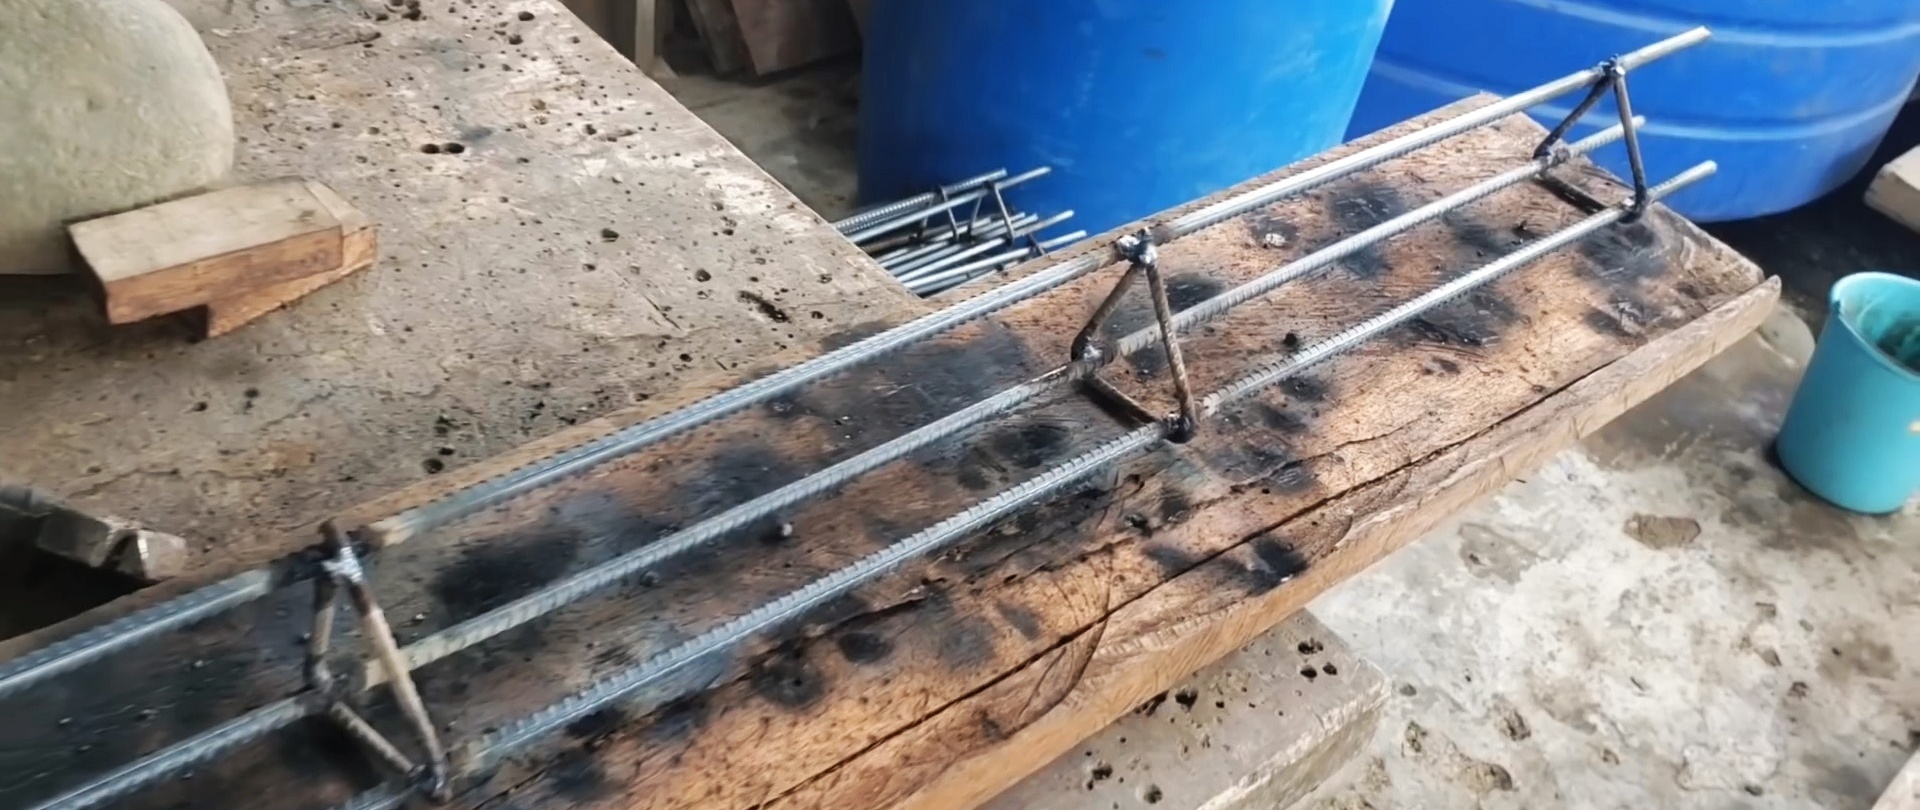
Using a simple device, we bend squares from reinforcement - the transverse elements of the reinforcement frame of the pillars.

We attach 4 longitudinal elements to them at the corners with knitting wire.There is another option for making a frame from reinforcement: we connect three longitudinal elements by welding with three identical segments, forming an equilateral triangle, with a given length step.
In both cases, the “bottom” is the board. The sides of the form are made either from boards and held on the outside with corners fixed to the “bottom”, or from corners with a steel strip welded to one shelf.
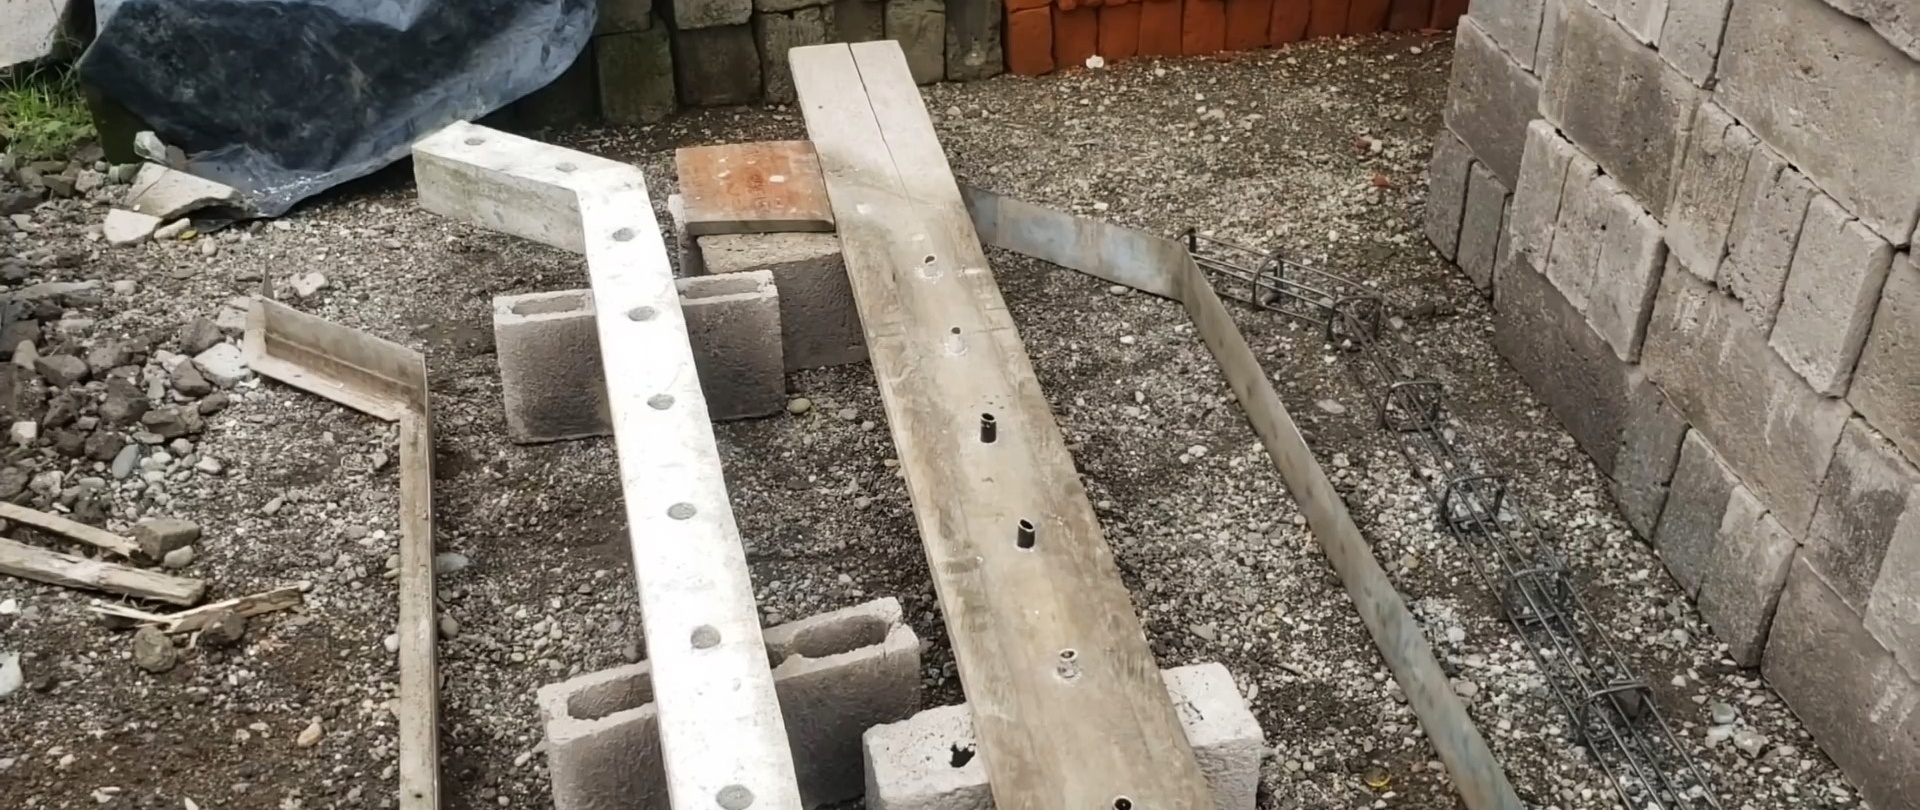
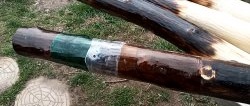
In the center of the bottom board, we drill holes at equal intervals, into which we tightly insert pieces of plastic tubes, onto the ends of which we put others with a length slightly greater than the height of the post.

We install the side walls of the mold according to the marks and fix them to the bottom board with nails through the holes in the shelf of the corners.

We place the reinforcement frame in the mold and check whether it can swing up and down. We close the ends of the formwork with squares of wood or welded steel plugs.

Pour cement, sand, crushed stone into the container and pour water, observing the proportions, and mix well until a homogeneous concrete solution is obtained.
After wetting the formwork with water, pour the concrete mixture into it, periodically shaking the reinforcement to compact and distribute the mixture evenly. After pouring the solution, smooth the surface with a trowel and give it time to set.


After the concrete mixture has hardened, we remove the sides of the form and the tubes to form holes in the pillars and leave them to harden.
Fencing installation process
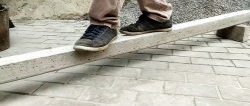
We make holes for reinforced concrete posts using a bayonet shovel, but it is better to use a tool with two blades and handles hinged to each other.

We install corner posts in advance with a large diameter and depth of embedment in the ground. Between them we stretch construction cords in height at the base and closer to the top. The vertical is controlled by a level gauge.

We concrete the bases of the pillars by pouring mortar into the holes and adding small stones. After waiting time for the concrete to set, we clean the pillars and coat them with enamel paint.

After the pillars have completely hardened, we begin pulling the barbed wire, starting from the bottom. We provide the required tension using a claw hammer.

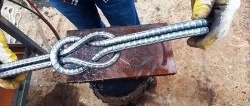
Having reached the corner post, we wrap the wire around it and apply the final tension using a strong rope. We wind the end of the wire repeatedly around the stretched part.