Do it yourself
Life hacks, master classes, useful tips, recipes.
home » Construction and repair » How to drill into tiles using a concrete drill so that it doesn’t crack

If you need to fix a picture, hook or shelf on a tile, a problem arises with drilling it. If you do this incorrectly, it will simply crack. You can drill through tiles without damaging them, and with a 100% guarantee, if you use these tips.

What you will need:

  • Hammer;
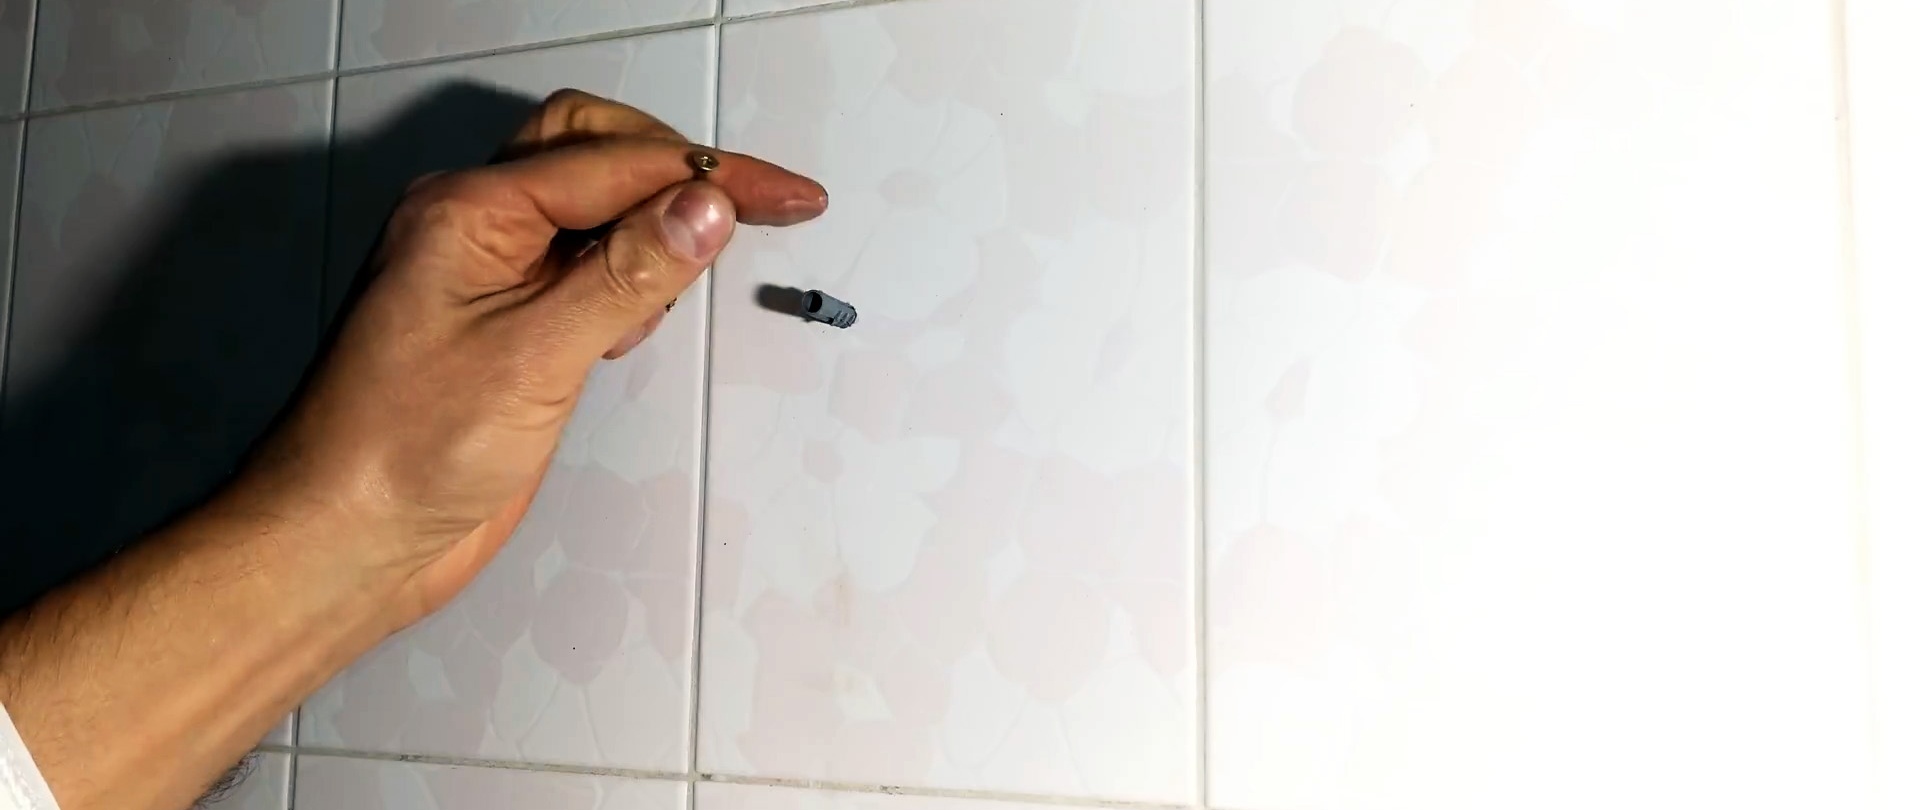
  • Drill (bit) for concrete of the required and smaller diameter;
  • hammer;
  • towel.

The process of drilling tiles with a concrete drill

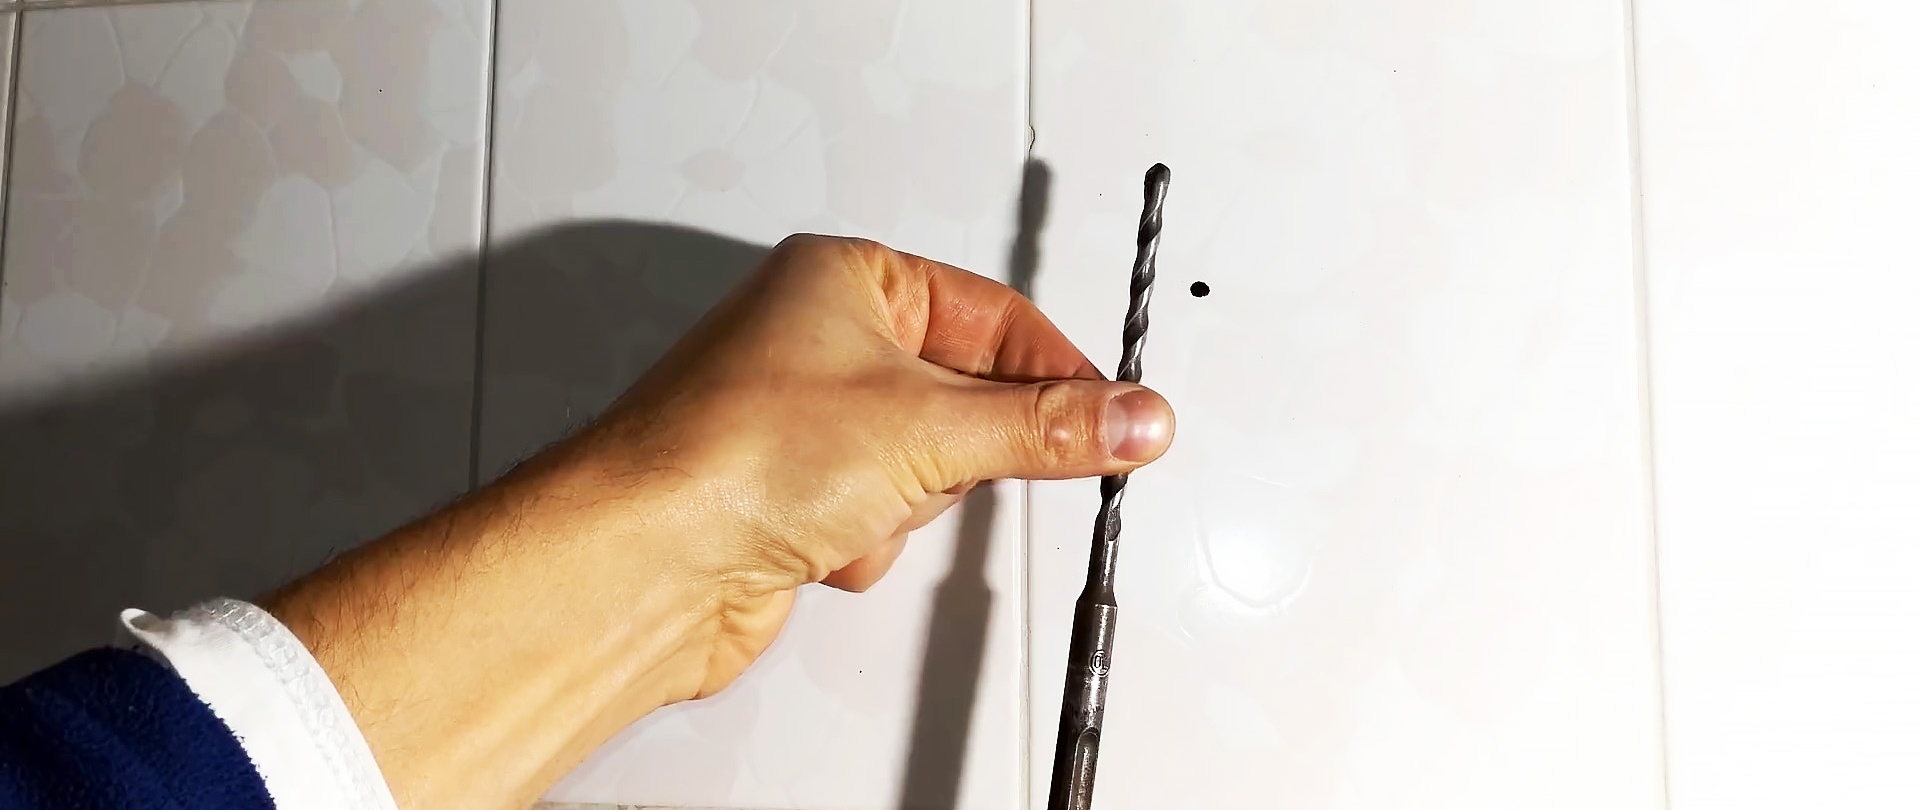
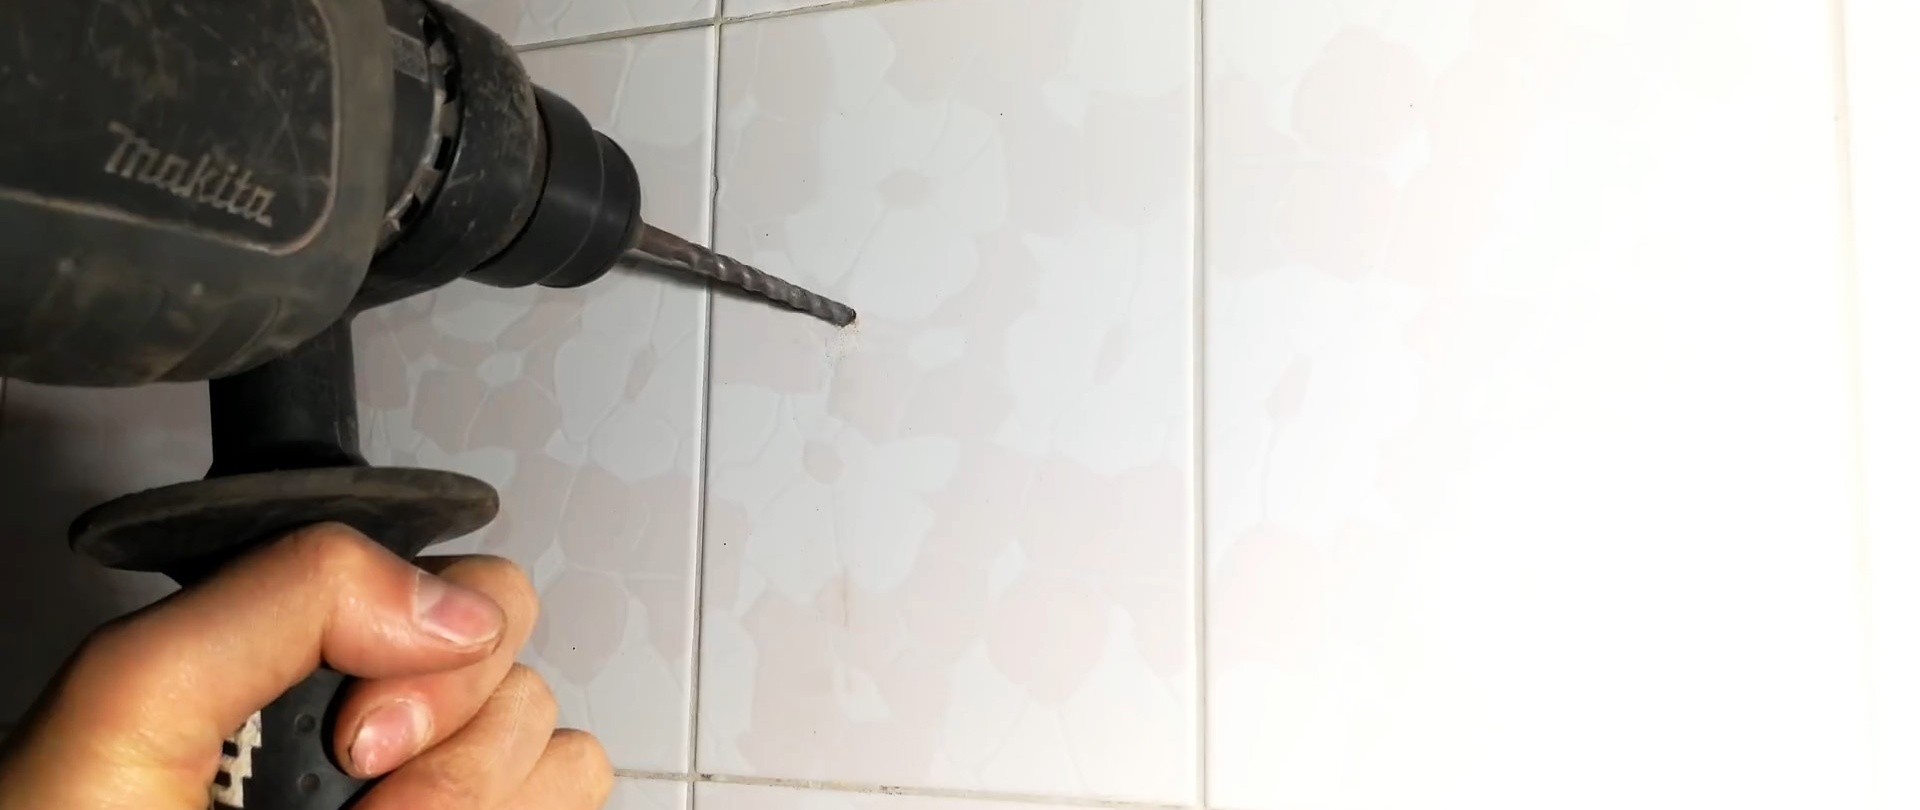
It is optimal to drill in the center of the tile. The closer to the edge, the higher the likelihood of damage. If it is laid on tile adhesive under a comb without voids, it will remain intact even when drilled in a corner, but usually you do not know how the tiler glued it.

Drilling must be done with a hammer drill in non-impact mode.

If you do not have a special drill for ceramics or glass, then you can use a regular drill for concrete, but first of a smaller diameter. It is important to drill strictly perpendicular to the wall. The revolutions should be low. Do not put pressure on the hammer to prevent the tiles from cracking.

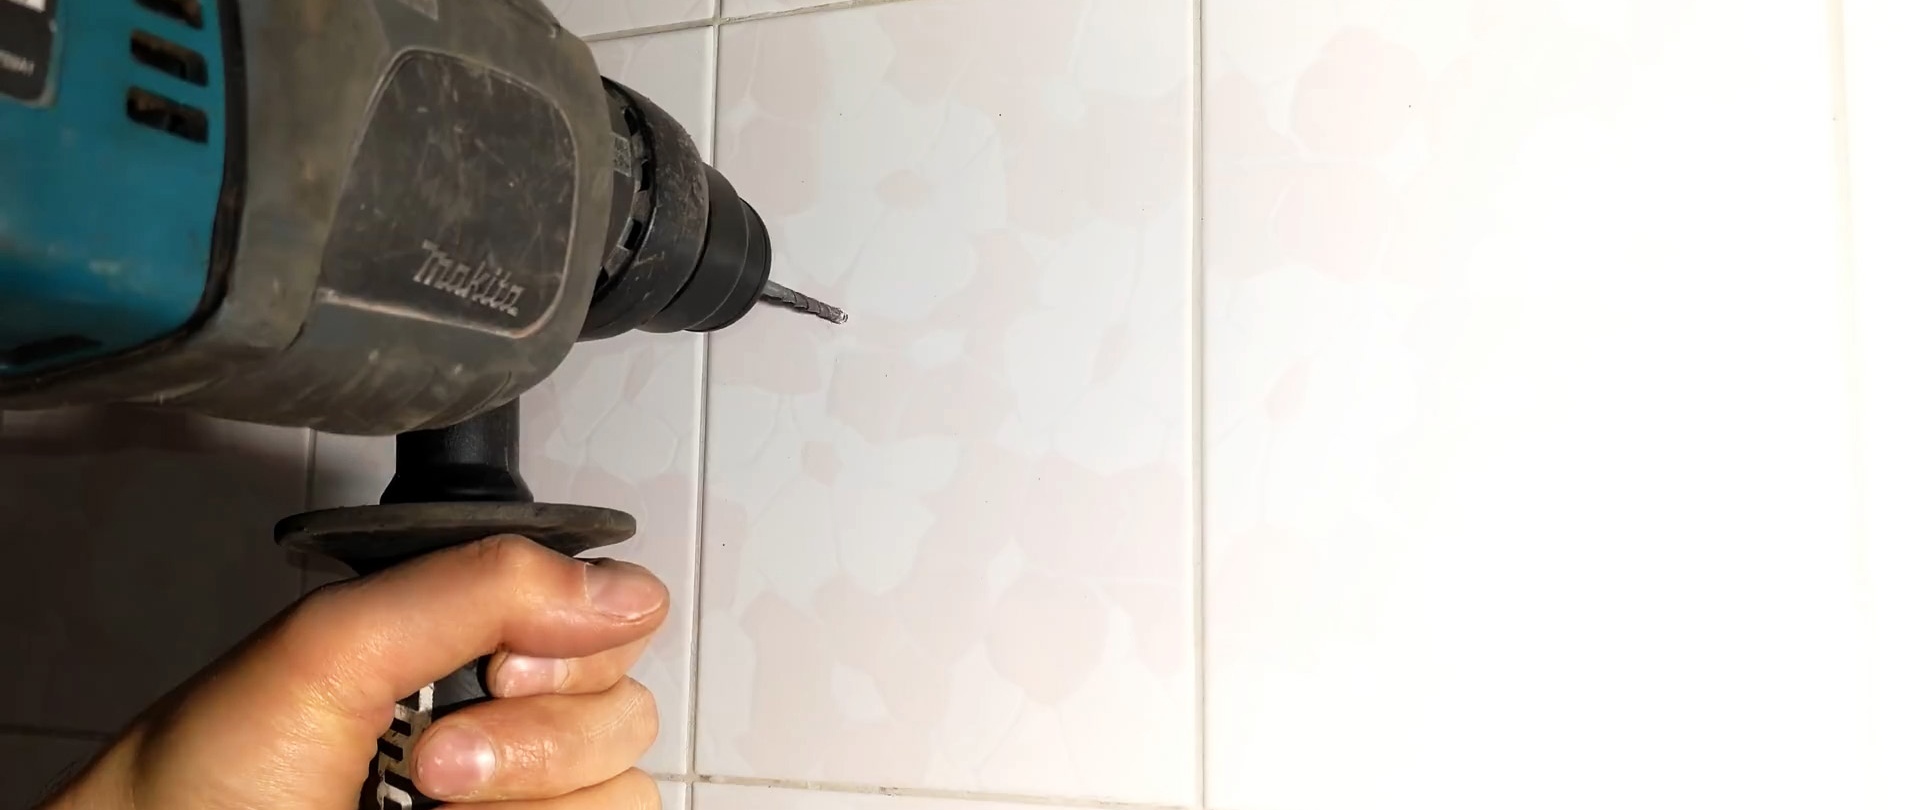
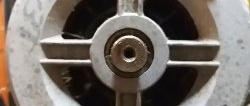
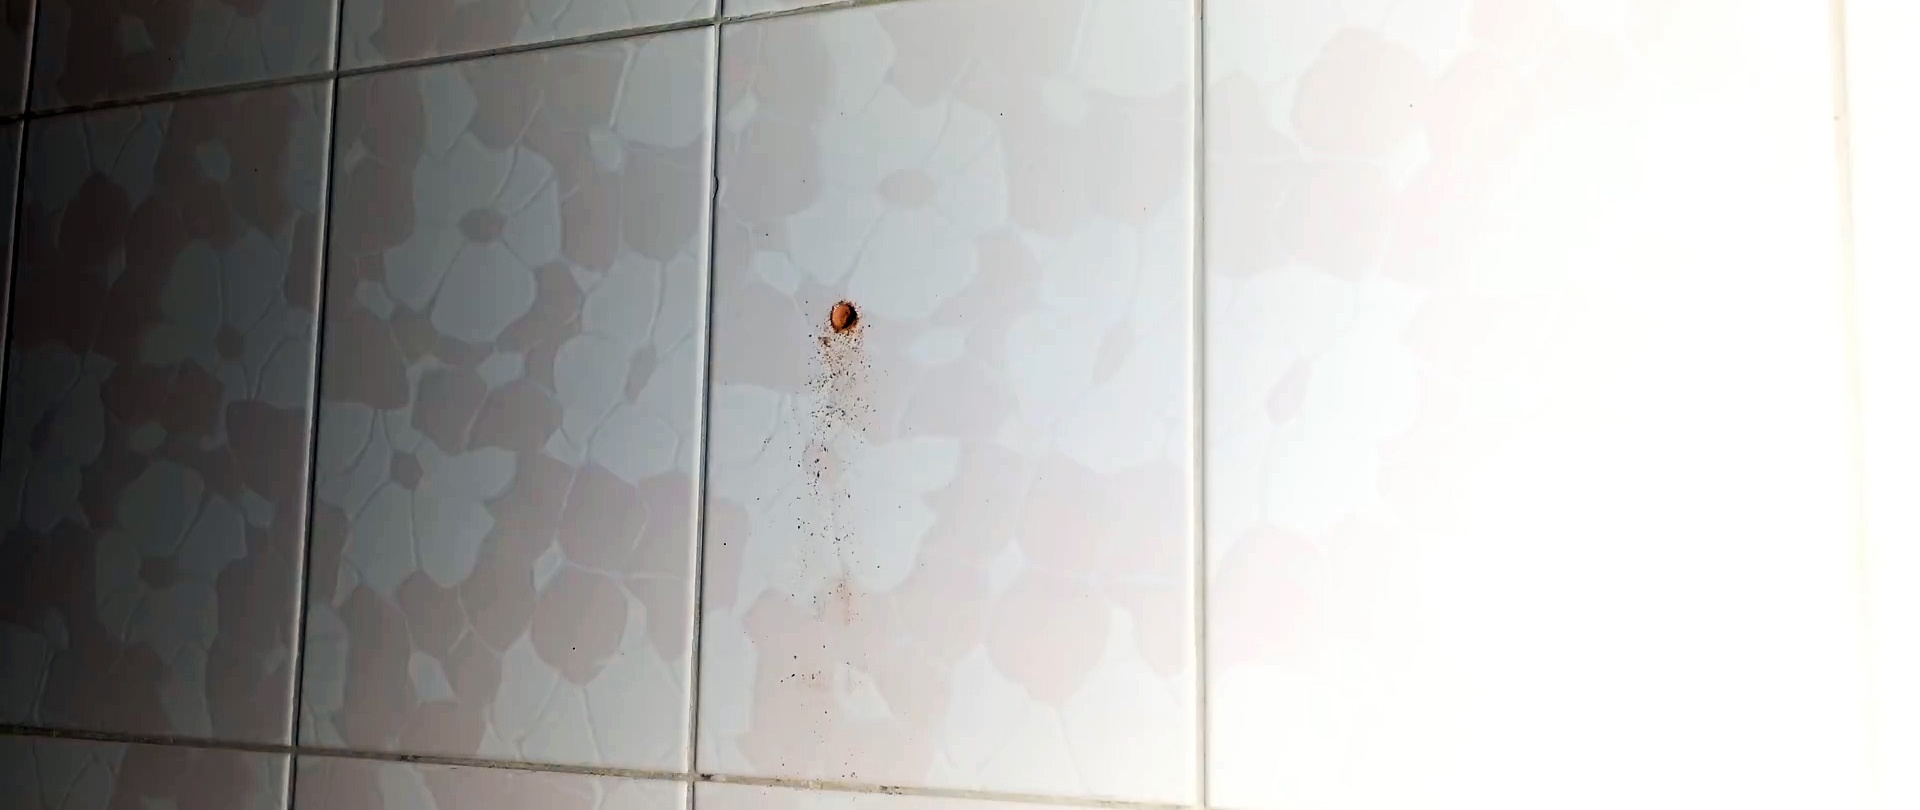
Once the tile is drilled, you may feel that the drill bit has sunk a few millimeters. Immediately it will start throwing out dust of a different color. In this case, the hammer drill can be switched to hammer drilling mode and the hole can be drilled to the desired depth.

Next, you need to drill the hole with a drill of the required diameter. The tile is drilled in the mode without impact, and the wall is already with it.

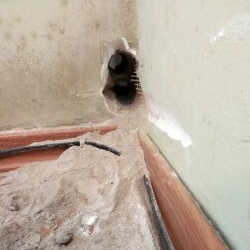
Afterwards you can hammer in the dowel. To do this, the hammer should be wrapped in a towel so as not to break the tile when the hammer slips.

Watch the video

come back
Comment
  • bowtiesmilelaughingblushsmileyrelaxed relaxedsmirk
    heart_eyeskissing_heartkissing_closed_eyesflushedrelievedsatisfiedgrin
    winkstuck_out_tongue_winking_eyestuck_out_tongue_closed_eyesgrinningkissingstuck_out_tonguesleeping
    worriedfrowninganguishedopen_mouthgrimacingconfusedhushed
    expressionlessunamusedsweat_smilesweatdisappointed_relievedwearypassive
    disappointedconfoundedfearfulcold_sweatperseverecrysob
    joyastonishedscreamtired_faceangryragetriumph
    sleepyyummasksunglassesdizzy_faceimpsmiling_imp
    neutral_faceno_mouthinnocent
3+three=
Comments (2)
  1. Sergey K
    #1 Sergey K Visitors 22 May 2021 01:13
    1
    When I had a simple Soviet drill, then yes, I had to be perverted; without a blow, even a Pobedit drill won’t drill tiles! It was necessary to mark the drilling site to remove the enamel and then drill.

    With the advent of impact drills, everything has become easier, and hammer drills don't even split tiles. Including ultra-budget ones, although if you need an exact location, it’s better to mark it.
  2. passerby
    #2 passerby Guests 23 May 2021 20:02
    0
    The use of equipment depends on the tile. General rules: at the drilling point I put a cross, which is then easy to navigate to move the drill or drill during drilling in order to position them accurately, but first always the drill to find out the material of the tile and the chip of the enamel in the crosshairs. Next, I look at the result.
    Drill without impact? I drill 2mm into the tiles. more than necessary with speeds up to 1000, and after passing the tile I change the drill and drill or beat it to size. Again it depends on the material of the wall. For example, brick always needs to be drilled. In a brick, a drill always breaks a hole with a blow.
    Don't drill? I take a tool with a diamond tubular drill and, at speeds up to 500, again drill a 2mm hole in the tile. more than necessary, periodically wetting the drilling site. Passed the tile? I am working on the wall using the above method.
    All. All that remains is to acquire the skills to position an offset drill and a tubular diamond drill. By the way, the most expensive diamond drill was a 14mm drill which cost 150 rubles, i.e. the result does not depend on the price. From now on I call diamond equipment not drills, but crowns. The revs are lower and everything is exactly the same. Oh yes. As soon as the crown catches on the tile, take the centering drill out of the way so that it doesn’t interfere and I work only with a diamond.

Kanzashi hairpins | Do it yourself

Candlestick “Margarita” | Do it yourself

Unusual bouquets | Do it yourself

Do it yourself - crafts and master classes | Page 145

«Do it yourself - with your own hands» - a site of interesting homemade products made from scrap materials and items at home. Step-by-step master classes with photos and descriptions, technologies, life hacks - everything a real master or just a craftsman needs for needlework. Crafts of any complexity, a large selection of directions and ideas for creativity.

We recommend reading

Washing machine error codes