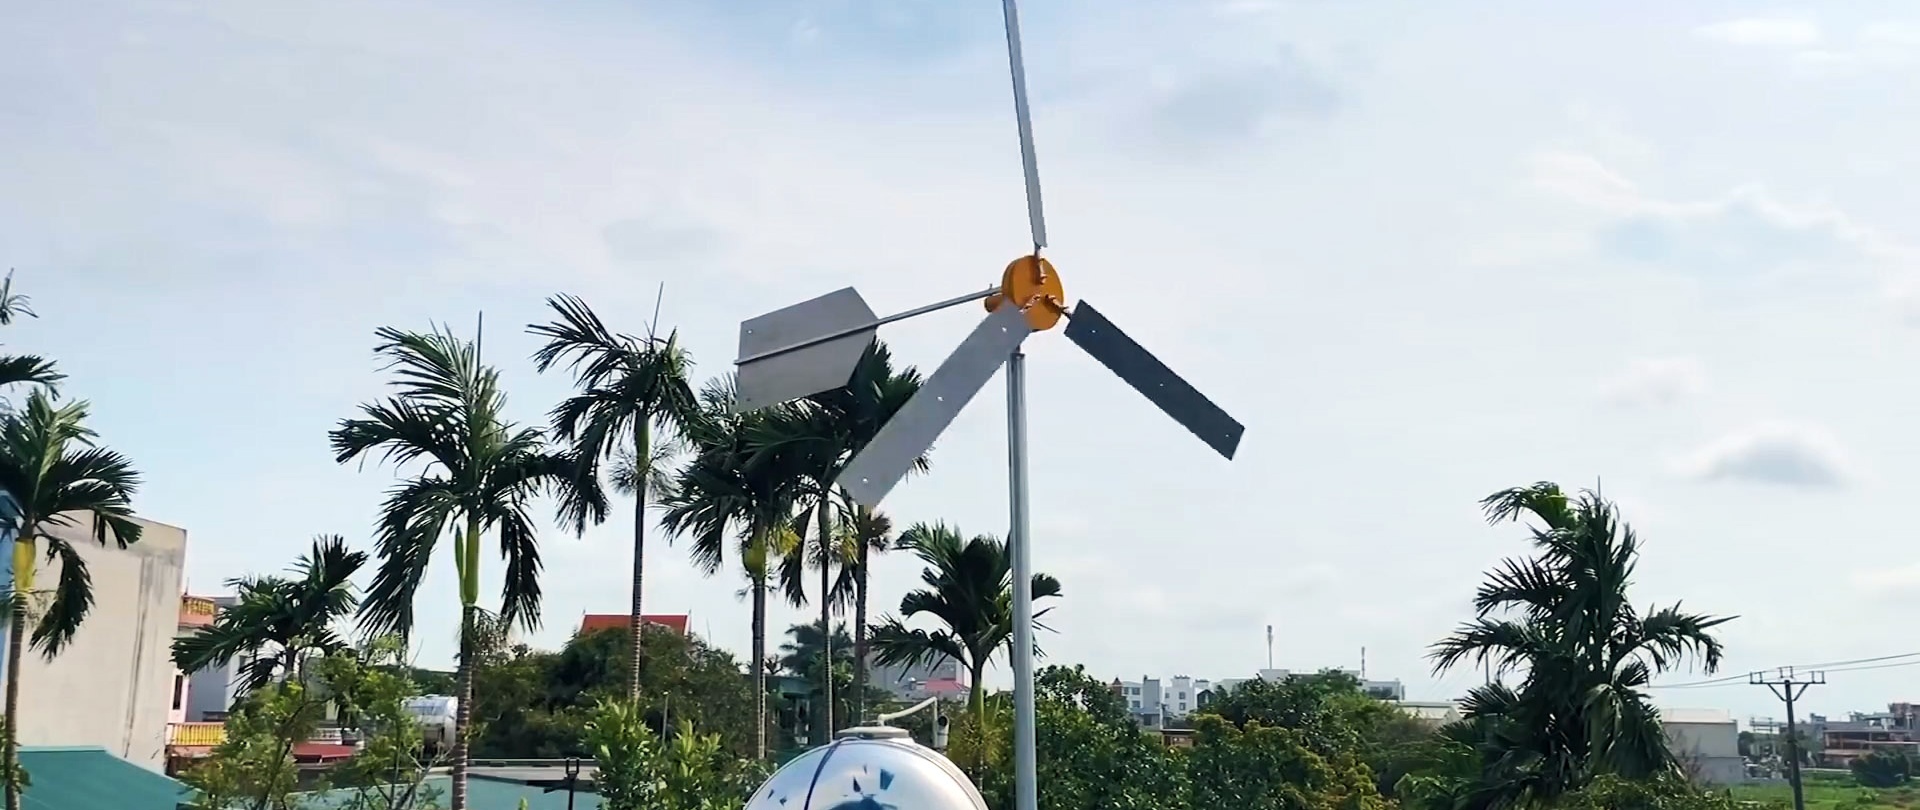
Living in an area open to the winds, it would be a sin not to take advantage of this and make a small windmill. It will become a source of free electricity that can be received around the clock. The proposed windmill design produces a voltage of 220V, which allows it to be used in combination with some undemanding consumers directly without additional equipment.

Materials:
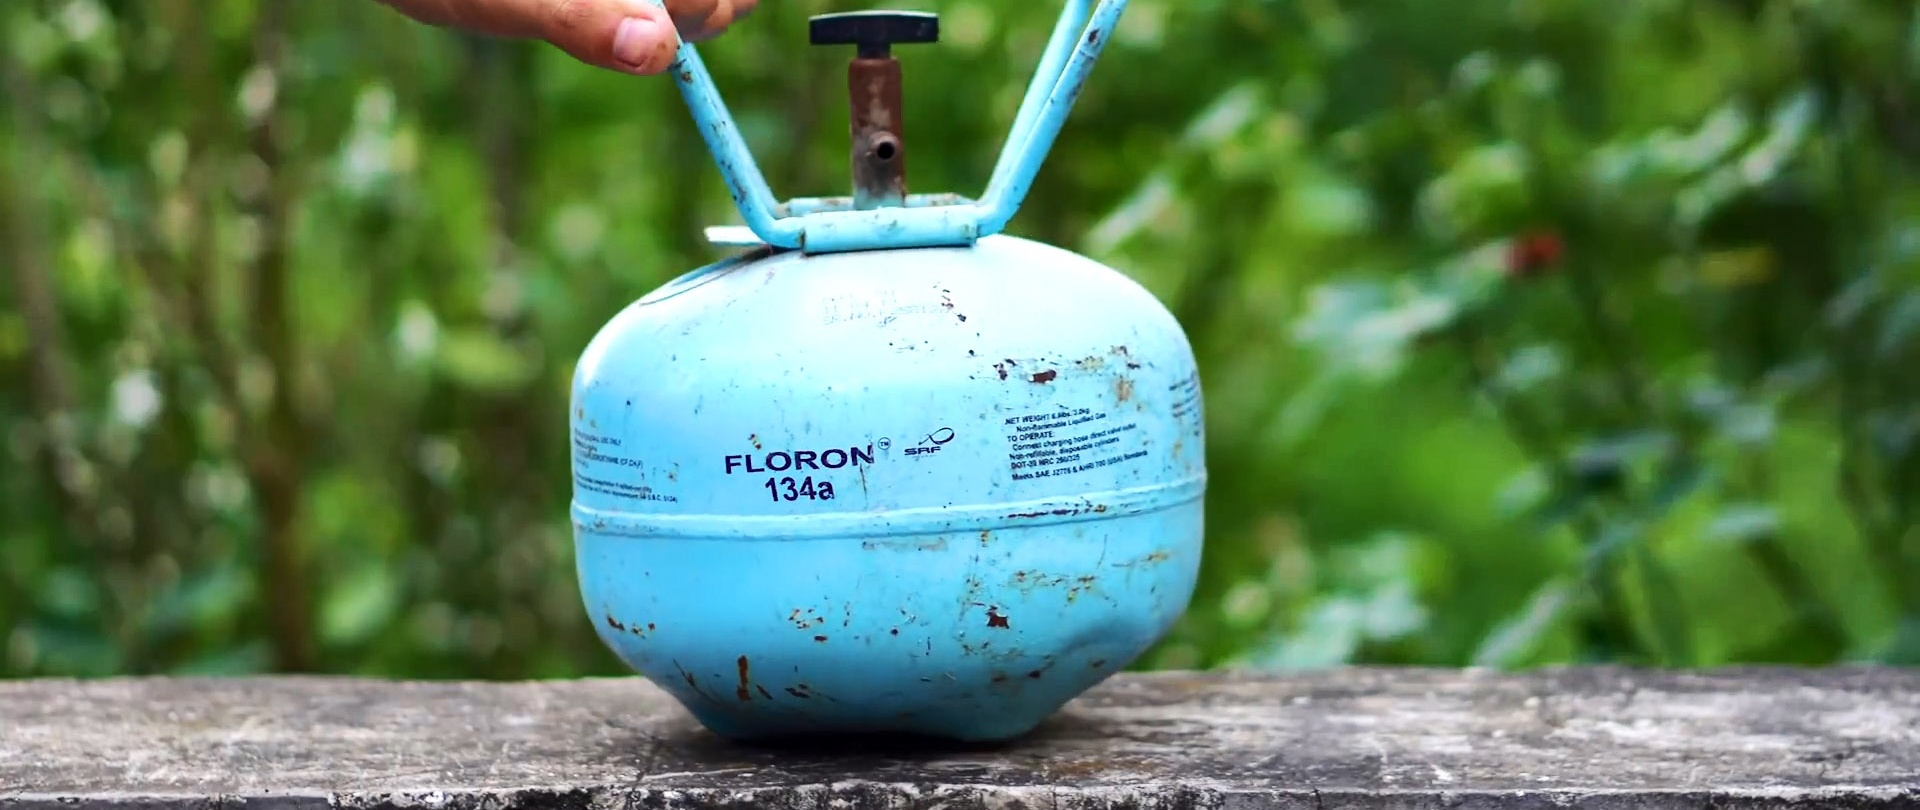
- Tourist gas cylinder;
- sheet steel 1-2 mm;
- bolts, nuts M6.;
- magnets from the electric bicycle engine – 16 pcs.;
- enameled copper wire;
- epoxy resin;
- aluminum profile pipe 10x10 mm;
- plastic sewer pipe 110 mm.
Wind turbine manufacturing process
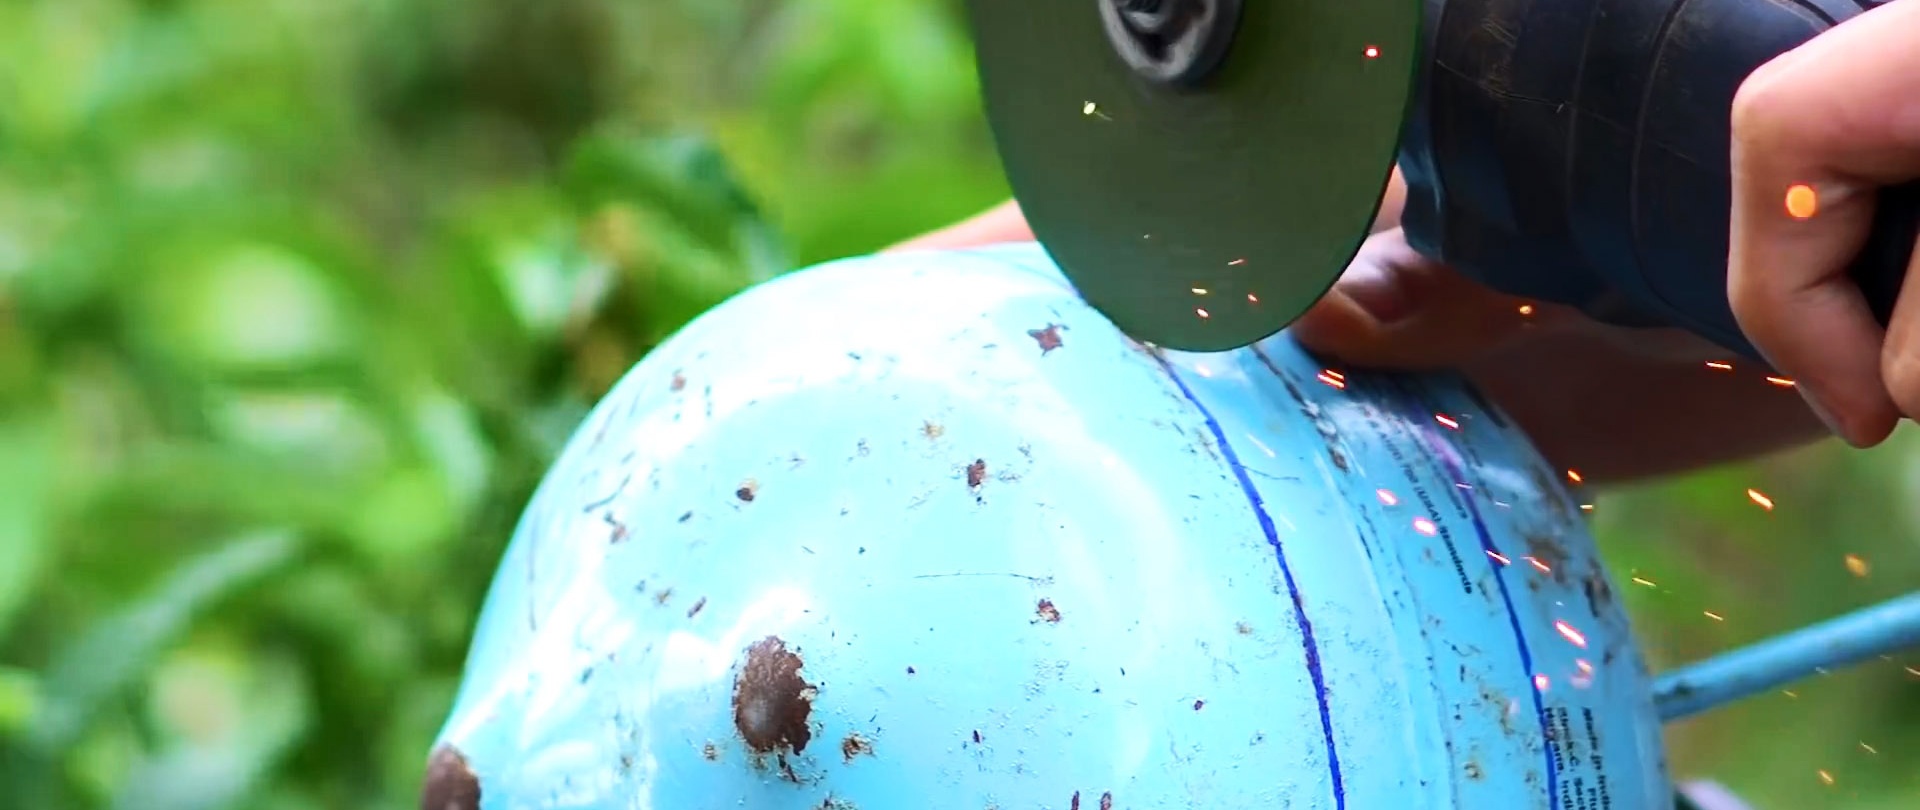
To make a windmill, you need to cut 2 rings with a width of 10 and 25 mm from a tourist gas cylinder or 200 mm pipe.
Then a sheet steel plug is cut out for them. These discs are welded into rings.


A part from a wide ring must be drilled in the center for the windmill shaft. It will serve as a housing for the stator.

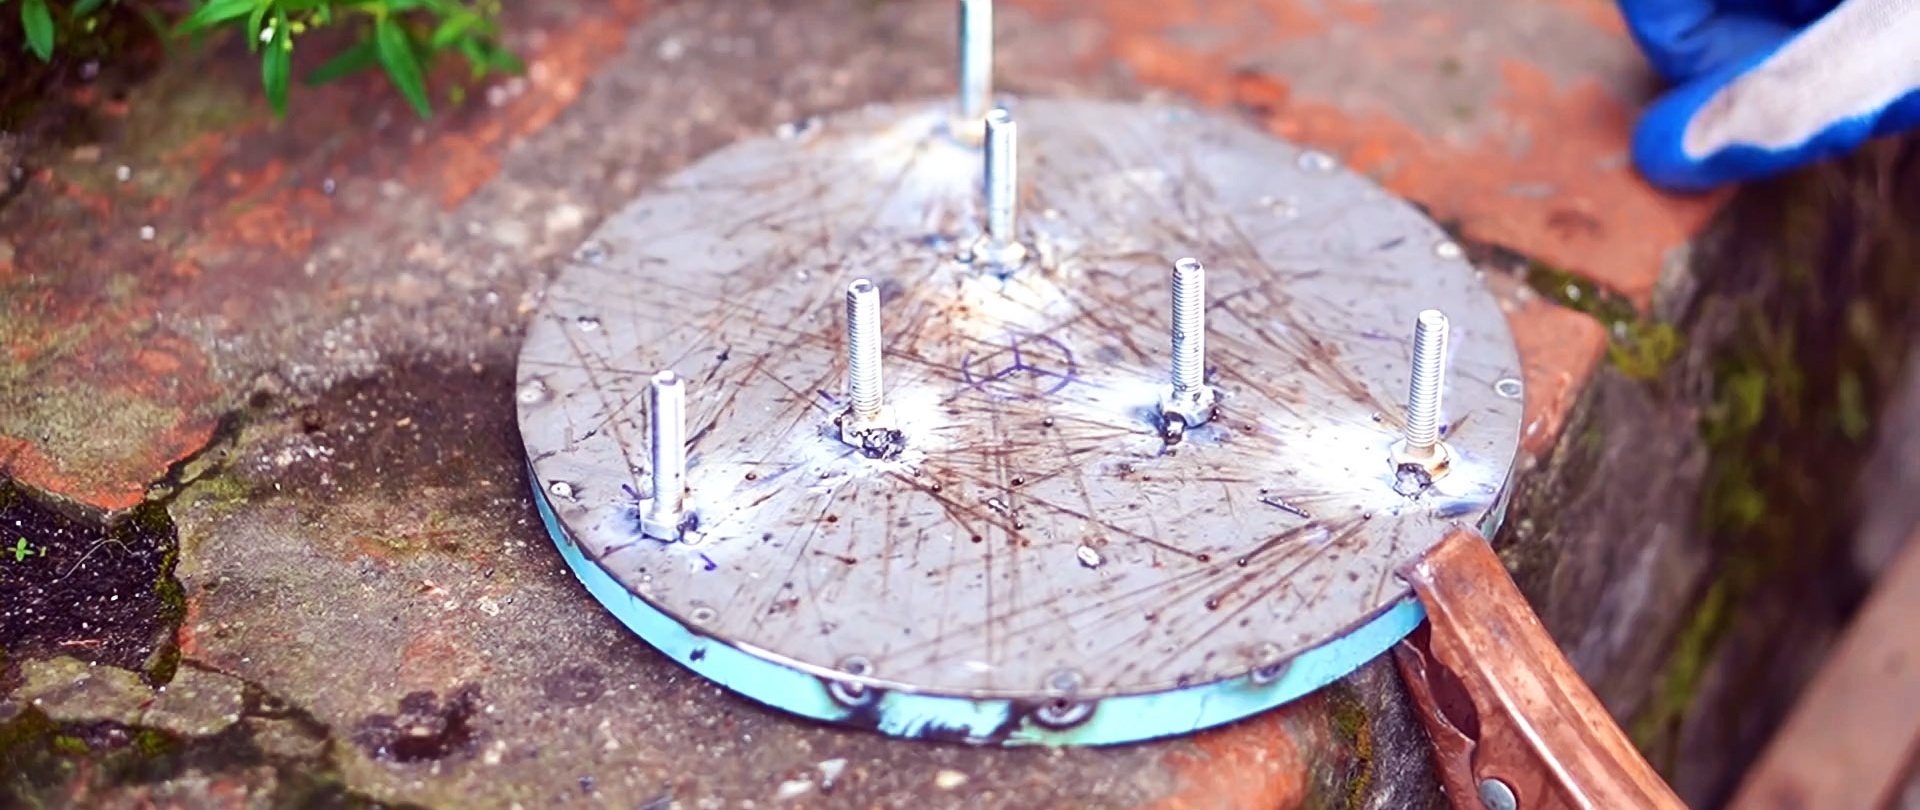
The second blank will be used for the rotor.It must be divided into 3 equal sectors, and 2 bolts must be welded on the resulting lines to secure the blades.
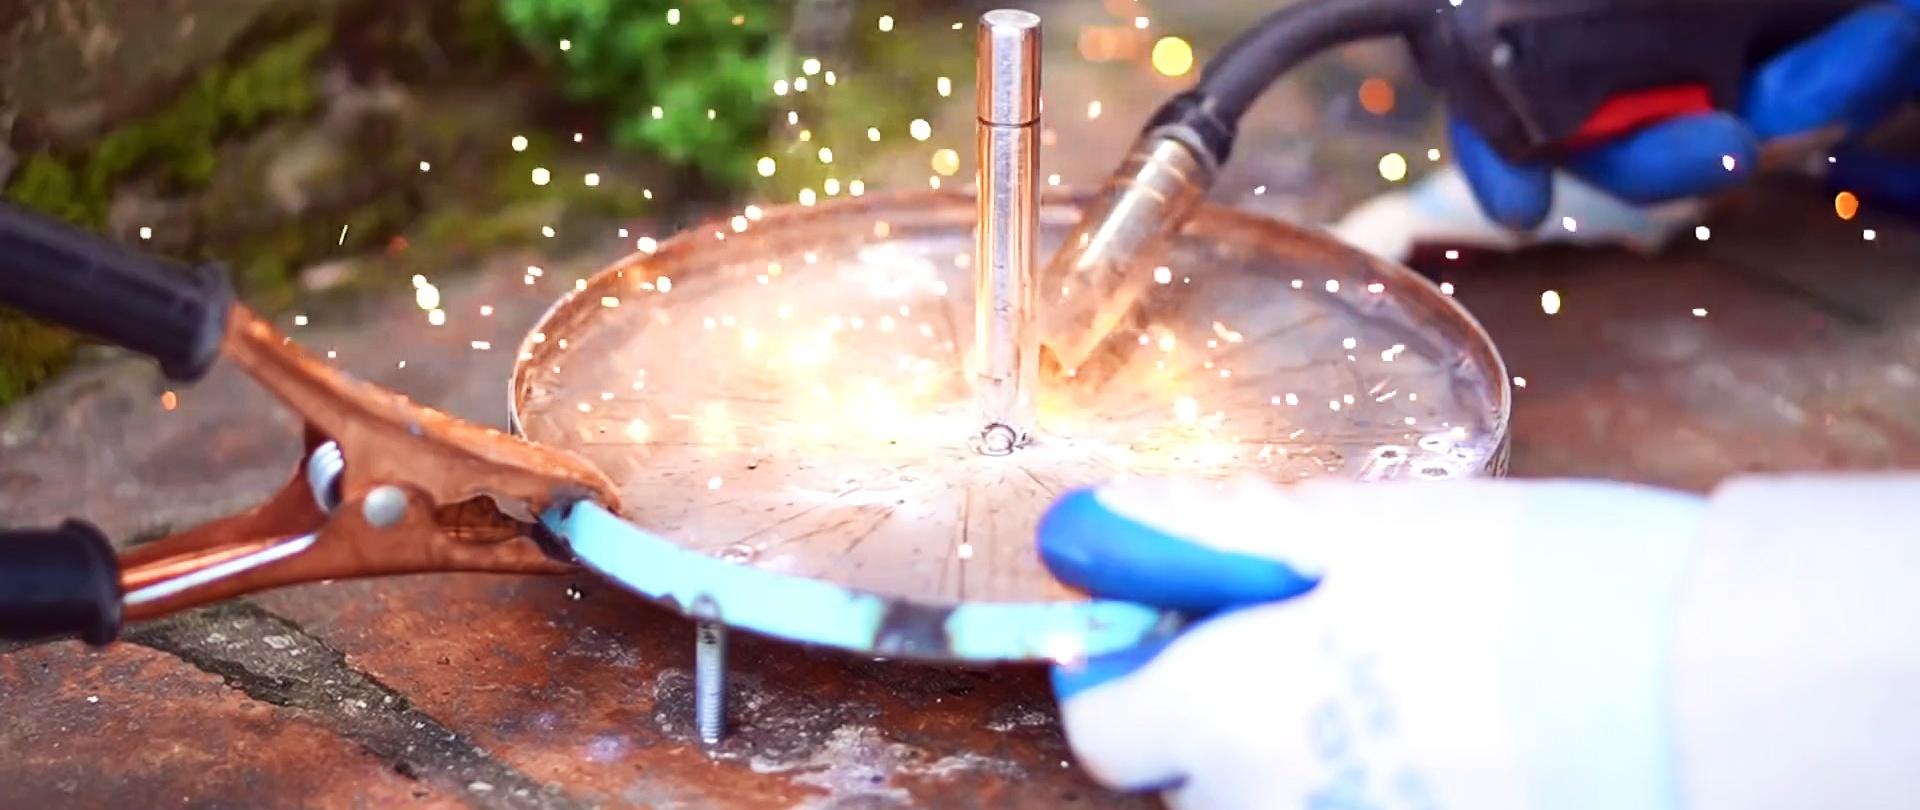
A shaft on which rotations will be performed is welded into the center of the rotor part from the inside at a right angle. It can be cut off from the armature of any burnt out motor.


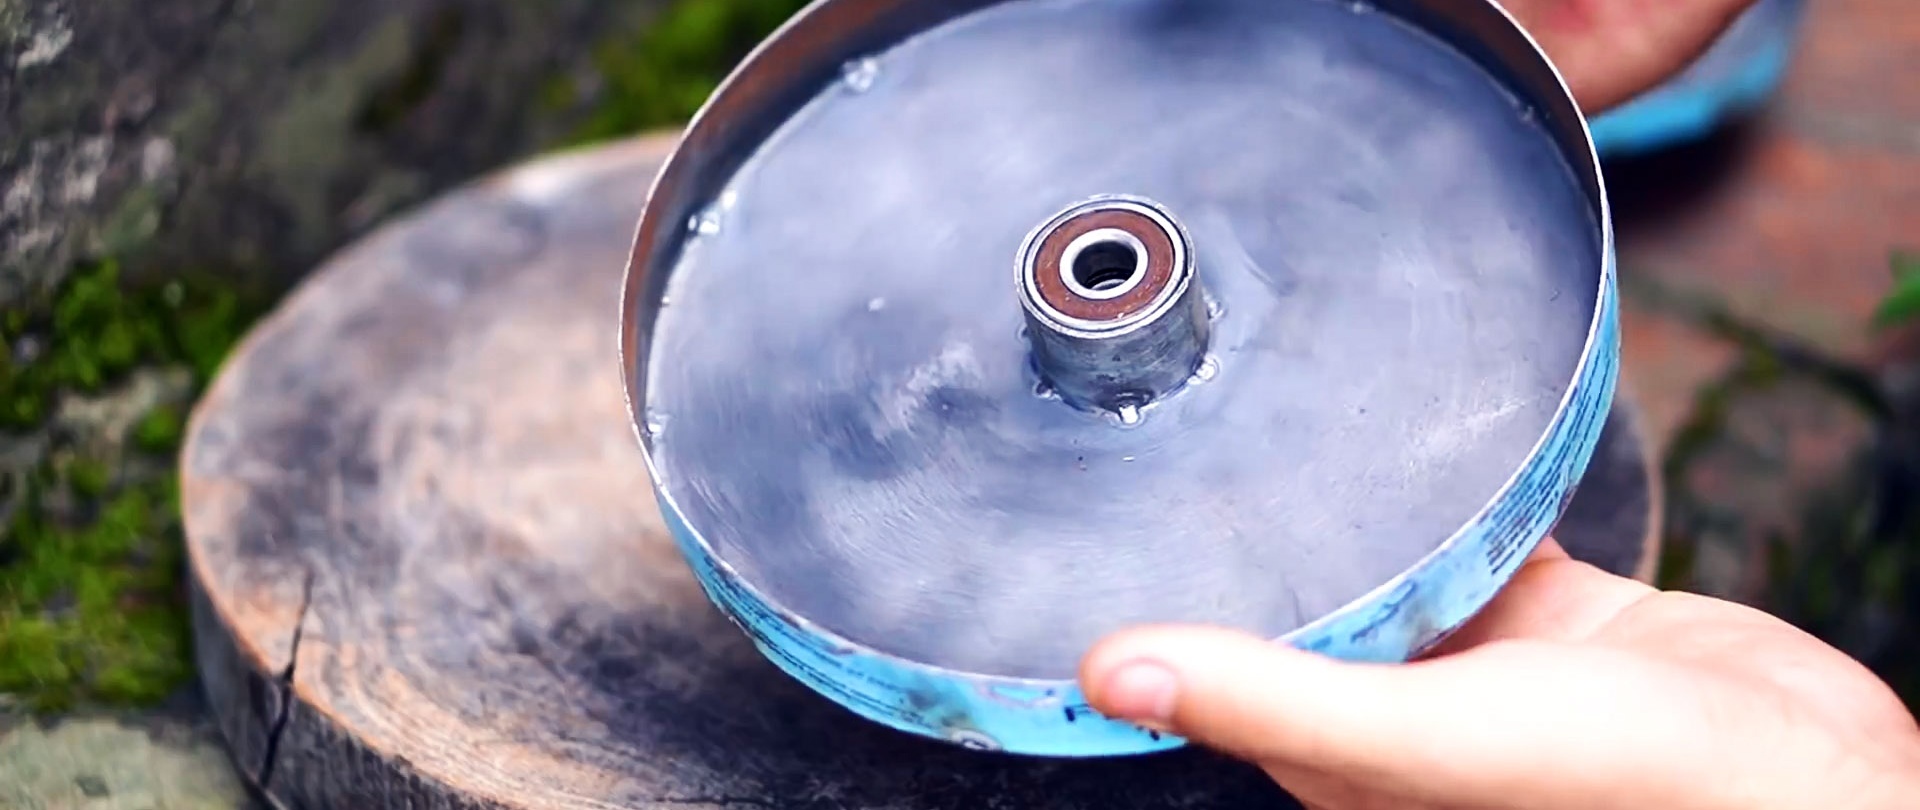
2 bearings are selected under the windmill shaft, or they can be removed from the donor motor. The bearings need to be pressed into a piece of tube. If there is no pipe of a suitable diameter, then you can cut the existing large one lengthwise, narrow it and weld it.


This tube is welded inside the stator in the center. Then the bearings are pressed into it. After this, the rotor and stator are joined together.

A piece of tube is welded to the outside of the stator, which will serve as a bracket for attaching the pole to the axis of rotation. Also, the tail with the tail blade will be attached to it in the future.

The stator and rotor are disassembled back. Permanent magnets are placed inside the latter. They need to be placed on 4 sides, 4 pieces each. Each group is placed with alternating polarity.

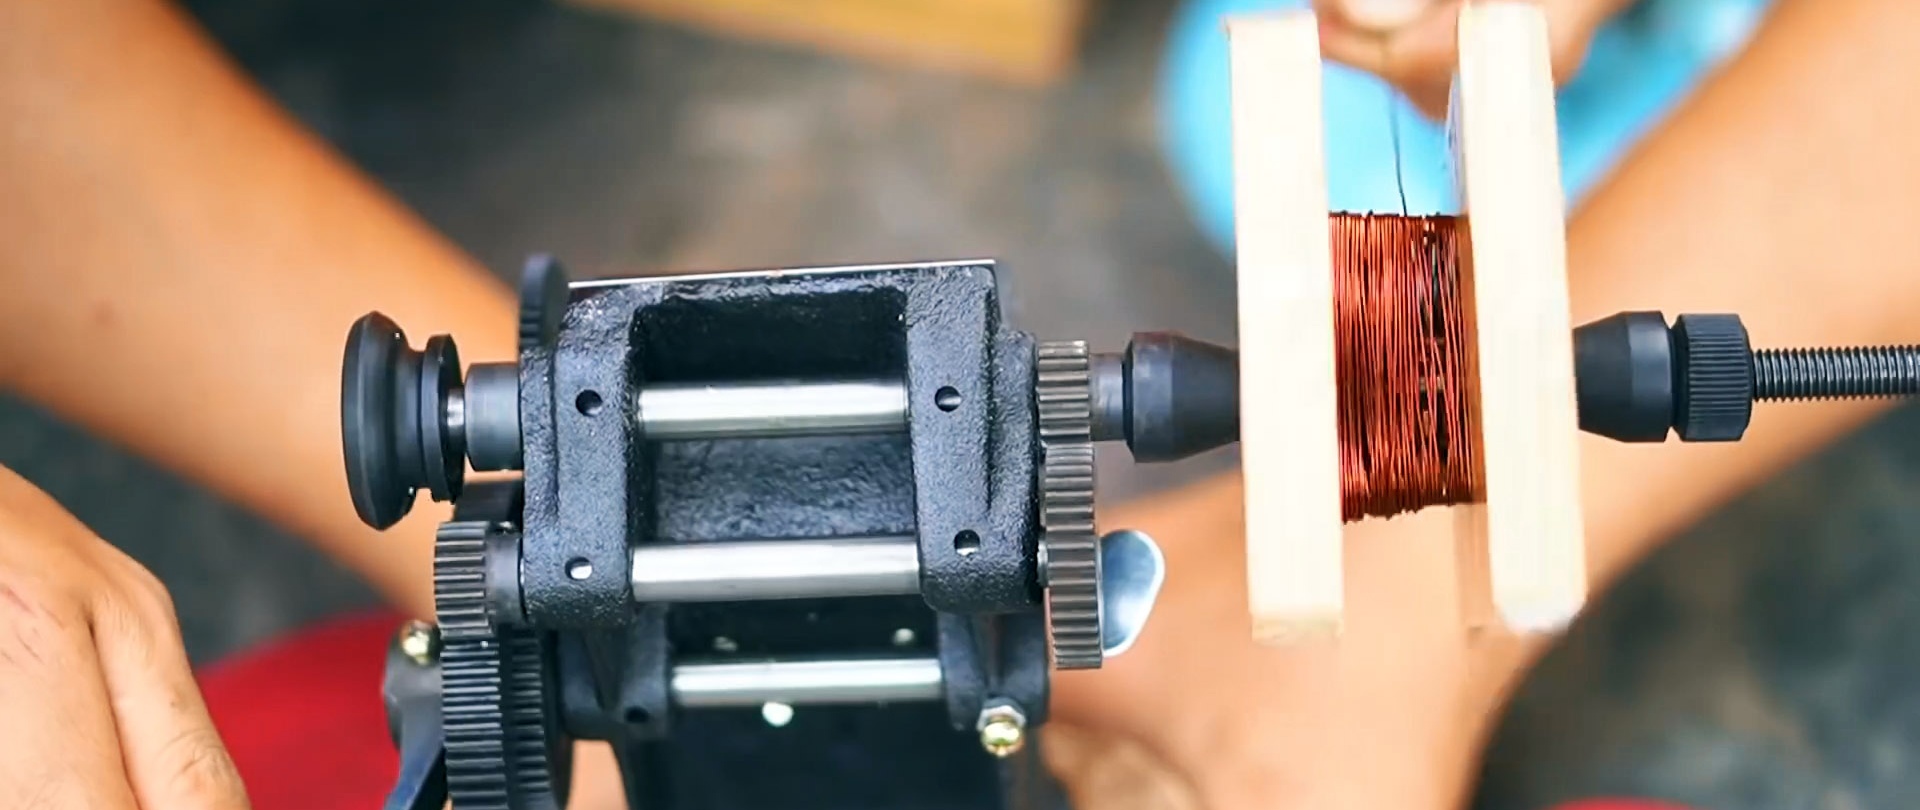
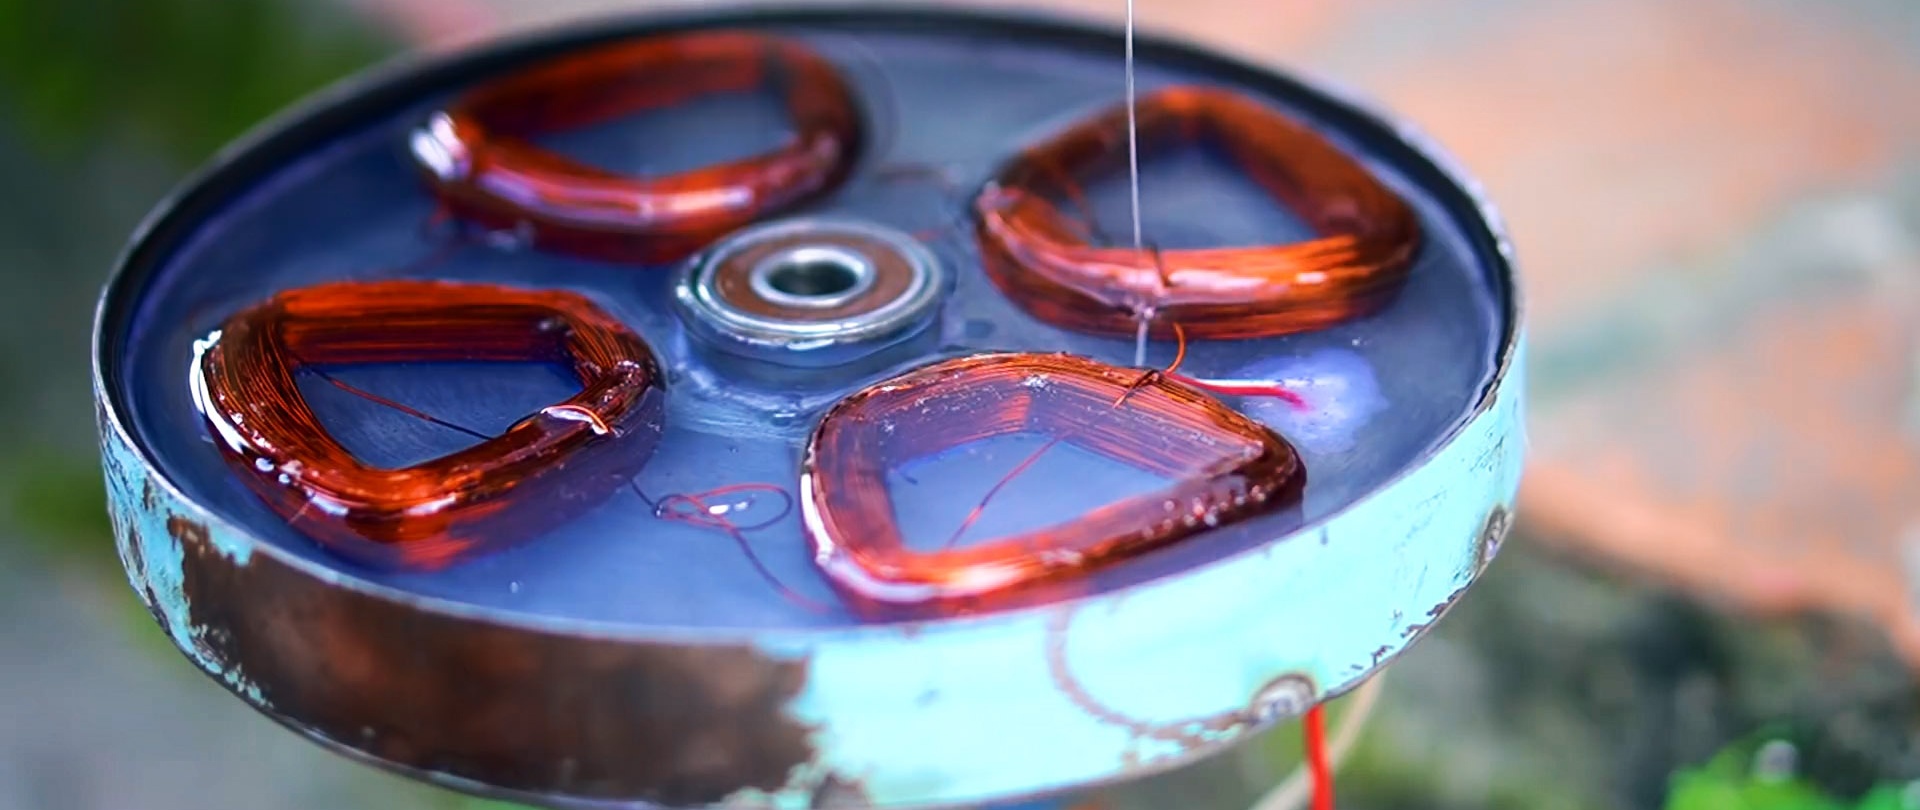
To complete the stator, it is necessary to make 4 windings of copper wire of 300 turns each. The resulting coils are placed in it and soldered together in series. Their ends are brought out to the wire.

The rotor and stator are filled with epoxy resin. After it dries, the generator is already able to produce electricity, even when rotated by hand.

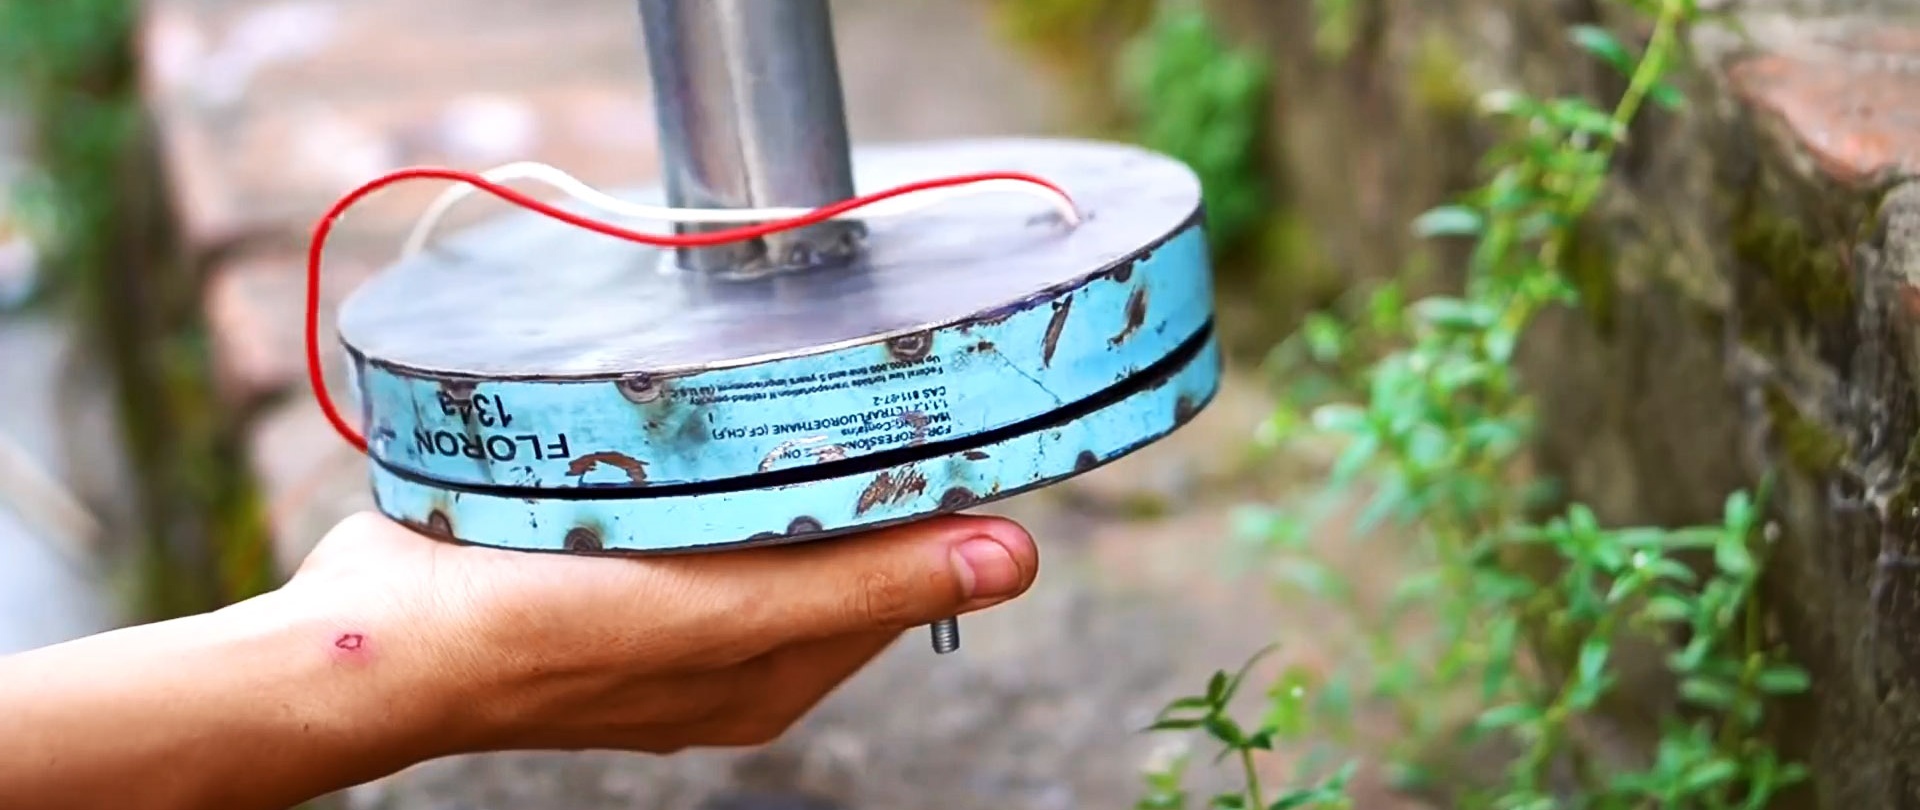
A mount for the guide tail of the windmill and a pole must be welded to the pipe on the edge of the stator. Next, the generator is painted.
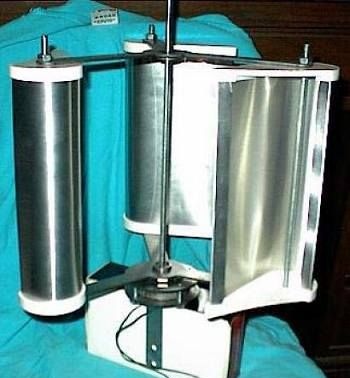
Windmill blades are made from plastic strips cut from a sewer pipe. They are screwed onto profile pipes, which in turn are drilled from the edge to connect to the rotor.


The generator is installed on the pole so that it rotates freely along the axis.Then the blades are screwed onto it. The tail for catching the direction of the wind is made from a section of a profile pipe, and its blade is made of sheet metal.


In windy weather, such a windmill produces quite a lot of energy. It is capable of safely feeding undemanding consumers directly. For example, you can connect a heating element to it, even if the windmill speed is low. In strong winds, even weak 220V electric motors will work from it.