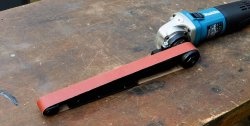
For sharpening knives and small workpieces, you can make a compact tabletop belt sander. A motor from any broken cordless tool is suitable as a drive for it. With such a drive, despite its small size, this machine can hardly be called a toy.

Materials:
- Sheet plastic or PVC sewer pipes;
- sanding tape 85 mm wide;
- plastic pipe 32 mm;
- electric motor 775 -
- bicycle camera;
- rods 6 mm, 3 mm;
- Super glue;
- cold welding;
- push-button switch.
The manufacturing process of a grinding machine
To make the body of the machine you need sheet plastic. It can be made by cutting, heating and leveling PVC sewer pipes. 2 plates of 195x45 mm and 2 of 95x45 mm are cut out of it.

You also need to saw off 2 pieces of 85 mm each from a 32 mm pipe.

Long slots are made at the edge of long workpieces, along which it will be possible to adjust the position of the driven roller to tension the tape.
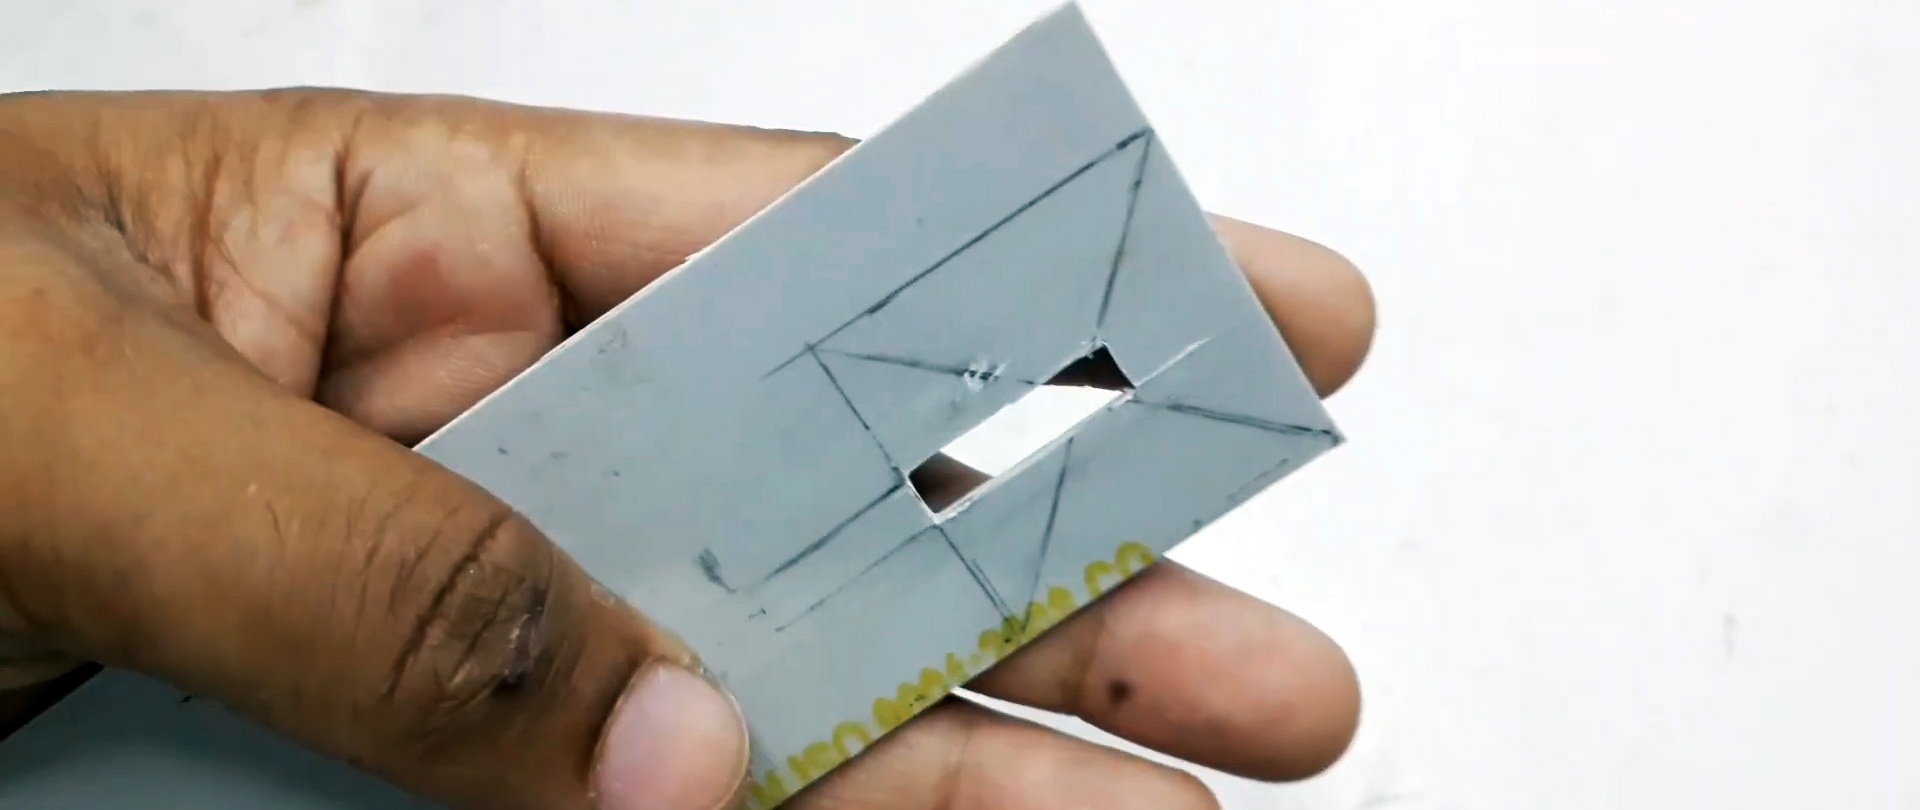
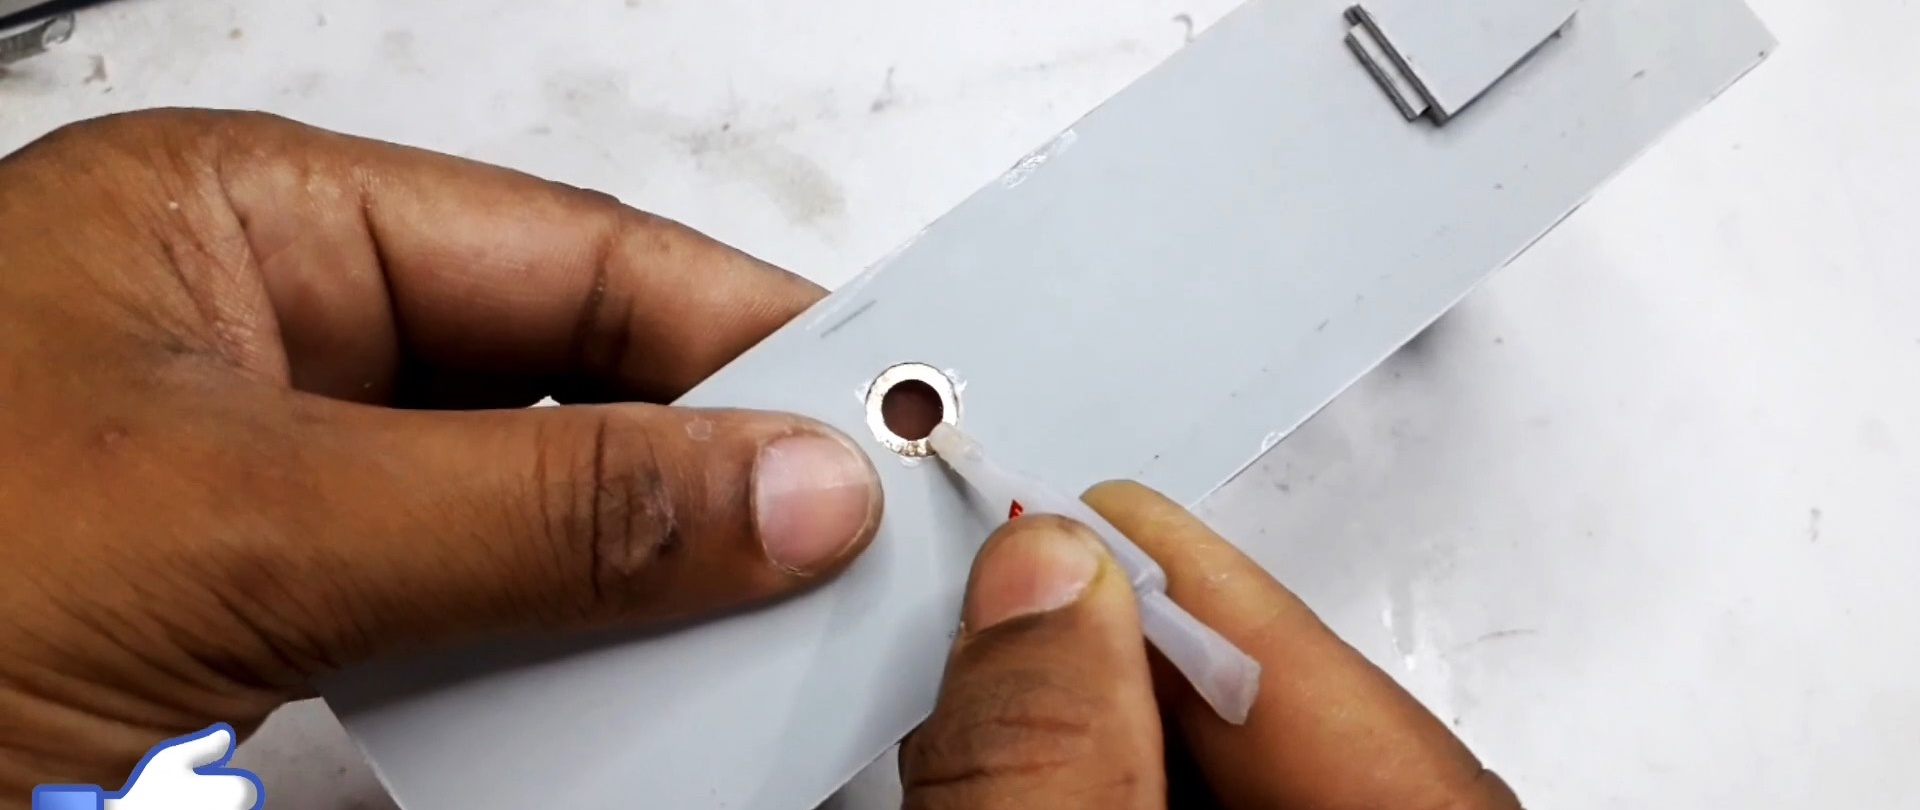
On the other hand, holes are required to install the drive roller.

They are not made from the very edge, but with such an indentation to accommodate the electric motor in front. These holes should be made larger than the shaft that will be used on the roller in order to glue copper or brass bushings inside instead of bearings.
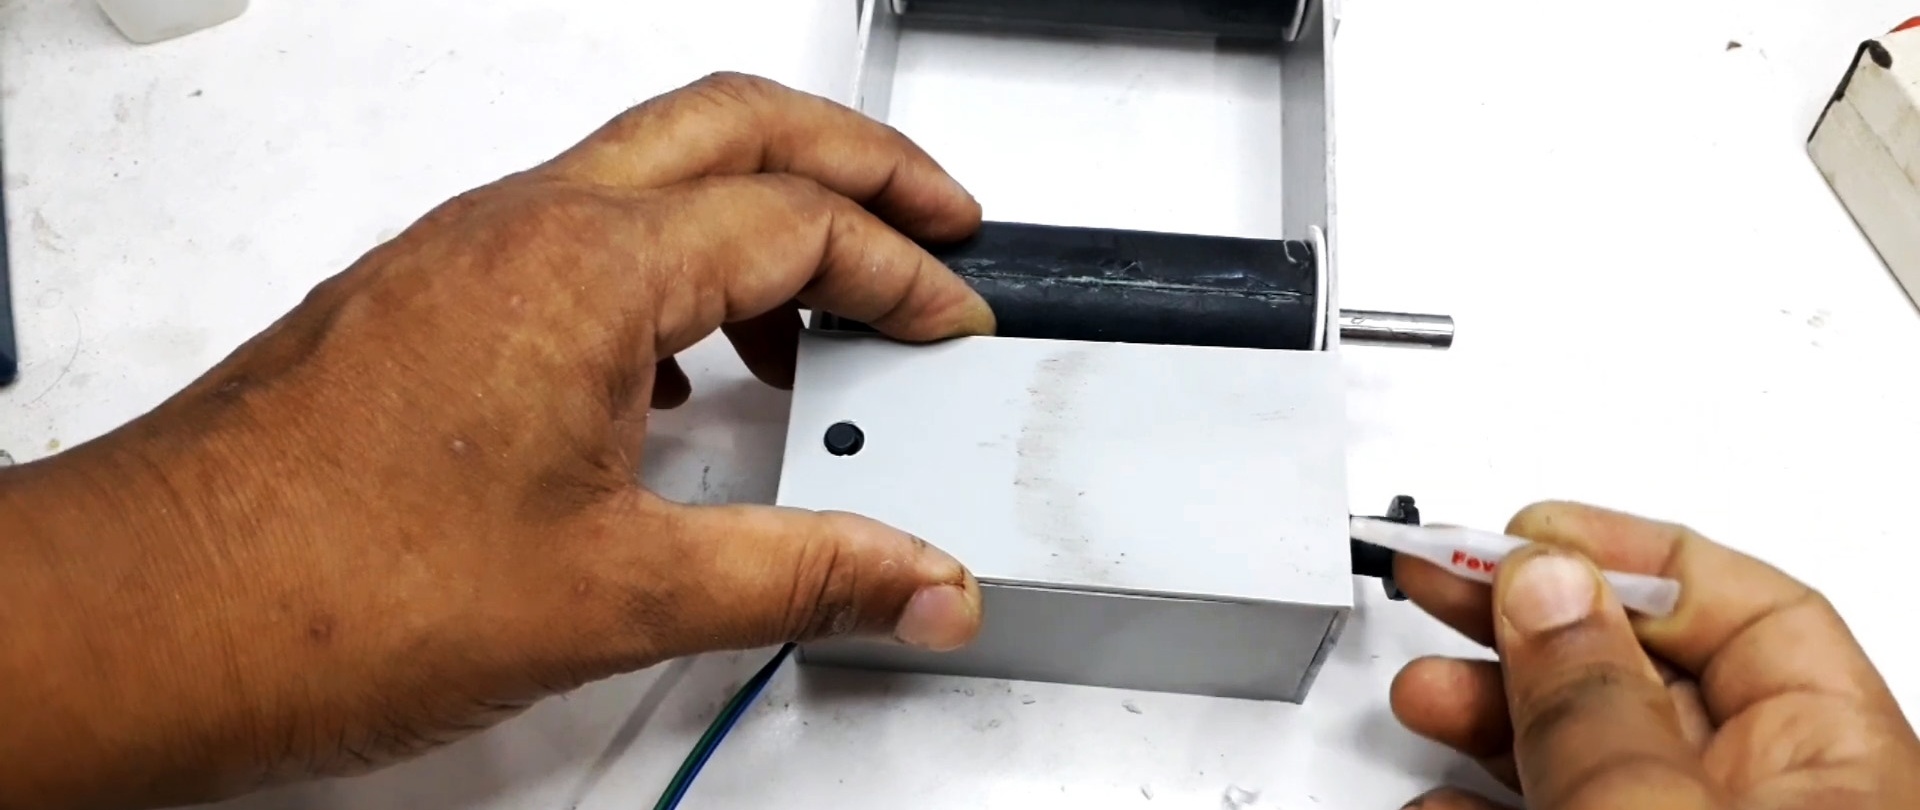
The prepared parts are glued together into a box with superglue. On one edge, in front of the large holes, we get a cell in which the engine will be located. On the side of the cuts, a jumper is glued for rigidity, located lying down.
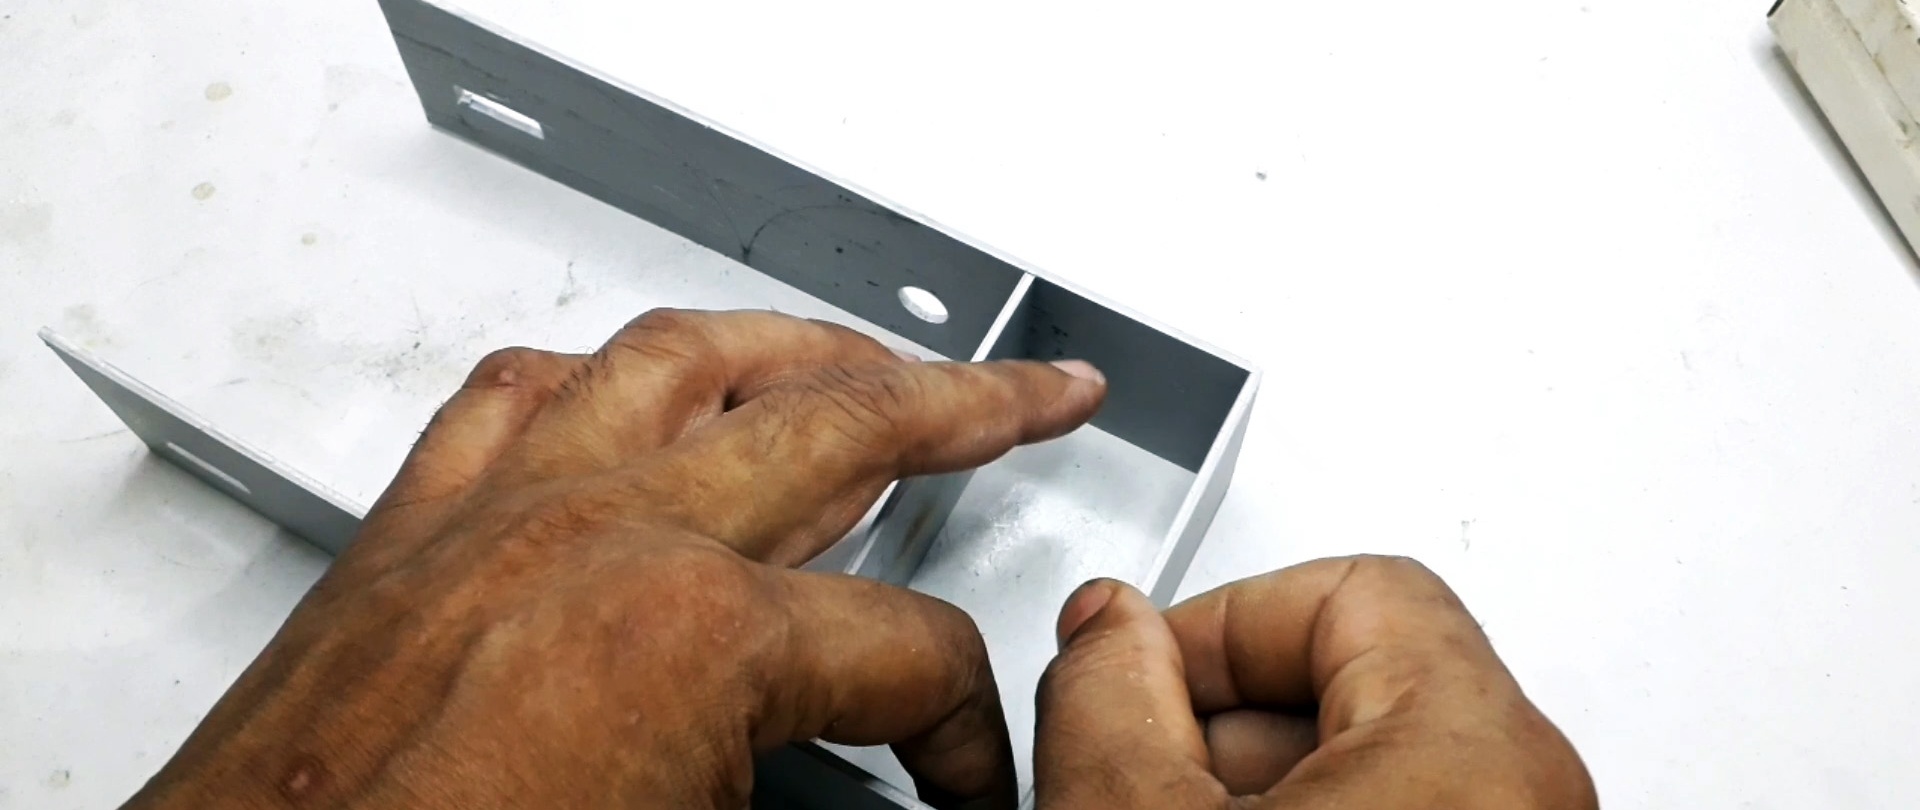
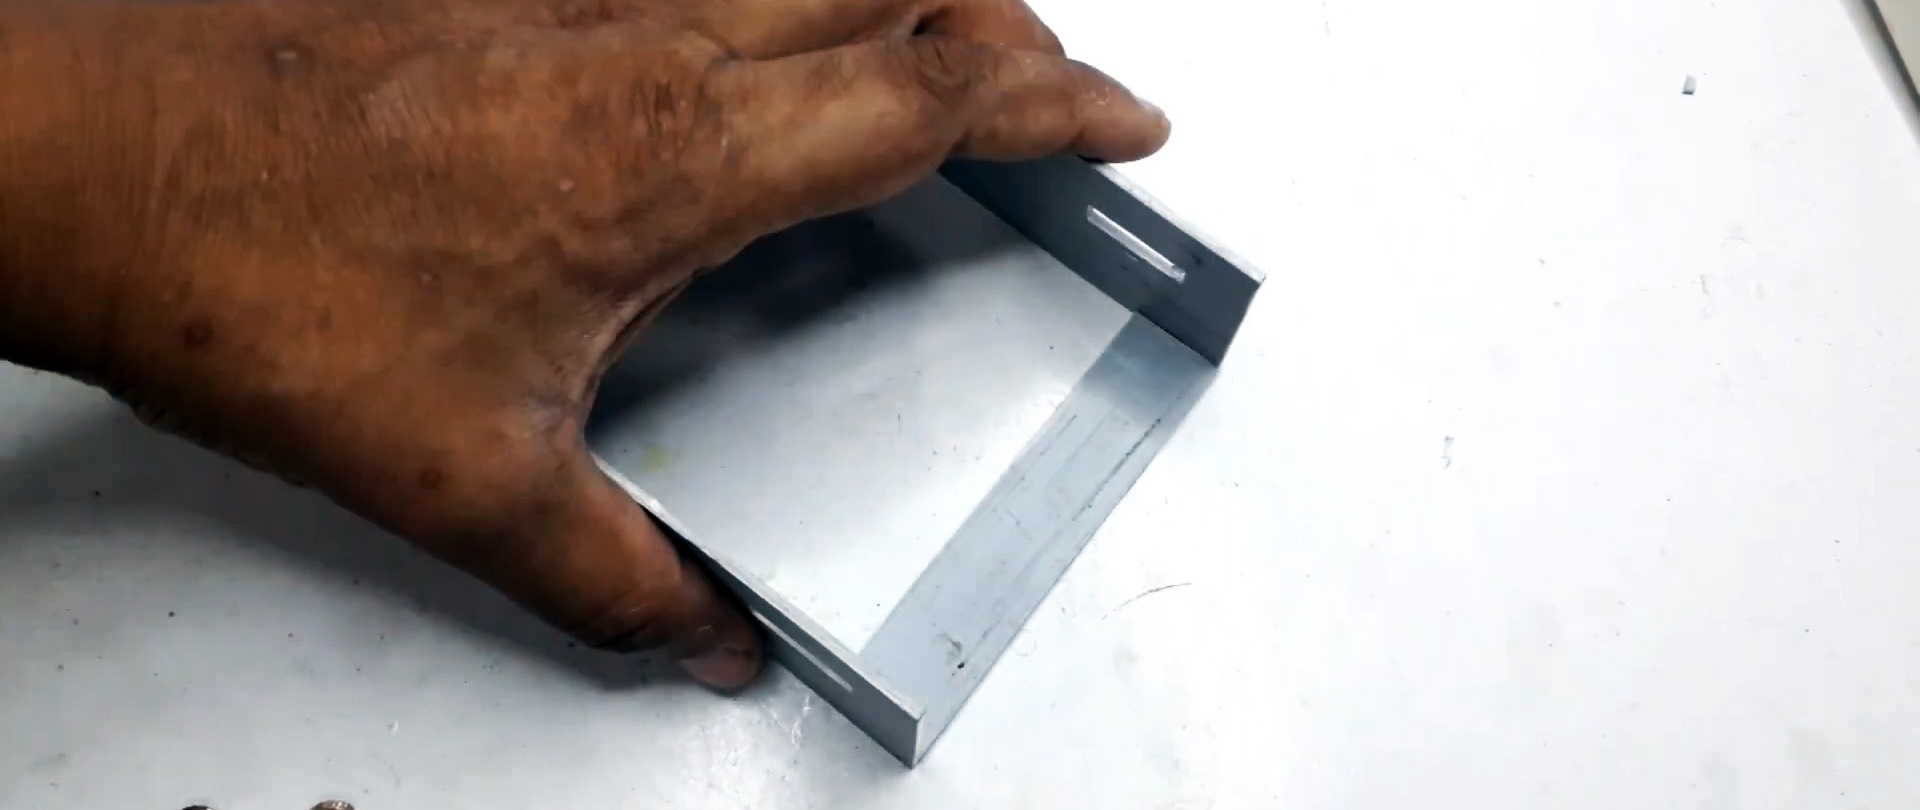
To be able to adjust the roller, you need to make sliding fasteners from thin strips of plastic. To do this, short plates are glued onto them, cut to match the width of the cut in the long walls of the box. Thus, they serve as limiters and guides. Now, in order to secure them movably, you need to glue a strip of plastic to the sides, and then an overlapping plate to these sidewalls. Thus, we get the opportunity to move the fastenings in the longitudinal direction.

Bushings are also glued into the large holes in the box.
Now you need to do the rollers. To do this, cut out 4 plugs from plastic for previously prepared tubes. In two of them, holes are drilled in the center for a shaft corresponding in diameter to the size of the glued bushings. The plugs are glued. Next, a shaft is inserted into them.
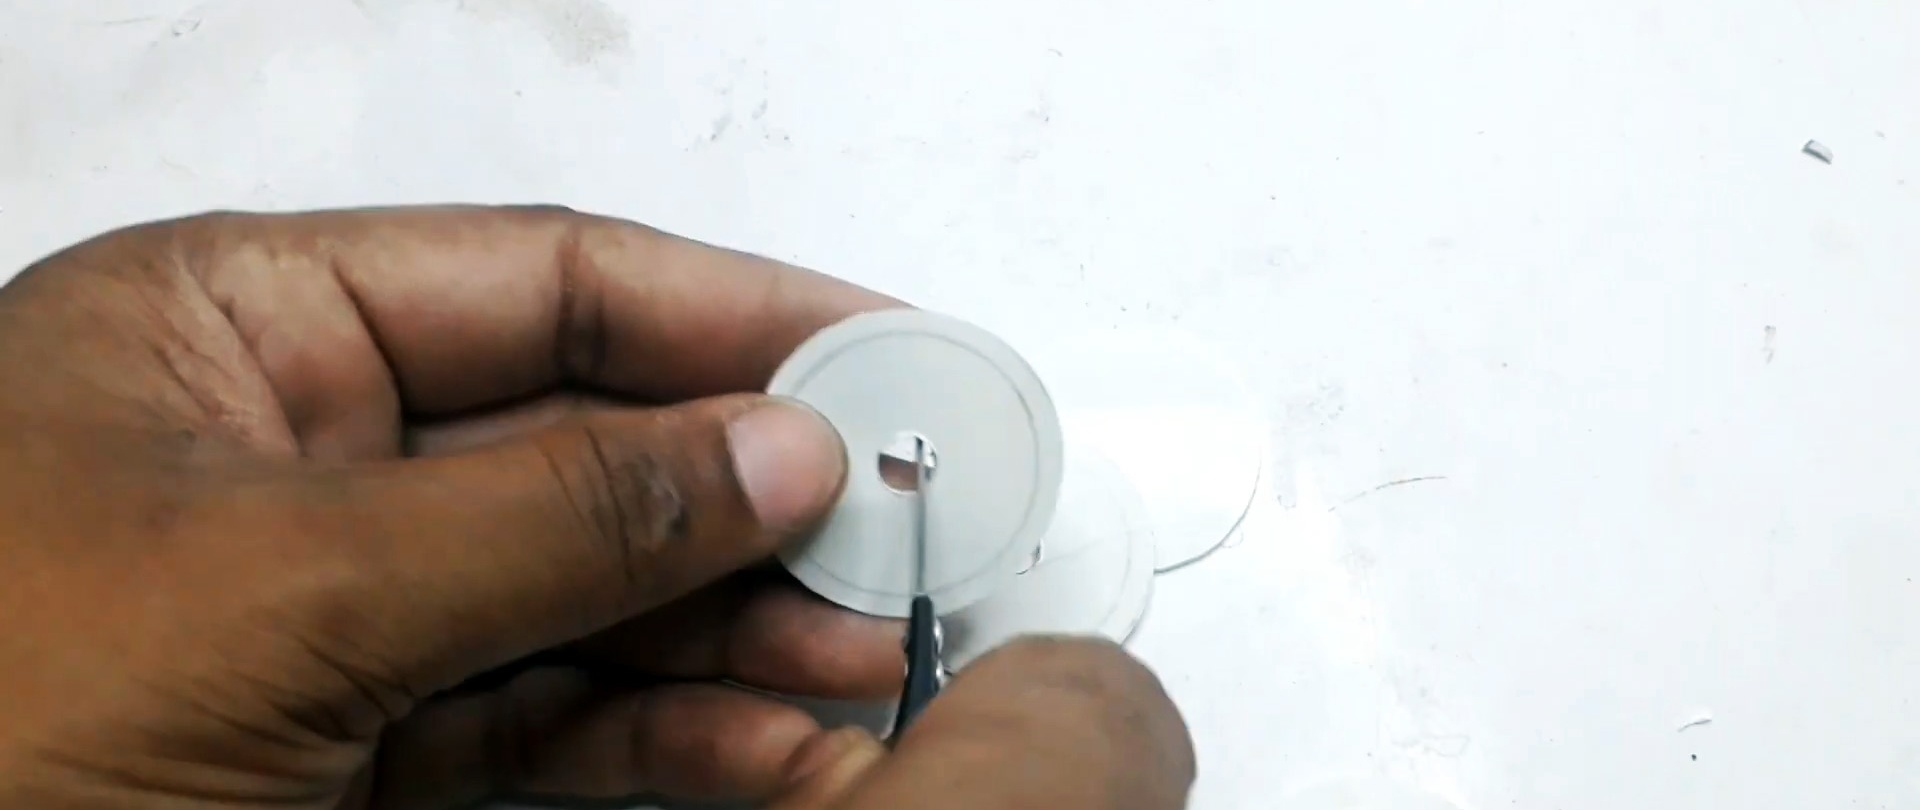
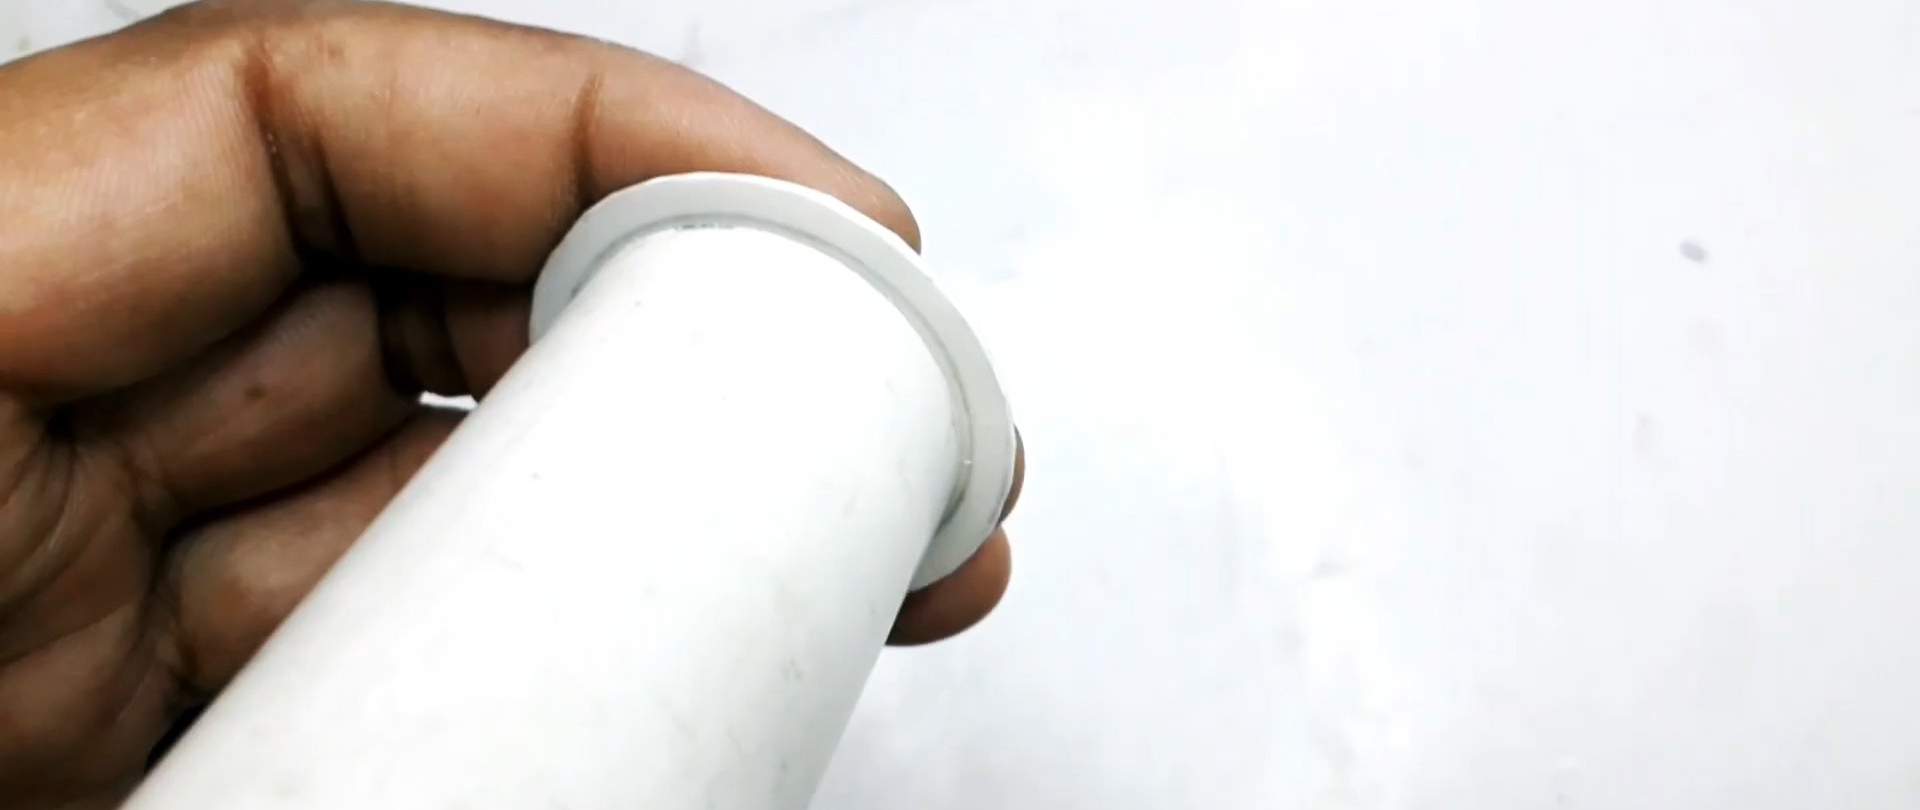
The holes in the driven roller plugs are made smaller. A piece of short rod is inserted into them. To secure the latter, cold welding is done on the reverse side. Then the plugs are glued to the tube, welded inside.


Rubber from a bicycle or car inner tube is glued onto the rollers. Then they are installed in the machine body. There will be difficulties with the driven roller, since its axis cannot be removed.

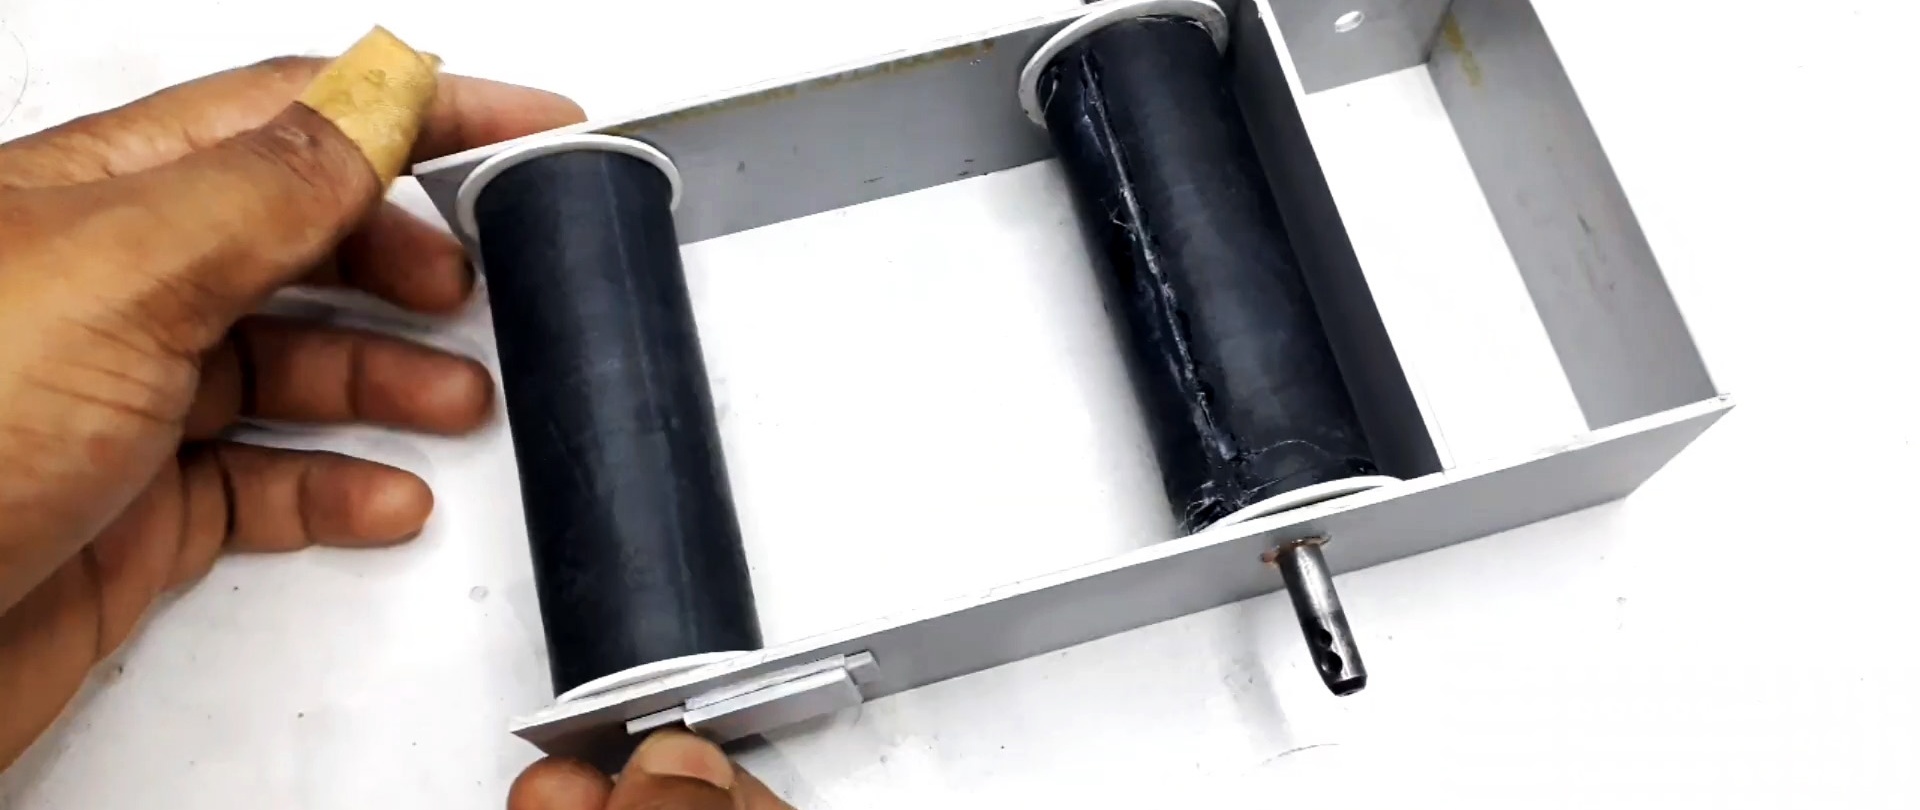
A bottom made of sheet plastic is glued into the part of the box for installing the engine. Next, the motor itself is installed. You will need to make a hole under its shaft and bring it out. A pulley is installed on the engine. Next, power wires are soldered to its contacts through a switch. A cover with a button is attached to the top.

A homemade pulley made from a tube with glued rubber is installed on the driven roller shaft to prevent the belt from slipping. The latter is glued together from a strip of the same inner tube from a bicycle.

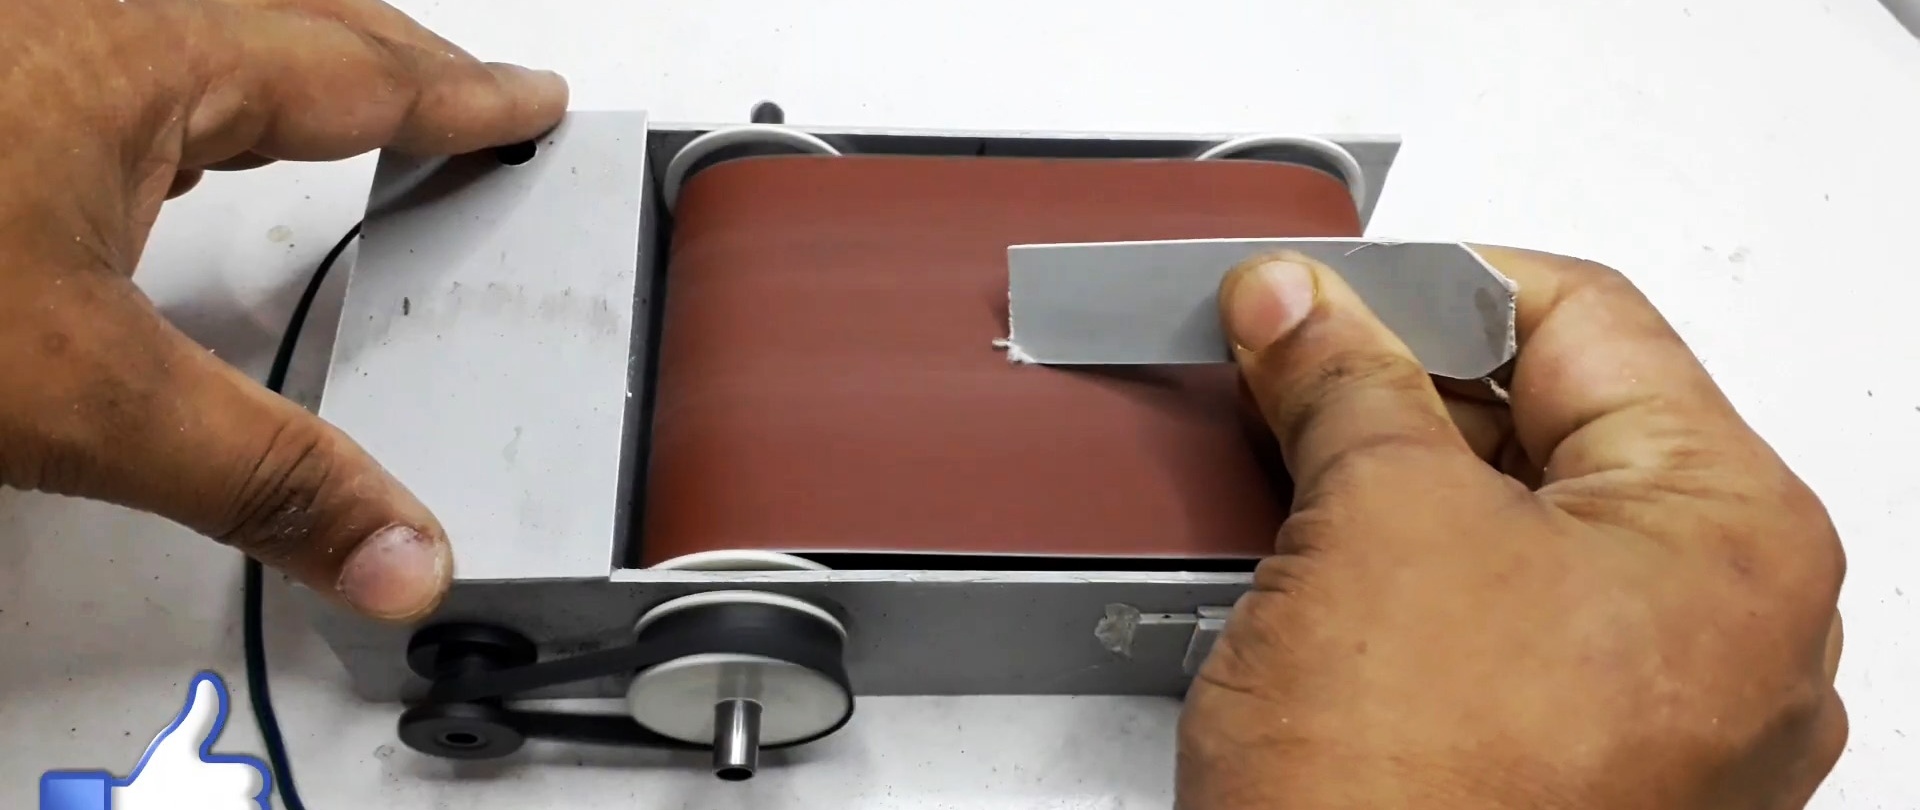
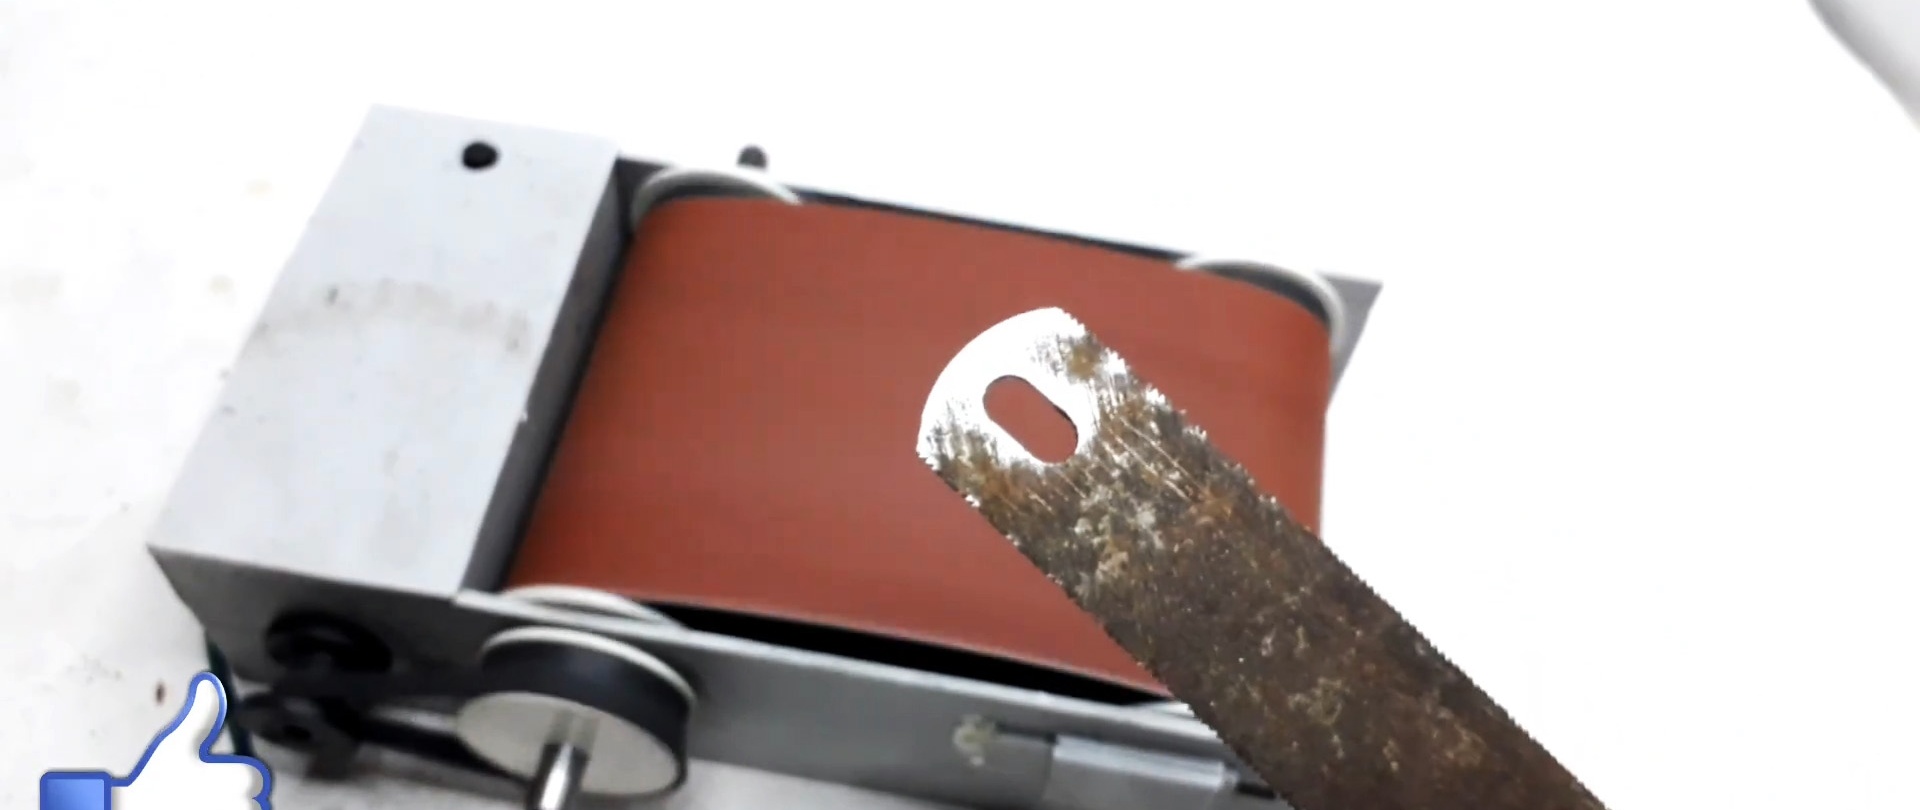
Having dealt with the drive, you can install the sanding belt. It is glued together with superglue right in place.
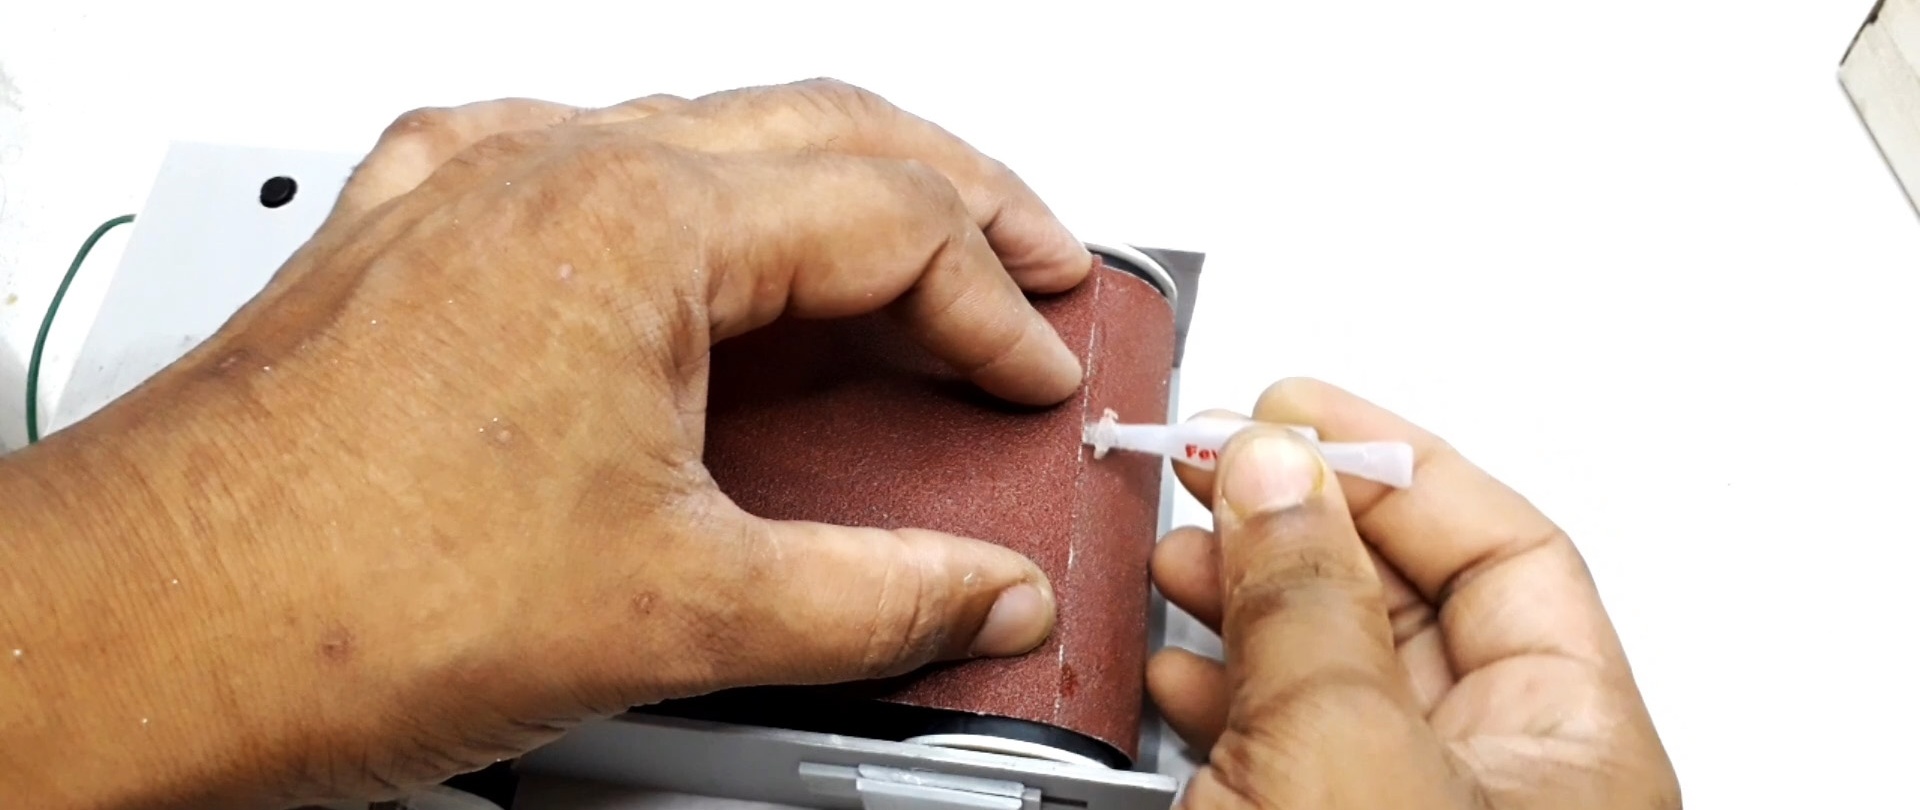
To tighten it, you need to move the driven roller away. You can secure its sliding mount with hot glue or short screws. Now all that remains is to connect the power supply to the engine, and the machine is ready for use.