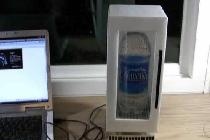
A portable, low-voltage ice maker is quite easy to assemble with your own hands, even for a novice DIYer. This installation contains a minimum of parts and has a power of about 150 W. The design is extremely simple and does not require configuration. Its performance is quite enough to get a small amount of ice in a couple of tens of minutes, enough, say, for making cocktails.
Will need
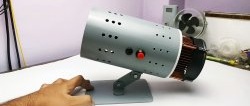
- Cooling system based on Peltier elements 144 W - http://alii.pub/5vp9tz
- Power supply 12 V 300 W - http://alii.pub/5vp9yg
Making your own ice maker
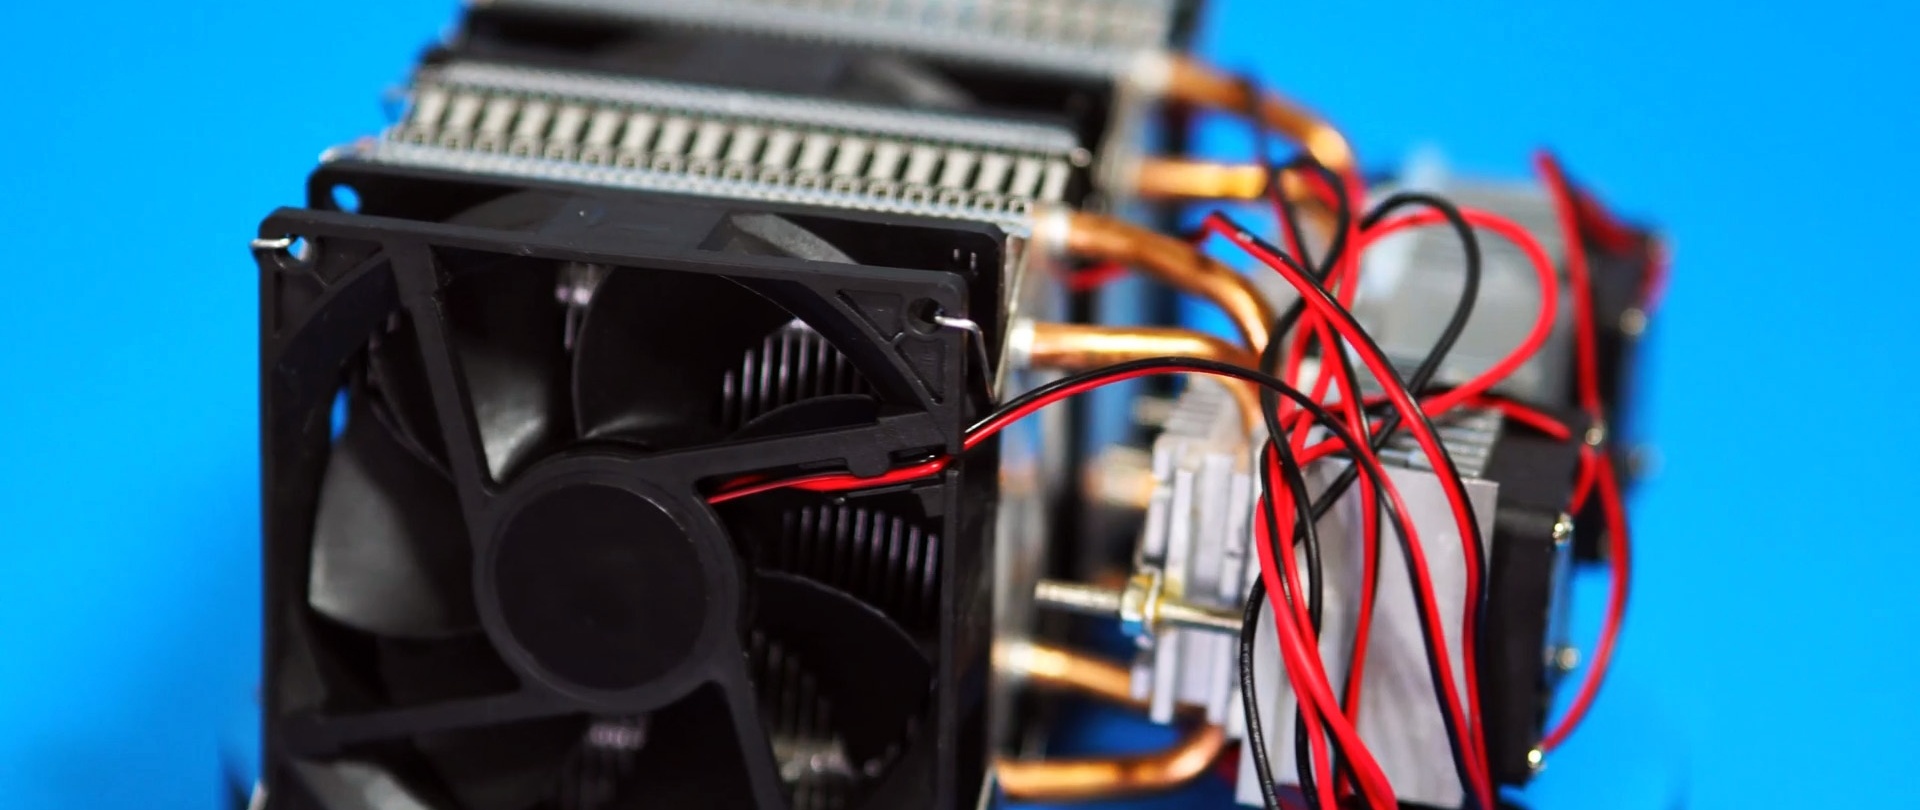
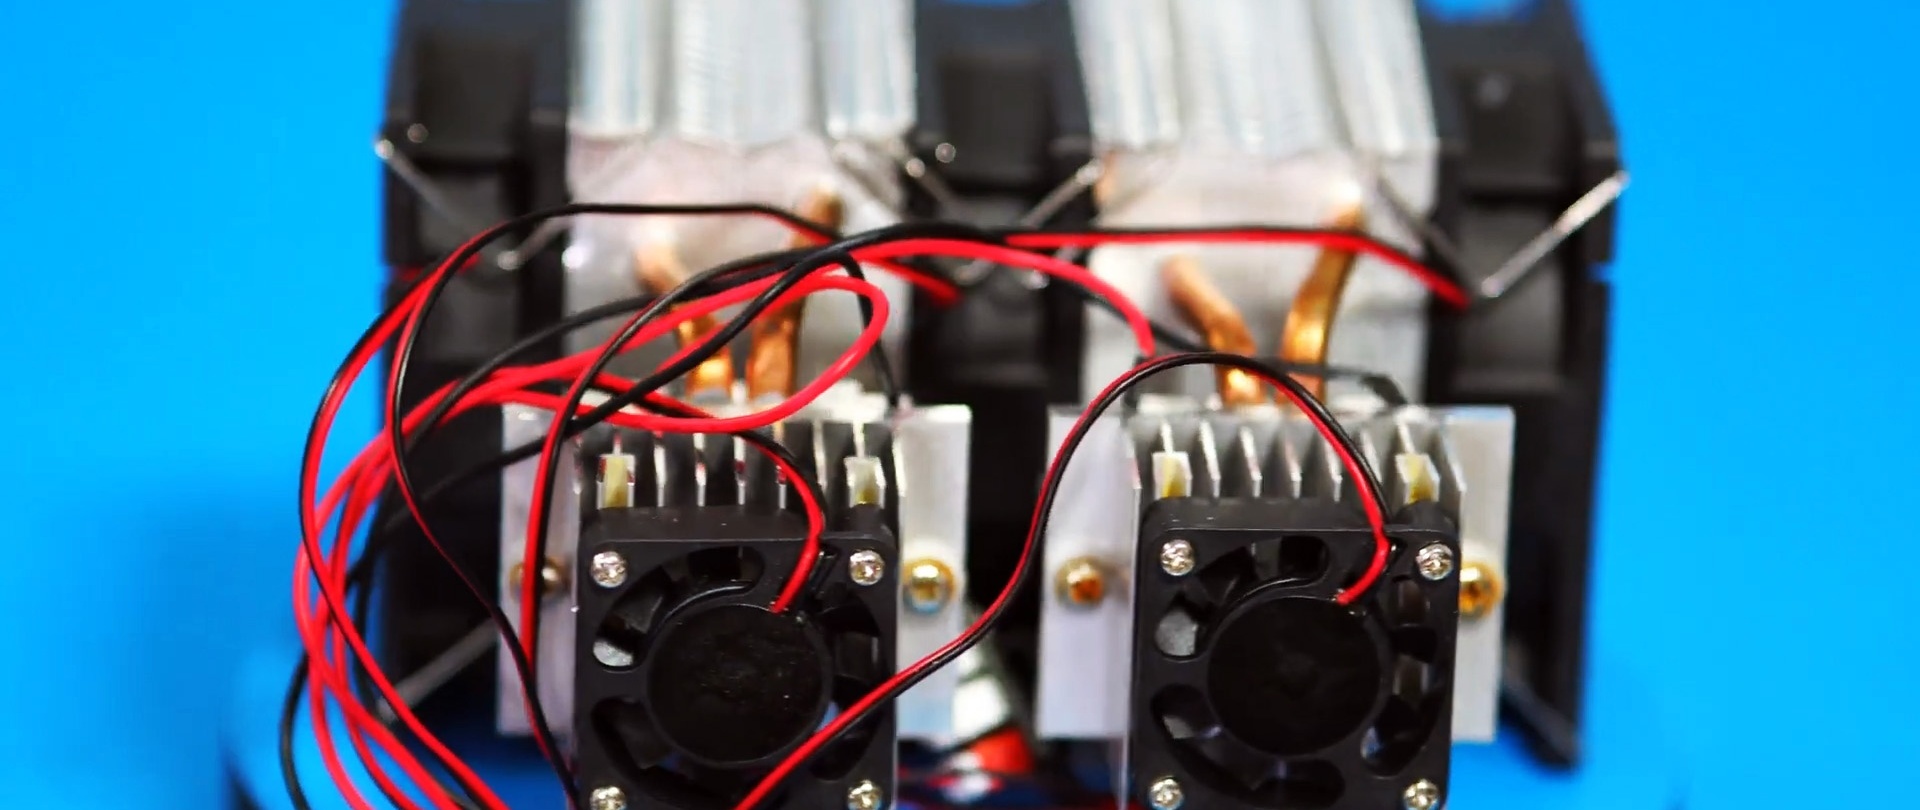
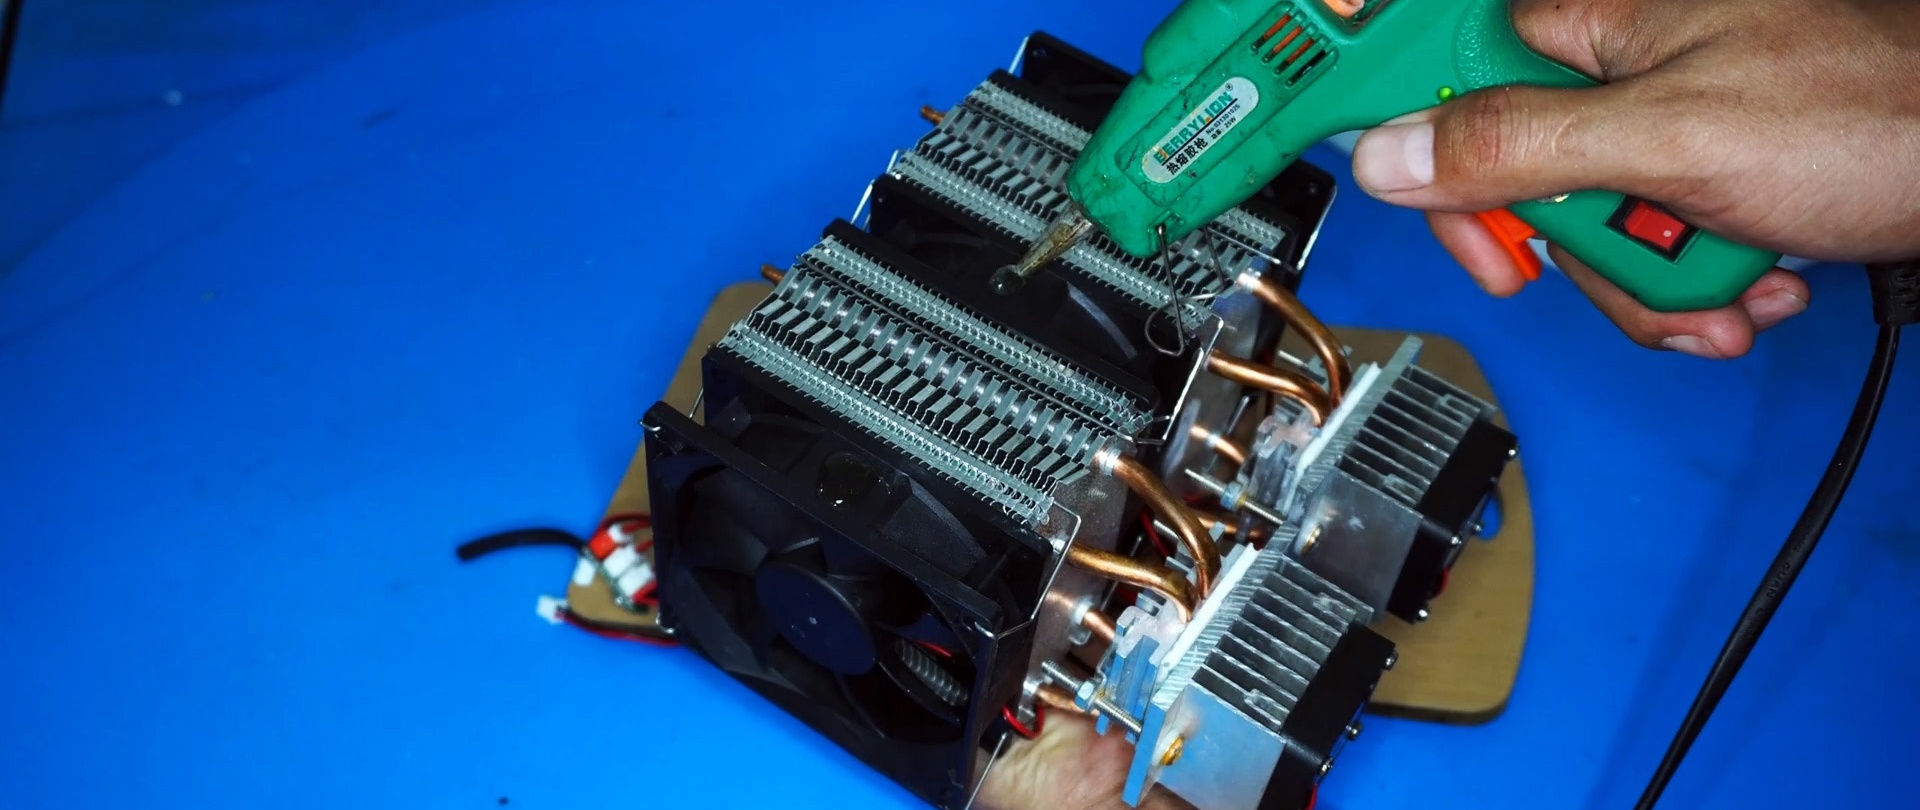
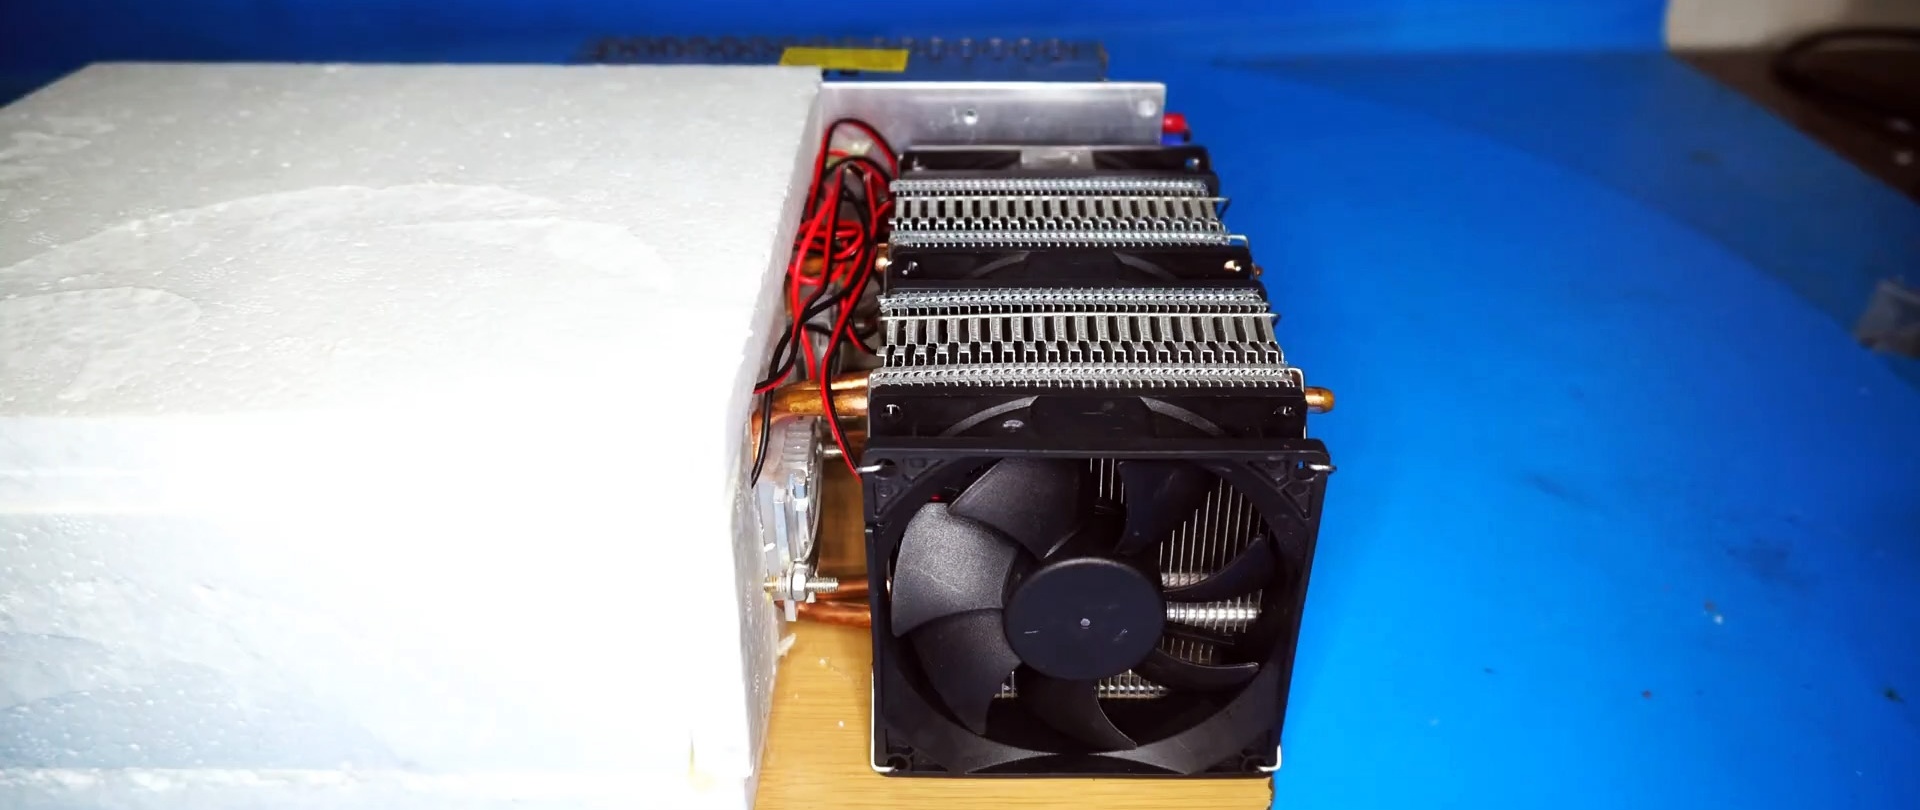
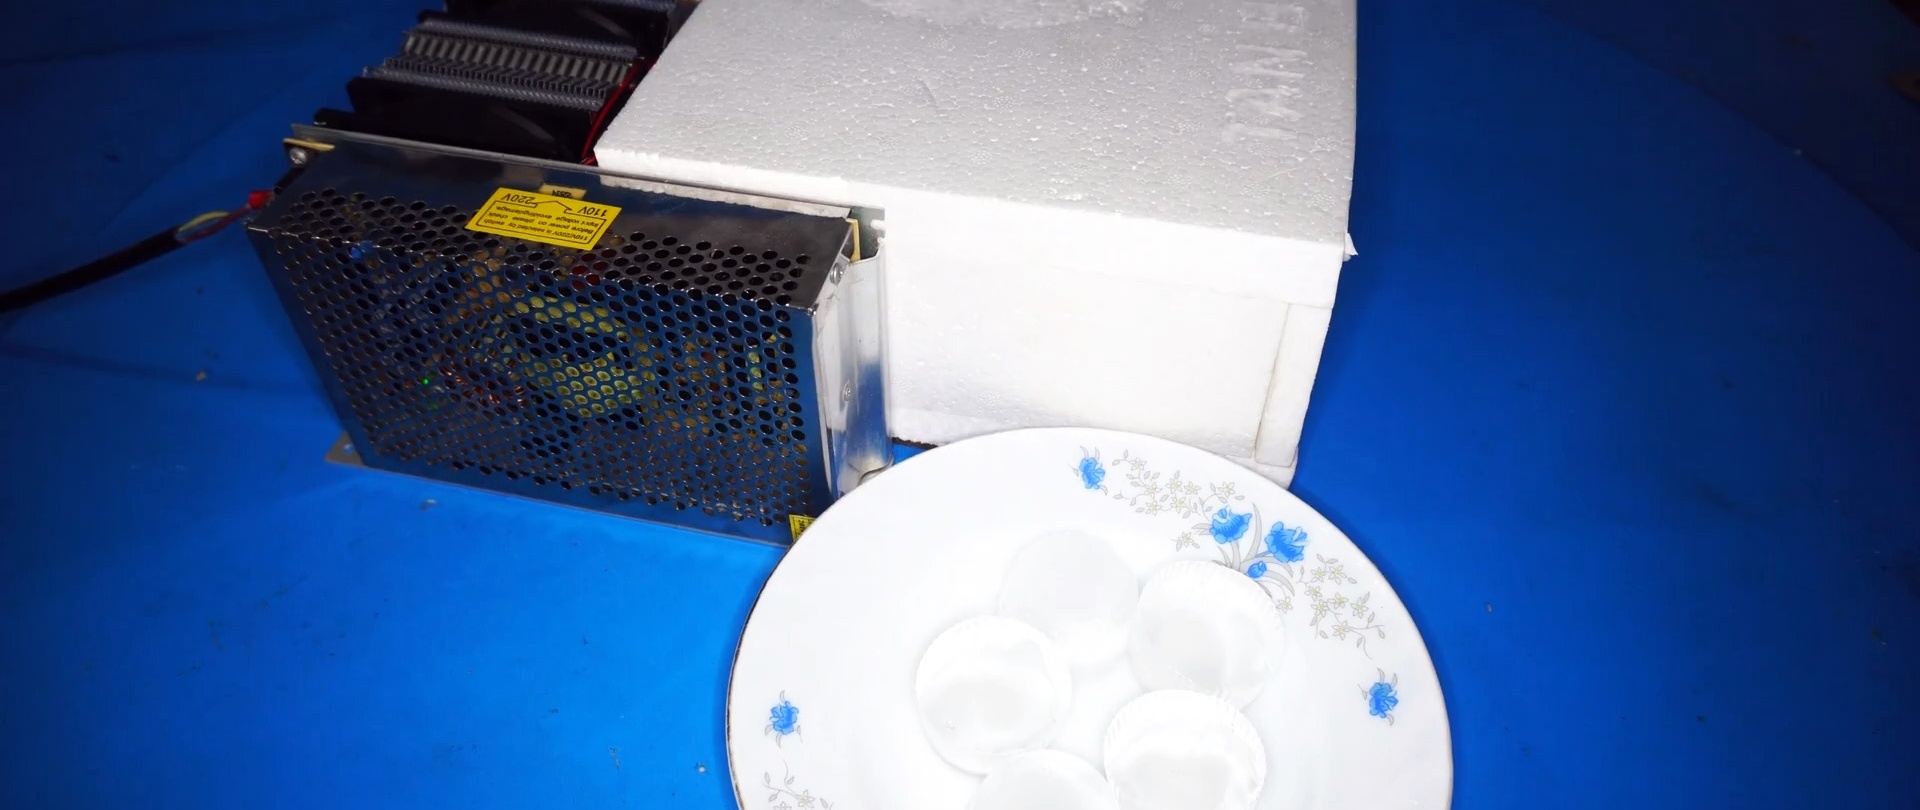
The cold generator itself is purchased, ready-made, but no one is stopping you from assembling it yourself. The system consists of two identical modules, which in turn consist of two radiators of different sizes with coolers, between which the Peltier element itself is sandwiched. If you do not know what a Peltier element is, we recommend reading reference material on the Internet.
In a nutshell, this is a small plate with two terminals, when voltage is applied to which one side begins to heat up and the other to cool.
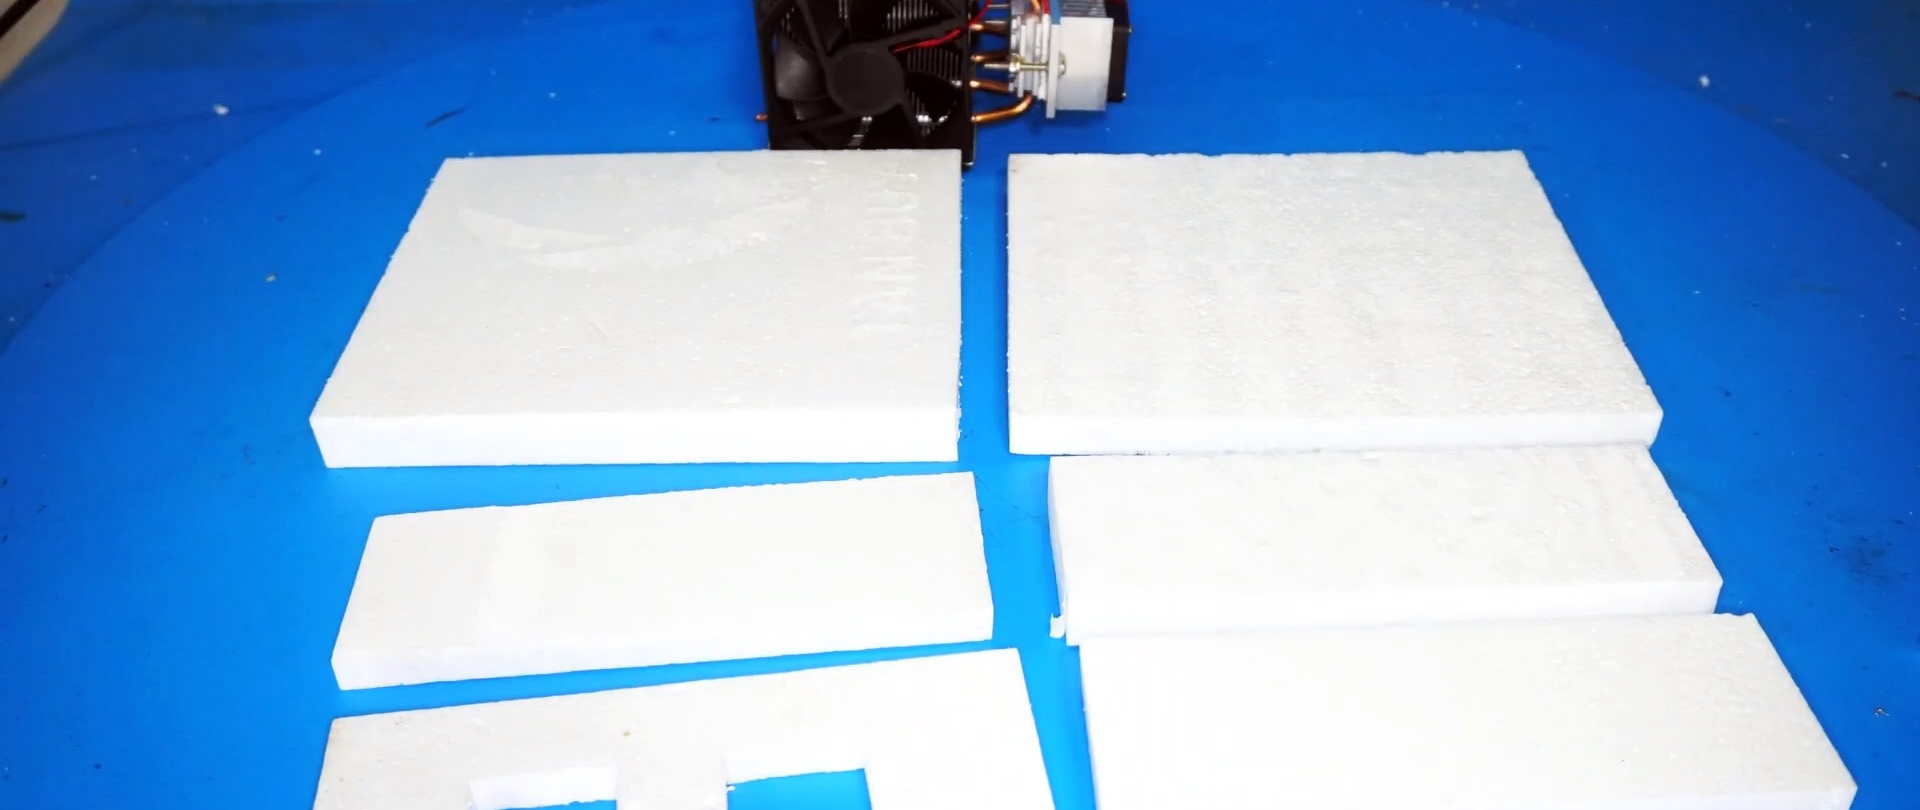
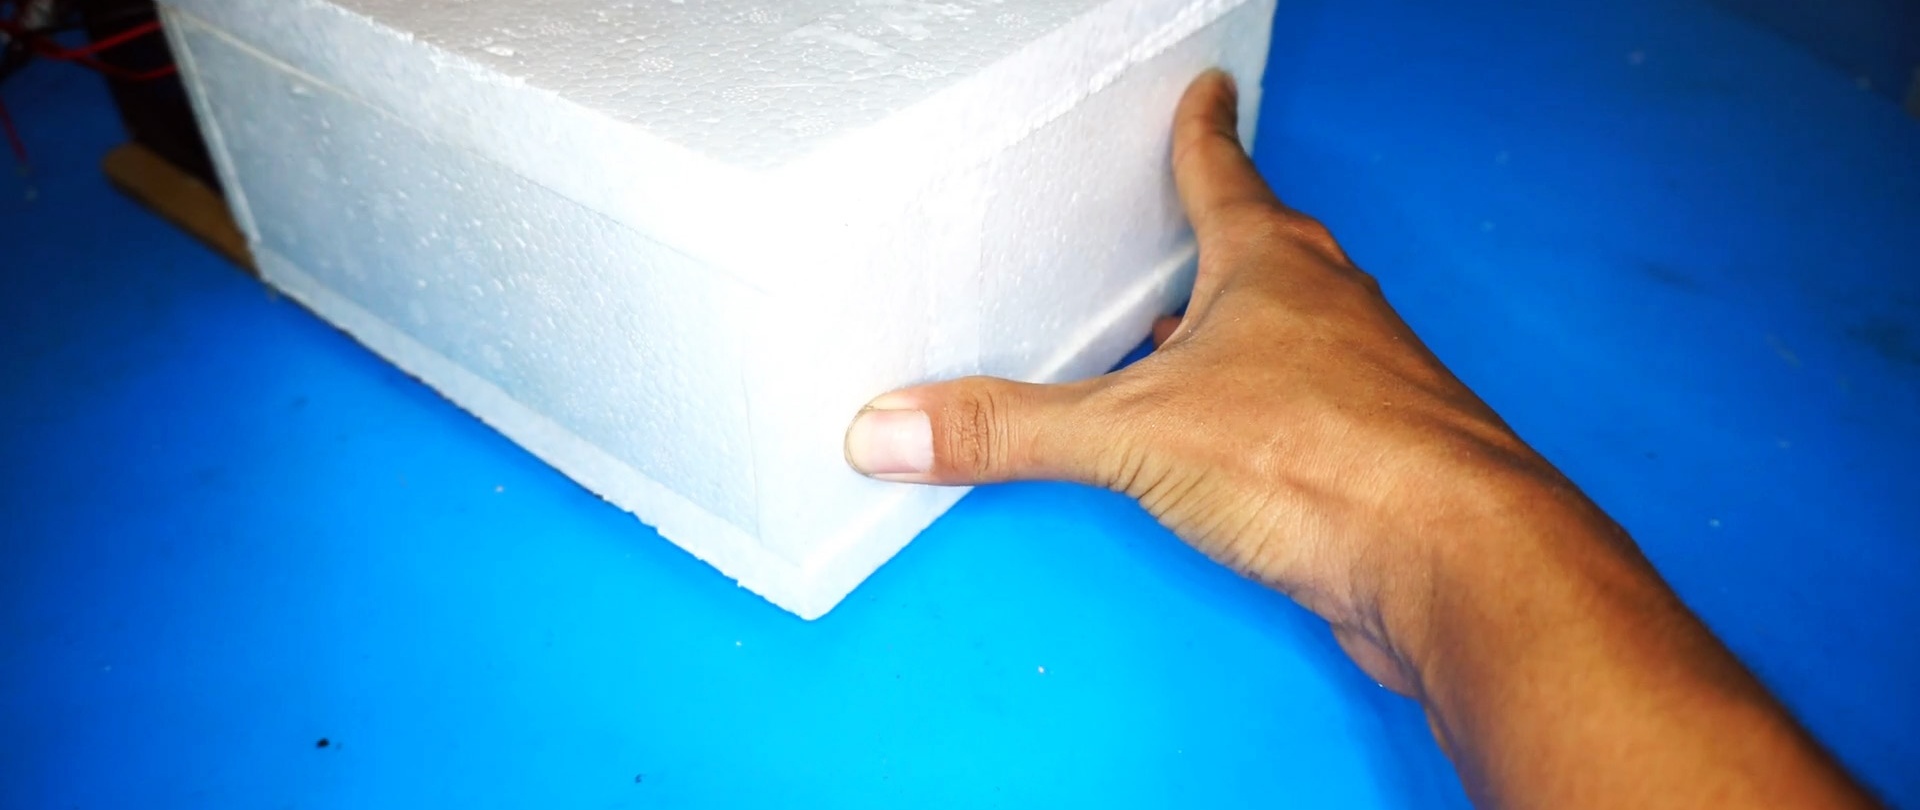
The body will be made of foam plastic; for this we first cut the sides of the future body.
We coat the cold generator on one side with hot glue.
Glue it to a wooden base. In the role of which a kitchen cutting board is used.

To assemble the case tightly, remove the small radiators.

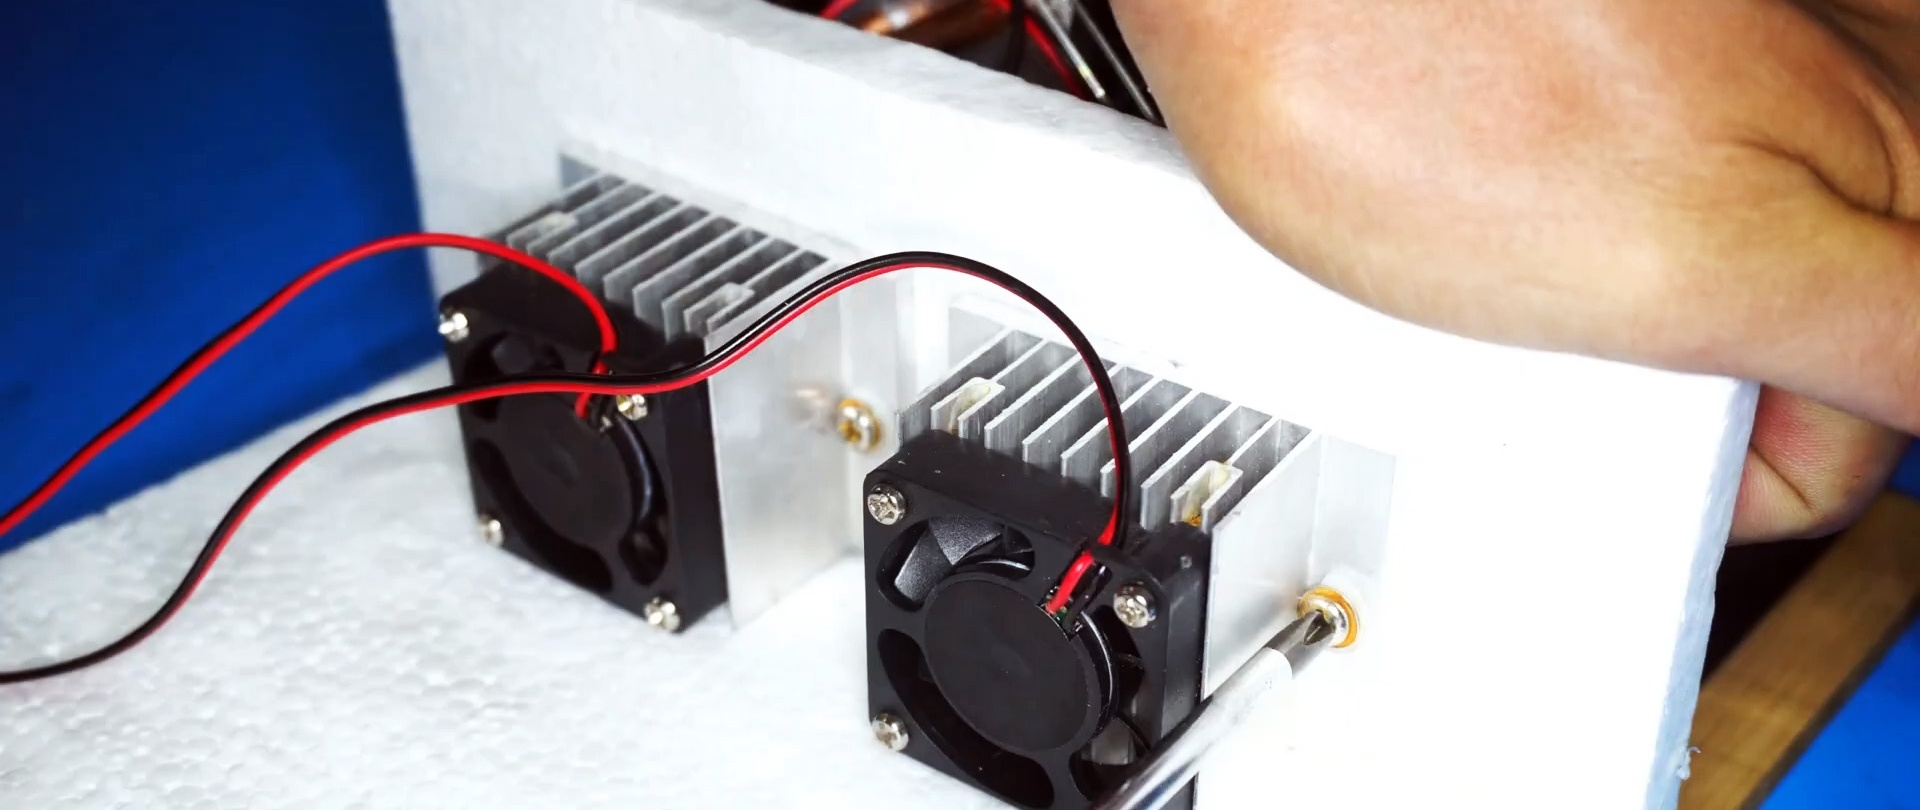
The Peltier elements themselves are visible. If desired, you can change the factory thermal paste to a higher quality one. From below we glue the base of the refrigerator to a wooden board.

We make slots in the wall for the elements and glue them.

We install the radiators in place.
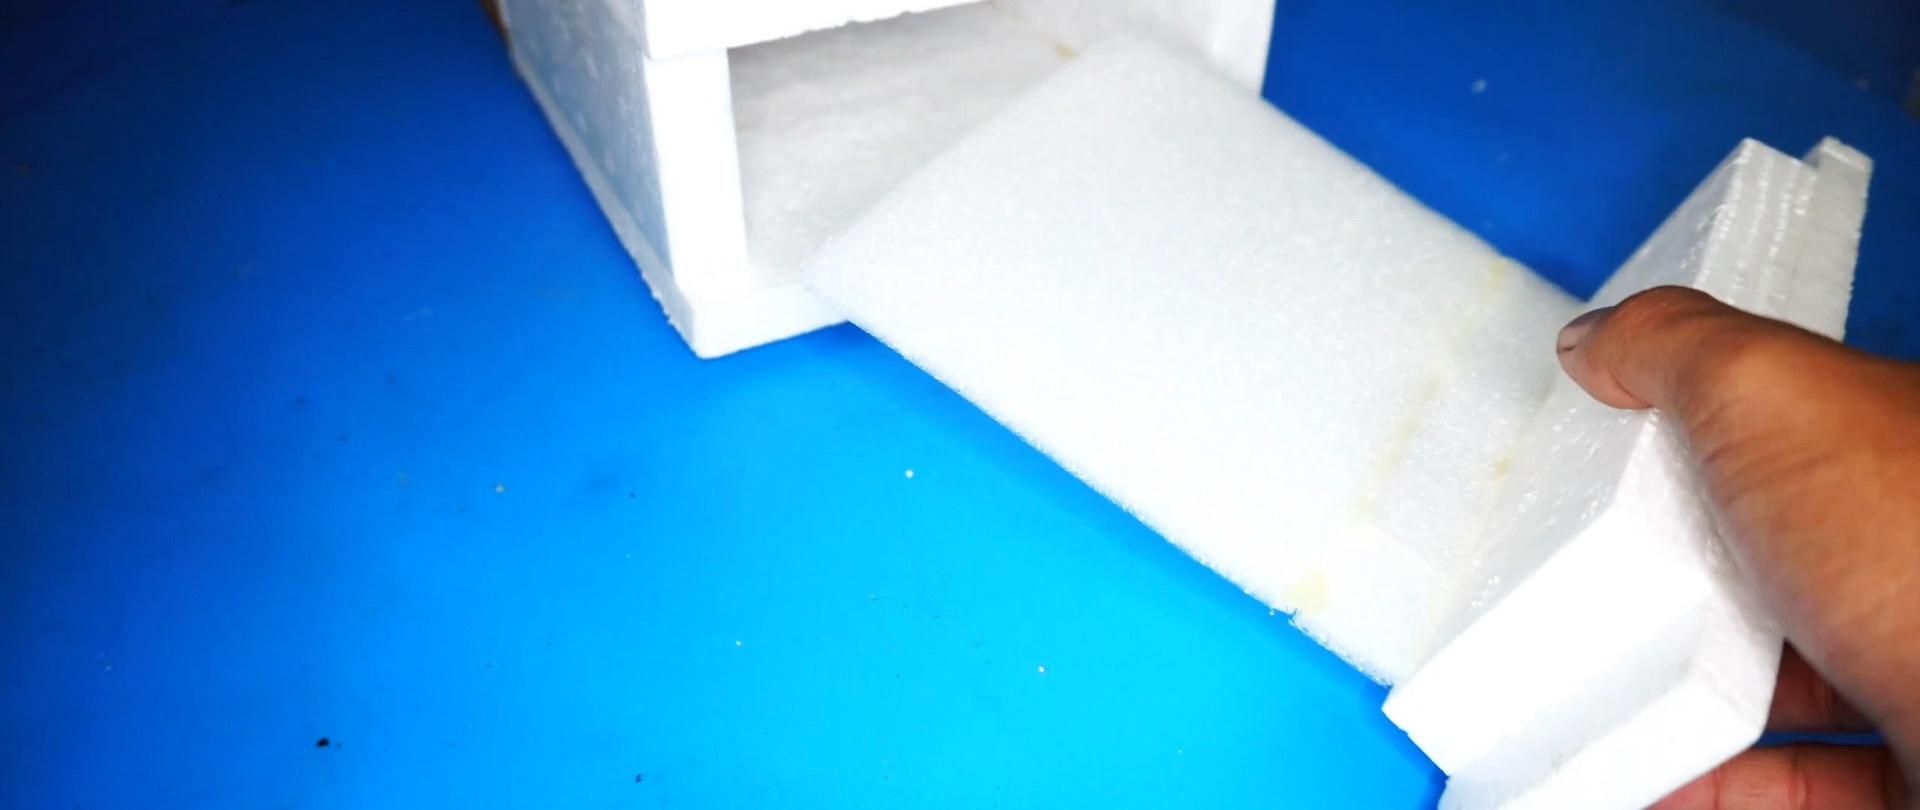
We assemble the refrigerator body.

We make one extreme side in the form of a pull-out shelf like a cabinet.
All fans and elements are powered by 12 V, so we connect all the wires in parallel according to color and connect them to a common wire.

Next, connect to the output of the power supply.

We glue the block itself to the side wall of the refrigerator.

Everything is ready to test and work.
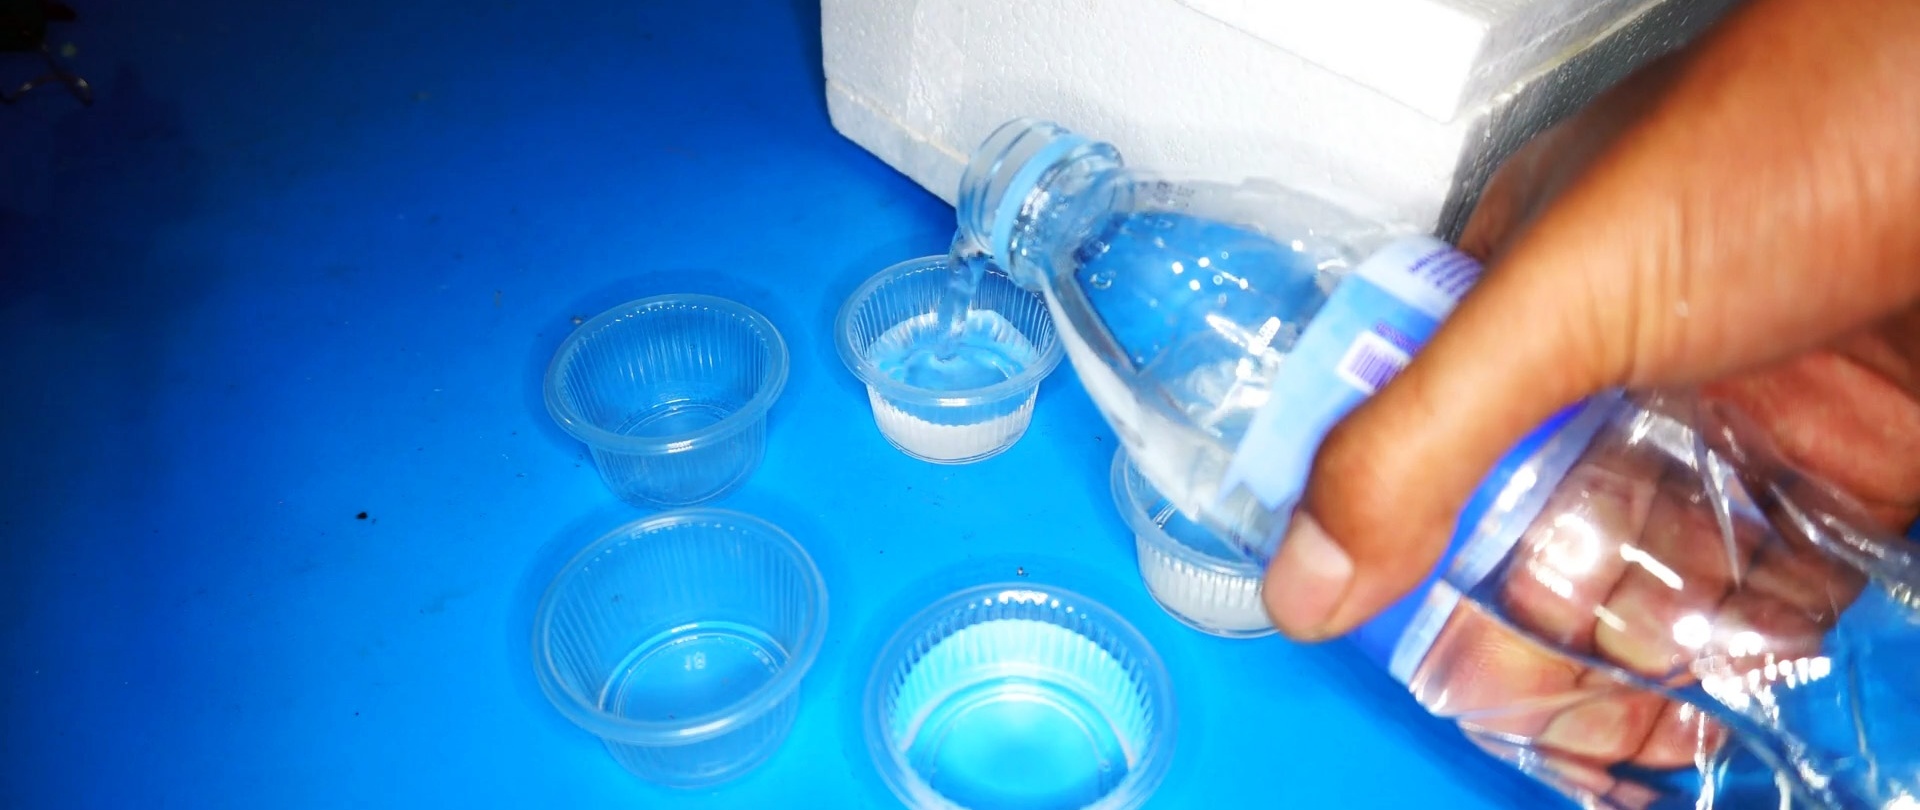
Pour water into small containers.
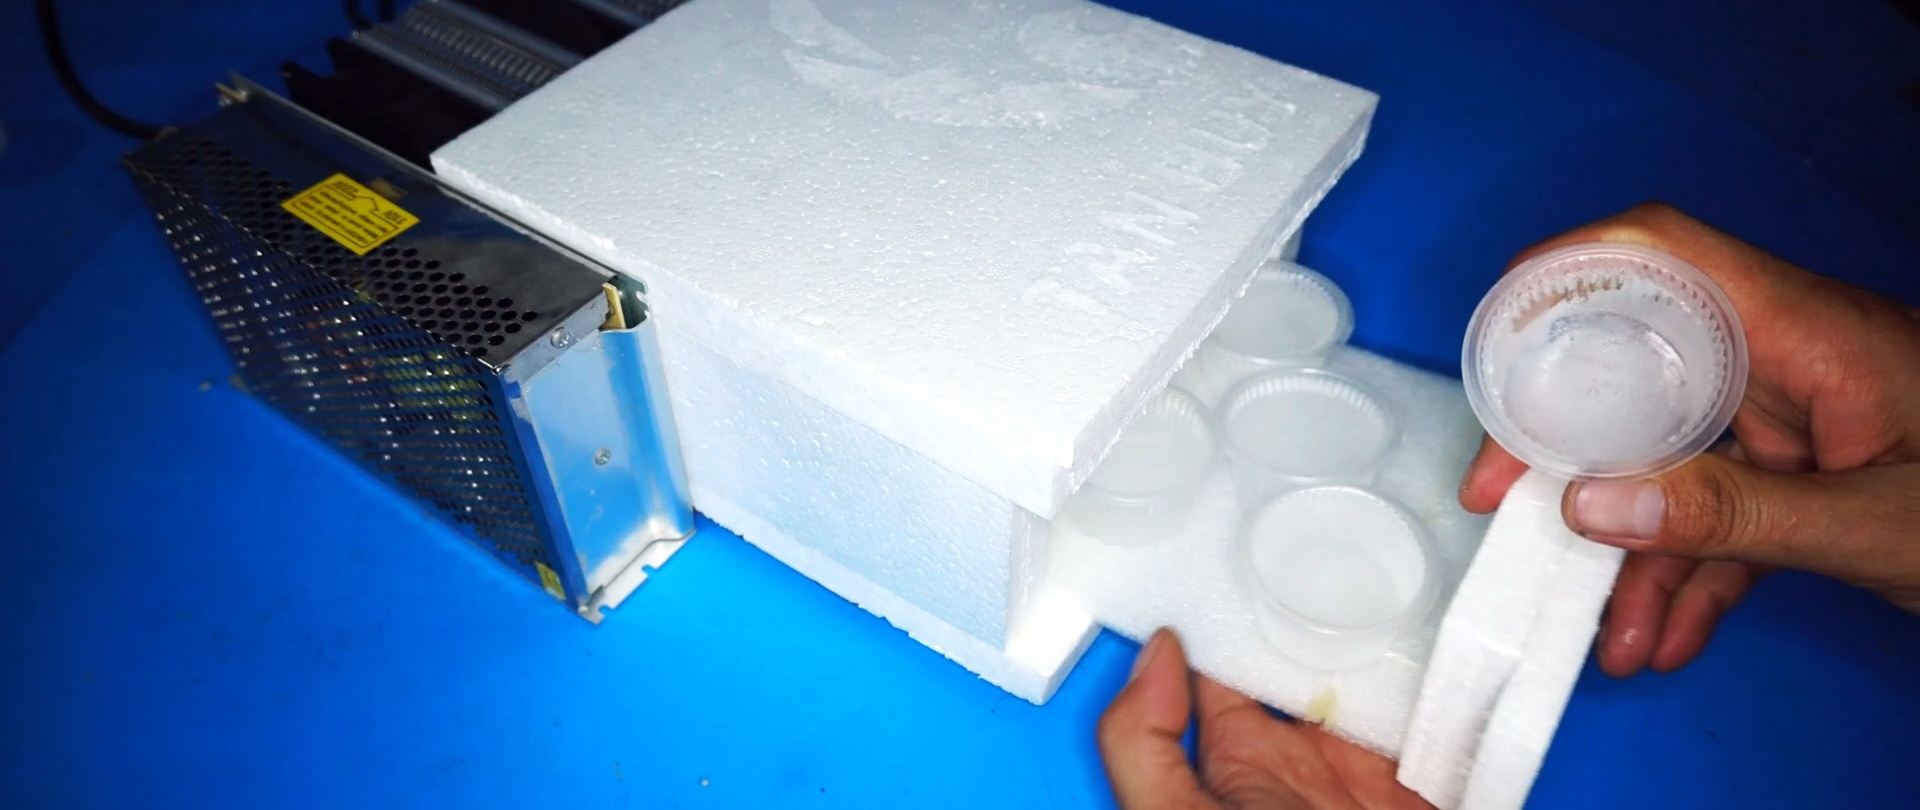
Next, we put these mini molds on the shelf and close the refrigerator.

We turn on the ice generator into the network. After about 20 minutes the water turned to ice.
As already mentioned, the design is very simple, so repeating it is very, very easy. The power of the ice maker can be changed up or down as desired.