Slate is not only a material used for its intended purpose. This material is excellent for building fences. The main advantage is that slate has good resistance to cold, deformation, corrosion, and is also available in many regions. This material is well suited for installing fencing in summer cottages, especially if the owner does not have the opportunity or desire to invest heavily in construction fence Now we will look at an economical option for making a slate fence. In addition, this construction option will allow the work to be completed quickly.
Preparation
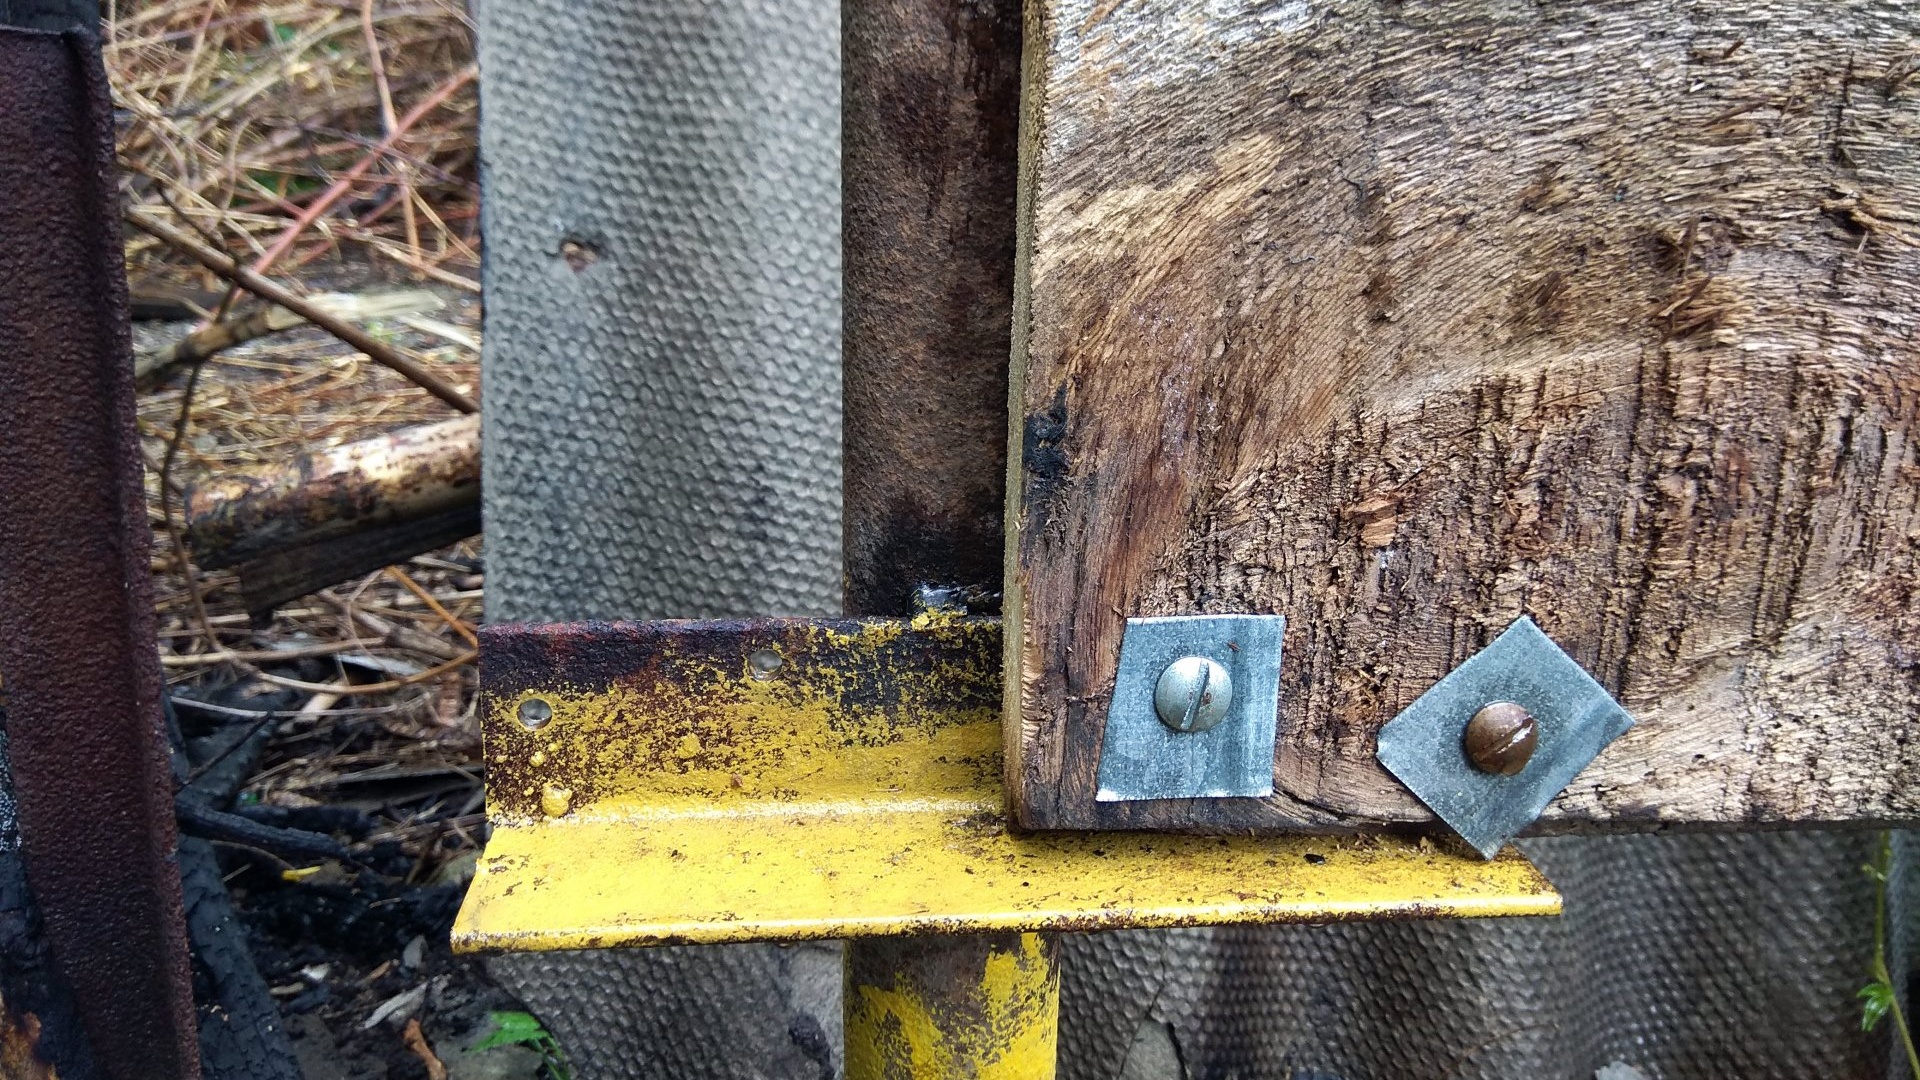
Before you begin building the fence, you need to prepare the support posts. The ideal option would be a metal pipe with a cross section of 100 mm. It is especially important to paint the part of the posts that will be dug into the ground. 2 corners about 20 cm long are welded to it, in which it is necessary to drill several holes, through which the transverse board will subsequently be attached. It is necessary to calculate the fastening of these corners so that when the pillar is dug in, the bottom one is approximately 35 cm above the ground.Thus, when attaching the slate, there will be a gap between its underside and the ground.
How to build a fence from old slate: installing support posts
First, marking is done. It is important to prepare a plan of the territory and decide where the points for installing the pillars will be located. These points are marked with pegs driven into the ground. In some areas it may be necessary to cut down bushes or small trees.

You can stretch a thread, which will serve as a guide for determining where to dig holes for digging pillars.
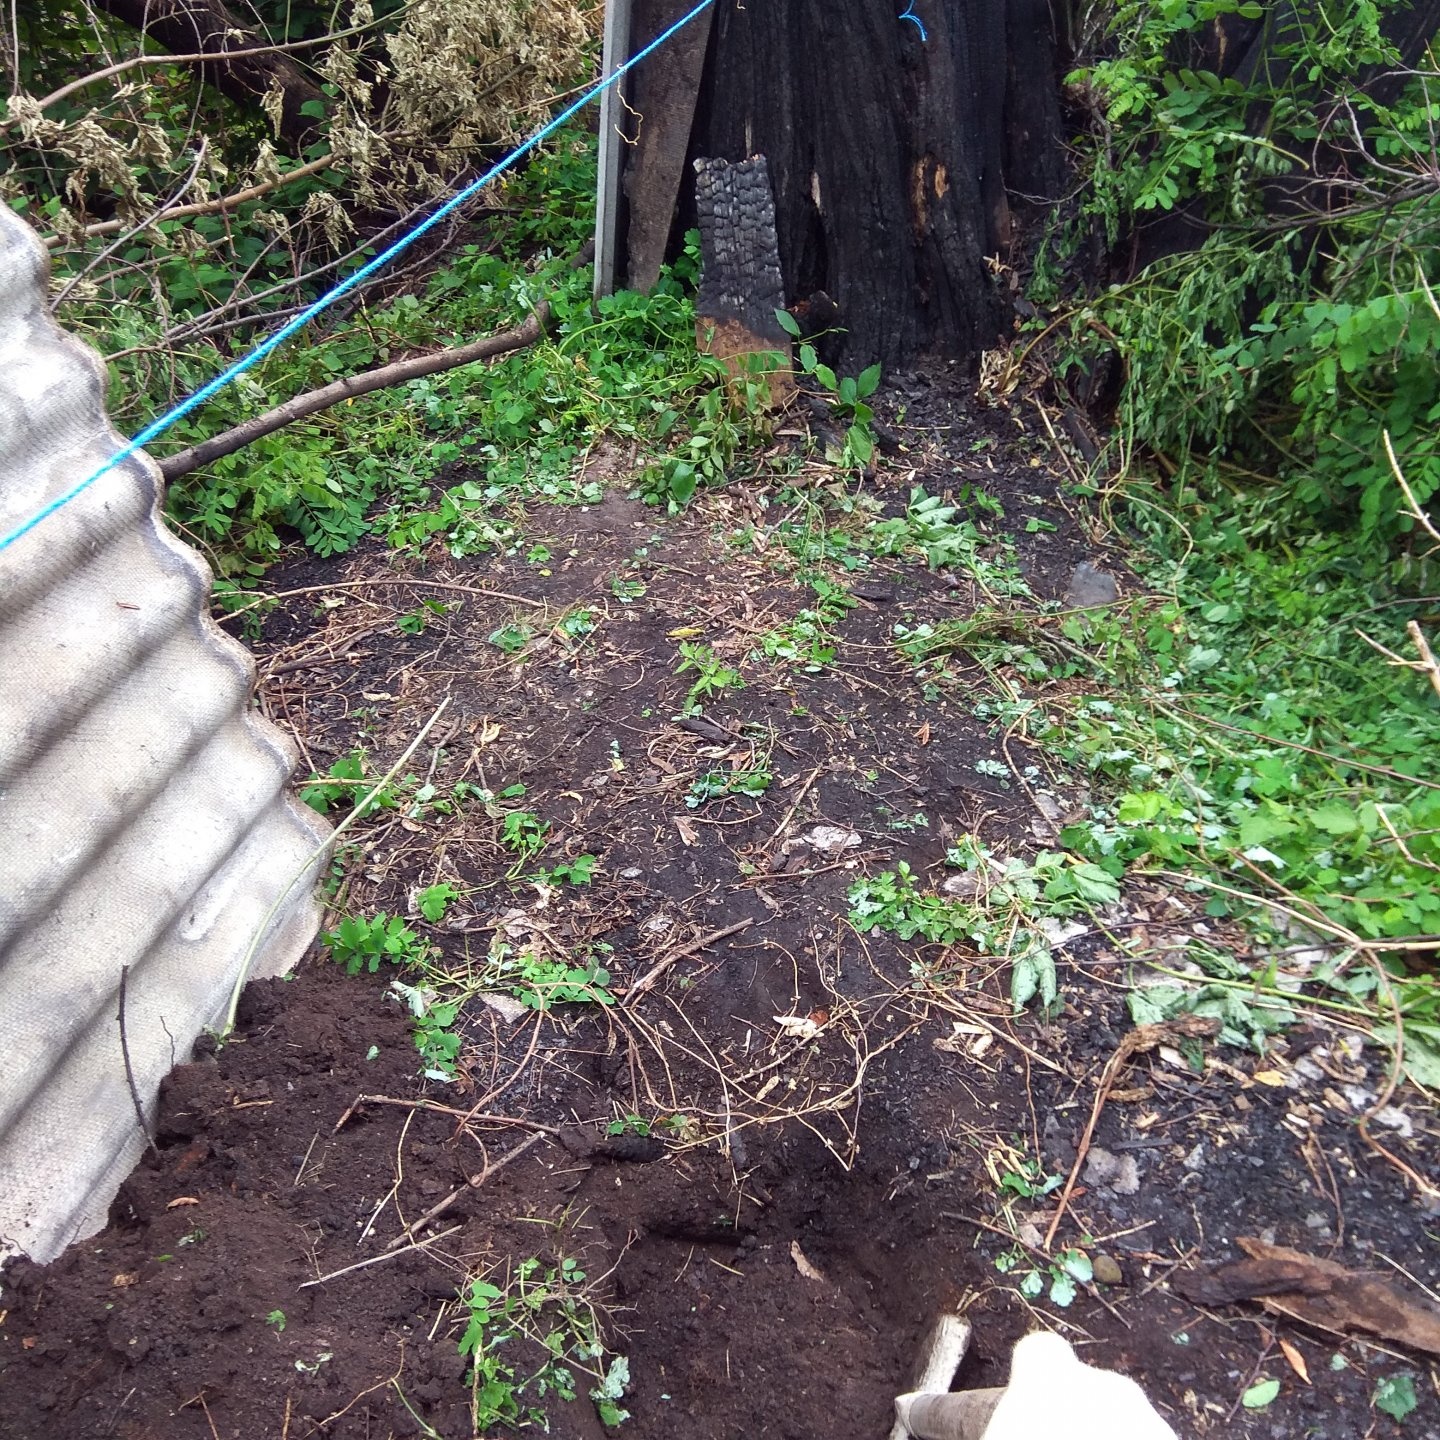
In this case, the distance between the supports will be 2 m. The depth of the hole should be at least 50 cm.

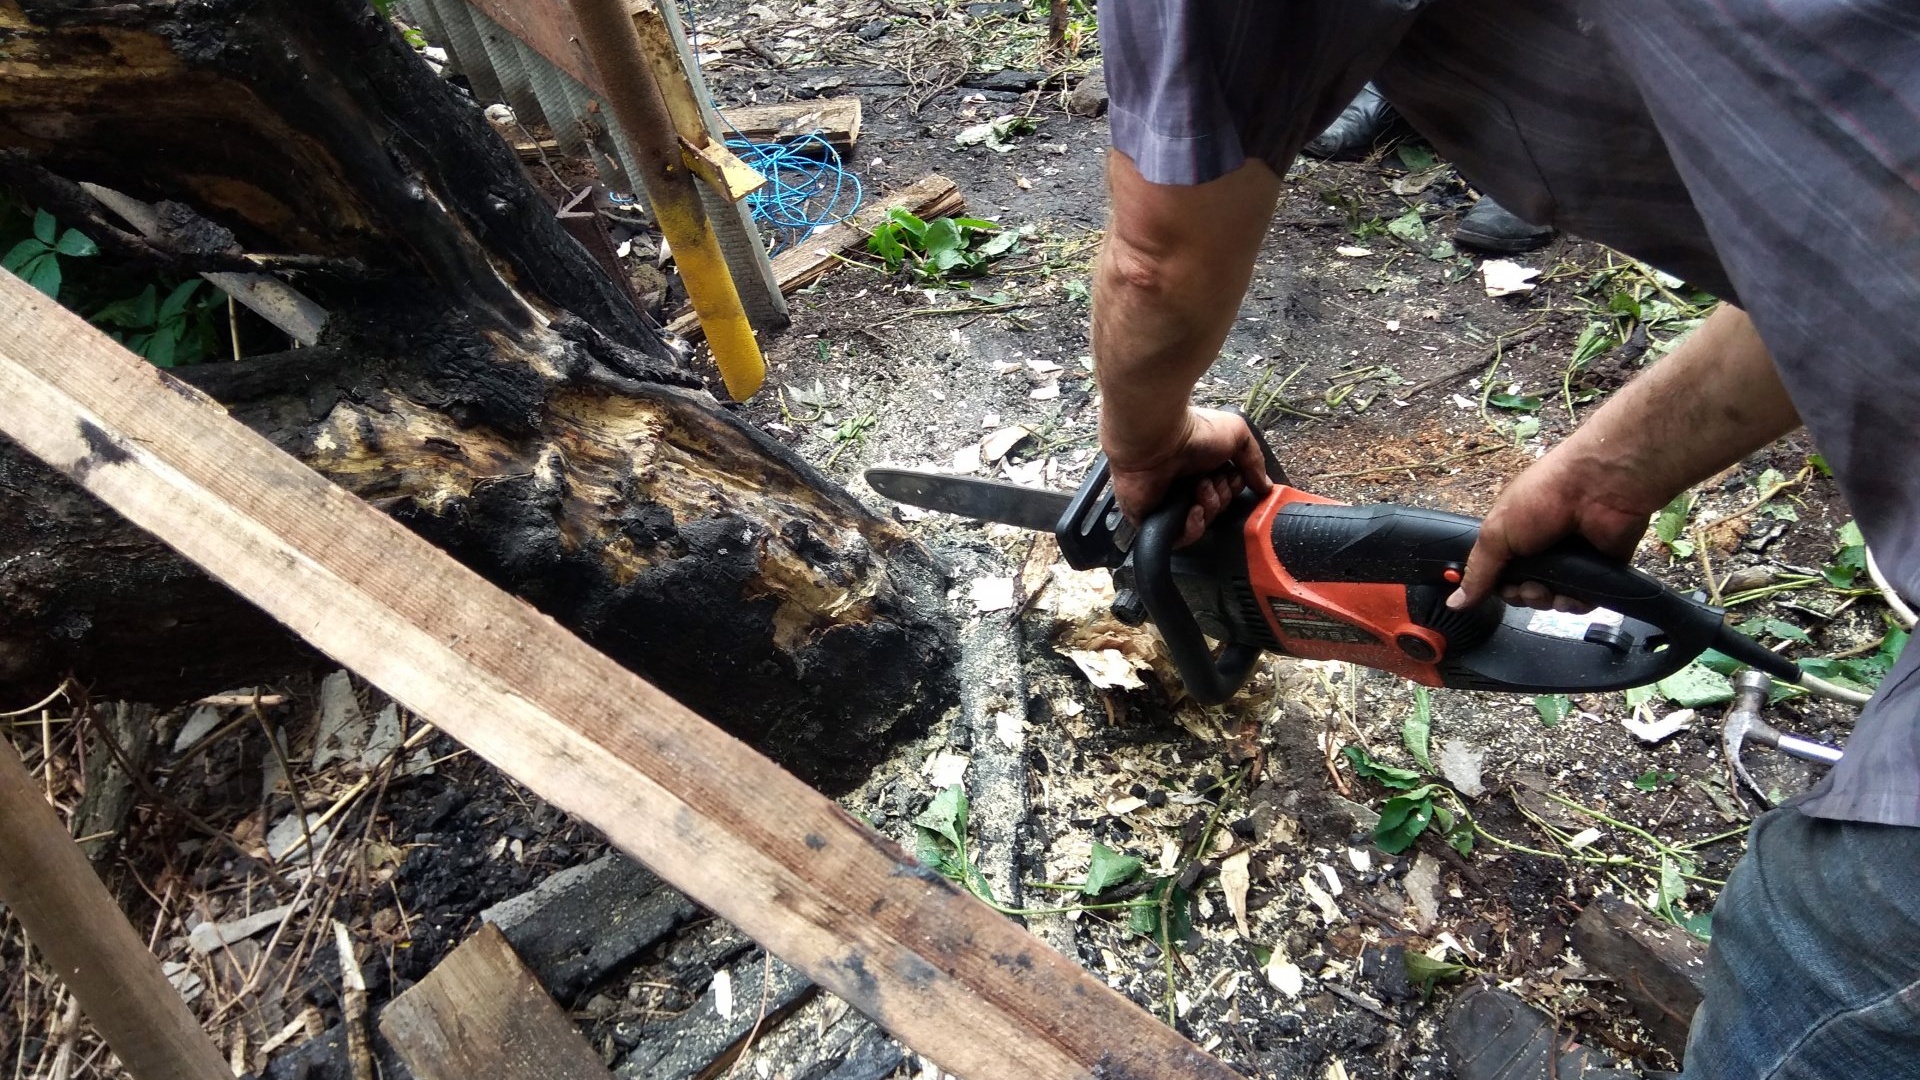
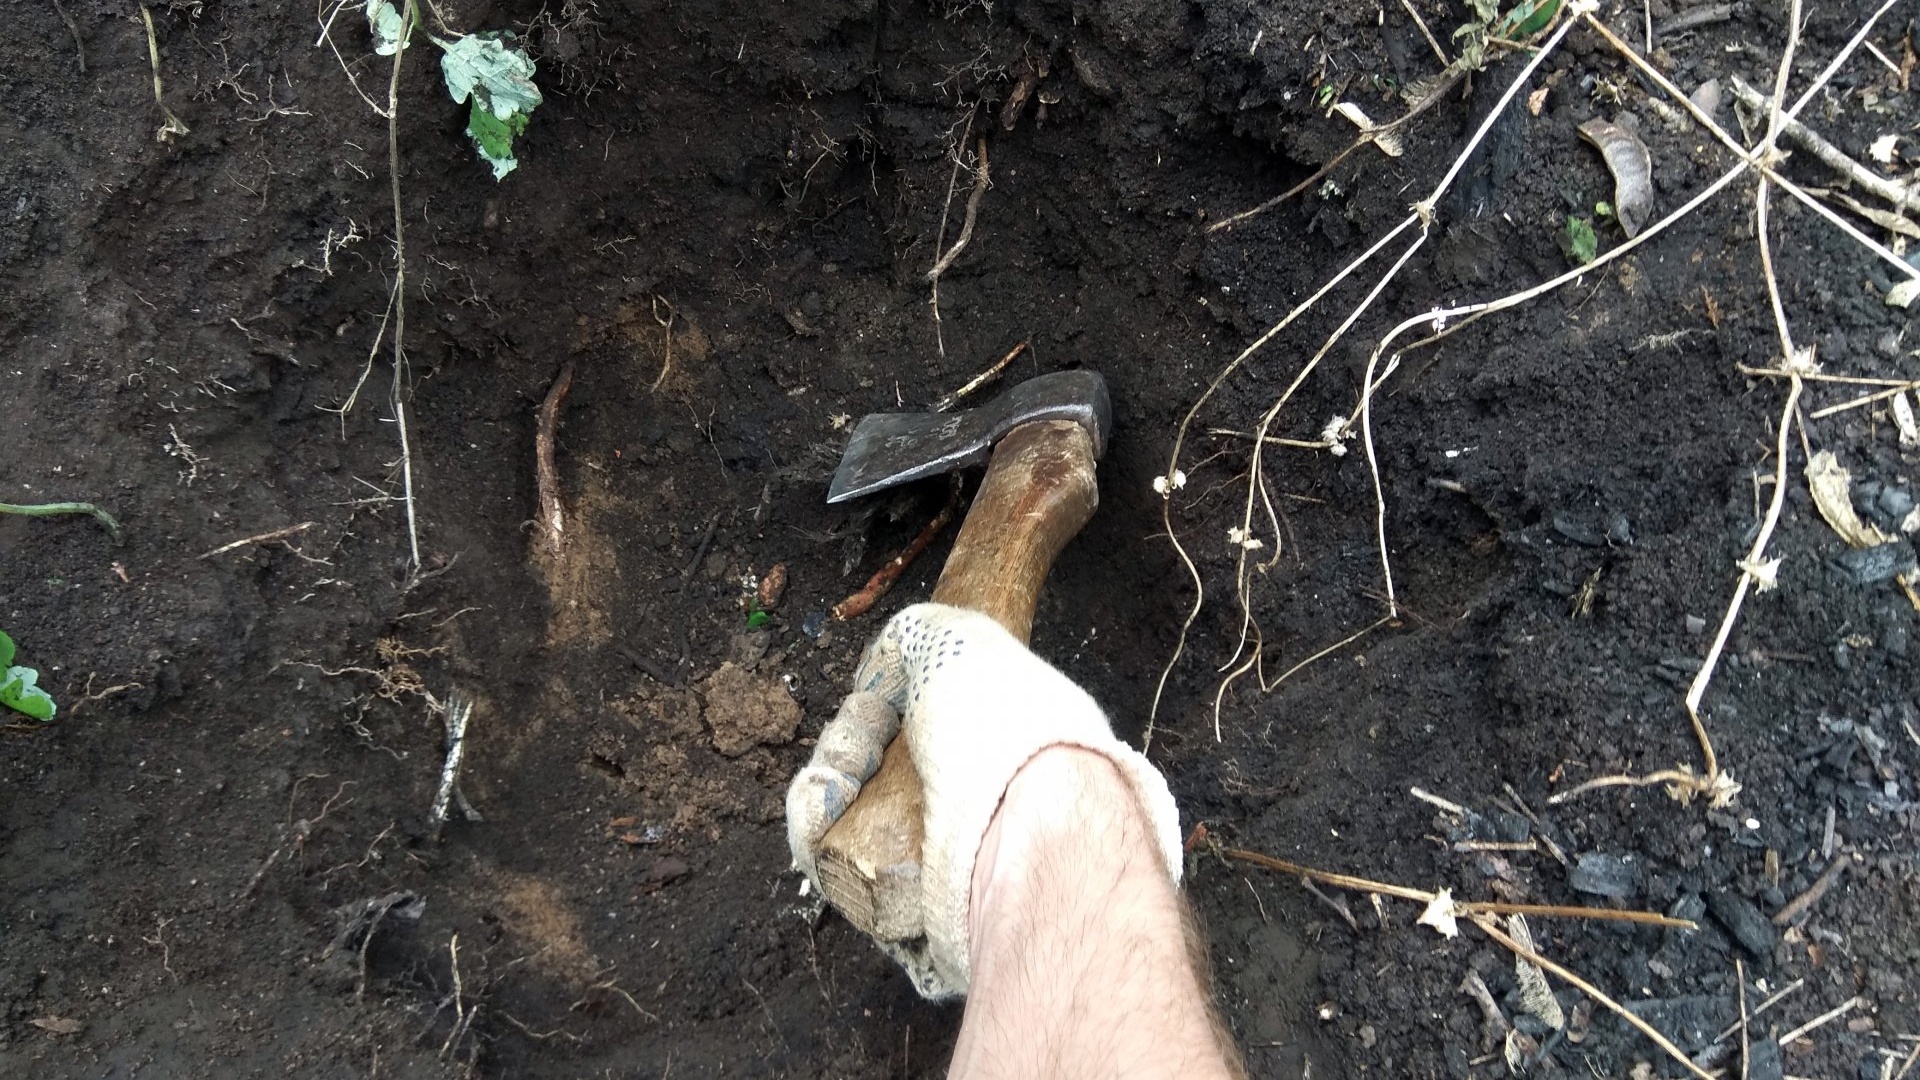
This must be taken into account when choosing the length of the pillars. When digging a hole, you may need a crowbar in case the ground is hard, as well as an ax for cutting tree roots. Having a drill will make the job much easier.

Once you have prepared the posts and dug holes for them, you can begin fixing the supports. Since we are considering an economical option, the pillars will not be fixed to concrete, but simply covered with soil. Having lowered the pillar to the bottom of the hole, you need to fix it at the bottom with stones. Next, a little soil is added, and stones are placed again. When filling in soil, it is advisable to compact it.

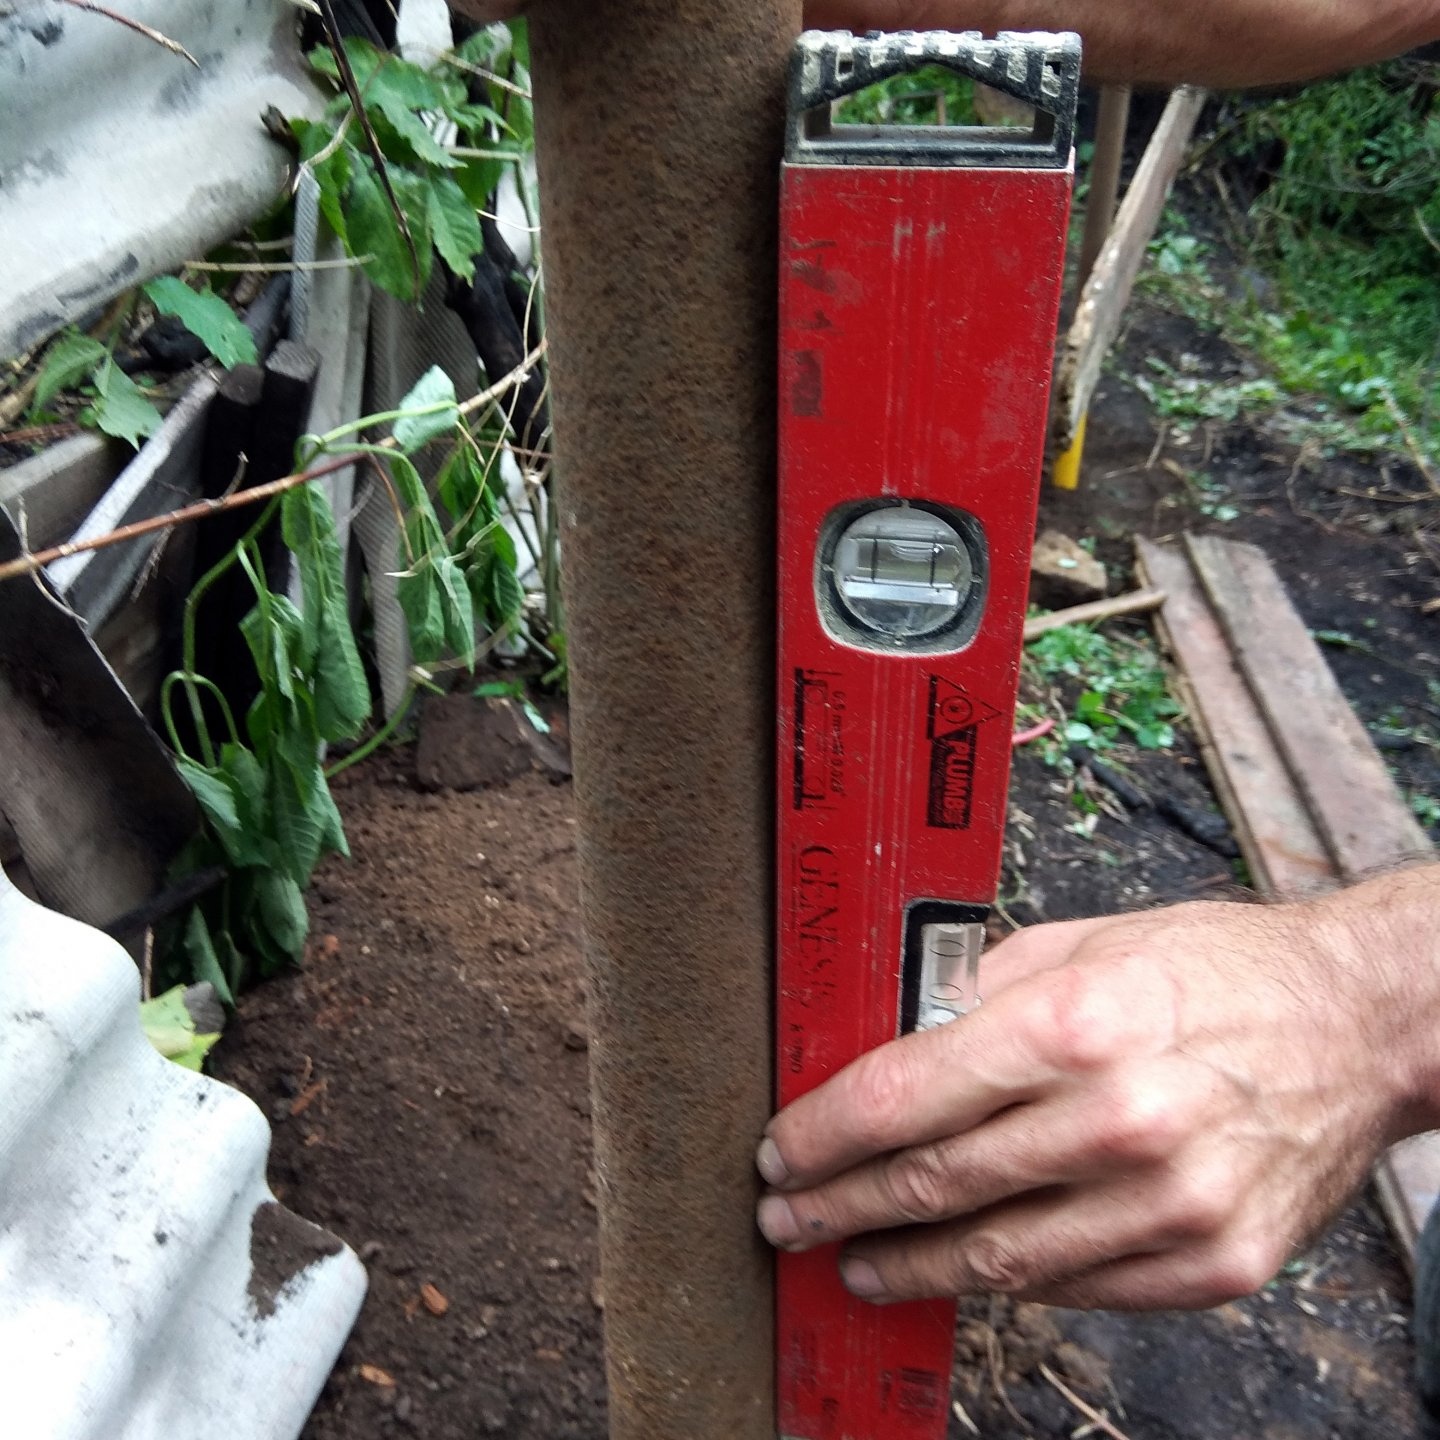

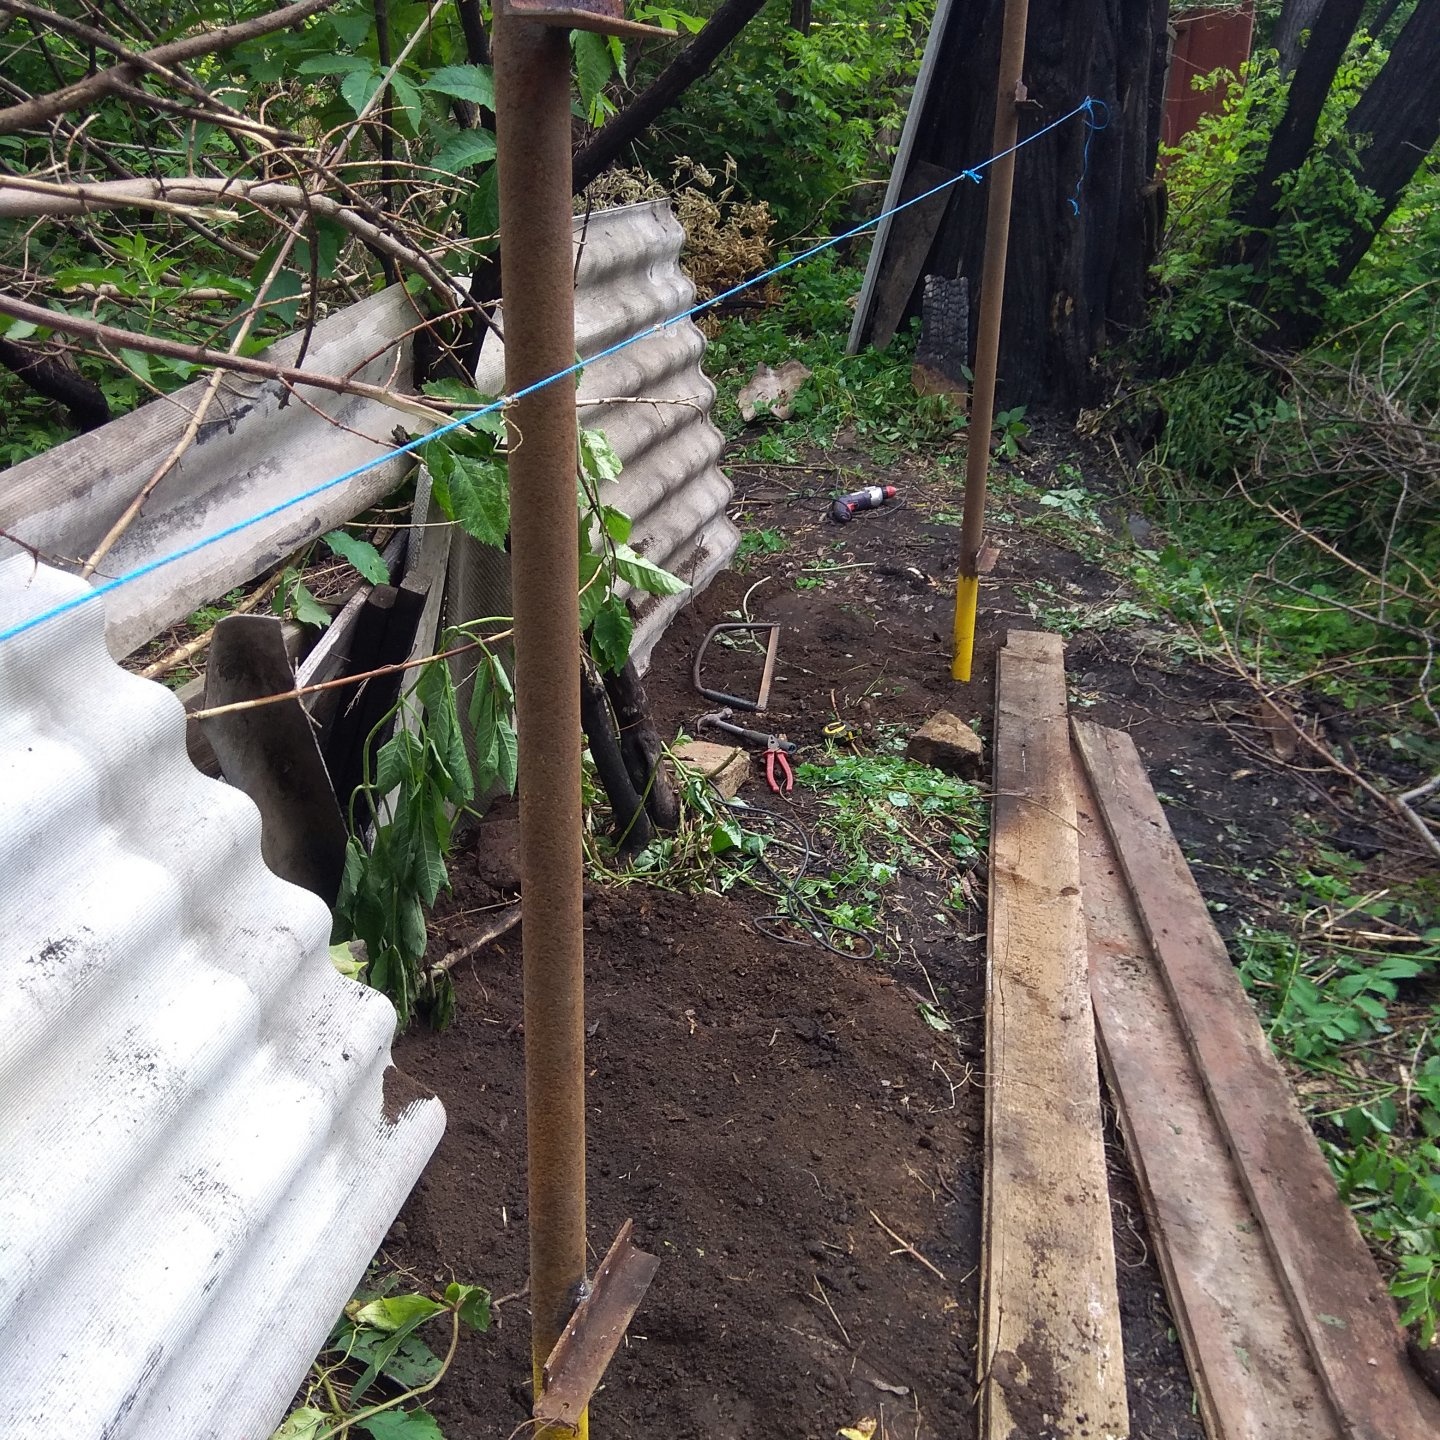
This method of fixation may seem unreliable, but after a few weeks, especially if it rains, the poles will be firmly fixed. When placing pillars, it is necessary to maintain the level. To do this, use a building level to level the vertical, as well as a thread so that all the pillars are level.
How to build a fence from old slate: installing guides and fastening the slate
Next, the guides are attached using bolts. Two guides with an upper and lower indentation of 15–20 cm are sufficient.The ideal option is to weld the guides from a metal profile, however, as an economical option, you can use a wooden beam with a thickness of 30 - 40 mm. Applying the board to the welded corners, you need to drill a hole in the wood with a drill or screwdriver. After this, fix the guides with bolts, at least 2 pieces in one connection.

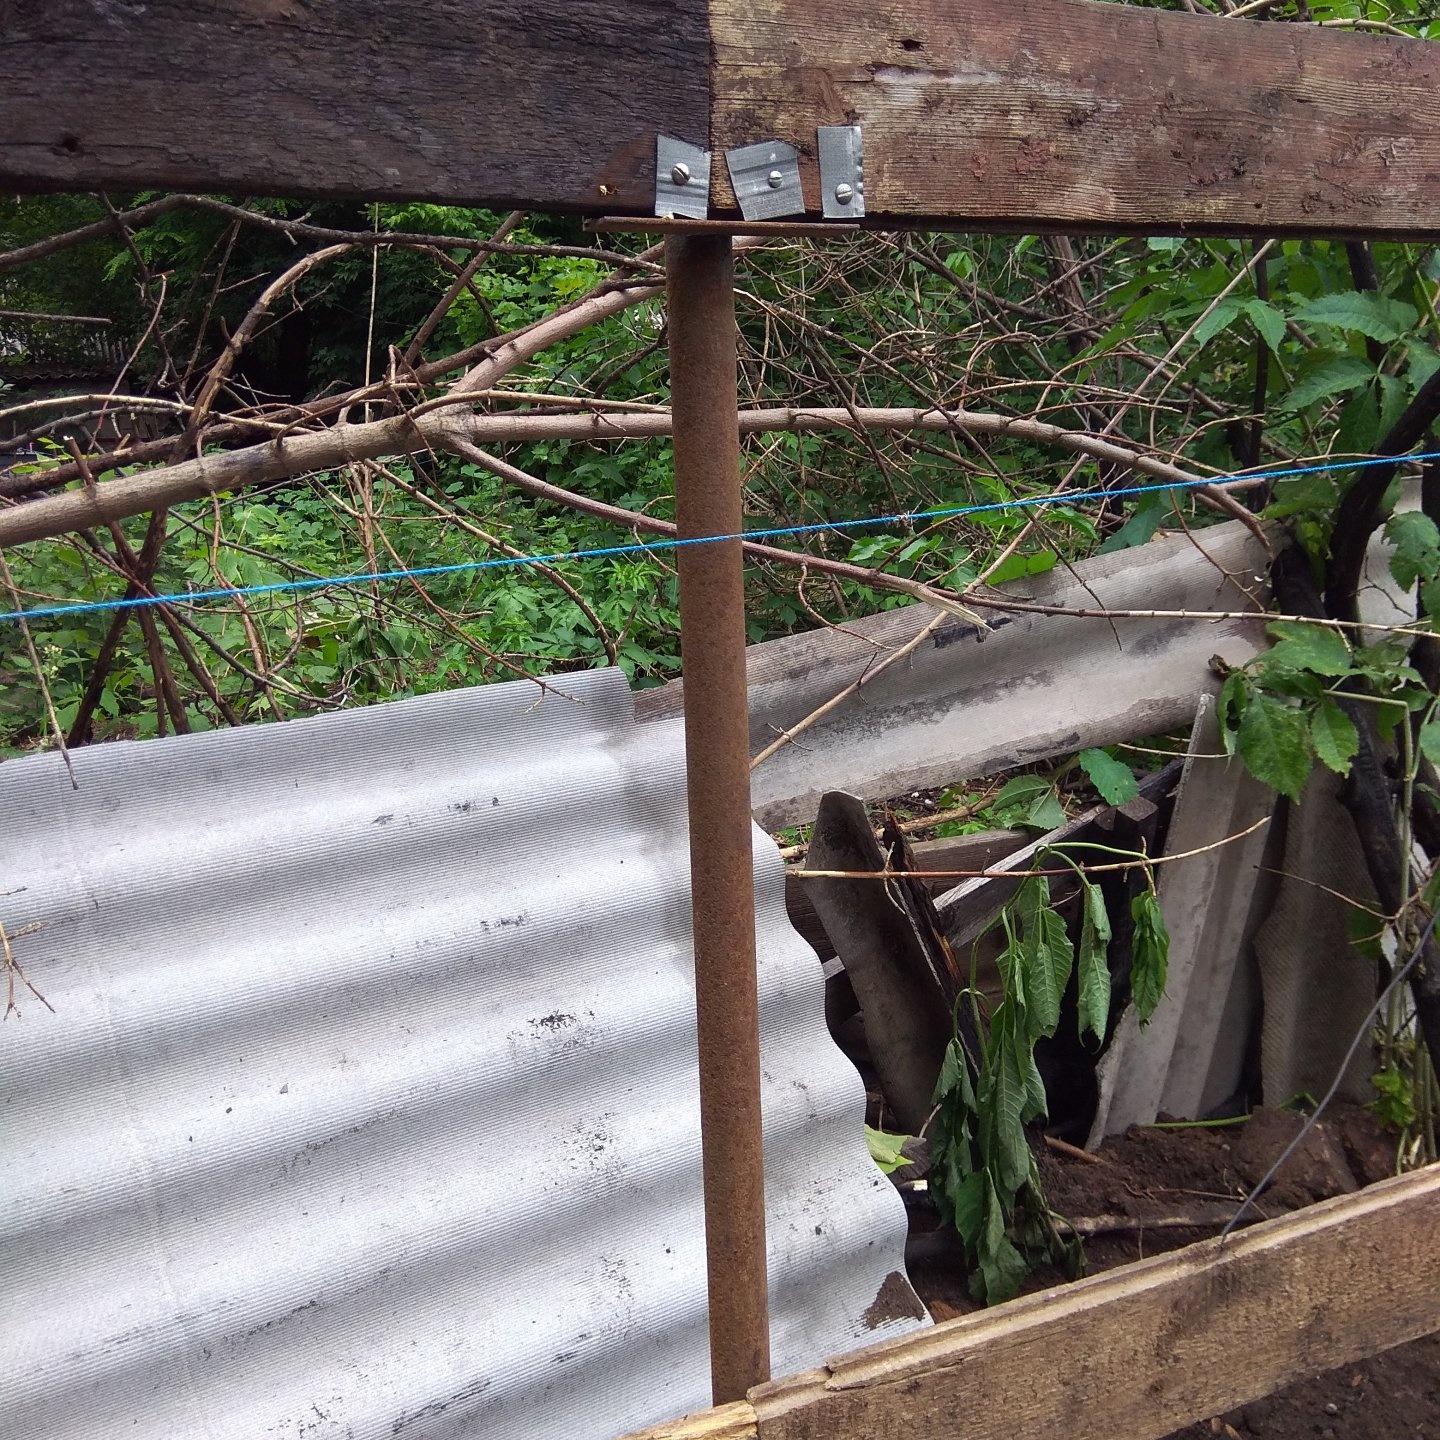
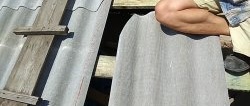
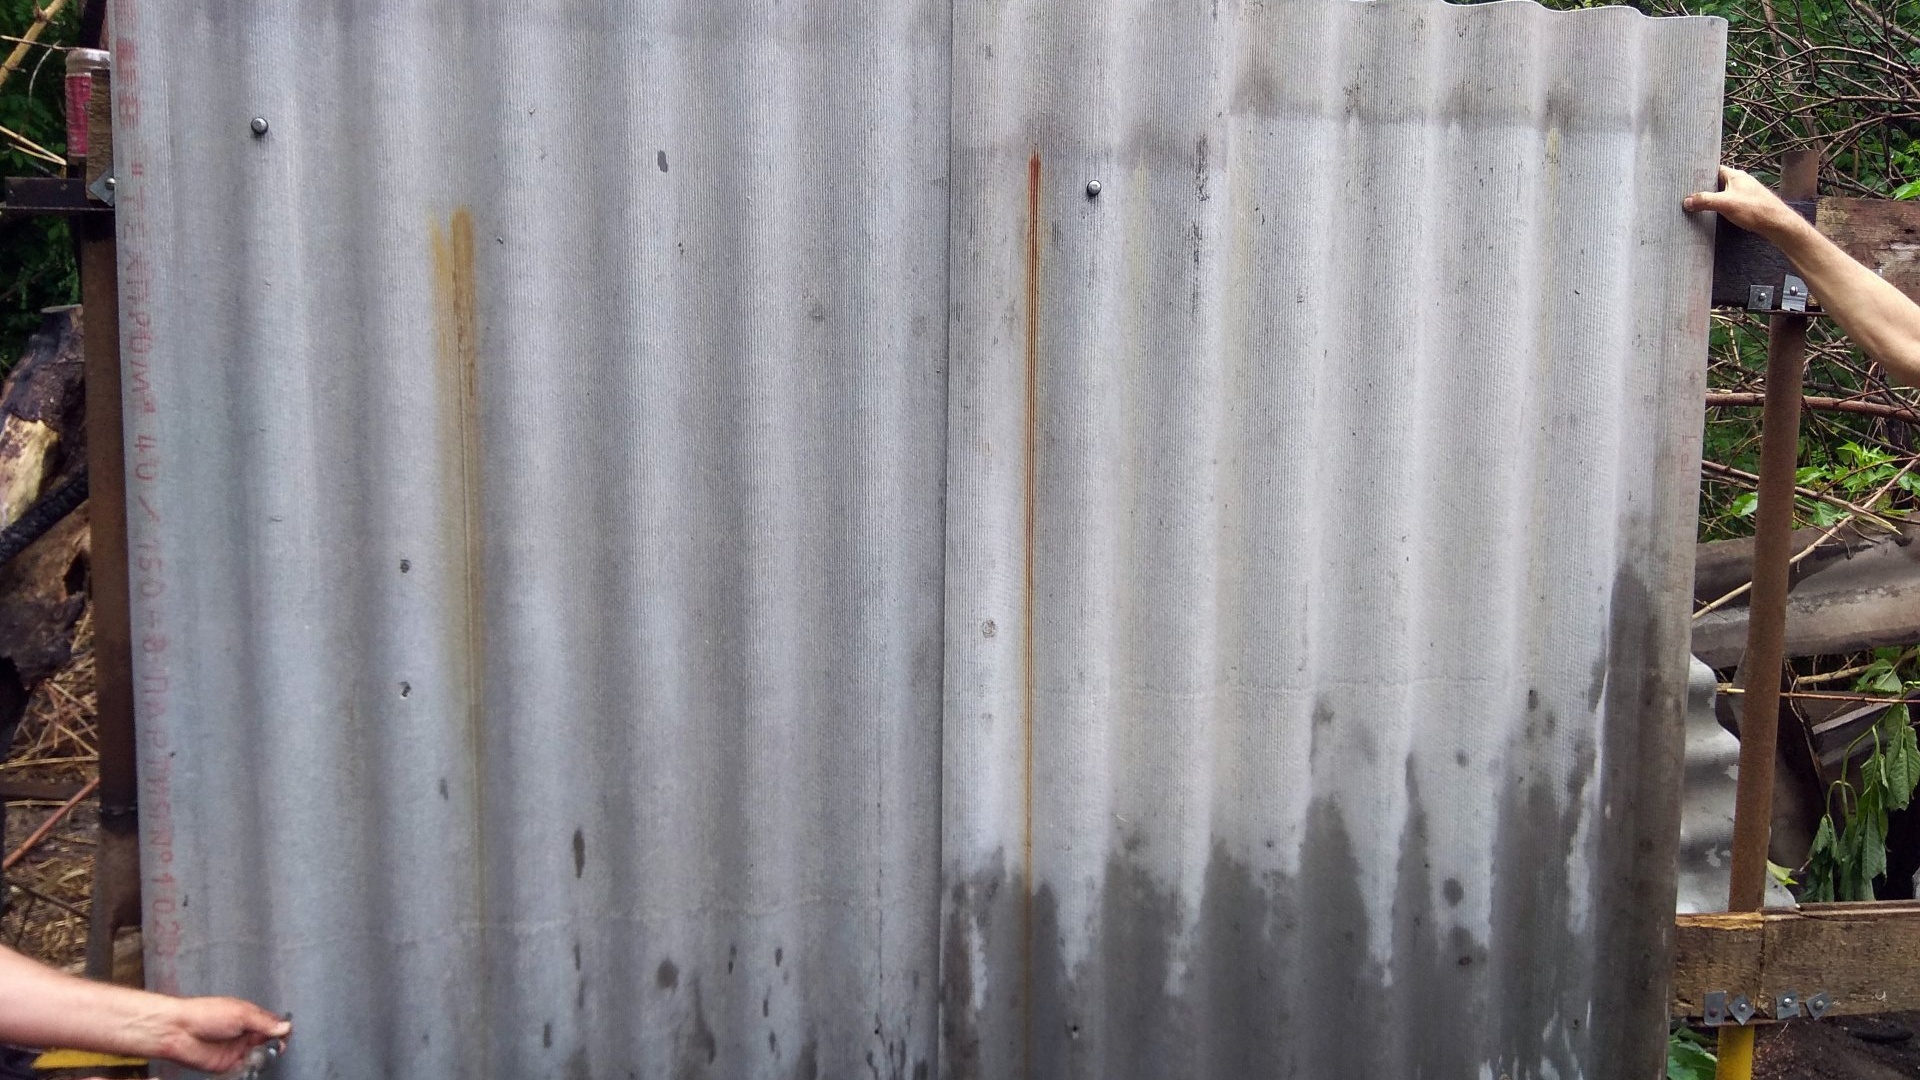
The next stage is attaching the slate sheets. It is necessary to leave a gap between the ground and the slate sheets. Thanks to this gap, the windage effect of the fence during strong winds will be reduced. This way the structure will last longer. In order to avoid cracks and chips when attaching slate to the board, you can place a rubber washer under the nail head. In this case, roofing nails with a large head are used.
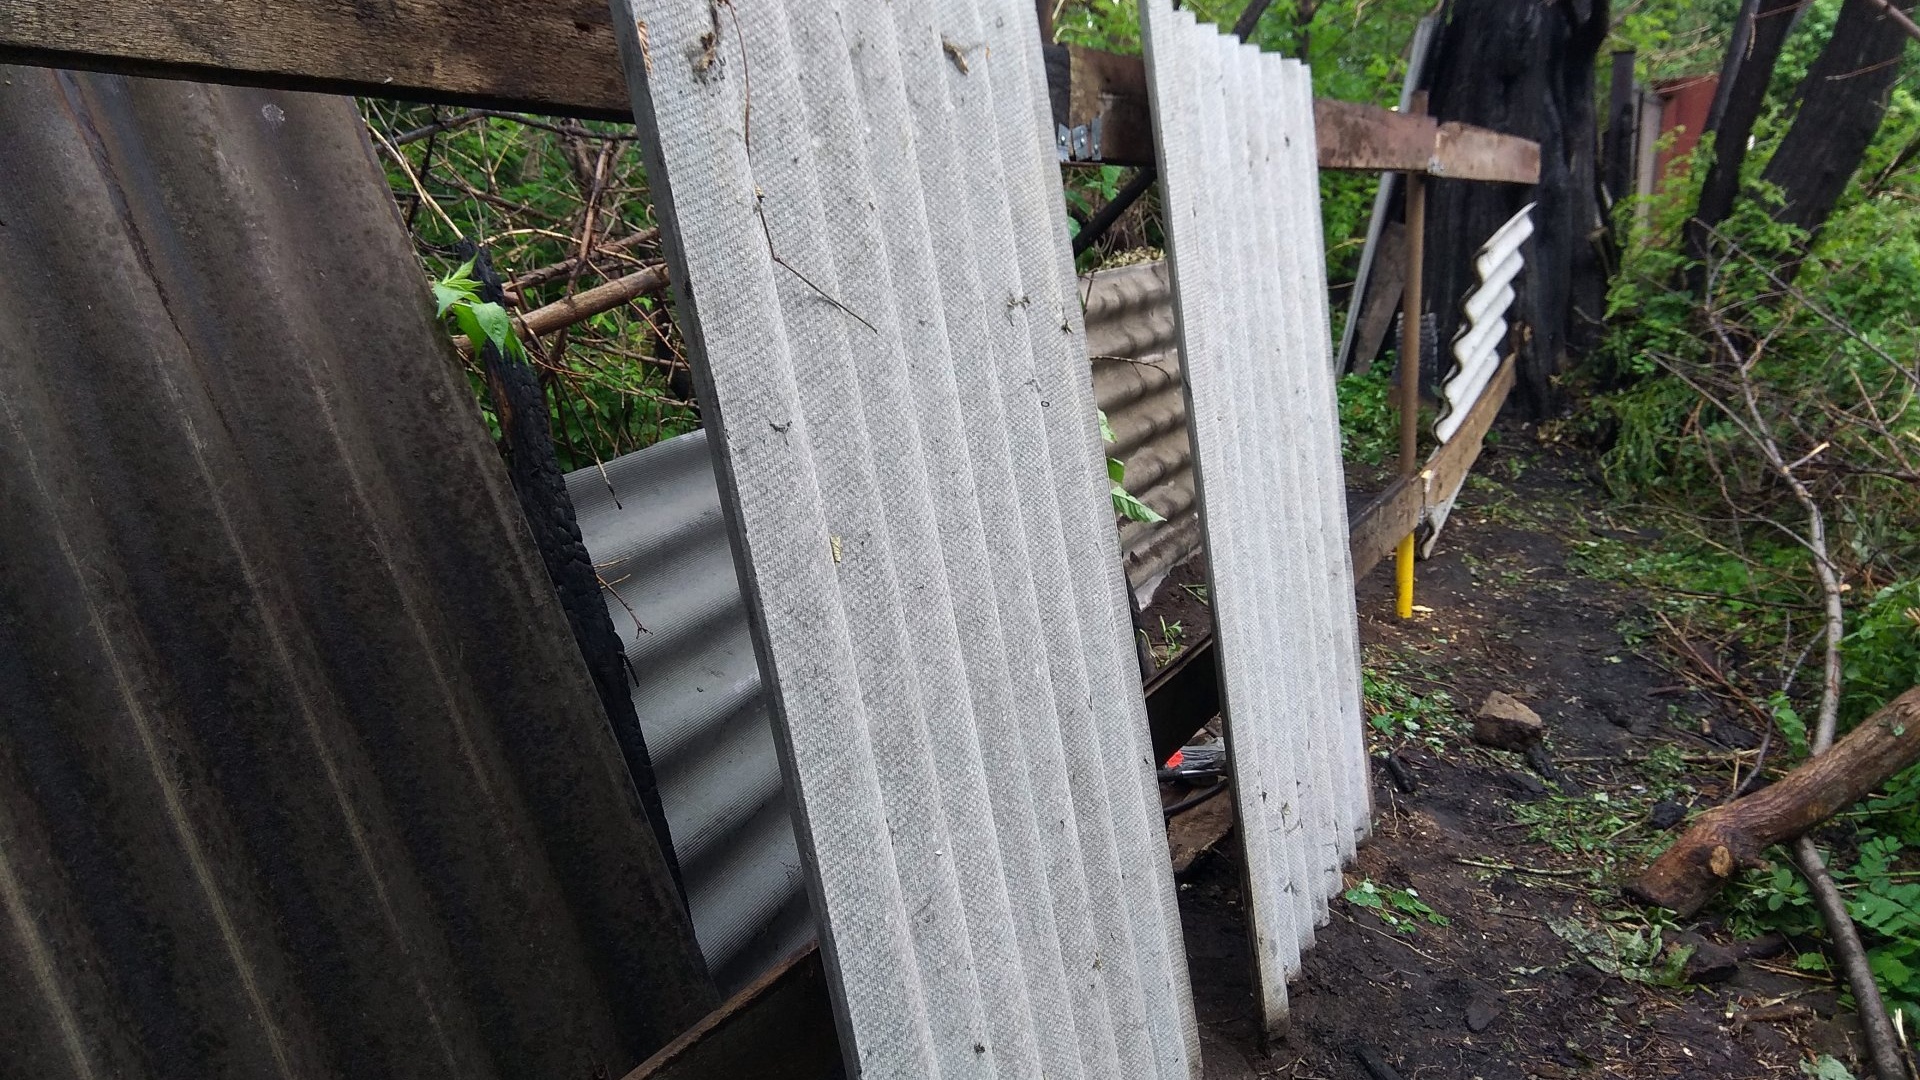


To ensure that the slate sheets have the same level, you can also pull a thread along the top and navigate along it, or use a building level and a plumb line.
Finally, you can paint the fence to extend its service life and also give it a more aesthetic appearance, especially if you used used slate. Waterproof acrylic is best for this. Besides. It is especially important to treat and paint wood.