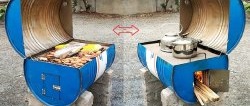
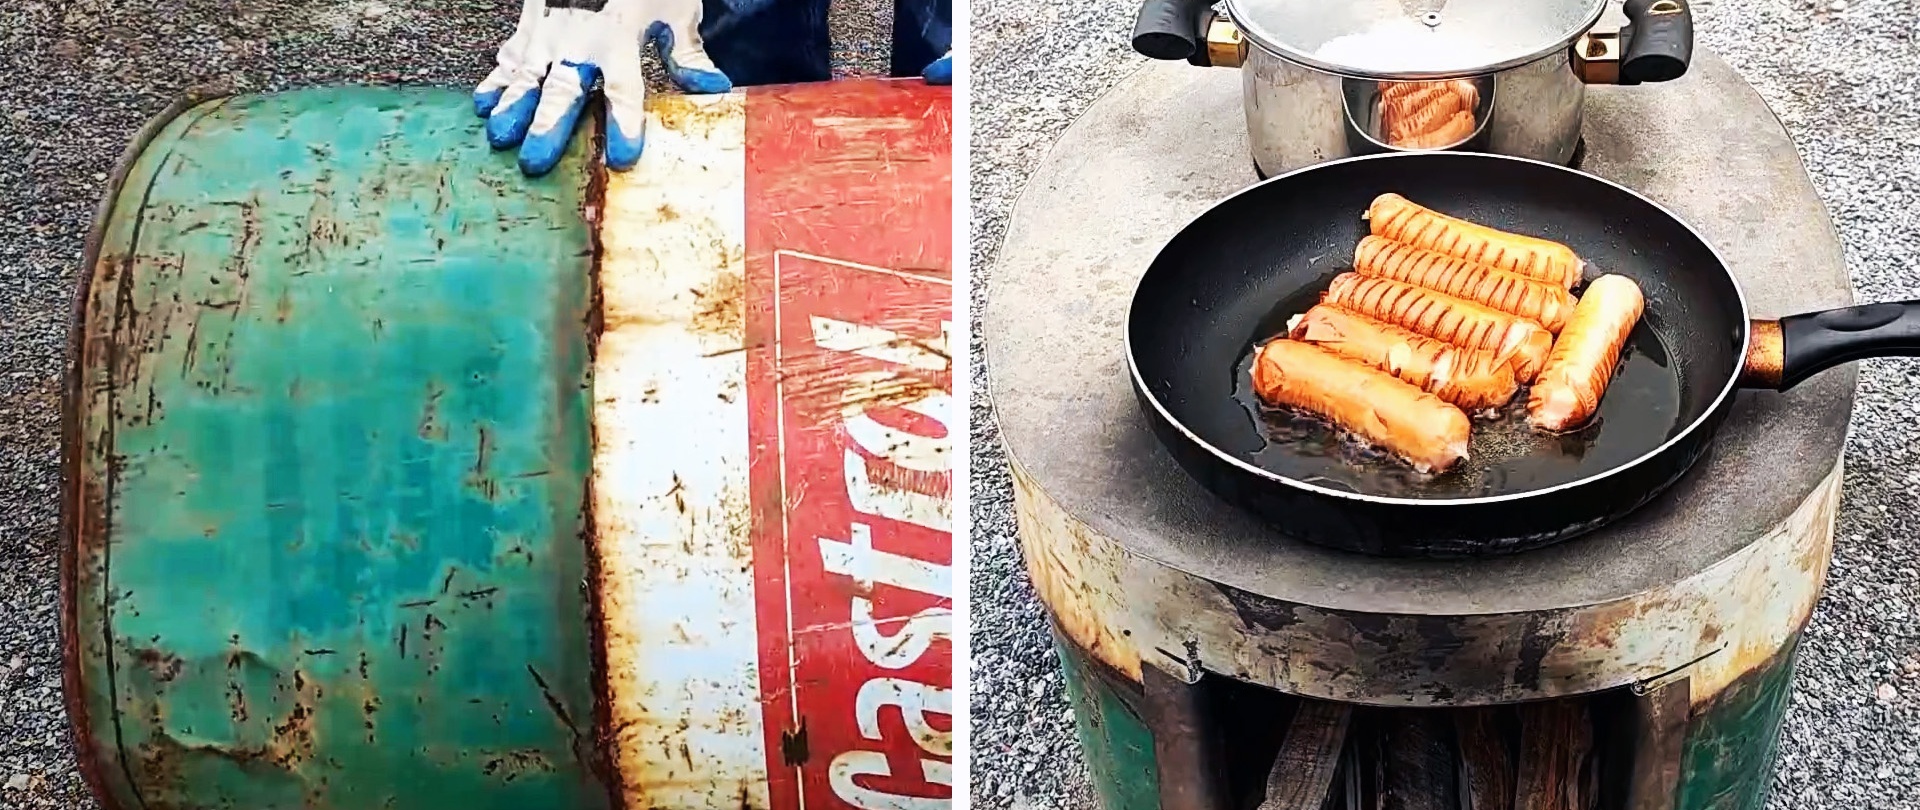
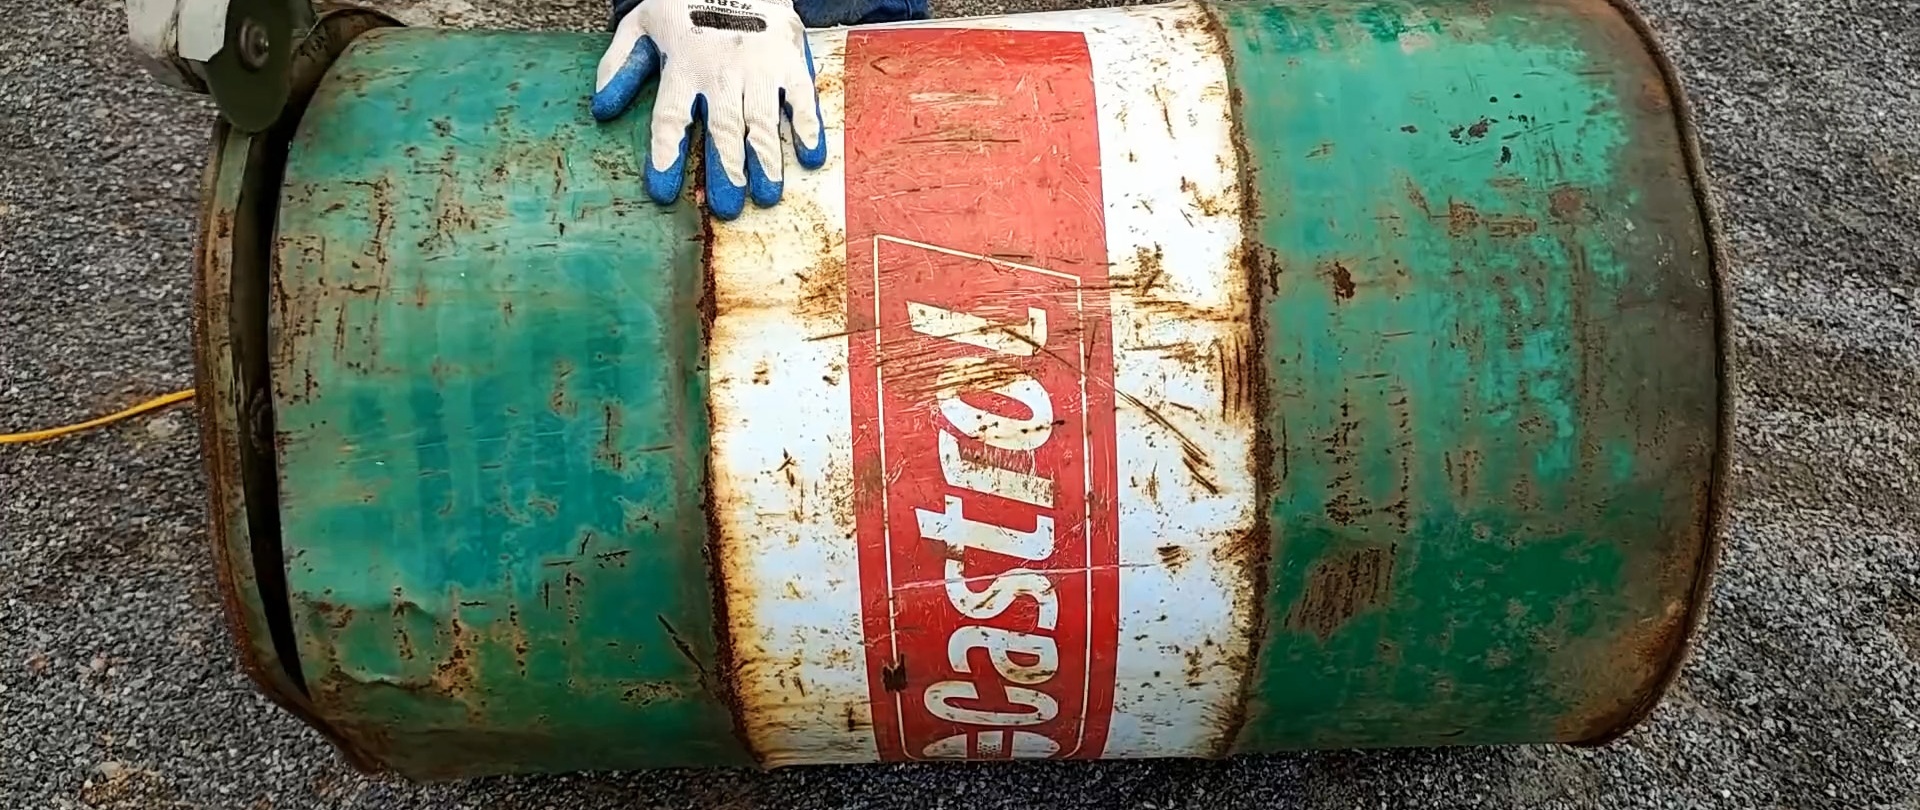
A barrel that has already aged and is not suitable for water due to leaks/holes in the walls or bottom can be used as formwork for the construction of a cooking oven, for example, in the yard.
- “grinder”, also known as an angle grinder;
- cutting wheels with a diameter of 100-150 mm;
- hammer weighing 150-300 g;
- narrow trowel-trowel for working with cement mortar;
- gas-burner;
- a vessel for mixing the solution, for example a basin.
You can mix the solution on a steel sheet or plastic.
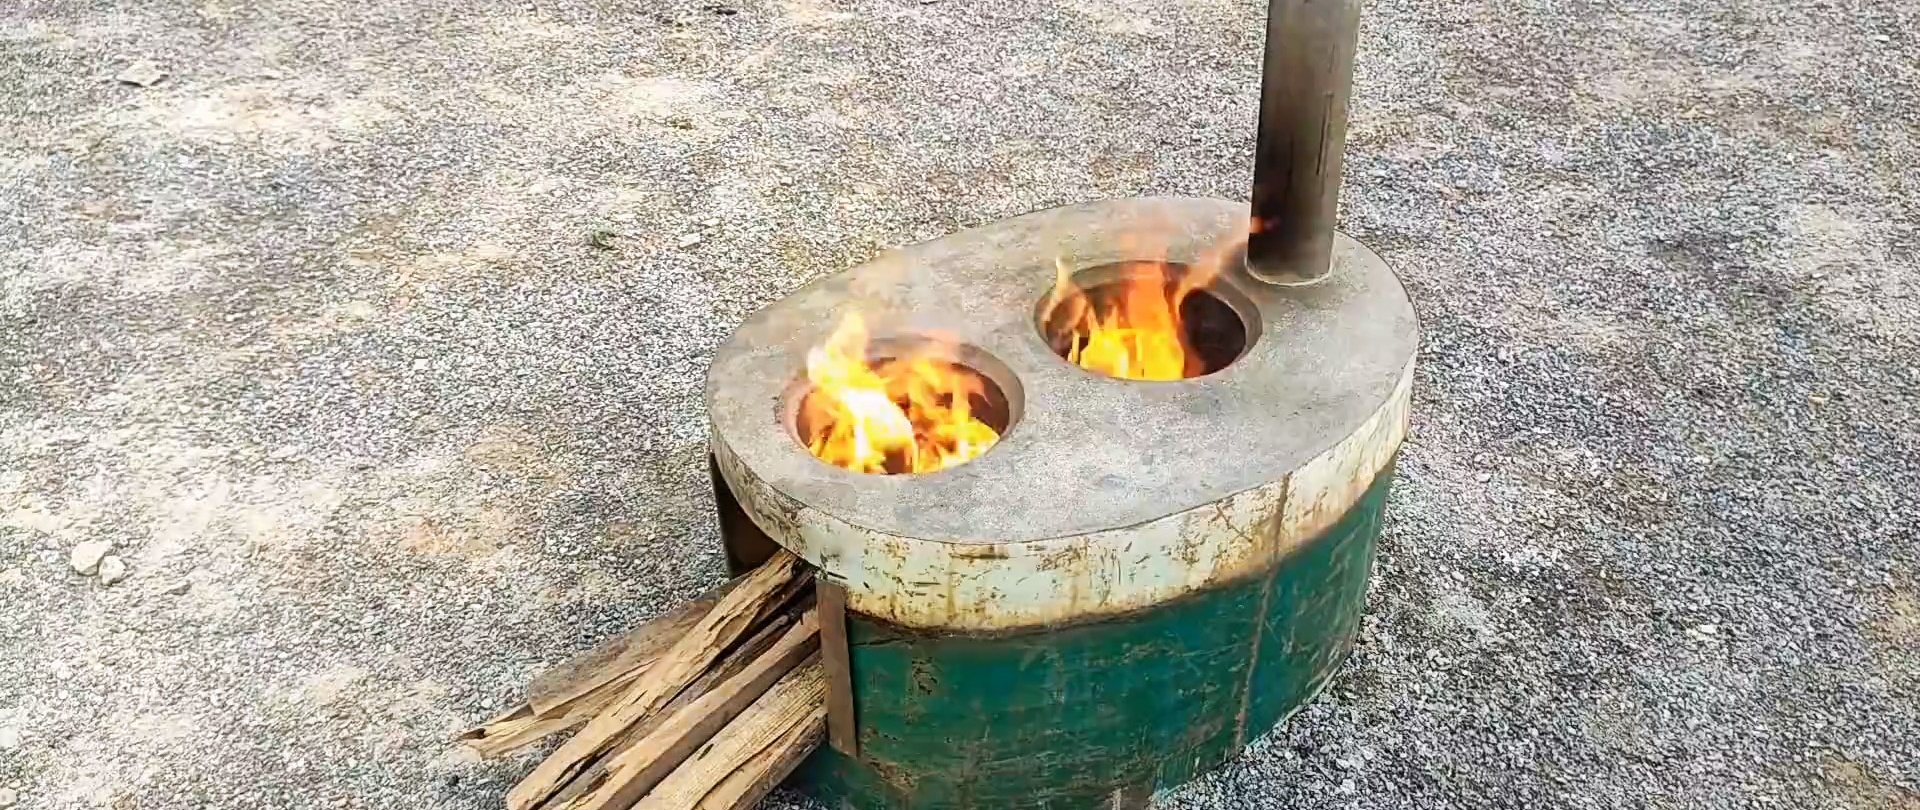
If you take a metal pipe with a diameter of about 100 mm for the chimney, then it is better to use a sewer pipe made of cast iron. To prevent smoke from getting into the eyes of people near the stove, its length should be at least 1-1.5 m, preferably 1.5-1.8 m.
There are barrels with walls 1.5-2 mm thick. But in this case, you will need a strip of roofing or galvanized iron, no more than 0.8-1 mm thick.
If you use refractory brick, then cut it into smaller pieces and use all the “crumbs”.
The process of making a wood stove from an old metal barrel
Preparing the barrel. Take an old barrel, preferably one with a bottom. Cut off the lower part from it with a height no less than the required height of the stove.
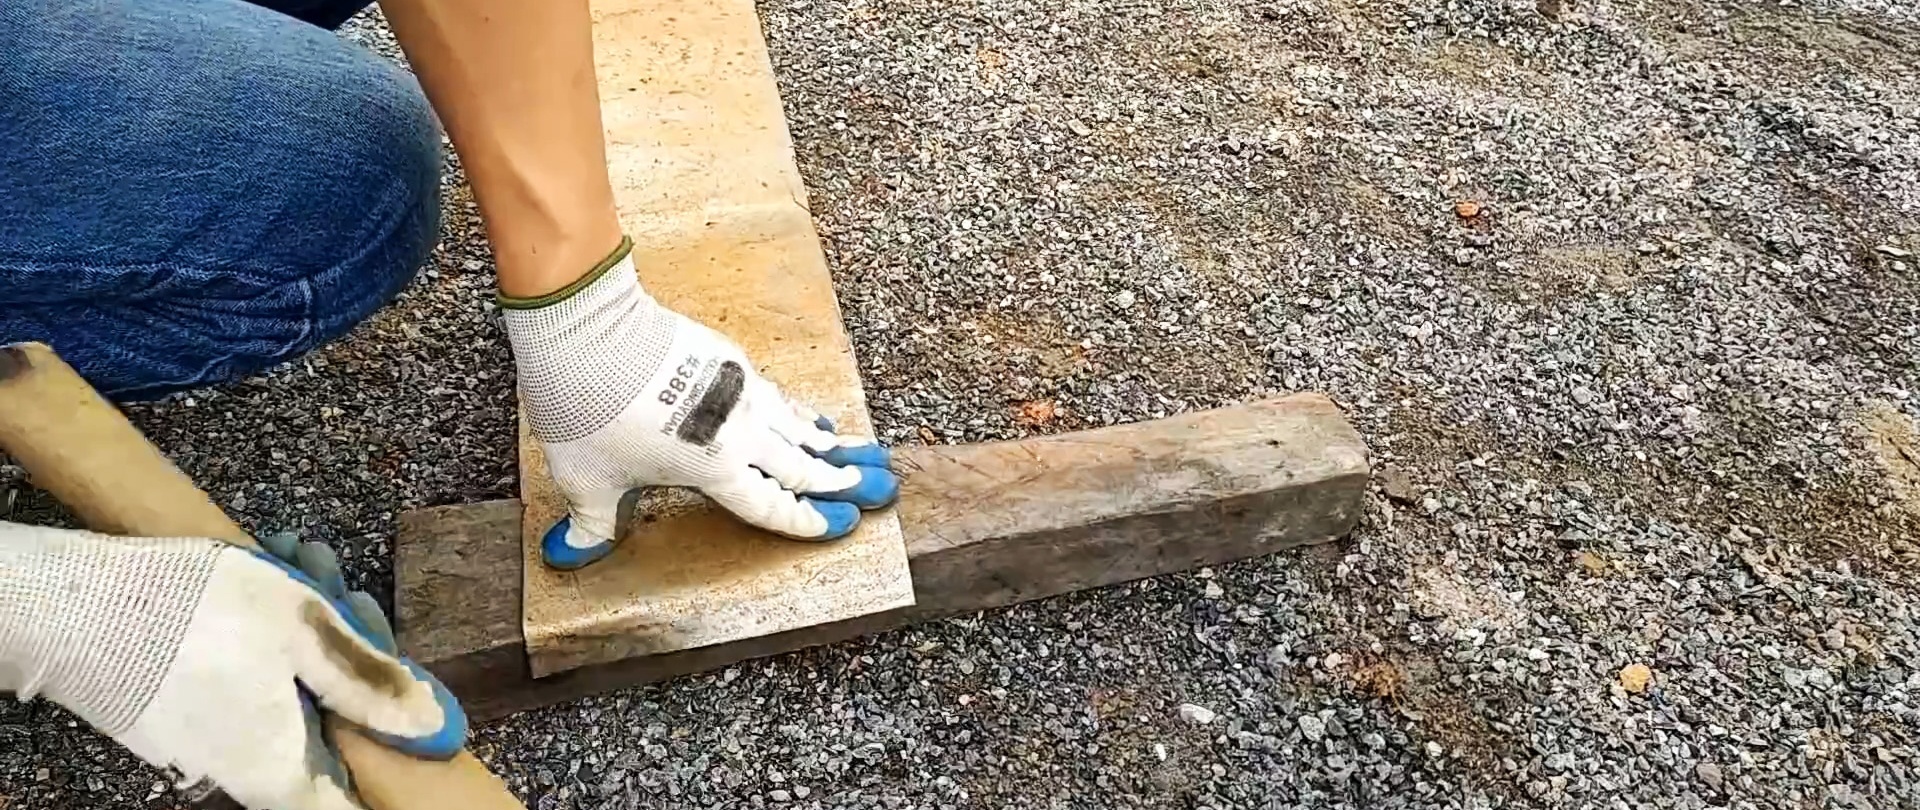
From the remainder, cut off a ring 180-185mm wide. It can be bent from a strip of old roofing or galvanized iron.

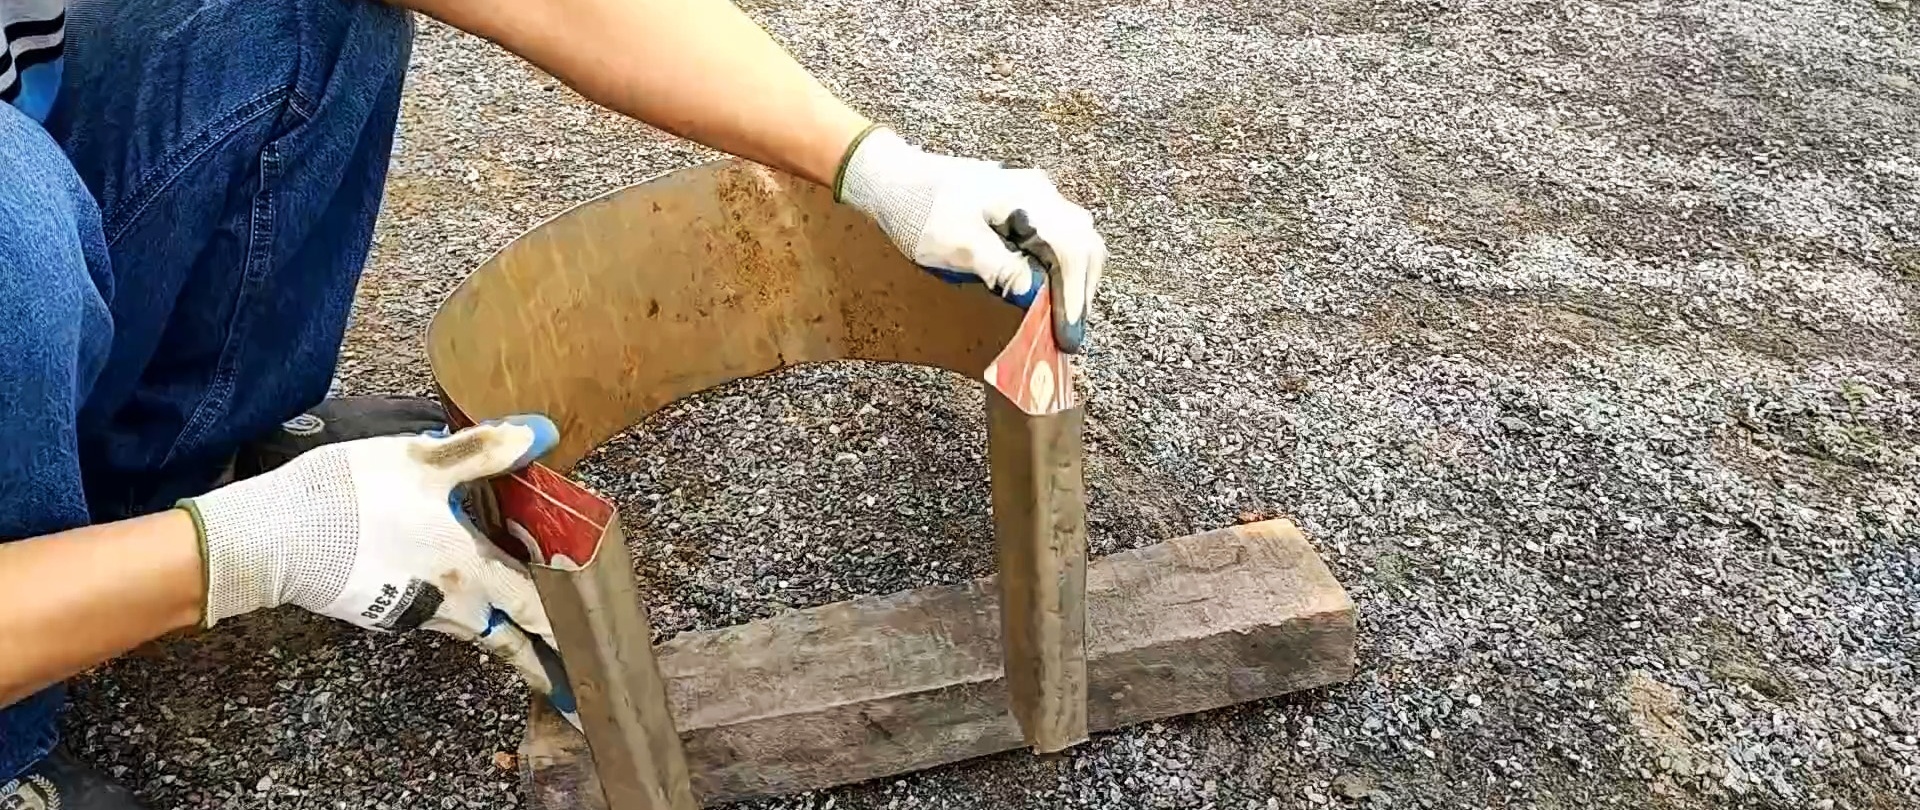
Cut the ring and bend the U-shaped “grippers” at its ends.
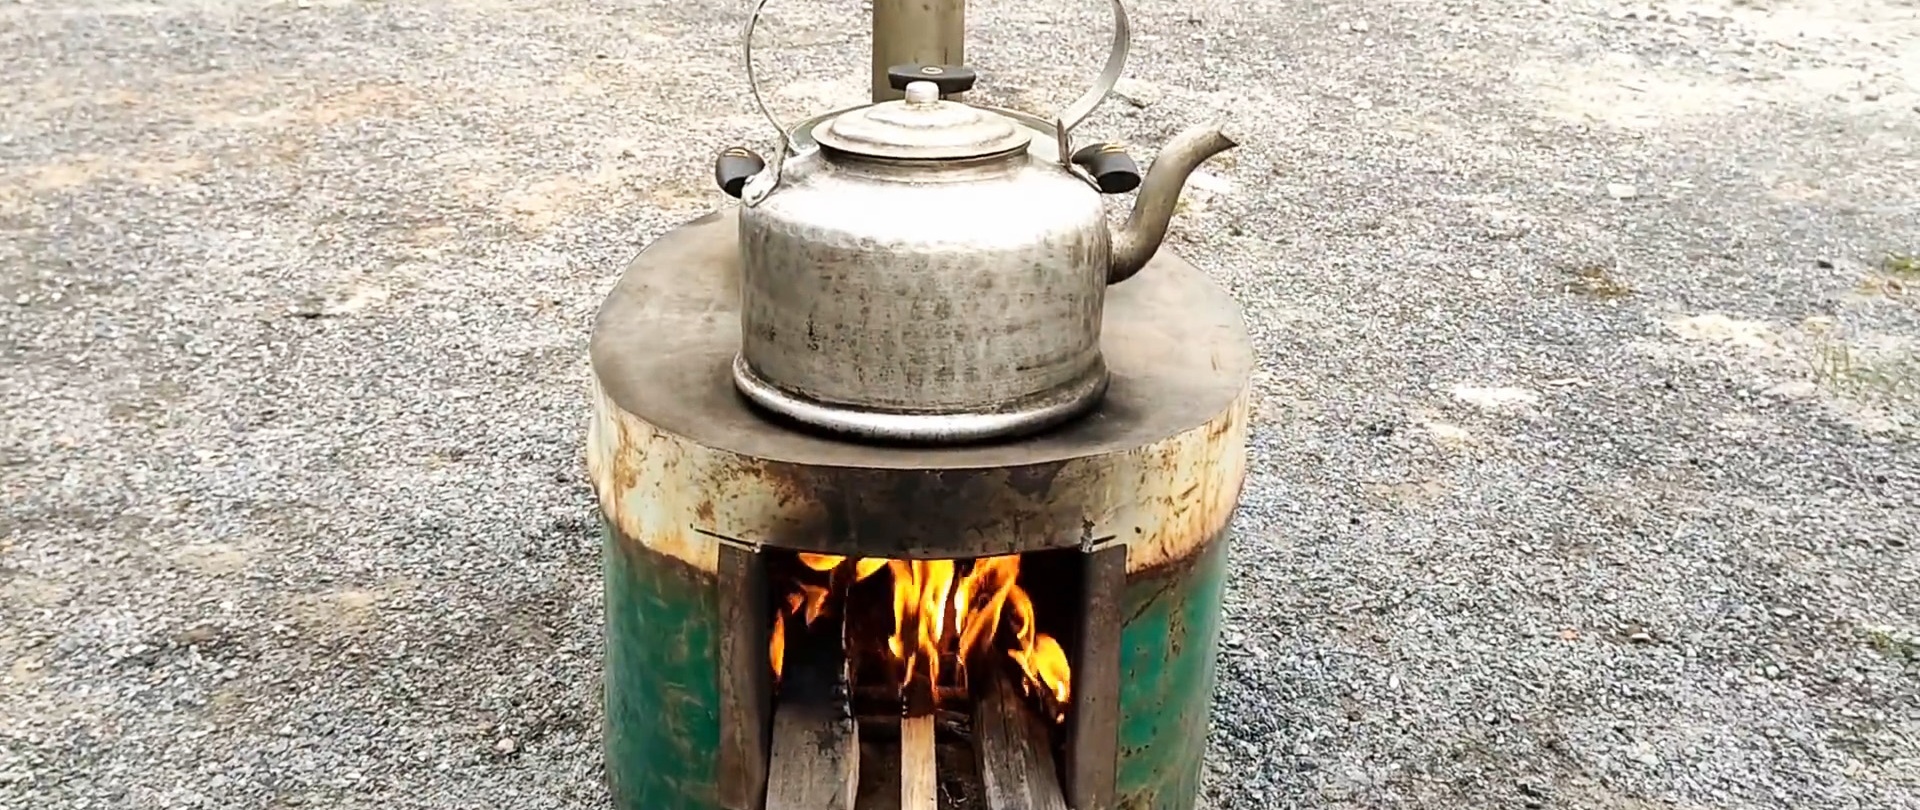
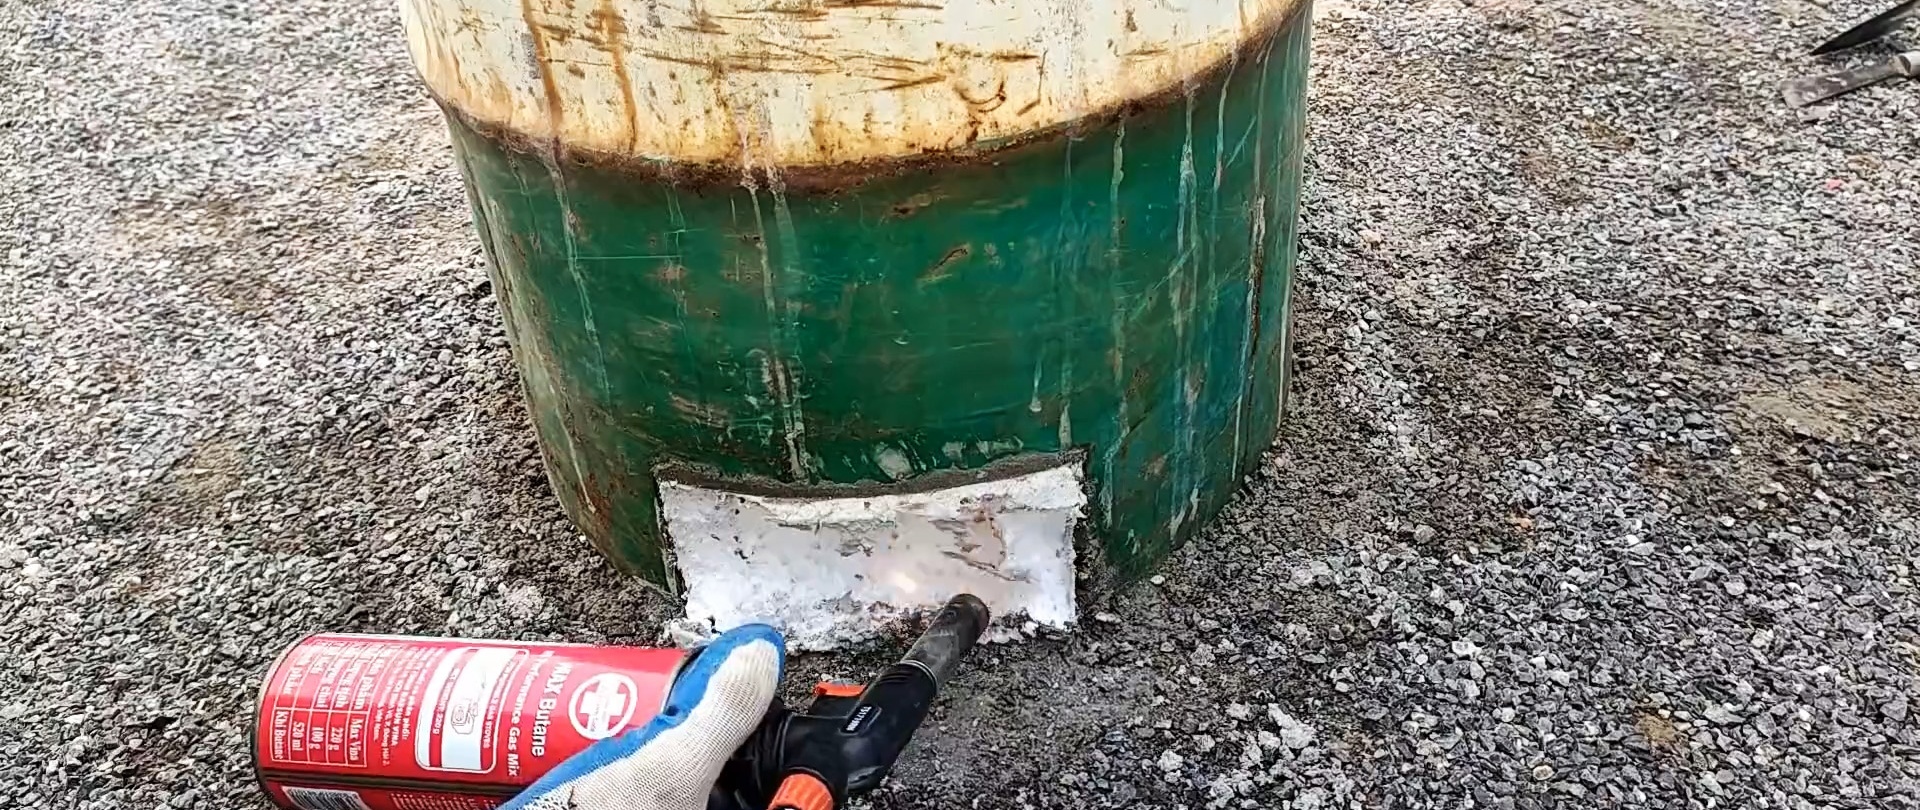
Cut a rectangular hole in the side of the barrel. Its height is slightly less than the width of the ring with grips, for example, 176-180 mm, width - 250-350 mm. This will be the entrance to the furnace of the stove.

On the opposite side of the firebox, cut out a rectangle for the entrance to the ash pit. Its size is (190-200) x (100-110) mm.

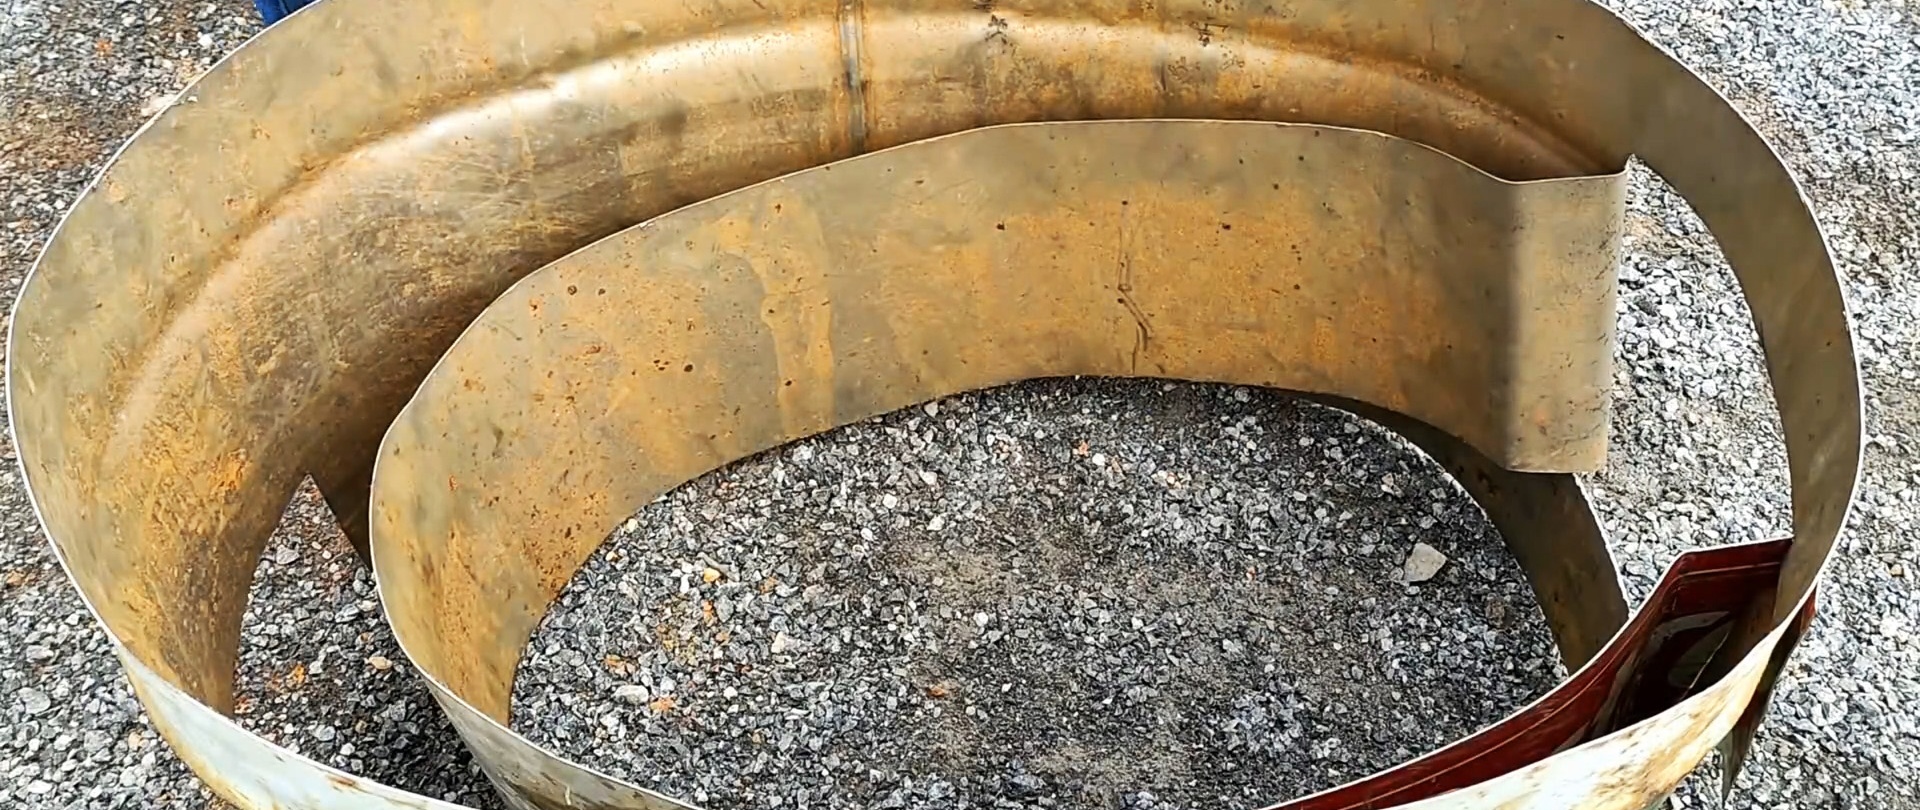
Bend the ring to an oval shape. If this ring has a standard barrel bottom, it won’t be possible to bend it, so let the stove be round. Bend the ring with the “claws” and insert it into the “body” of the stove, inserting the “claws” into the rectangular hole of the firebox.
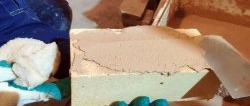
Cut the corners of the foam “beam” and cut grooves 10-15 mm wide in its upper plane. The distance between the grooves is 15-25 mm. This will be the width between the “grid bars”.

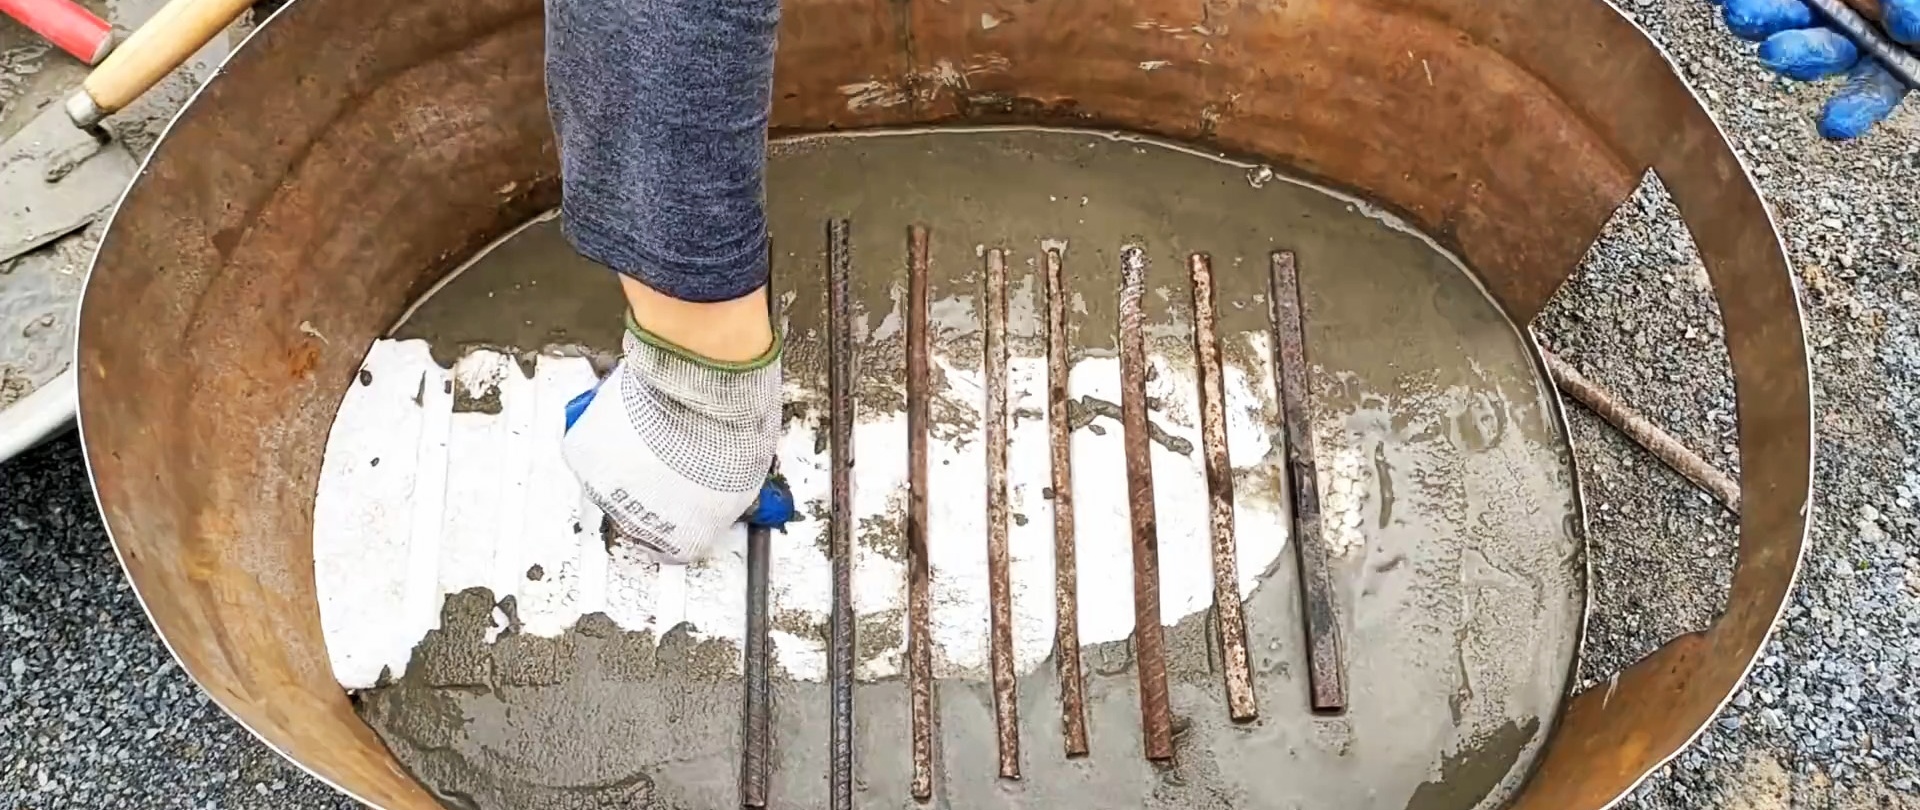
Install the foam plastic beam into the stove body. Place the solution between the stove wall and the foam. Pieces of ceramic or fireclay refractory bricks can be placed in the solution.


The solution is leveled at the level of the foam and “vibrated”, for example by light blows on the walls of the barrel. Pieces of grate fittings are placed in the slots-grooves of the foam block.
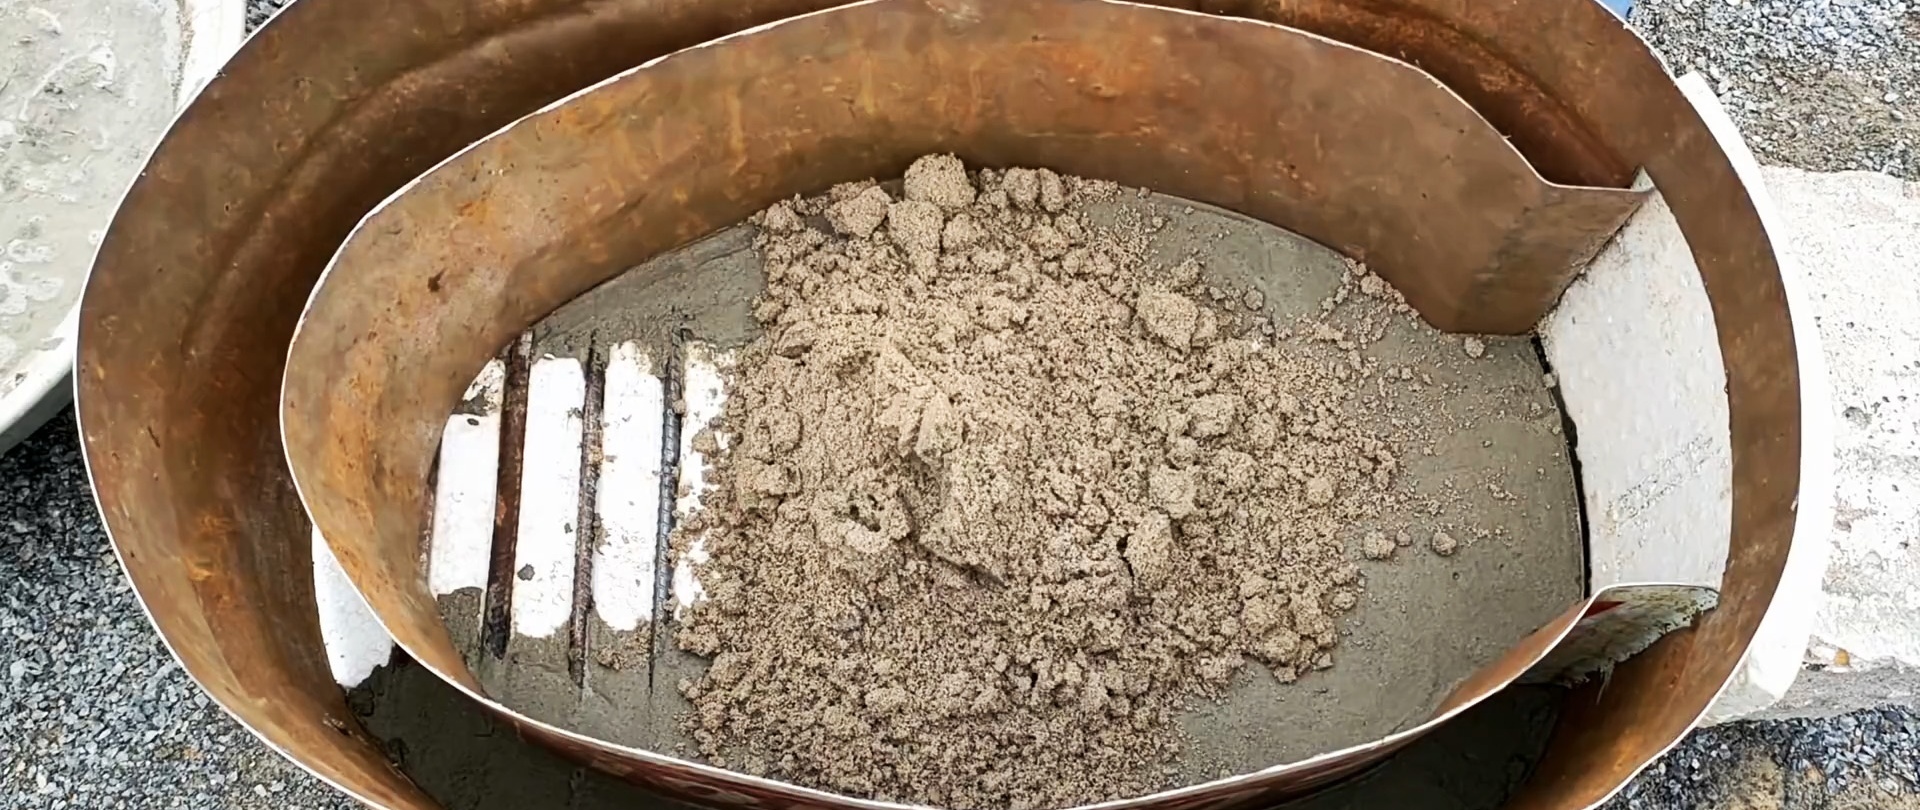
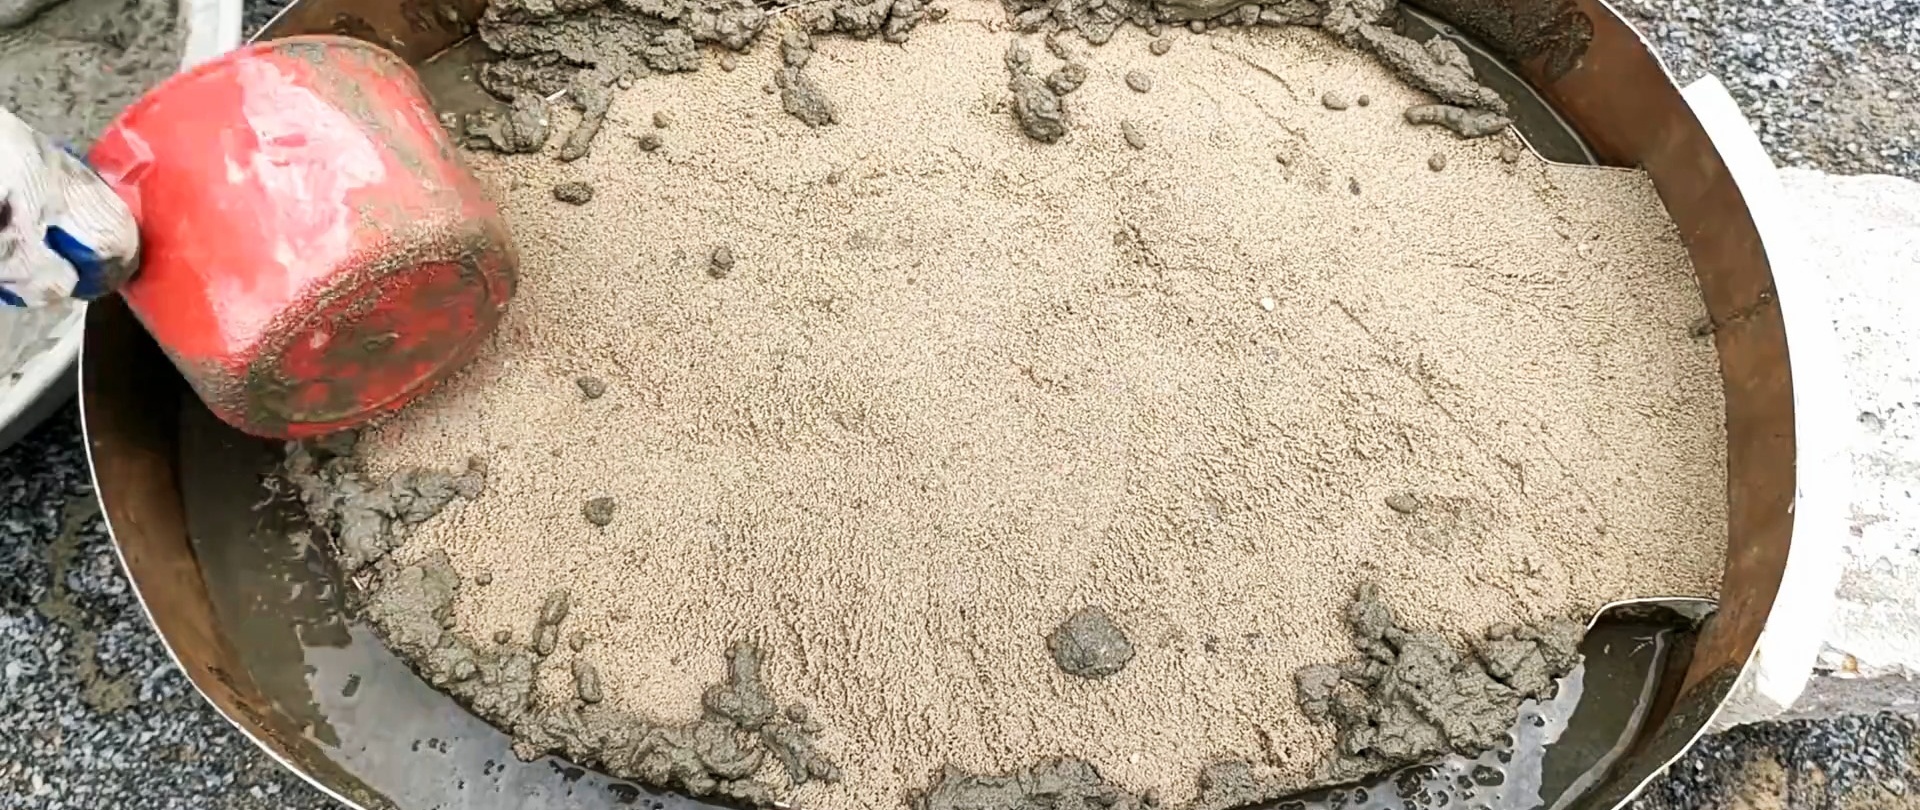
A ring with grips is installed on the solution, leading them into the firebox opening. Cover the firebox opening with something and pour a layer of sand on the grate and mortar, as thick as the top of the ring with grips, level it and compact it a little.

Place the solution in the gap between the body and the ring and carefully “vibrate” it to allow air to escape.
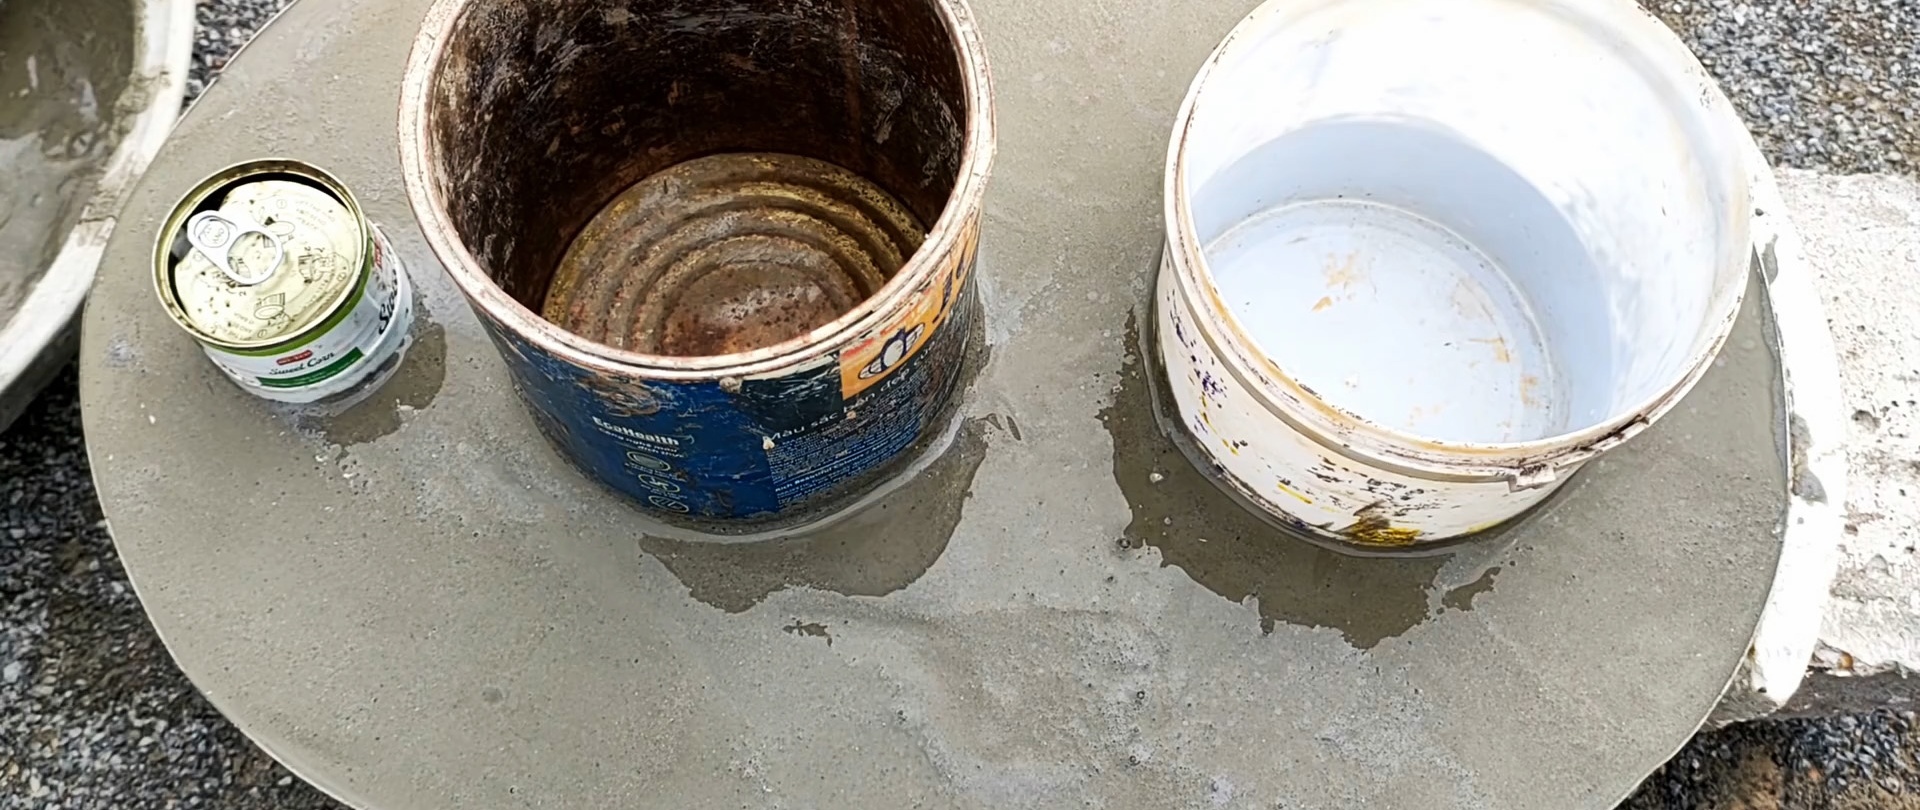
Prepared jars are placed on the sand so that they do not get stuck by the solution, and you can lubricate with machine oil or waste oil, including for the chimney pipe, 3-4 pieces of reinforcement between the jars and cover them with the solution to the level of the upper end of the furnace body. The solution is “vibrated” and its surface is leveled. It can be “cemented” by sprinkling the wet concrete surface with cement, 0.5-2 mm thick.
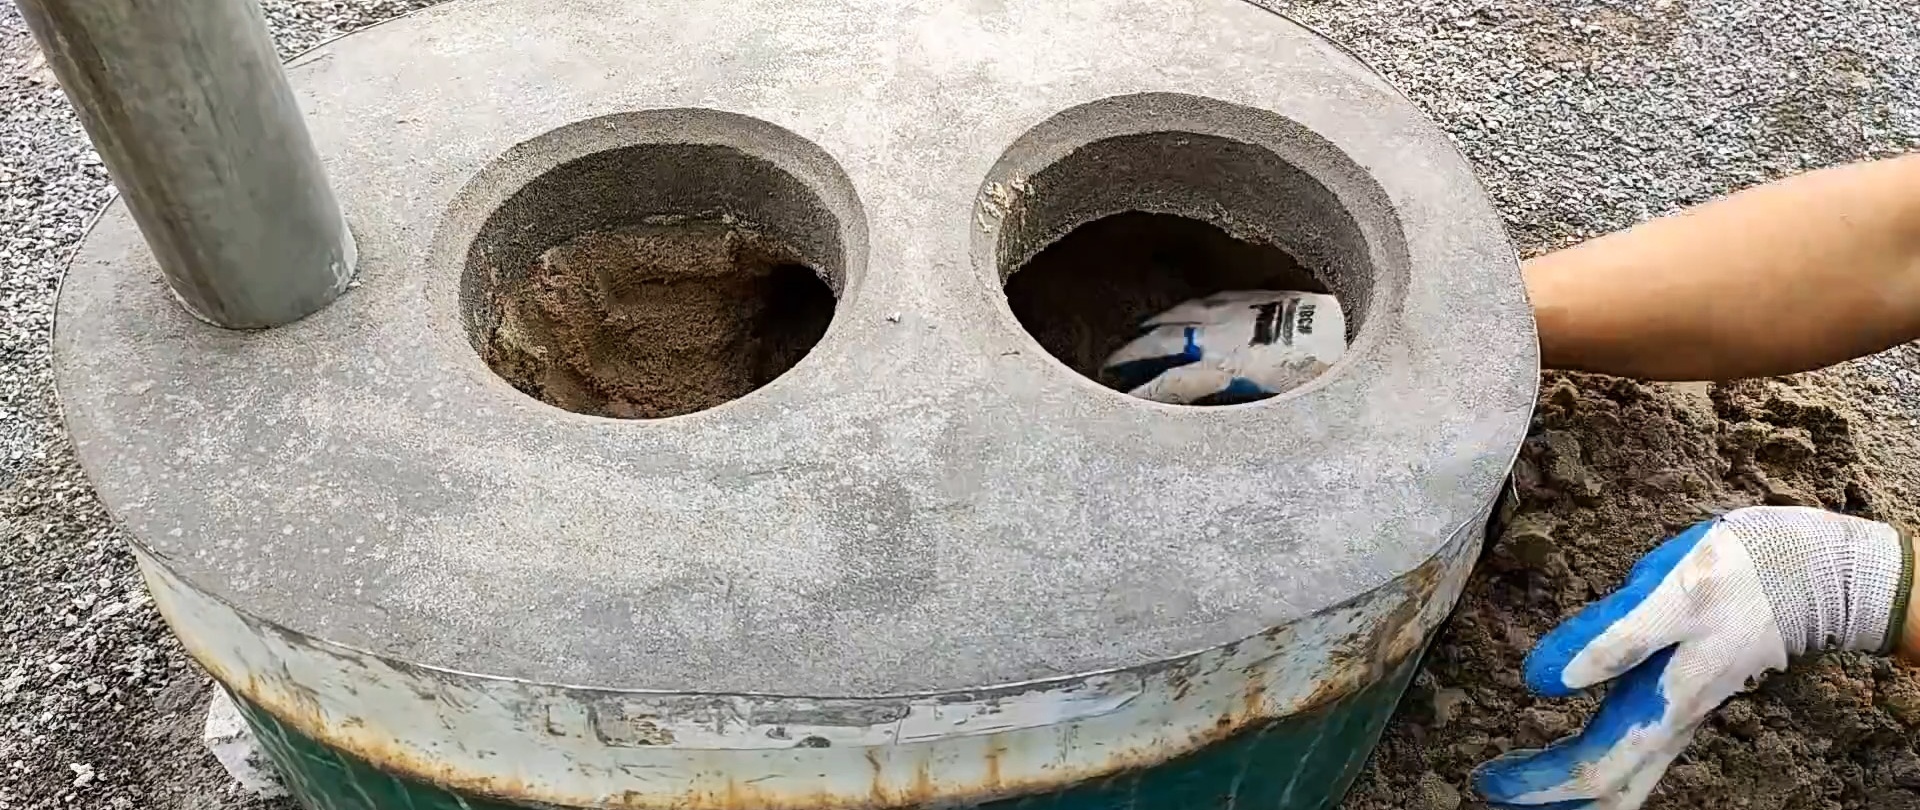
After setting, and this is best done the next day, the cans are carefully “unscrewed” from the concrete monolith. Before the concrete has completely hardened, use a trowel or knife to cut a chamfer 15-25 mm wide.

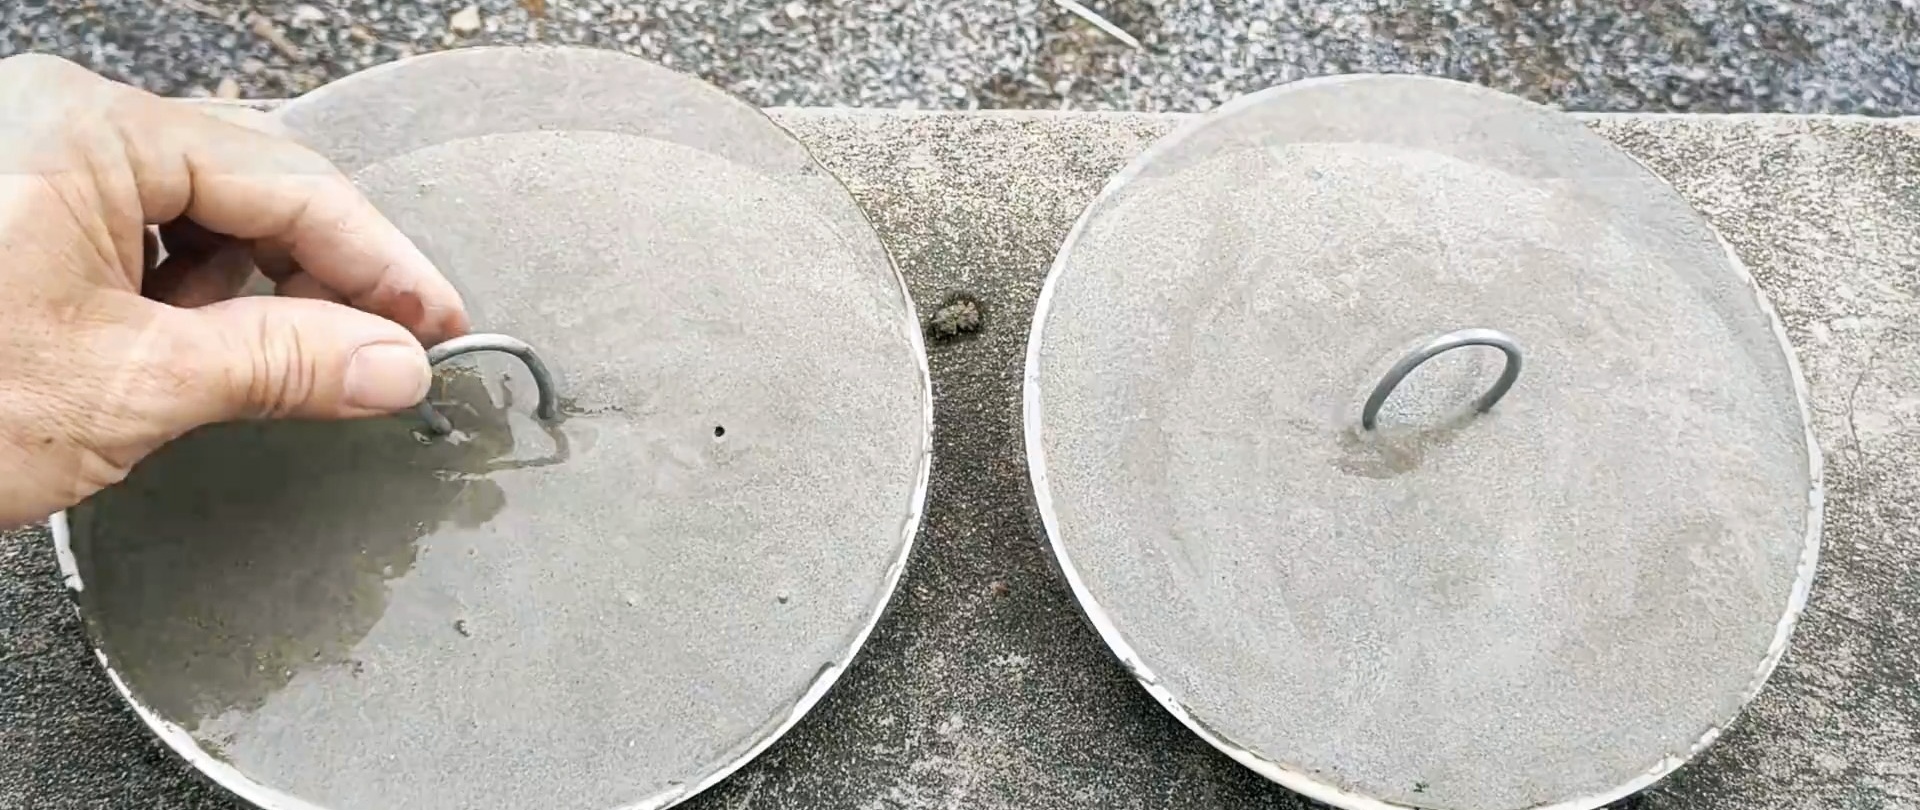
Place plates lubricated with machine oil in the holes, filling them with solution and inserting wire rings.
After 3-5 days, select sand, burn the foam with a torch and clean the concrete walls.

Concrete will gain full strength after 28 days. During this time, it needs to be watered periodically.