The presence of metal-cutting tools in a home workshop requires a sharpening machine at a price of several thousand rubles. With some skills of a metalworker and a novice electrician, you can make such a device yourself at minimal cost.

Will need
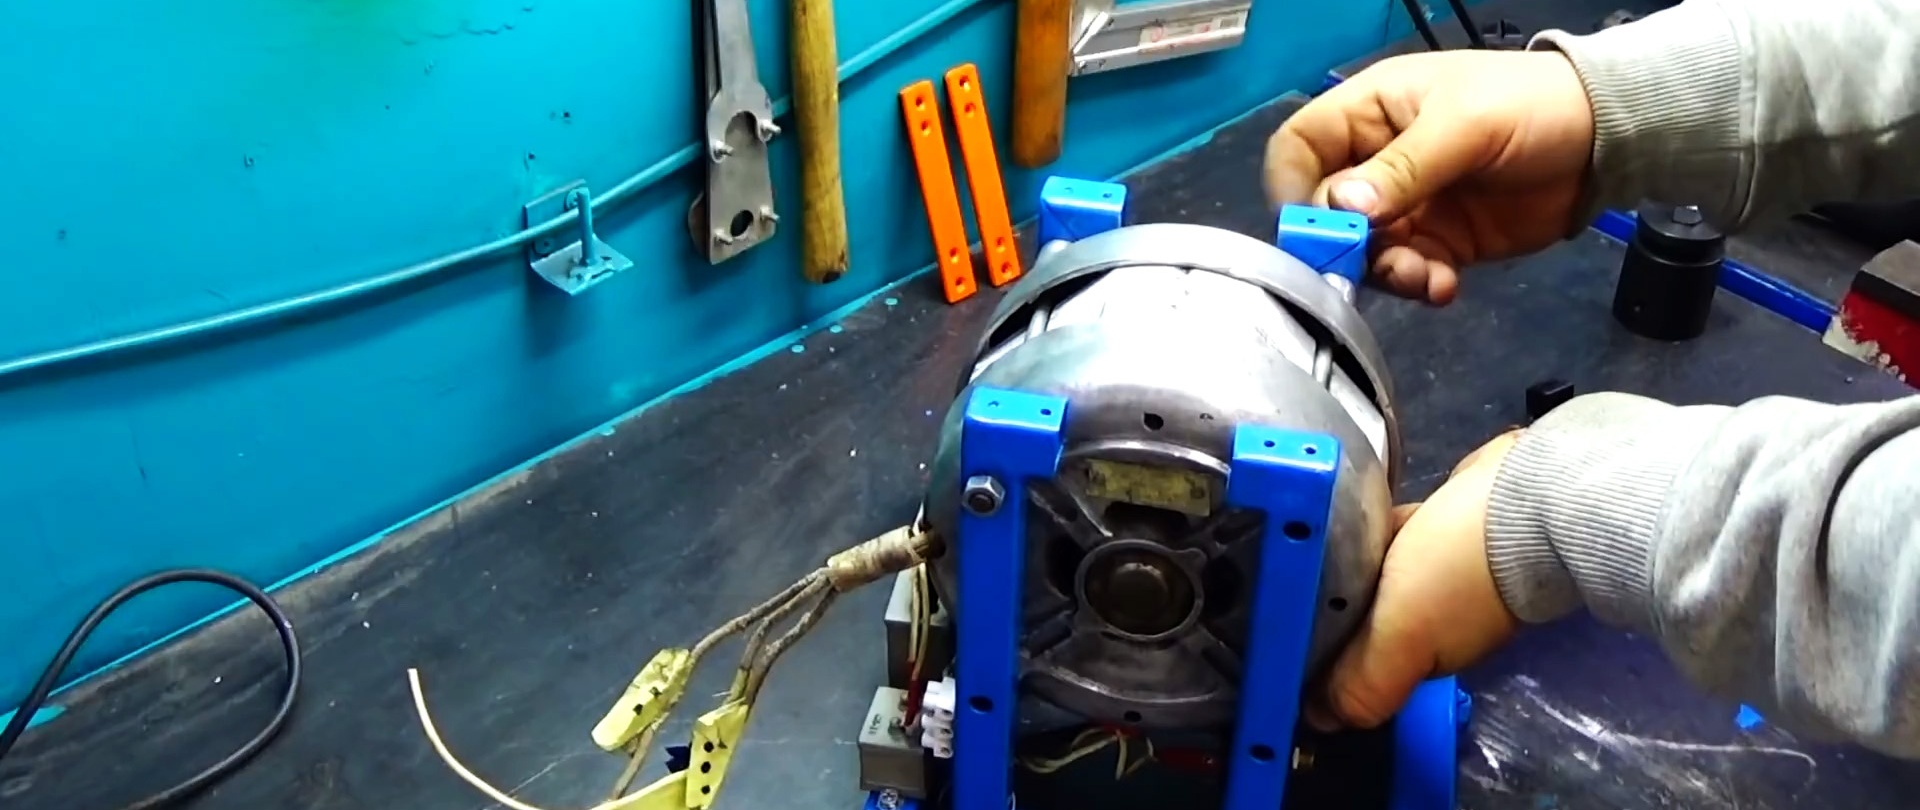
Materials and products:- Electric motor from an old washing machine;
- steel strip and plate;
- steel square and round pipe;
- screws, bolts, nuts and washers;
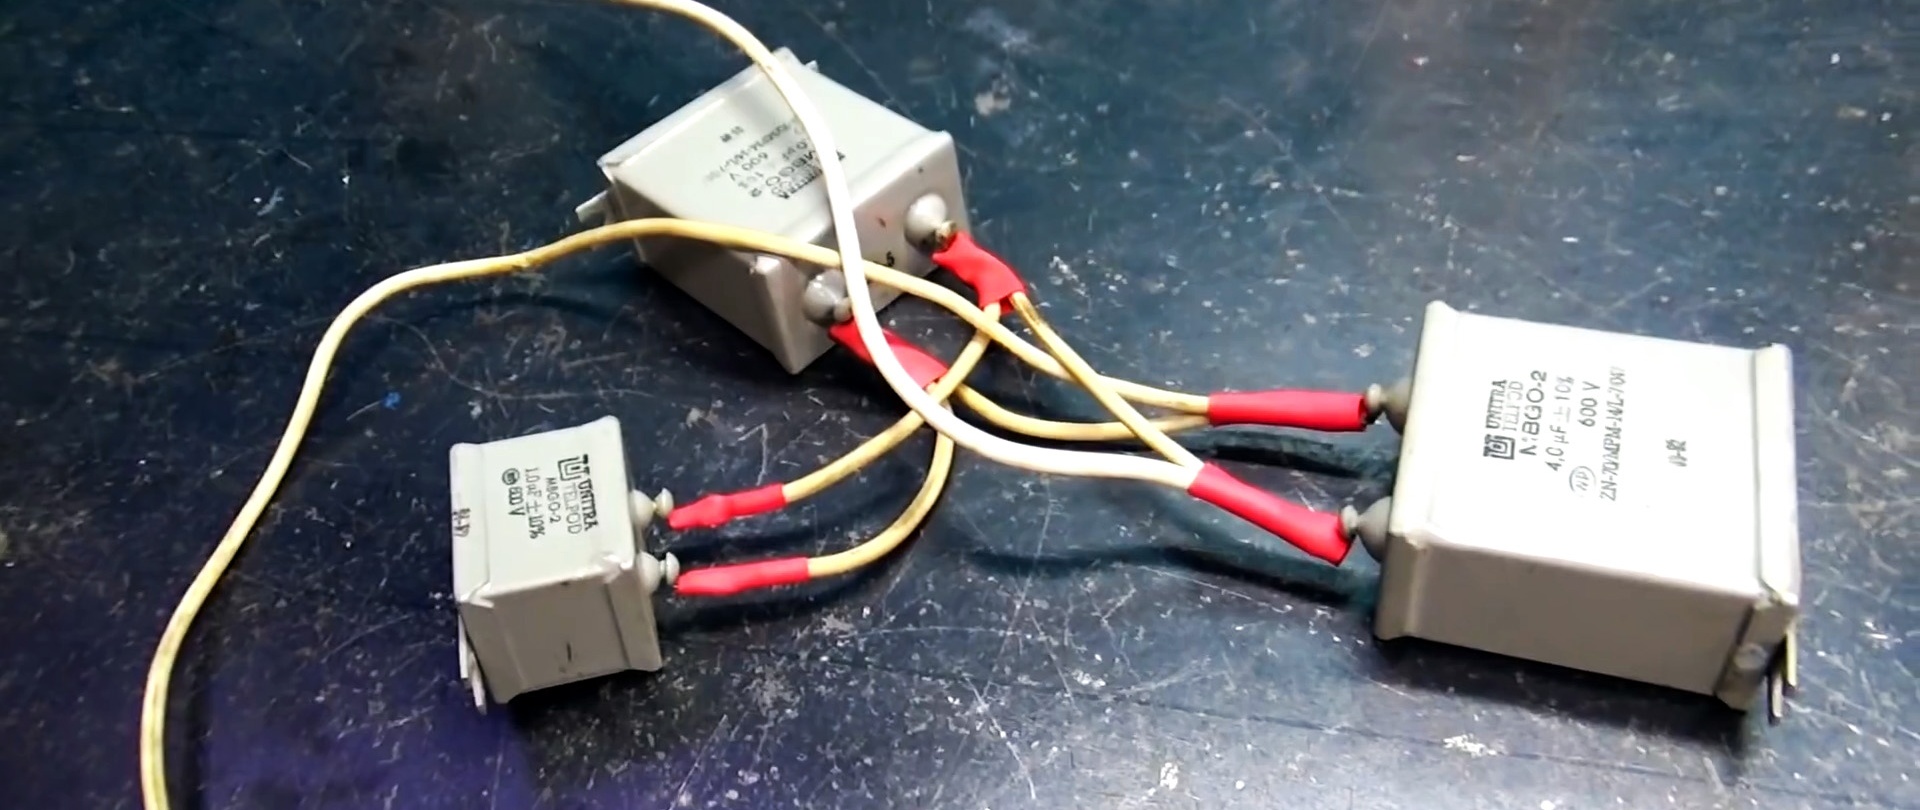
- capacitors;
- copper wires and cambrics;
- switch;
- terminal block;
- plastic plugs;
- steel rod;
- diamond cup wheel etc.
The process of making a sharpening machine from a washing machine motor
We remove dirt from the cover and motor housing with a metal brush and grinder, and after unscrewing the tightening bolts, also with sandpaper. We cover the outside of the stator housing with spray paint.
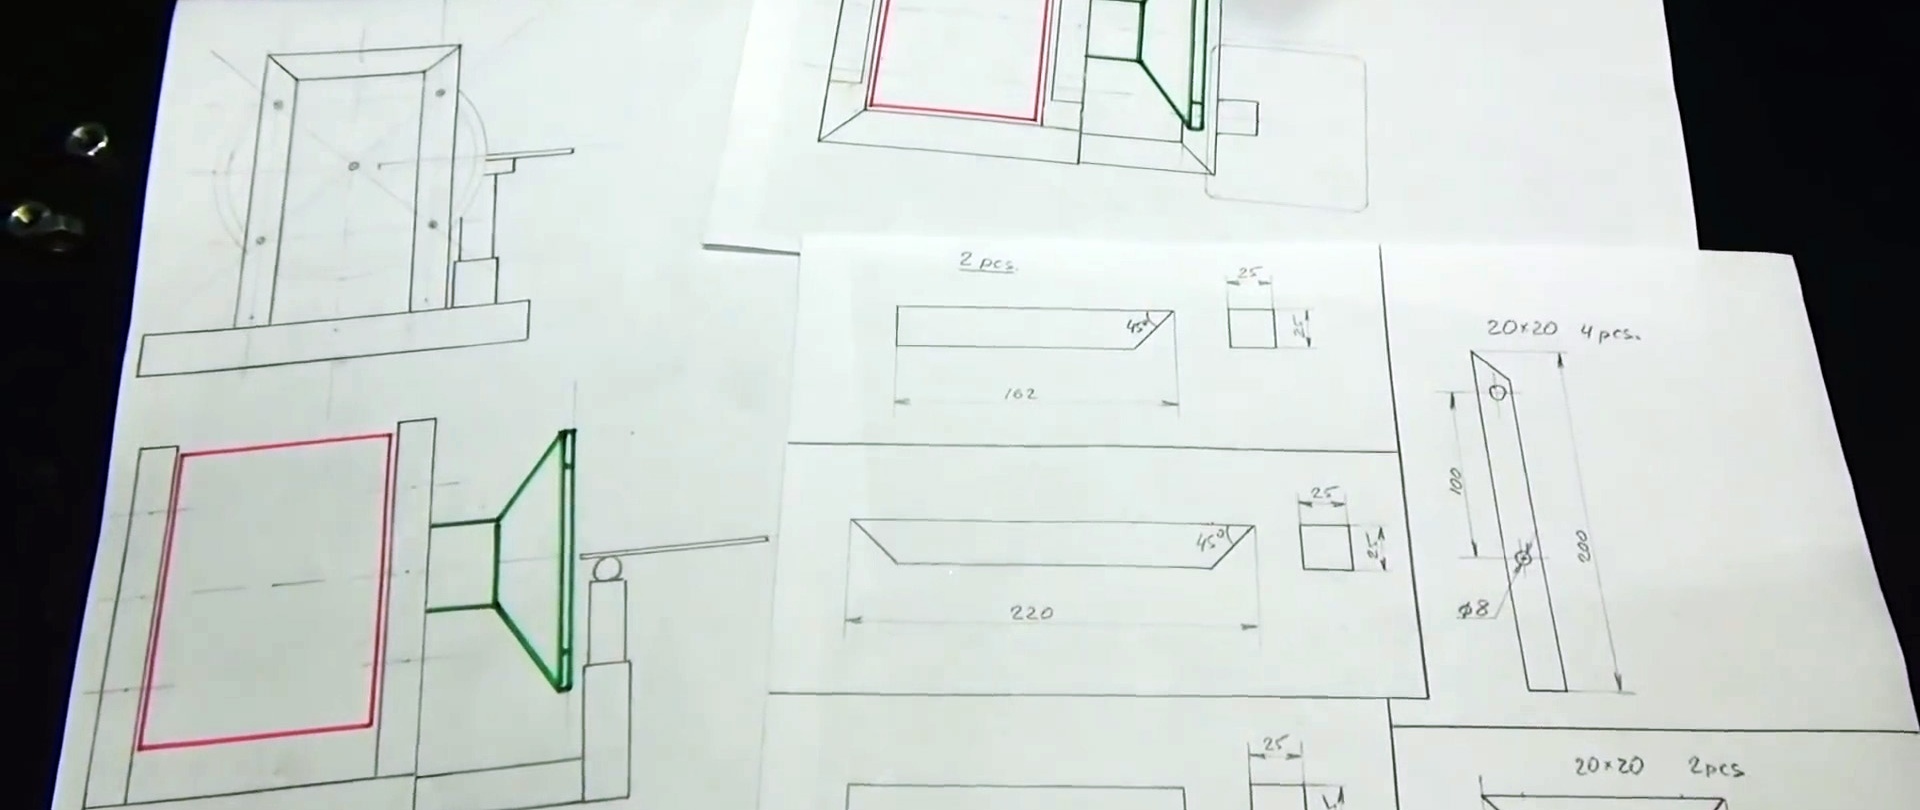
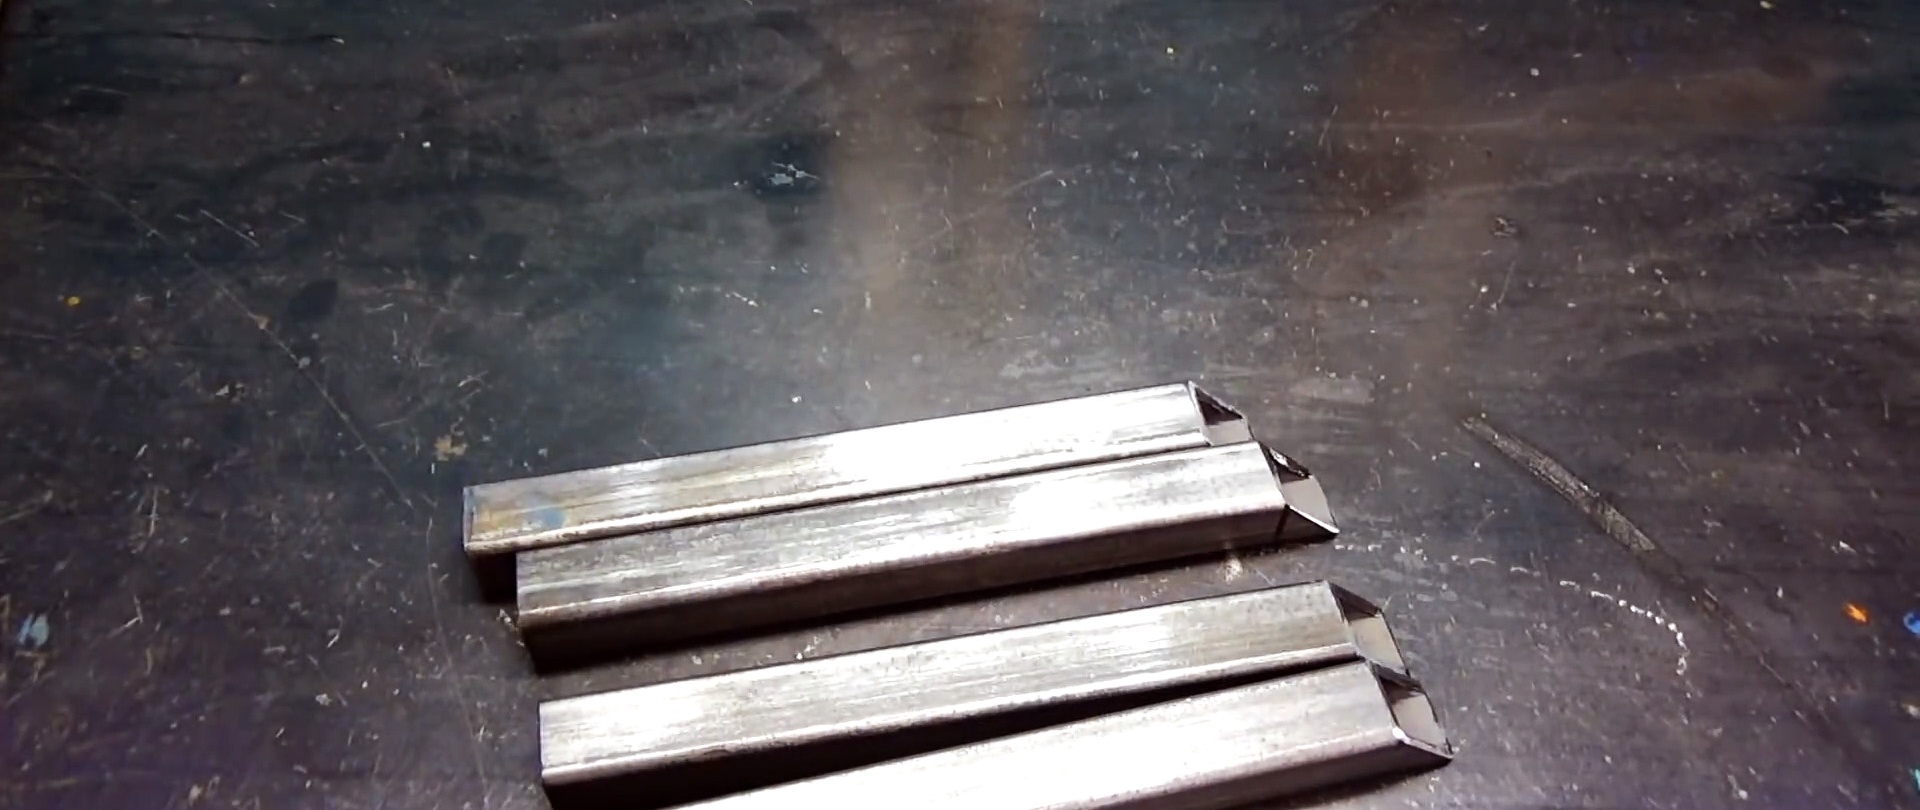
From a square pipe we cut 4 pieces of equal length with ends beveled at 45 degrees on one side and two short ones with ends beveled at 45 degrees on both sides.

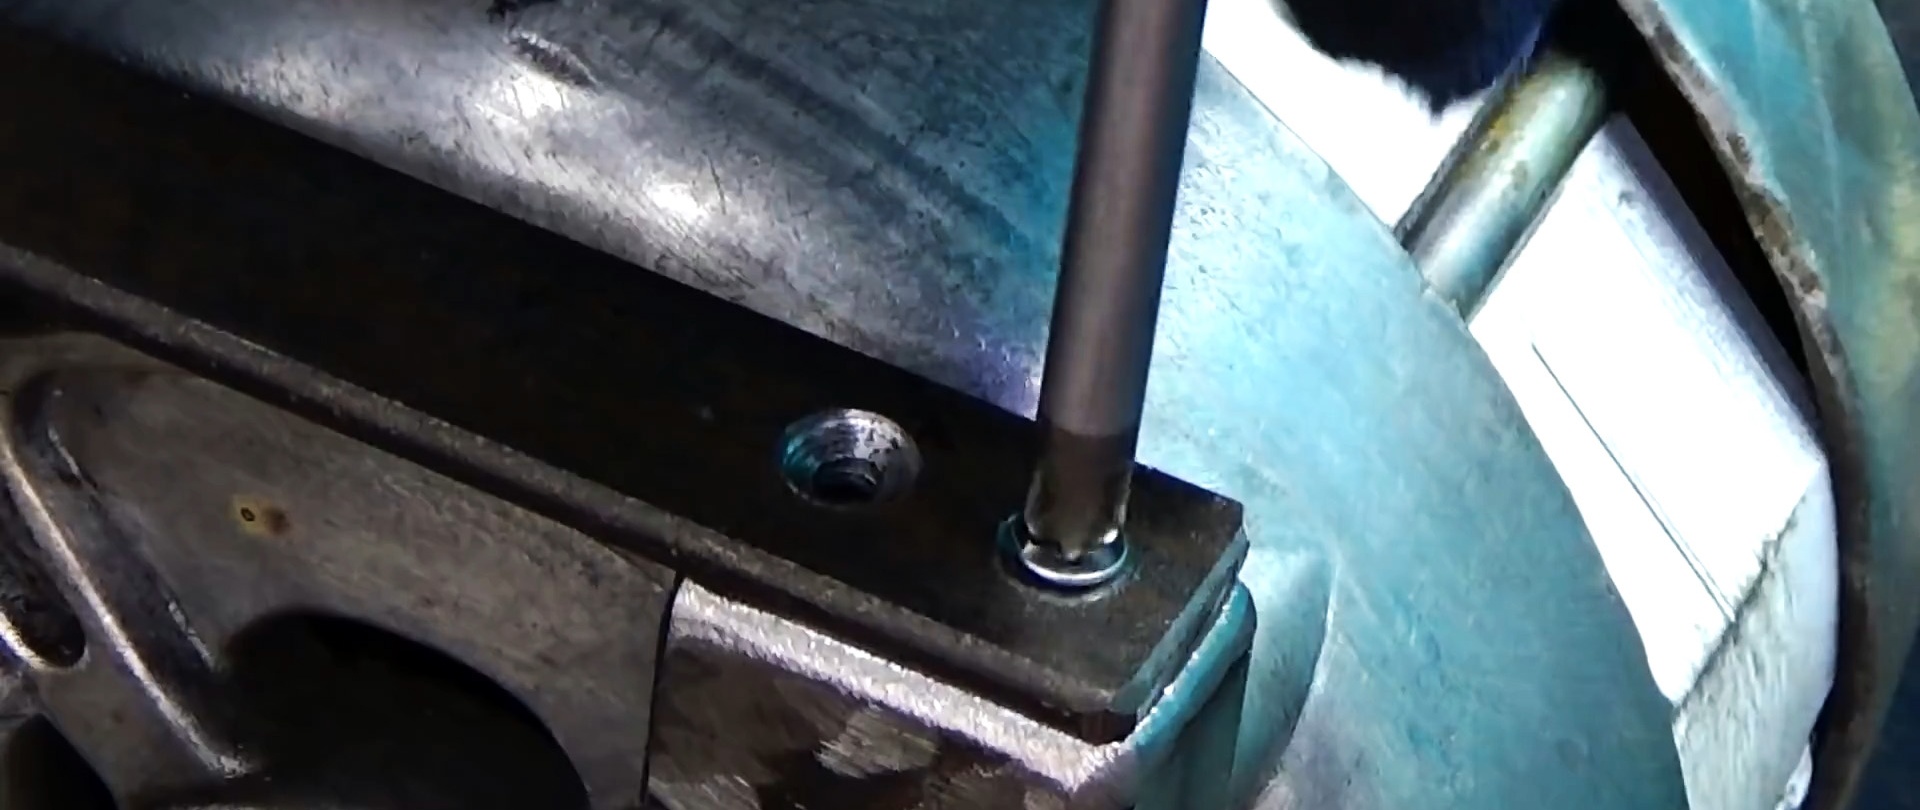
We compress the long workpieces with a clamp, placing the bevels vertically, and make 2 holes in each according to the general markings.


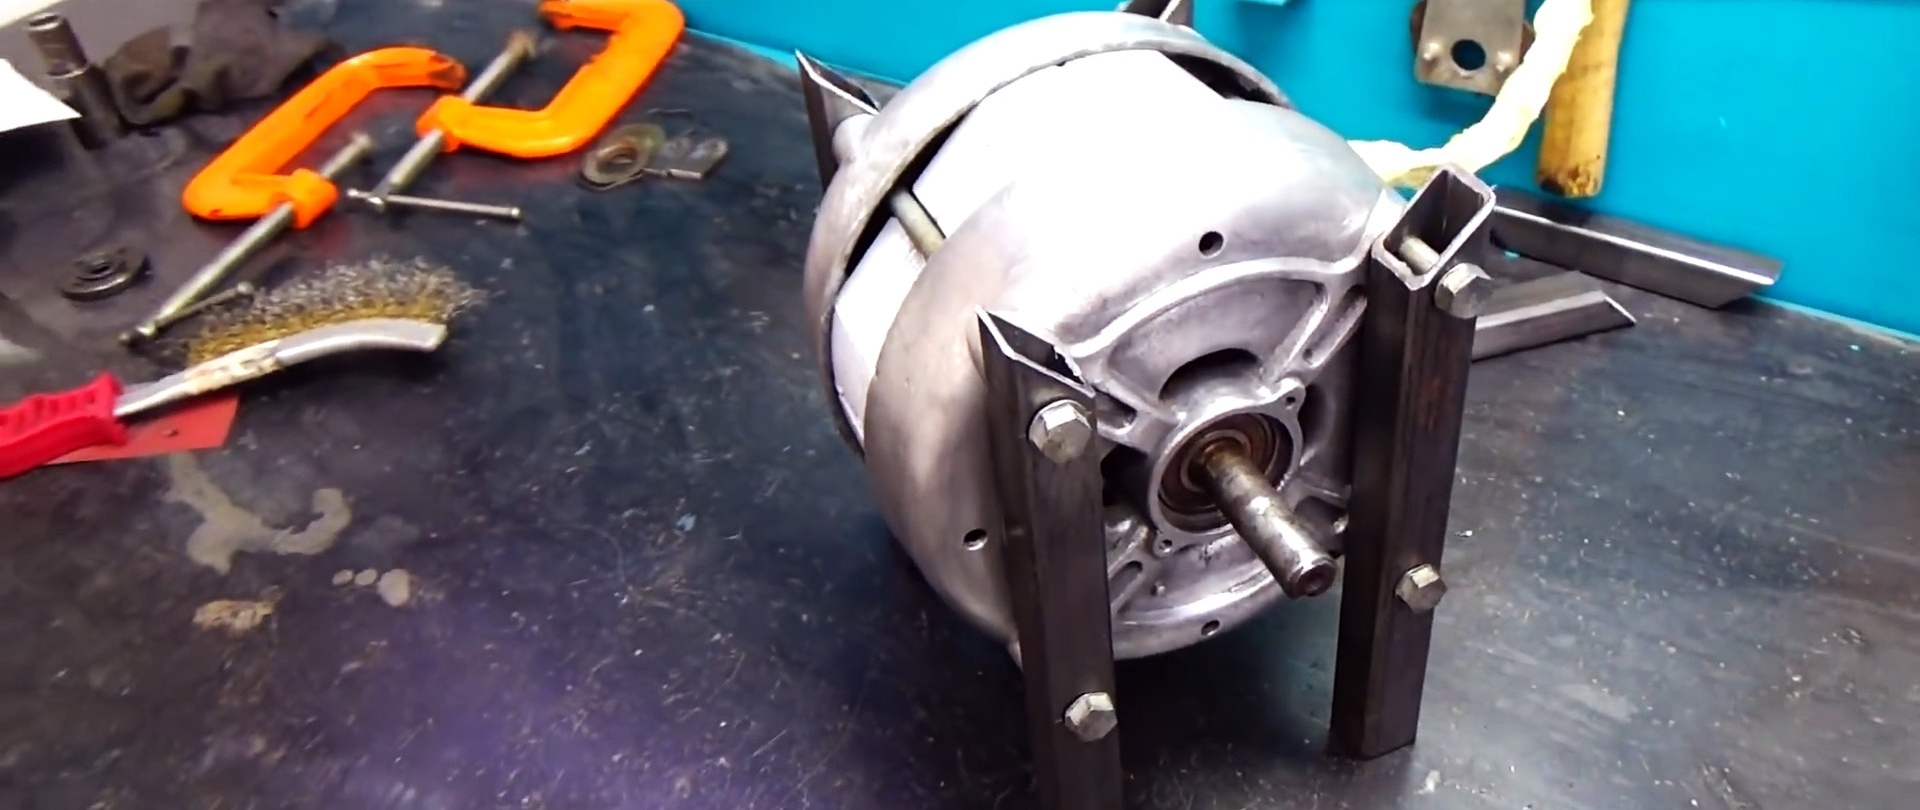
We press the square pipe stands from the outside to the engine covers and tighten them with bolts and nuts.
We place two short pieces in the bevels of the vertical posts and weld them.

Under the racks we make a welded frame from a square pipe so that sections of square pipes with a smaller diameter fit freely into the ends of the short elements.
We lay the frame flat, put posts on the long sides and weld them to the frame.

We insert liners with sides beveled at 45 degrees into the ends of the short sides of the frame and weld a cross member to them.
We cut openings symmetrically in the middle in the cross members of the front and rear pillars.


In the remaining parts of the crossbars, we drill two holes and cut threads for attaching steel plates to them.

We drill a hole in a rectangular plate with a flange in the center and weld it along the flange to the base of the left pillar of the rear frame in the longitudinal direction.

On the other side, we weld a plate with holes for attaching capacitors to the longitudinal element of the frame.
In a short section of a round pipe, drill a transverse hole in the center, weld a nut to it from the outside and screw in a screw.

We place it at the calculated location of the steel plate so that the screw is parallel to the plate and weld it.

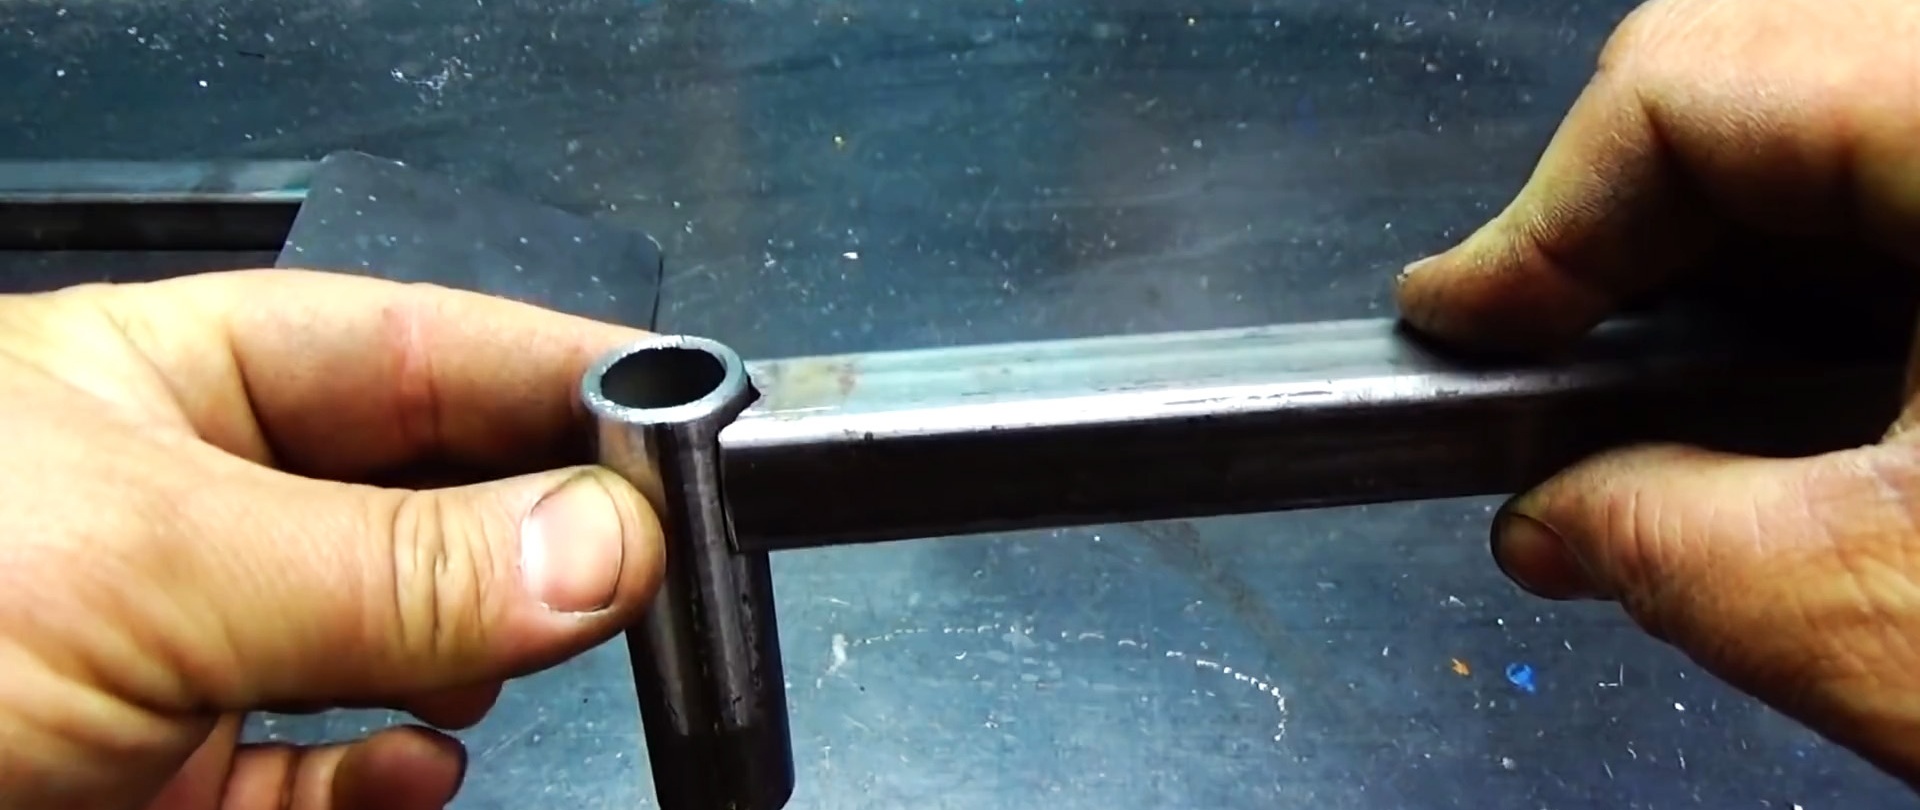
We make a recess in the square tube, place a longer piece of round pipe in it so that its end is slightly offset from the outer end of the pipe and weld them.
To the crossbar of the legs entering the longitudinal square pipes of the base, we weld from the outside, closer to one leg, a fragment of a square pipe with two holes, to the top of which a nut is welded from the outside.


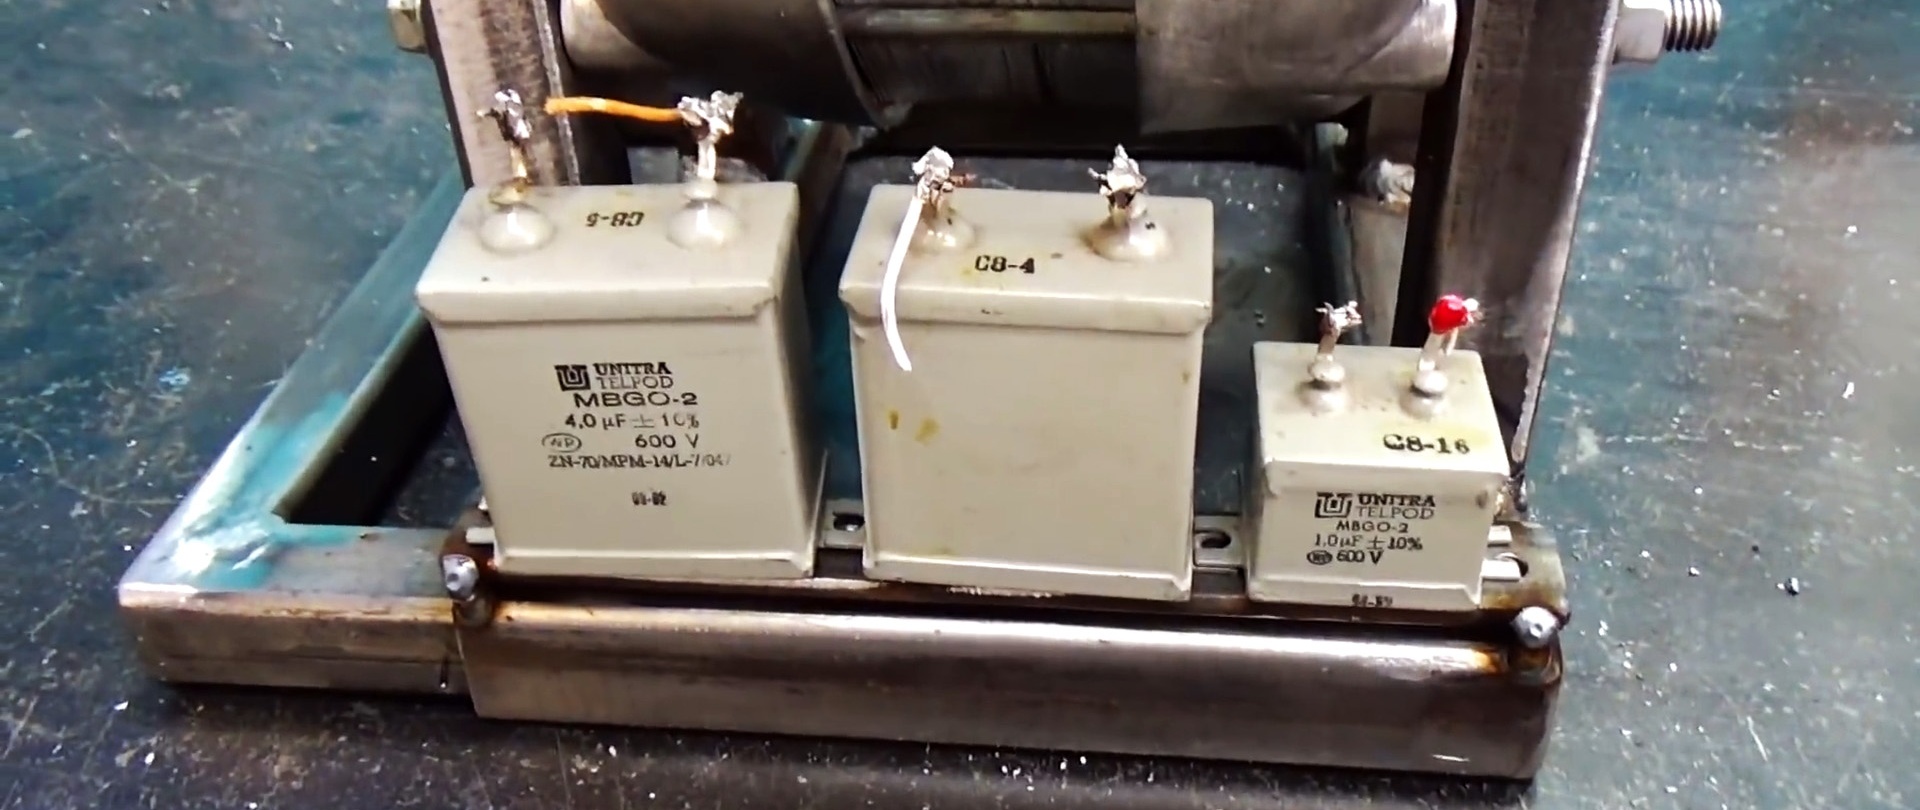
We connect the terminals of the capacitors with copper wires to sum up their capacitance by soldering and insulate the connection points with cambrics.
We fasten the capacitors with screws to a plate with holes. We provide a switch in the electrical circuit. We glue double-sided tape along the contour to the base of the frame, and strips of soft rubber to it.
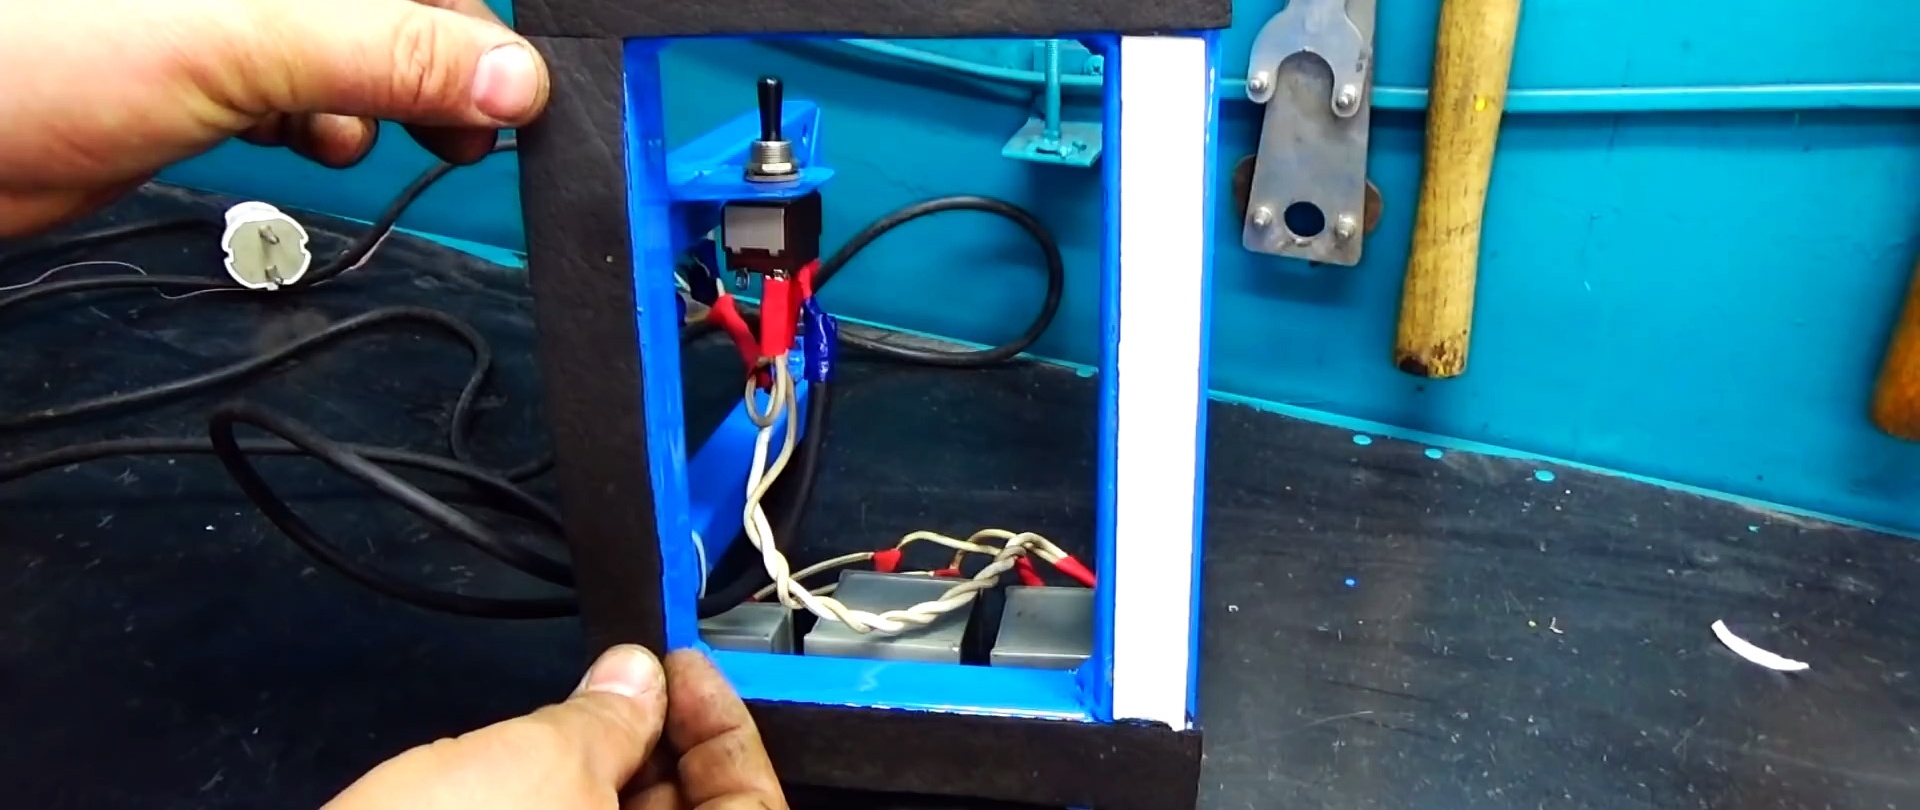
We screw a terminal block to one of the racks to connect the wires.
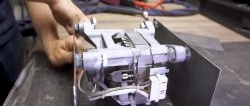
We install the engine in the frame and tighten it with coupling bolts.
We close the open ends of the frame with plugs. Replace the plates and secure them with two screws on each side. We connect the wires using electrical tape.
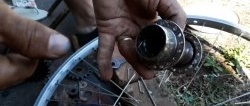
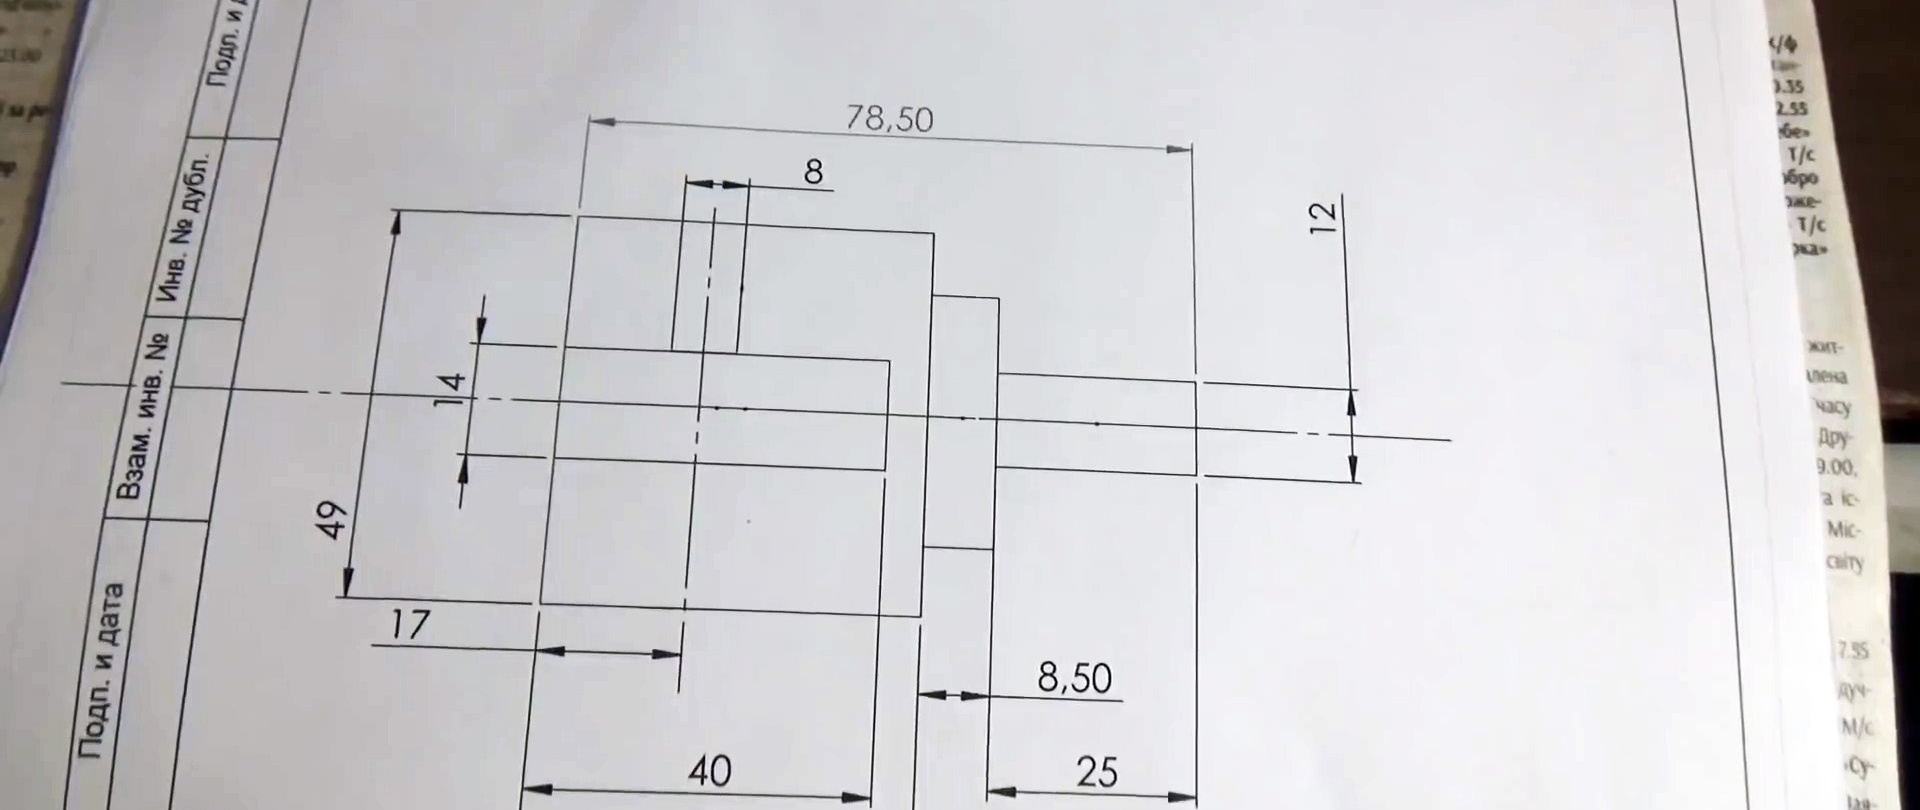
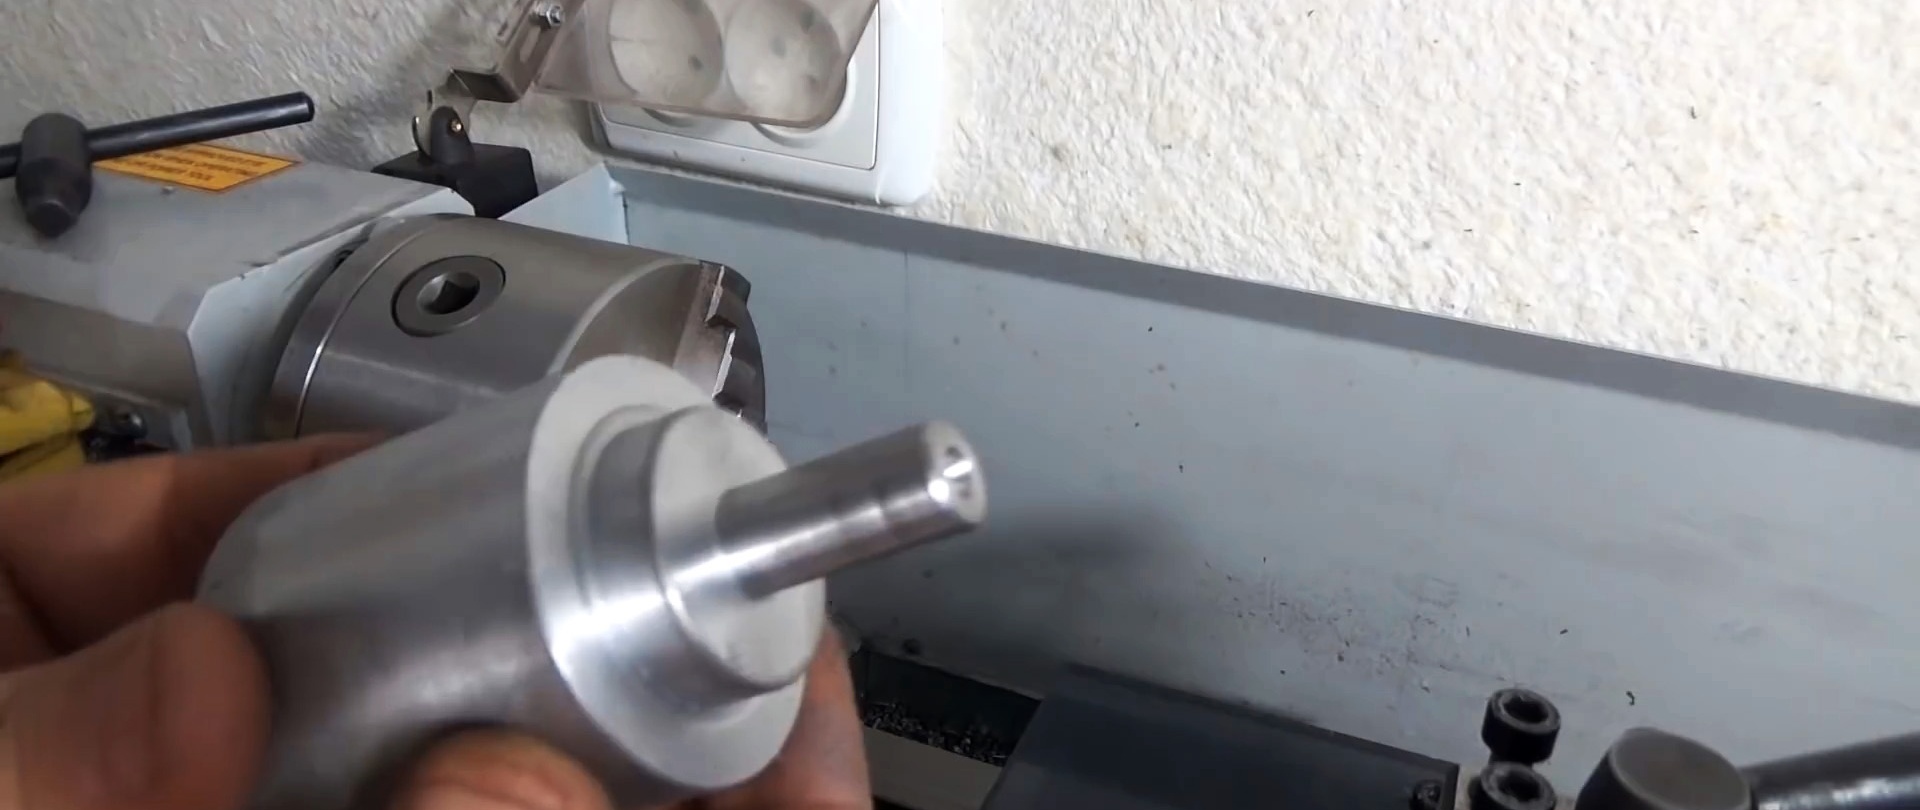
From a steel circle of estimated length and diameter, we grind an adapter onto the shaft and fasten it with bolts through coaxial threaded transverse holes. At the other end of the part, a rod is machined and an external thread is made.
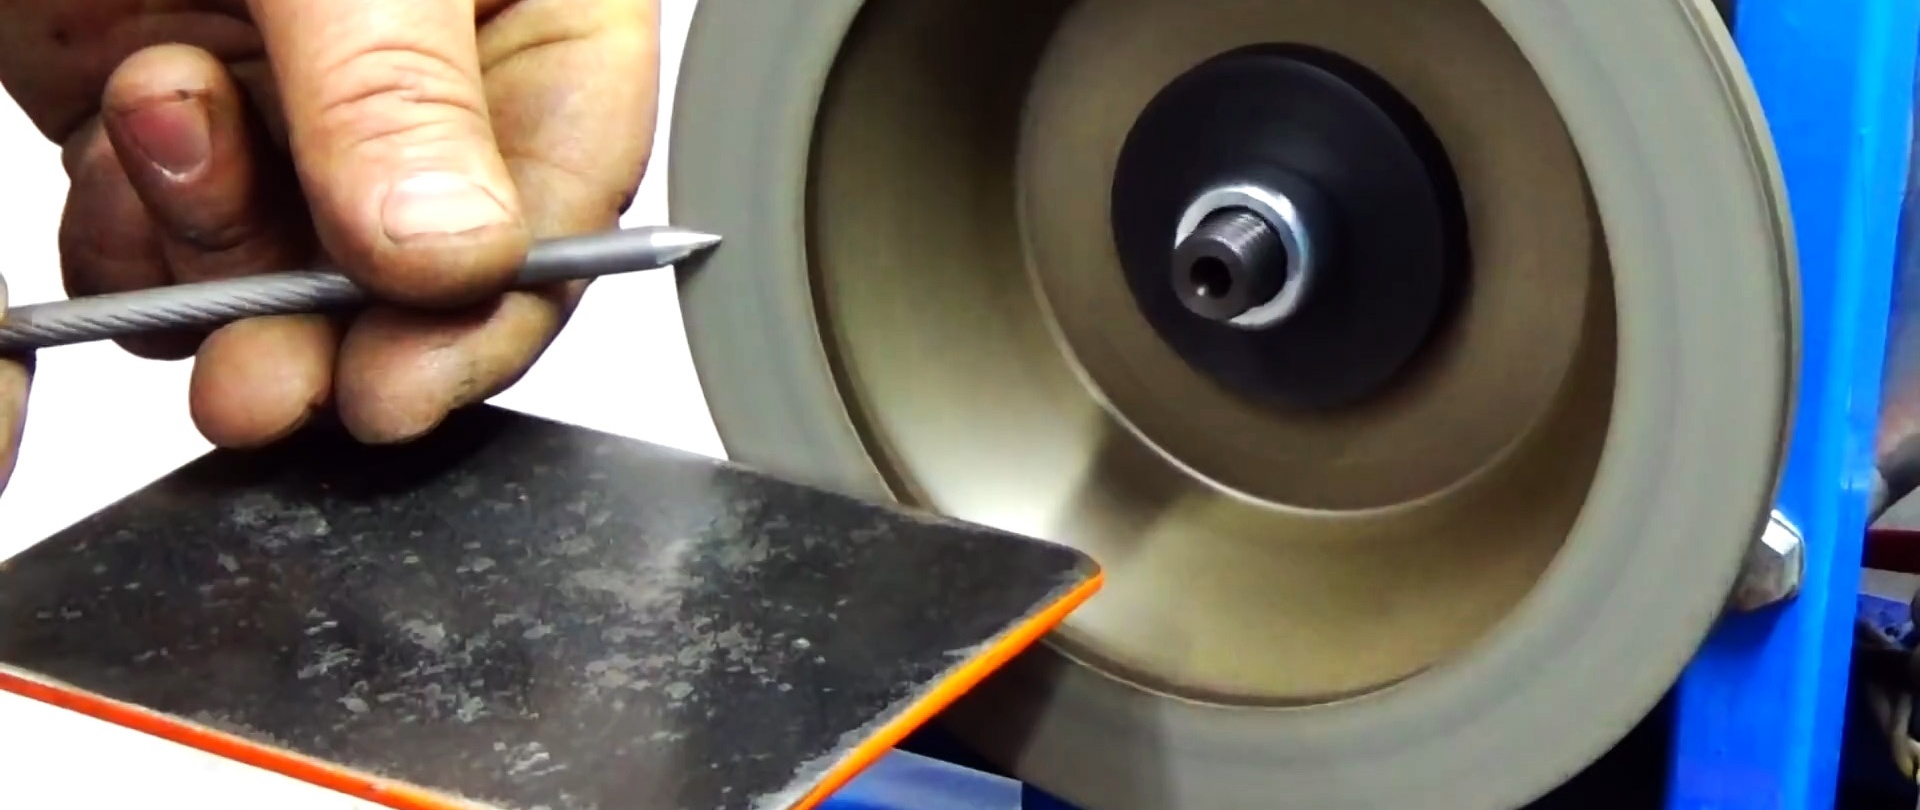
We secure the diamond cup wheel to the adapter using a clamping ring and a nut.


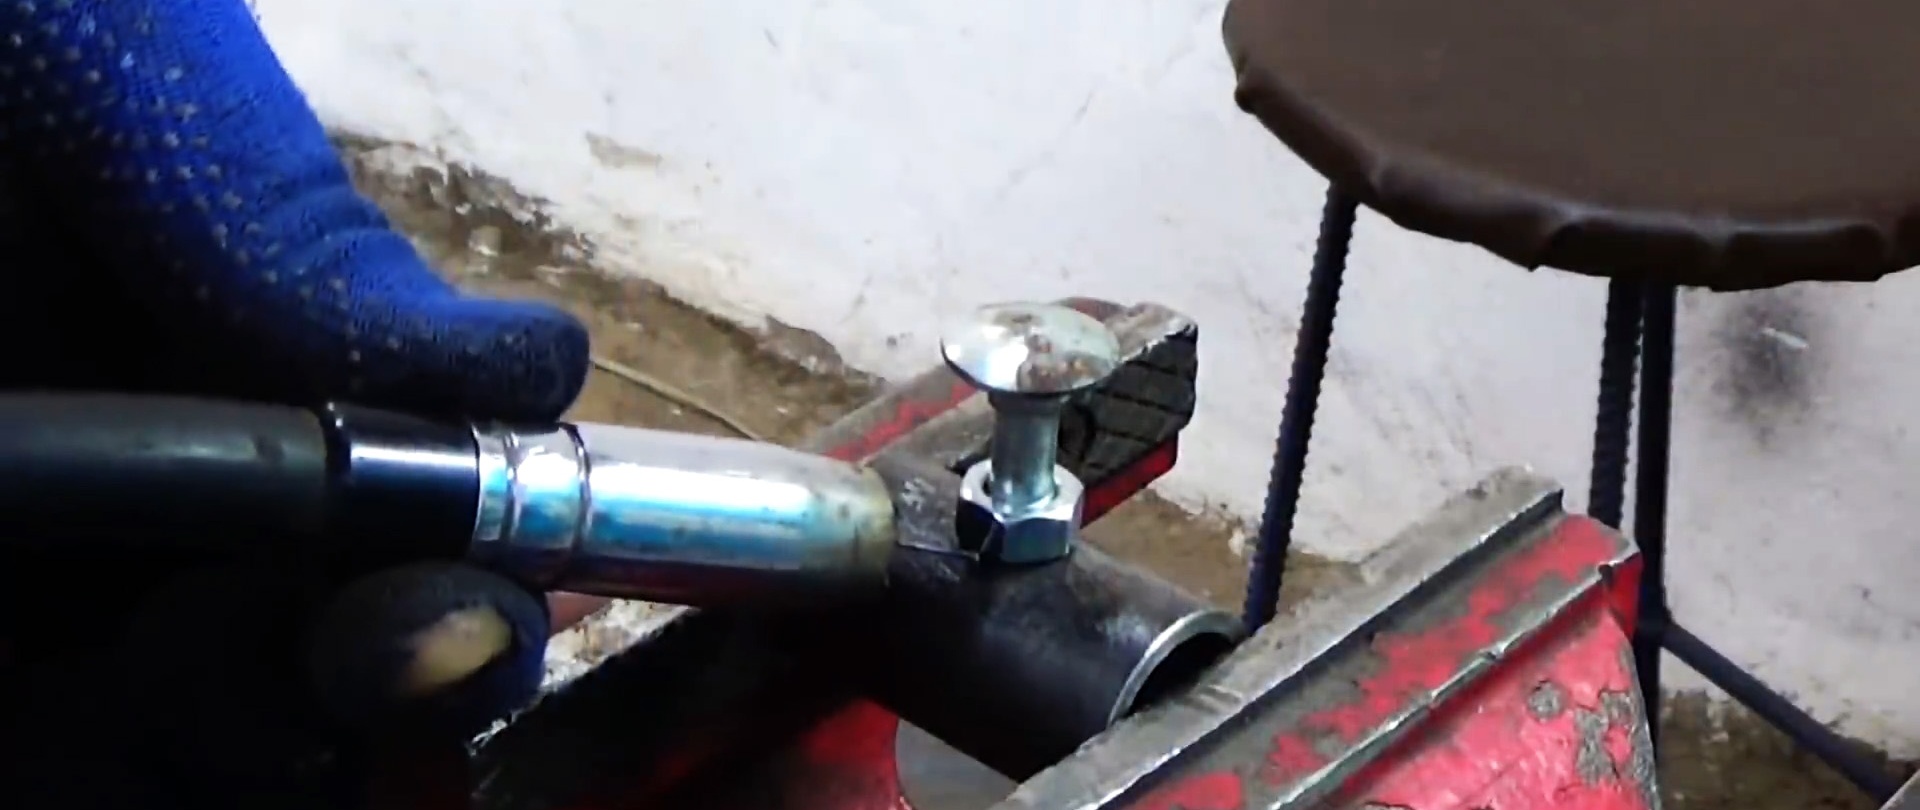
We insert an insert with a piece of round pipe into the vertically welded to the movable frame parallel to the crossbar of the movable frame.
We put a counter pipe welded to the steel plate at the bottom onto the pipe. We fix the plate at the required height and rotate it to any angle using bolts and welded nuts.


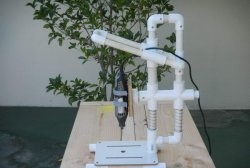
We insert the legs of the movable frame into the base and fix it with bolts in the required position. We turn on the machine to the network, move the switch toggle switch to the “On” position. and sharpen our tools.