In addition to the drill, we will need the following materials, tools and accessories:
- wooden blocks of various sections;
- chipboard sheet;
- bolts, washers, nuts and screws;
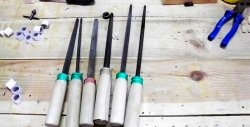
- caliper, square ruler and pencil;
- pendulum saw;
- grinder and screwdriver;
- glue gun;
- clamps;
- chisel and sandpaper.
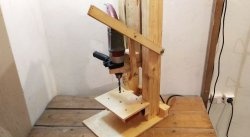
The process of transforming a drill into a lathe
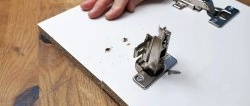
Using a caliper, we measure the cylindrical belt on the drill body, for which we will attach the tool and center it to the headstock of our lathe.
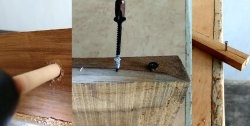
We mark a wooden beam, secured to the workbench table with a clamp, and use a drill with a core drill to make a through hole closer to one of its edges.
Along the longitudinal axis of the beam, we use a circular saw to cut the jumper between the end and the through hole, and continue the cut in its body to the same distance.We cut off a piece of timber with a hole of the required length.
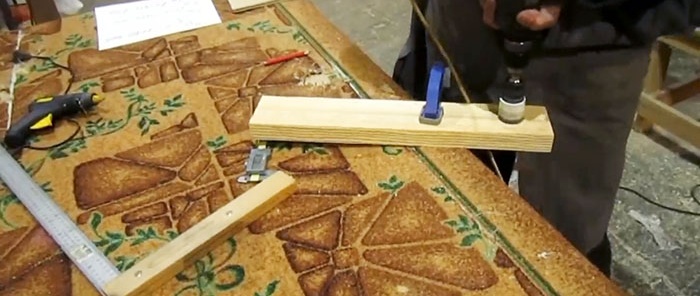
We apply markings to a double piece of chipboard with a given width and length, focusing on the hole in the block, which will serve as the power element of the headstock.
We apply a little glue to the lower end of the block and install it on the frame - the surface of the chipboard, according to the pre-applied markings, making sure that it is perpendicular to the longitudinal axis of the frame.
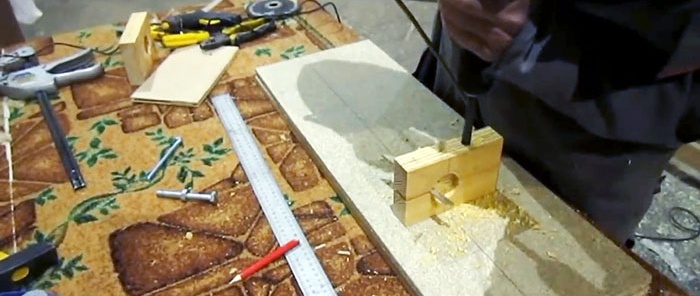
Having installed a thin lath in the cut of the block, we use a drill to make two drillings through the entire block and two sheets of chipboard. Then we remove the block and, according to the template, make two blind recesses, coaxial with the through holes. We put washers in them to increase the strength and rigidity of the place where the headstock is attached to the frame.
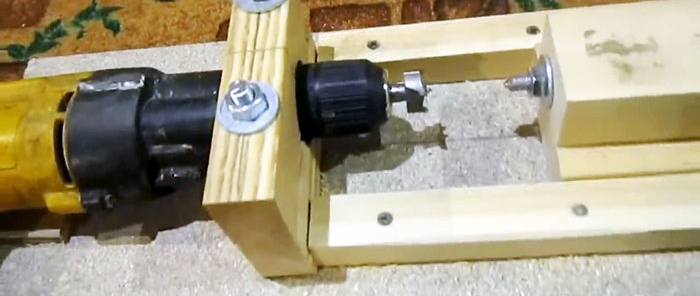
We insert two bolts of suitable length with wide washers under the heads from the bottom of the frame, screw and tighten the nuts on top of the transverse beam, not forgetting to place wide washers under them.
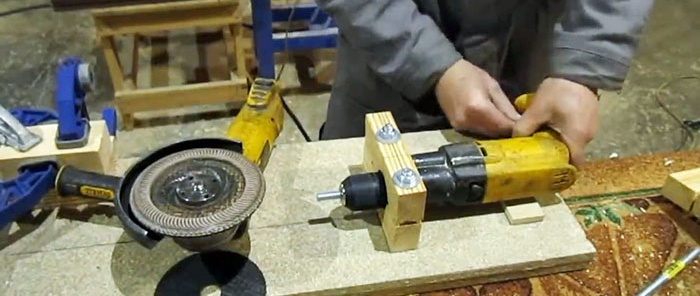
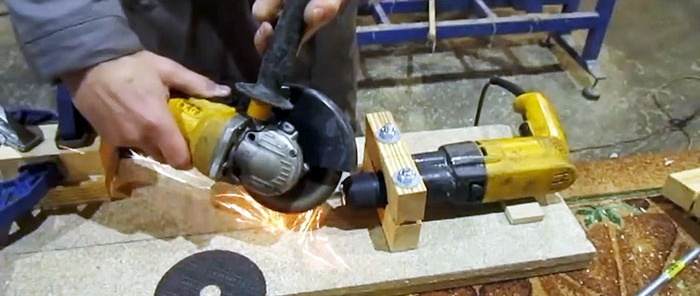
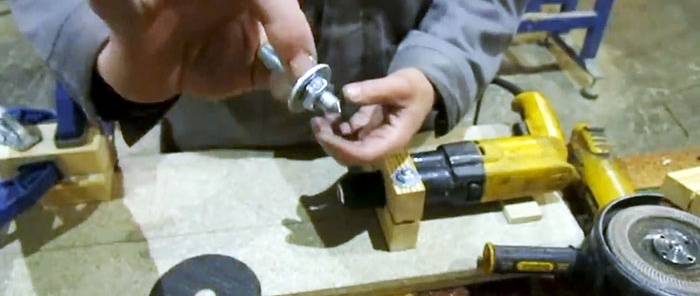
We insert and tighten a section of the bolt or stud rod into the drill chuck, turn on the drill and sharpen its free end with a grinder with a grinding disc. After finishing the processing, put a washer on the pointed rod, screw on the nut and put it aside.
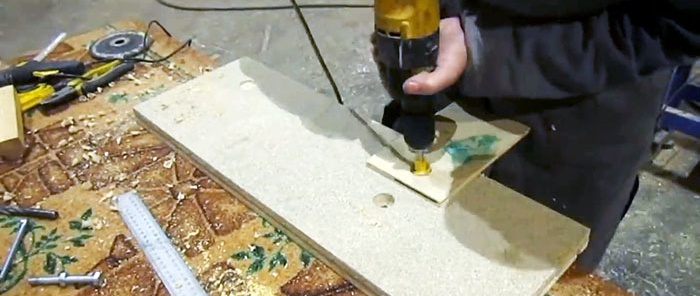
Using a template, we install the tailstock along the longitudinal axis of the bed at a certain distance from the drill chuck, which in our case is similar in cross-section to an inverted T-shaped beam. We place guide-limiters on the sides - two identical square-section bars, applying a little glue to their bottom.
Using a drill and a drill bit, we mark the installation locations for the screws and screw them in with a screwdriver, finally securing the guides to the frame.
We fix the drill bit in the drill chuck, mark the drilling depth on it with tape, turn on the tool and move the tailstock towards the drill to get a hole of the required depth.
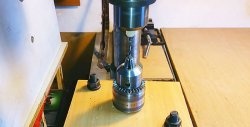
We insert a pre-prepared bolt rod with a pointed end, a washer and a nut into the blind hole. This unit is designed to center and hold the workpiece.
Make sure that the center of the tailstock is aligned with the center of the Forstner drill mounted in the drill chuck. To do this, move the tailstock to the front one and make sure that there is no runout.
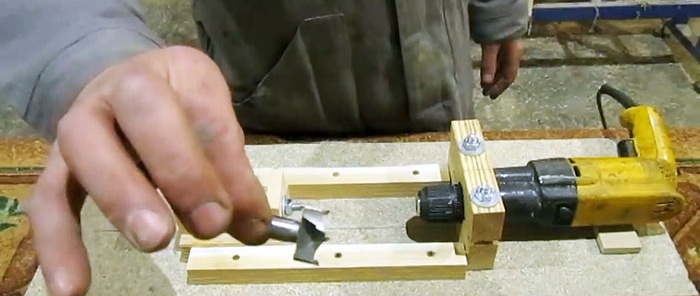
We secure the tailstock with screws screwed in at an angle so that they better withstand the force from the parts being processed. To process workpieces of different lengths, we either lengthen or shorten the threaded rod.
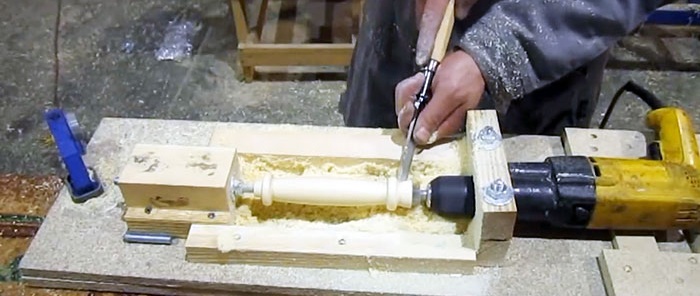
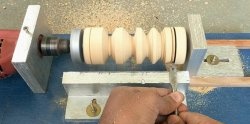
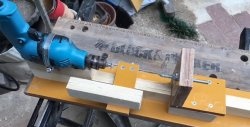
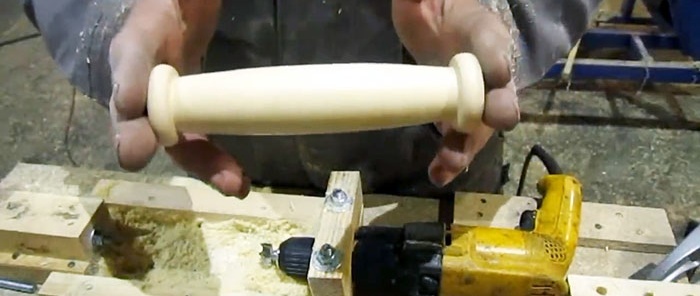
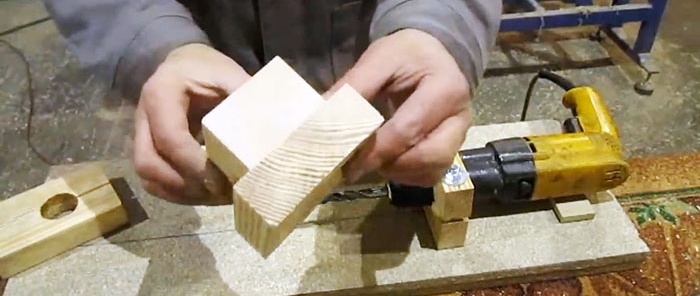
To test the homemade product, we use a square-section blank. But before fixing it on the machine, we draw diagonals at the ends and determine the centers, i.e., the attachment points.
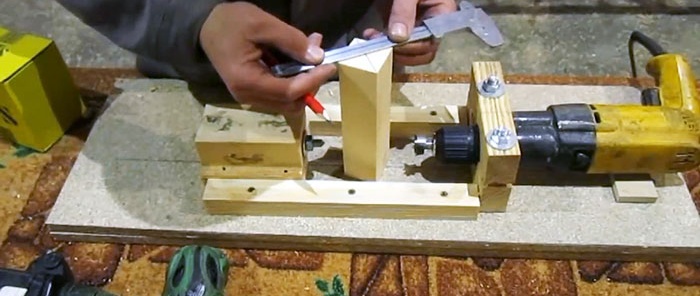
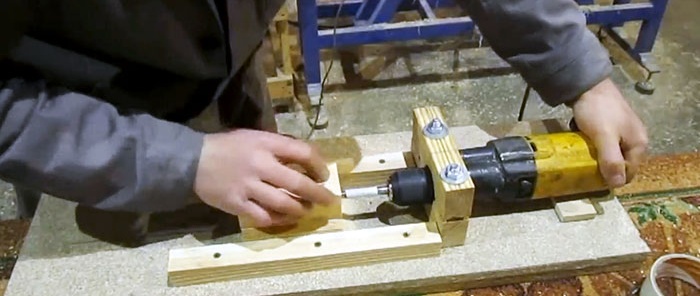
Having securely secured the workpiece, turn on the drill and begin to grind the rotating workpiece with a chisel, resting it against the tool rest - the longitudinal guide.
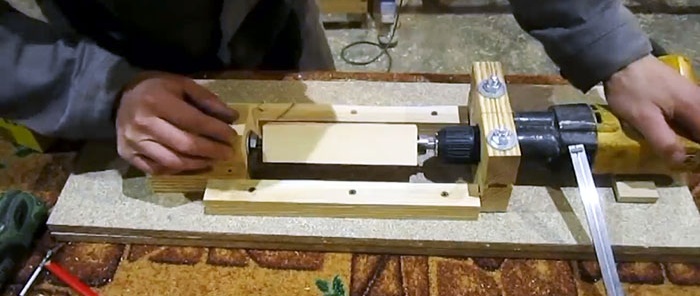
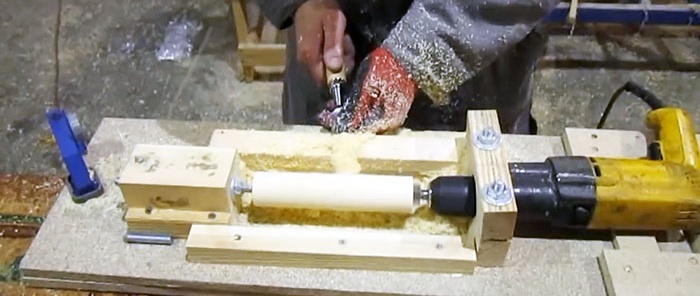
Having given the workpiece the required shape, we grind it with sandpaper and polish it with a piece of solid wood. To remove the finished part from the machine, use a wrench to turn the nut on the tailstock stop to move it away and release the part.