A wood-burning stove-barbecue is worth making in the country or near the house just for the smoky aroma that will come from the food cooked on it. The proposed version of the stove is characterized by a simple design, inexpensive materials and enviable efficiency: with one kindling you can cook all the dishes, even for a large family.
Will need
Materials:- Ordinary brick;
- cement, sand, clay and water;
- knitted reinforcement;
- pieces of steel reinforcement;
- asbestos-cement knee;
- metal chimney;
- steel sheet and angle.
Wood stove laying process
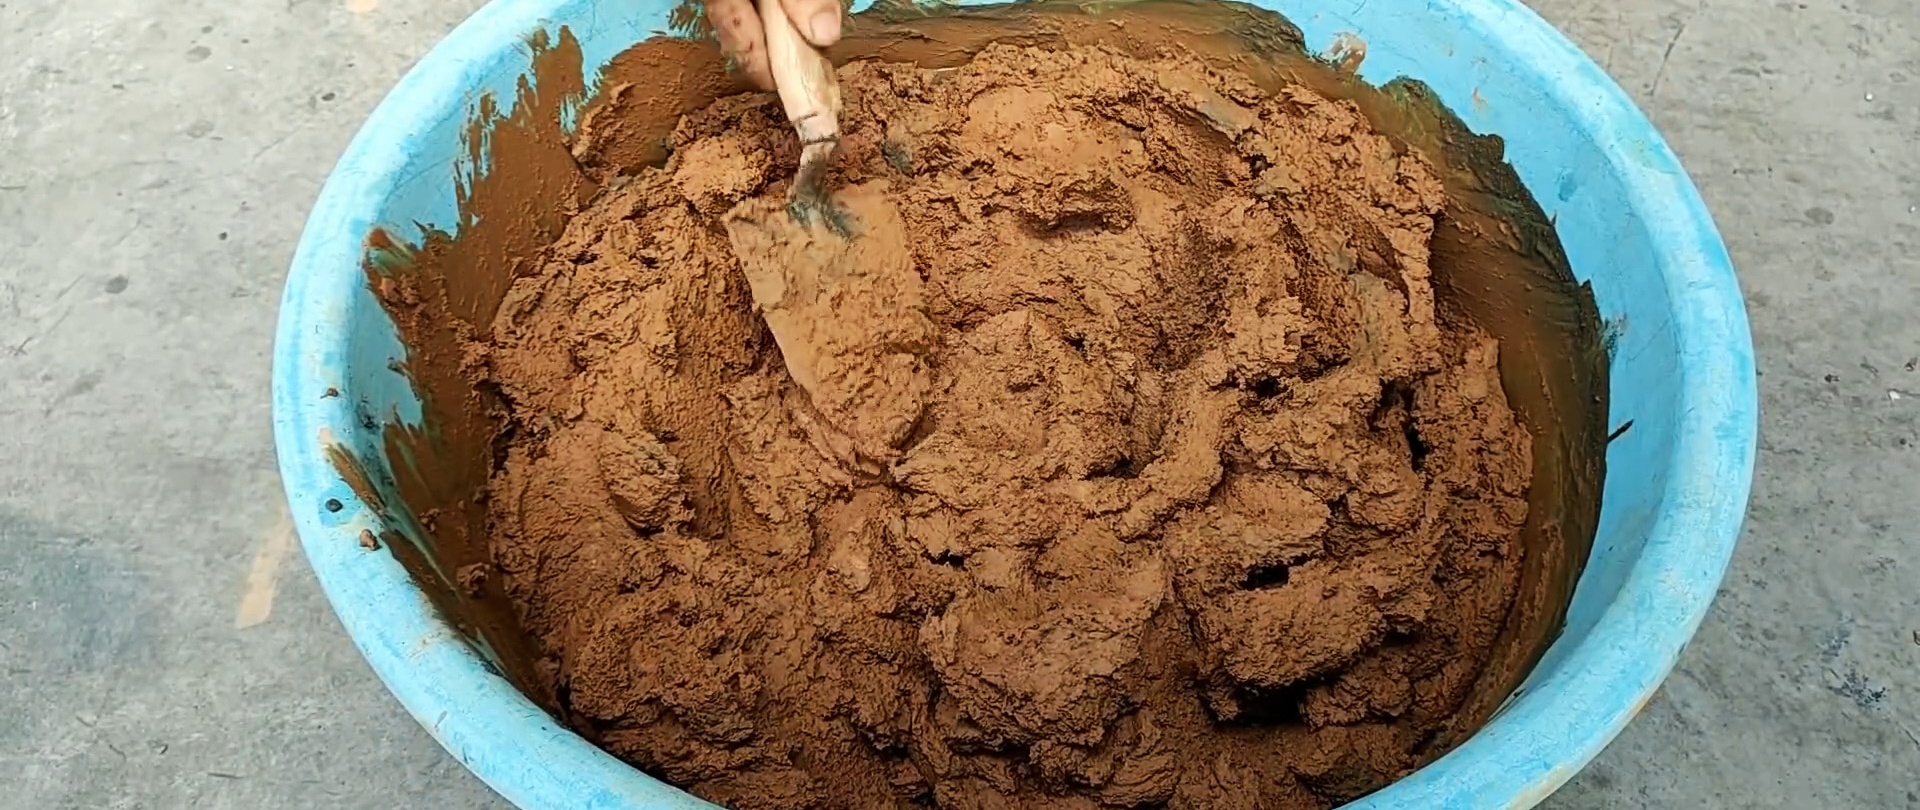
Pour measured portions of cement and sand into the container for mixing the solution and mix thoroughly. Then, adding water little by little, mix the components until a homogeneous mass of the required consistency is obtained.

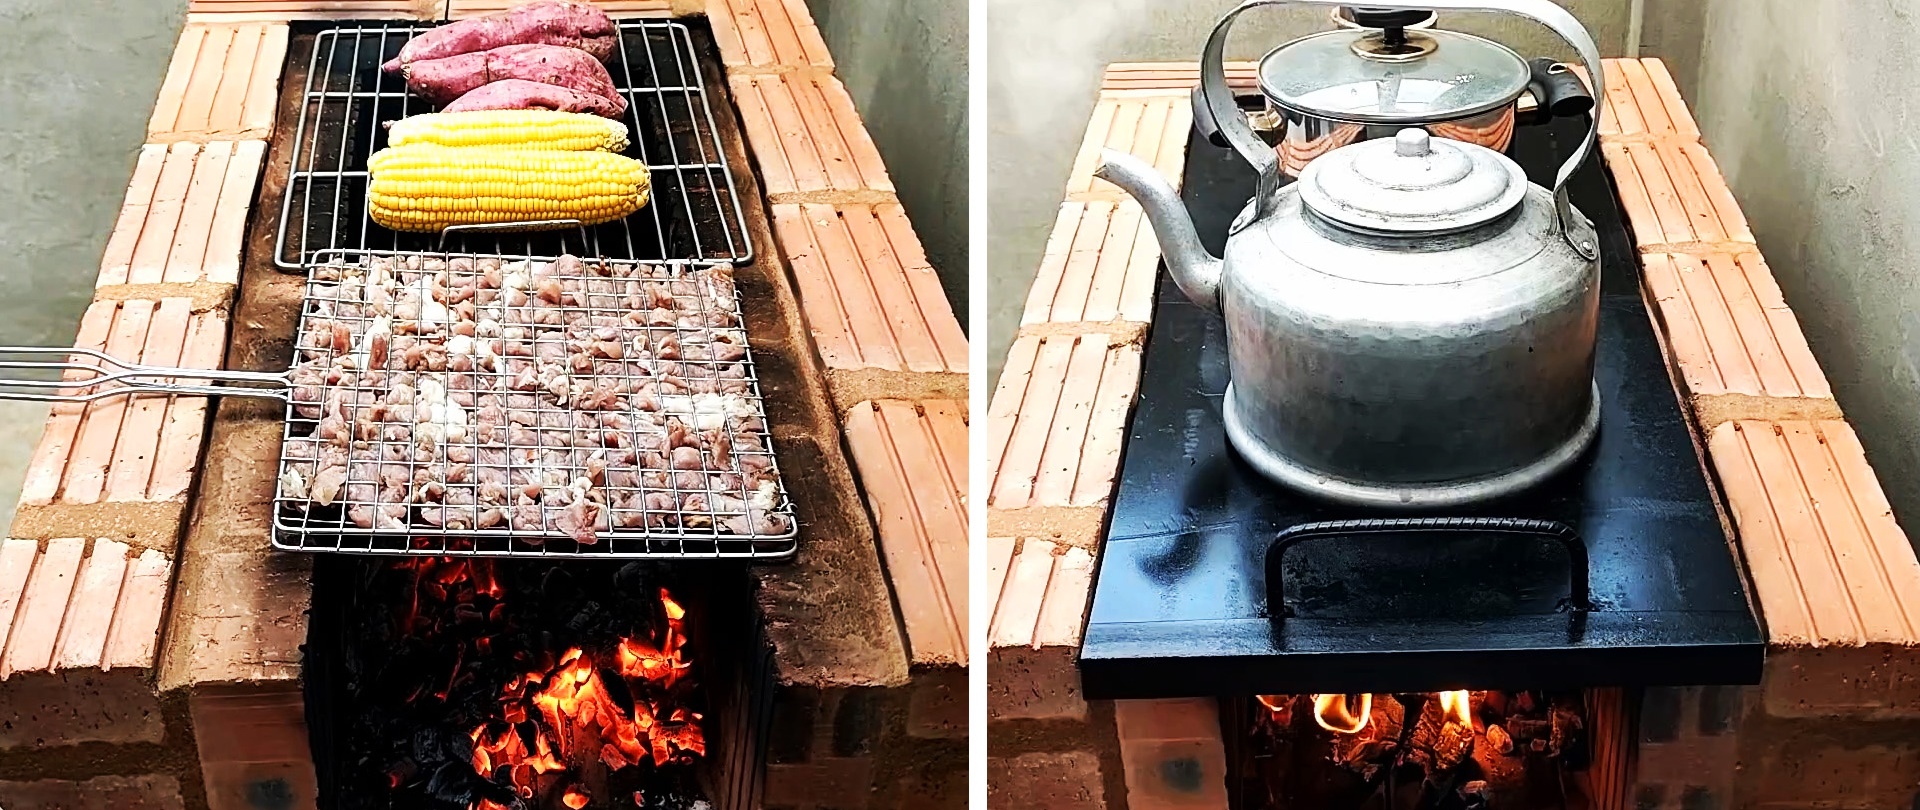
We lay the mortar on the concrete floor along the lath and lay the brick, not forgetting to apply the mortar to the poke.

In plan, the base of the furnace is similar to the letter Ш, but with the internal extension shifted to one side.
We lay the second and subsequent rows in the same order with dressing. We rub out the mortar squeezed out by the bricks during laying, and return the excess to the container.
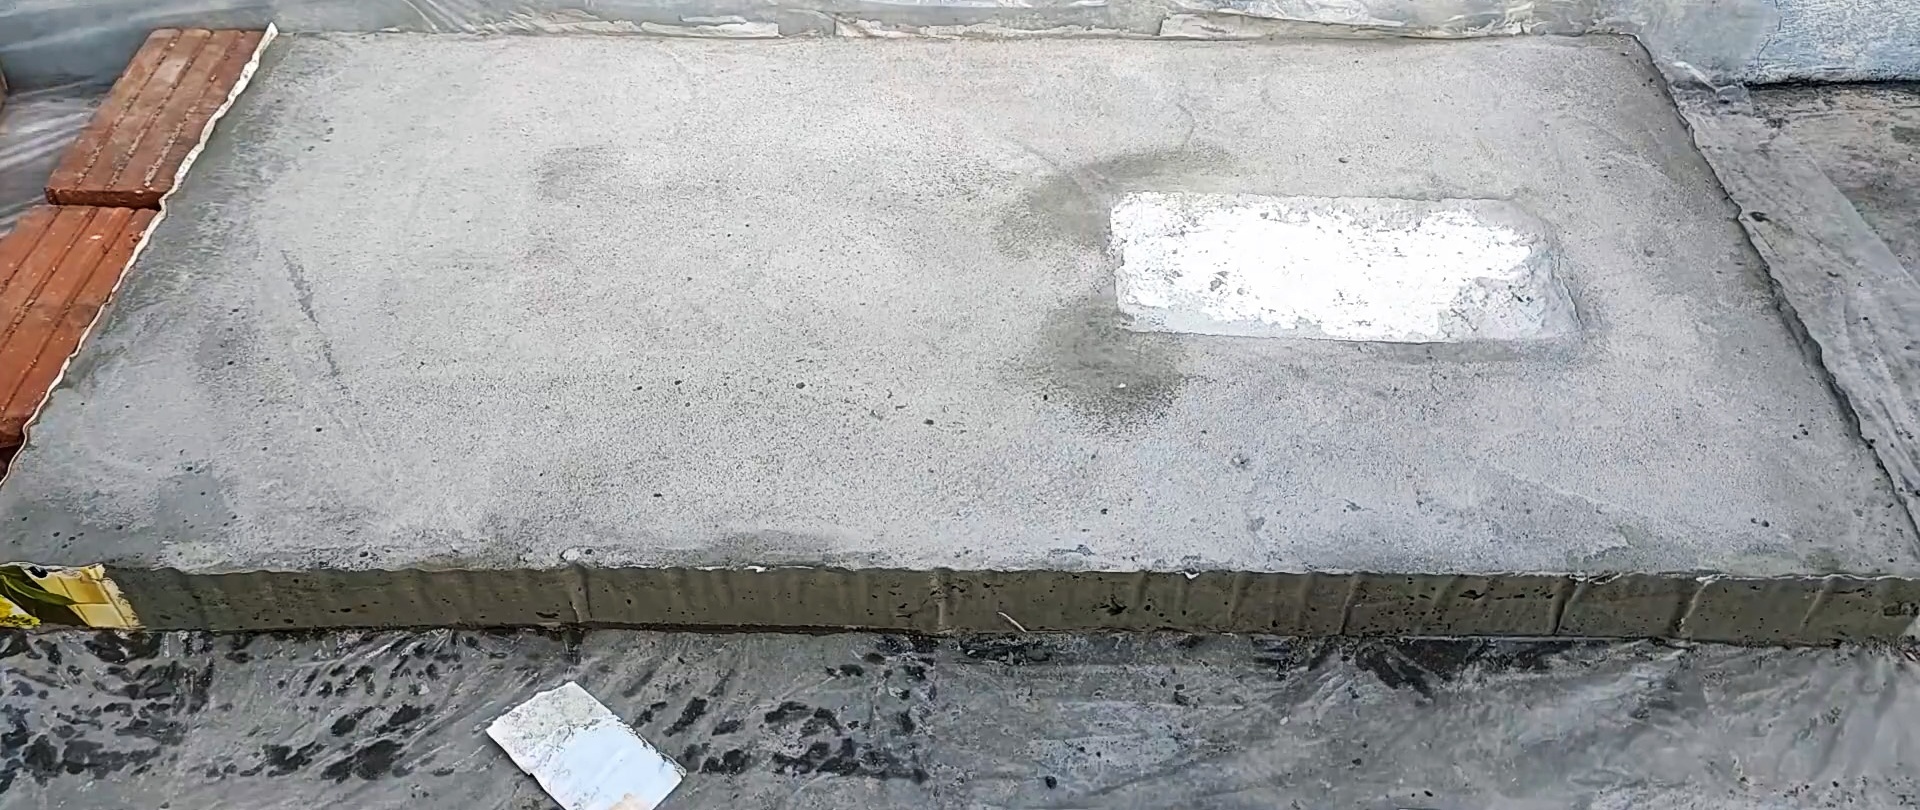
We lay plastic film on the concrete floor and lay bricks flat along the edges in two rows widthwise to form a rectangular area inside.

We fill the fenced area with mortar, covering the inner tray of the bricks with dividing tape.

Along the center line of the site, closer to one edge, we place a foam “brick” on the film, compact and level the mortar over the entire site.

We lay knitted reinforcement on the mortar, slightly recess it into the mortar and add the mixture to the top level of the bricks. We give time for the reinforced mortar to set and harden. We disassemble the bricks and remove the tape.
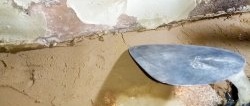
We apply cement mortar to the base of the furnace, transfer it and carefully lay the cement slab on it.
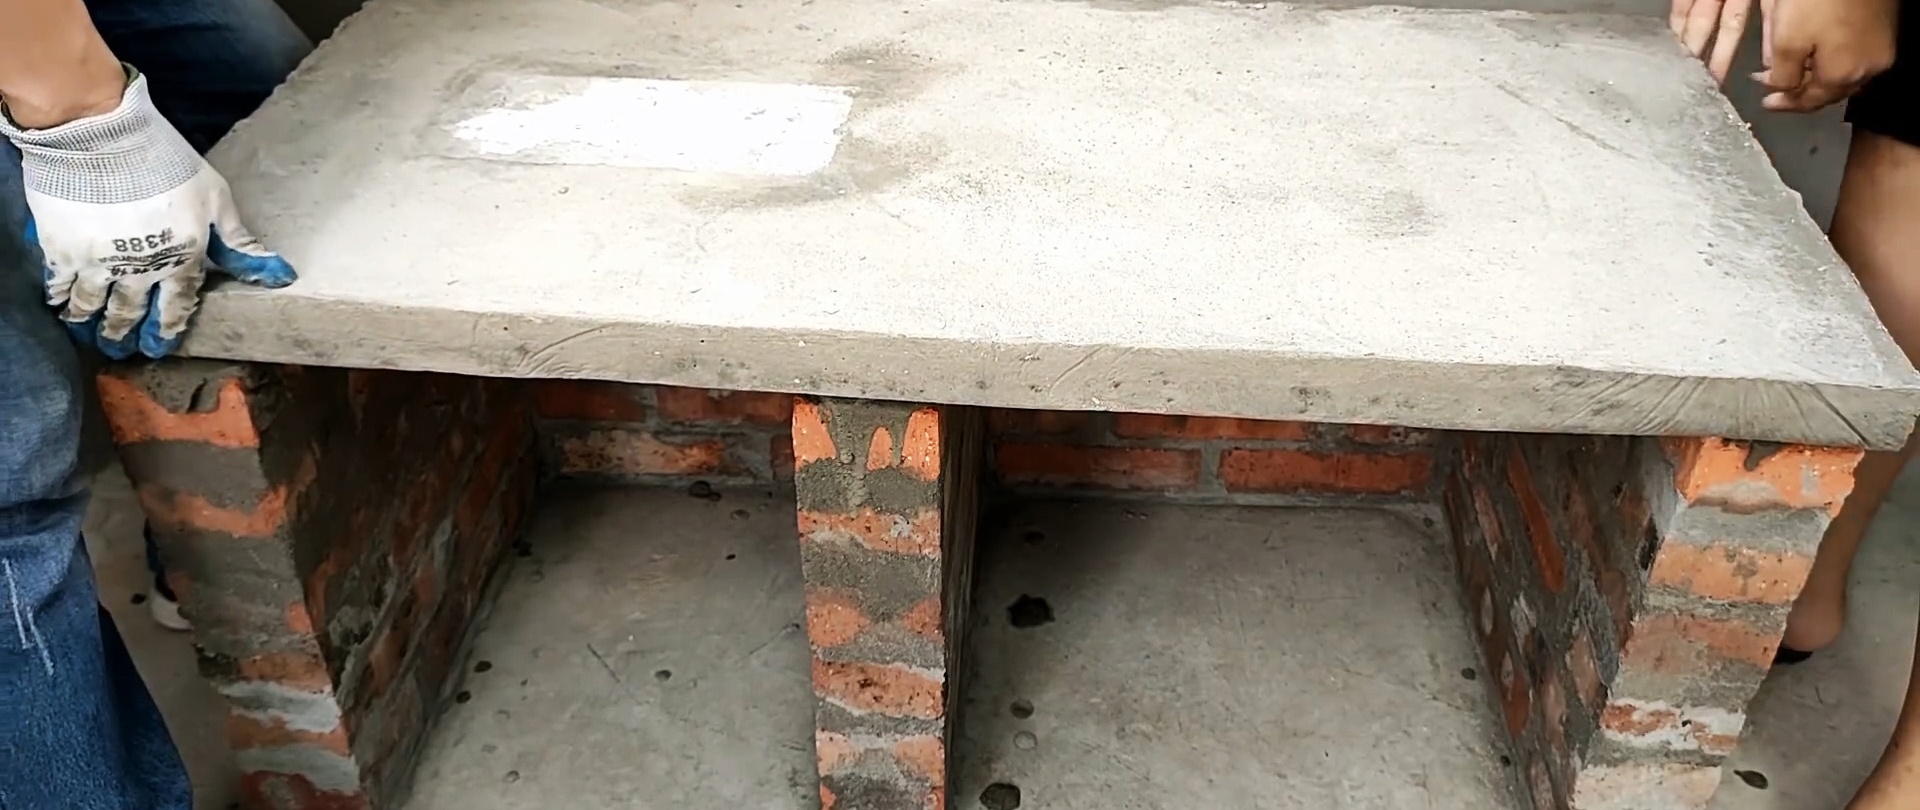
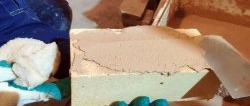
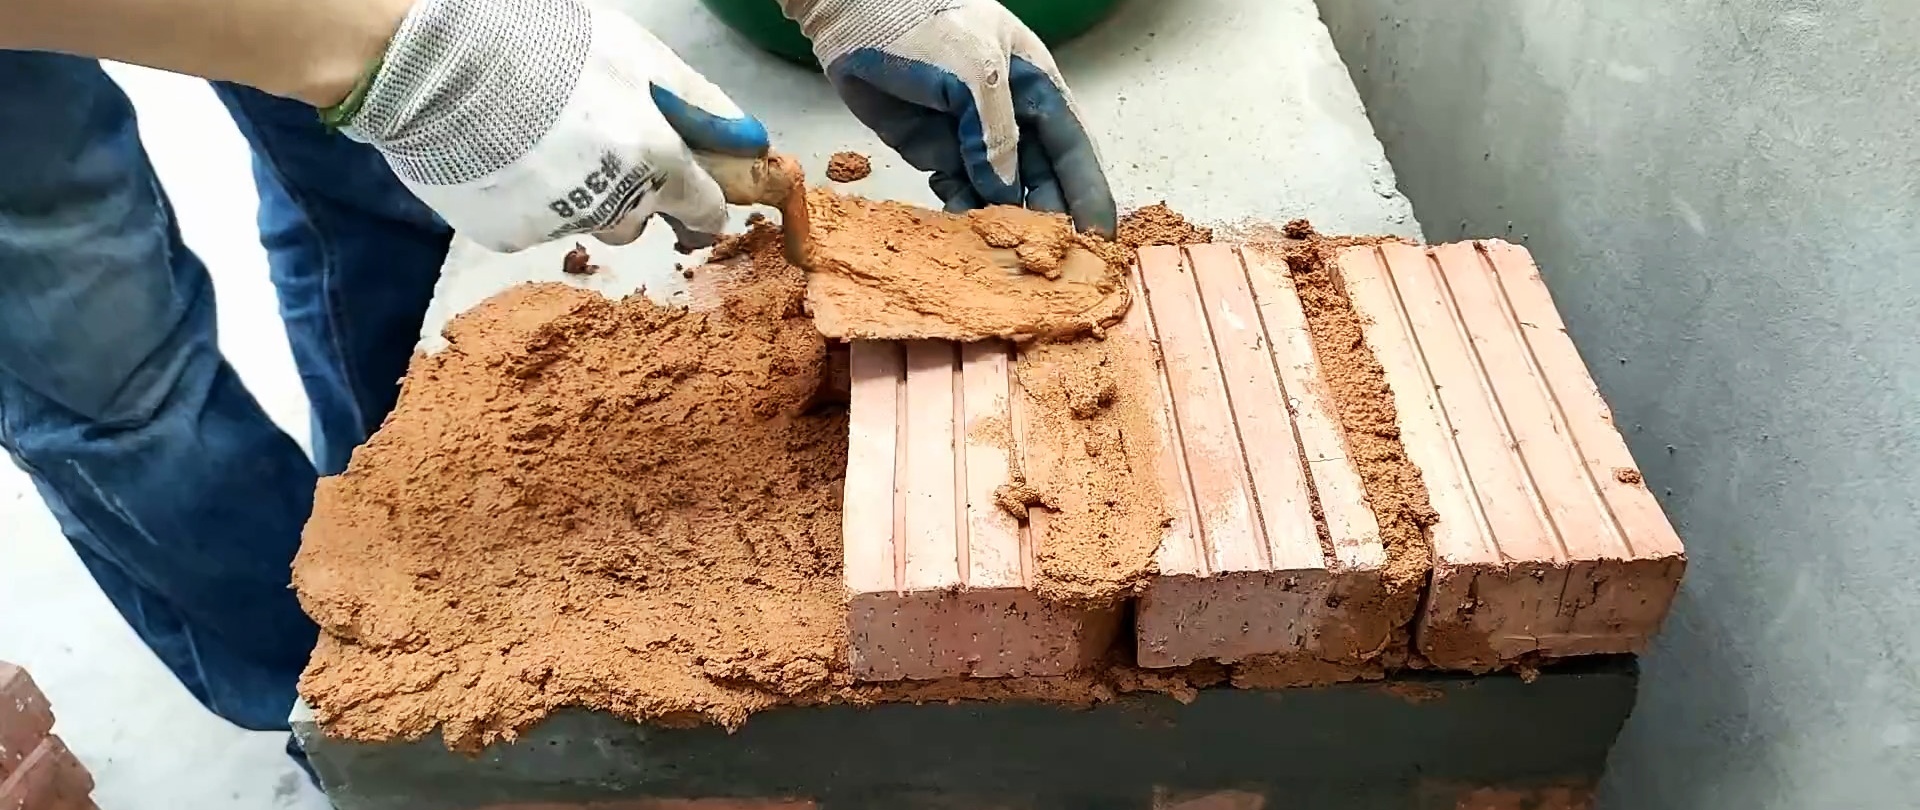
We mix a fireproof mortar of clay, cement, sand and water, and lay bricks on the cement slab over its entire surface, compacting and smoothing the seams. For better settlement, we tap the bricks with a hammer through a wooden beam.
We knock out the foam from the cement-sand slab and continue laying bricks without putting a “window” in the slab.

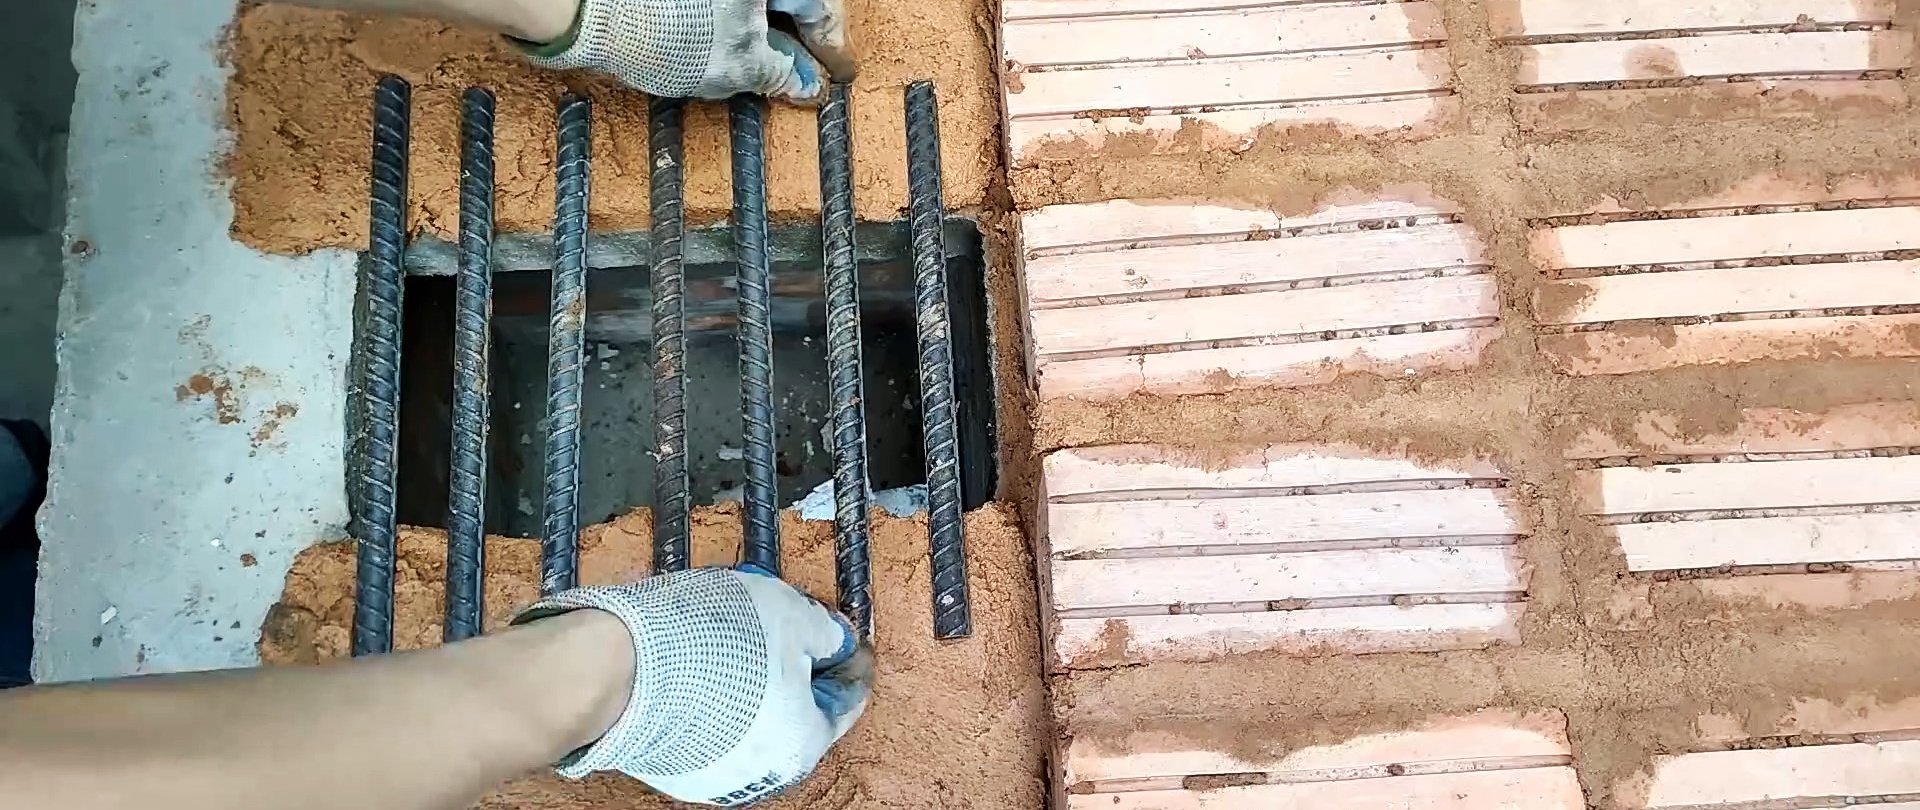
We place pieces of reinforcement across the “window” on the mortar and lay bricks on top. We lay out the outer walls of the furnace firebox on a refractory base, checking the horizontal level with a level gauge.

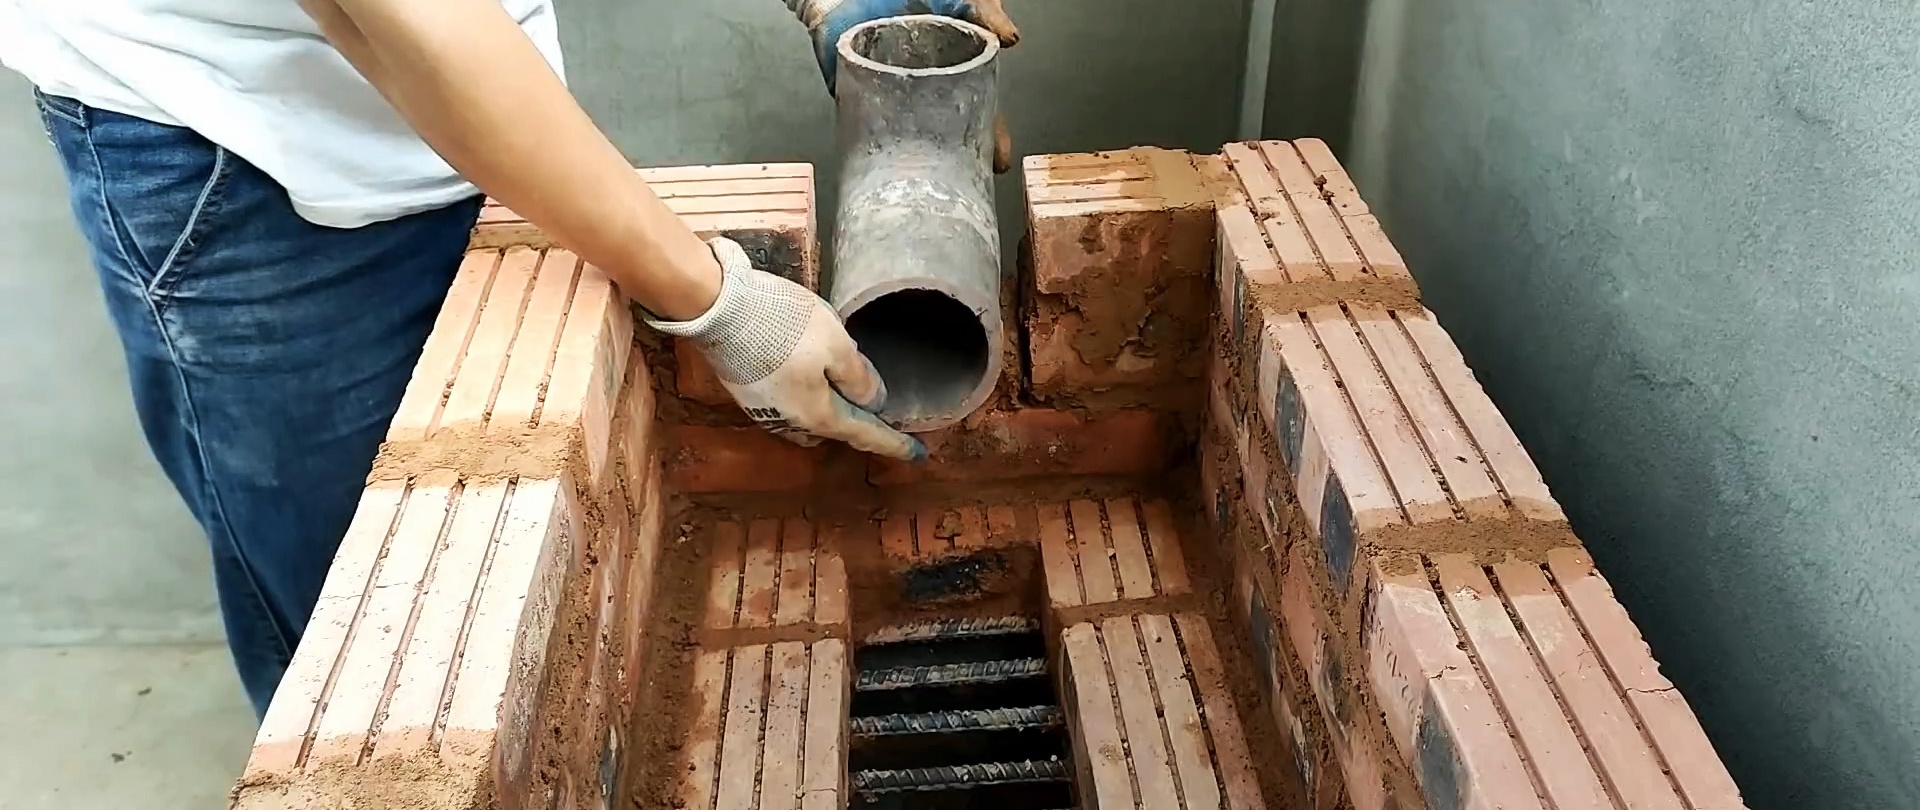
We install an asbestos-cement elbow into the opening of the rear wall of the firebox, orienting its outer short part strictly vertically. We fill the outside of the elbow and coat it with fireproof mass.
We strengthen the side walls of the firebox from the inside by installing another row of bricks on the butt. We close the corners between the back and side walls of the firebox with bricks installed diagonally.
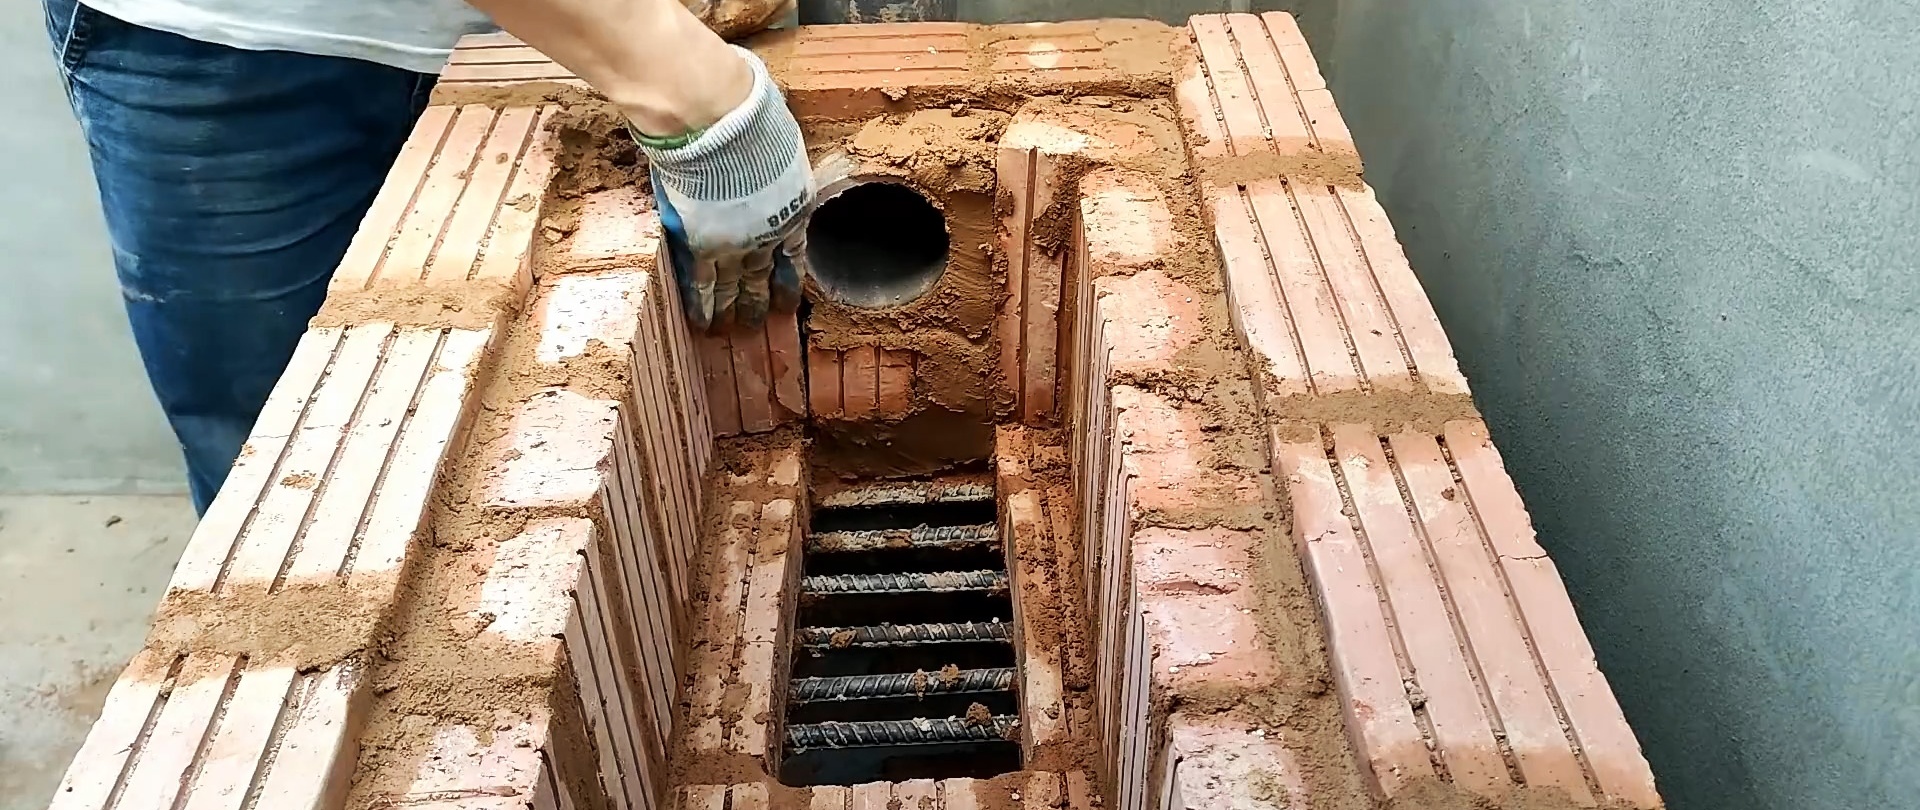
We insert a metal pipe into the outer part of the elbow and cover the annular gap with fireproof mortar.


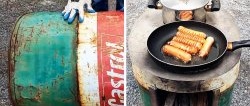
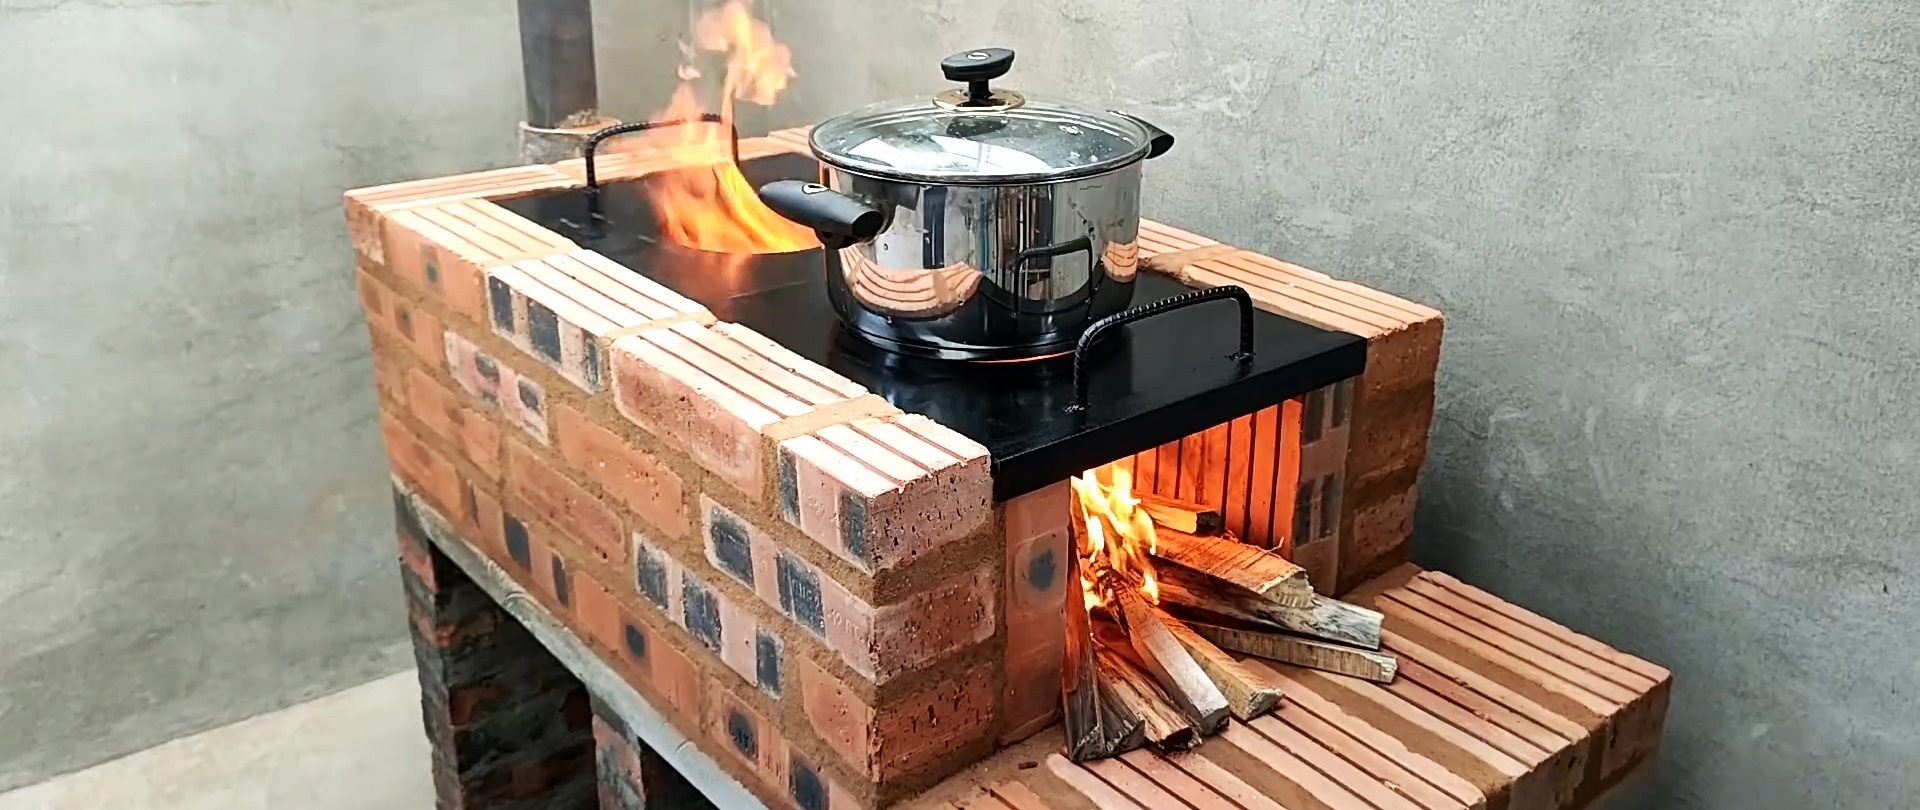
The top plate is made of a steel sheet with two round holes, two corners welded to the sheet from below in the longitudinal direction and indented from the edges. On top of the stove we weld two brackets-handles transversely along the edges.

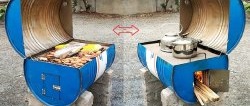
We heat the stove and place dishes on the stove openings for boiling water and cooking.

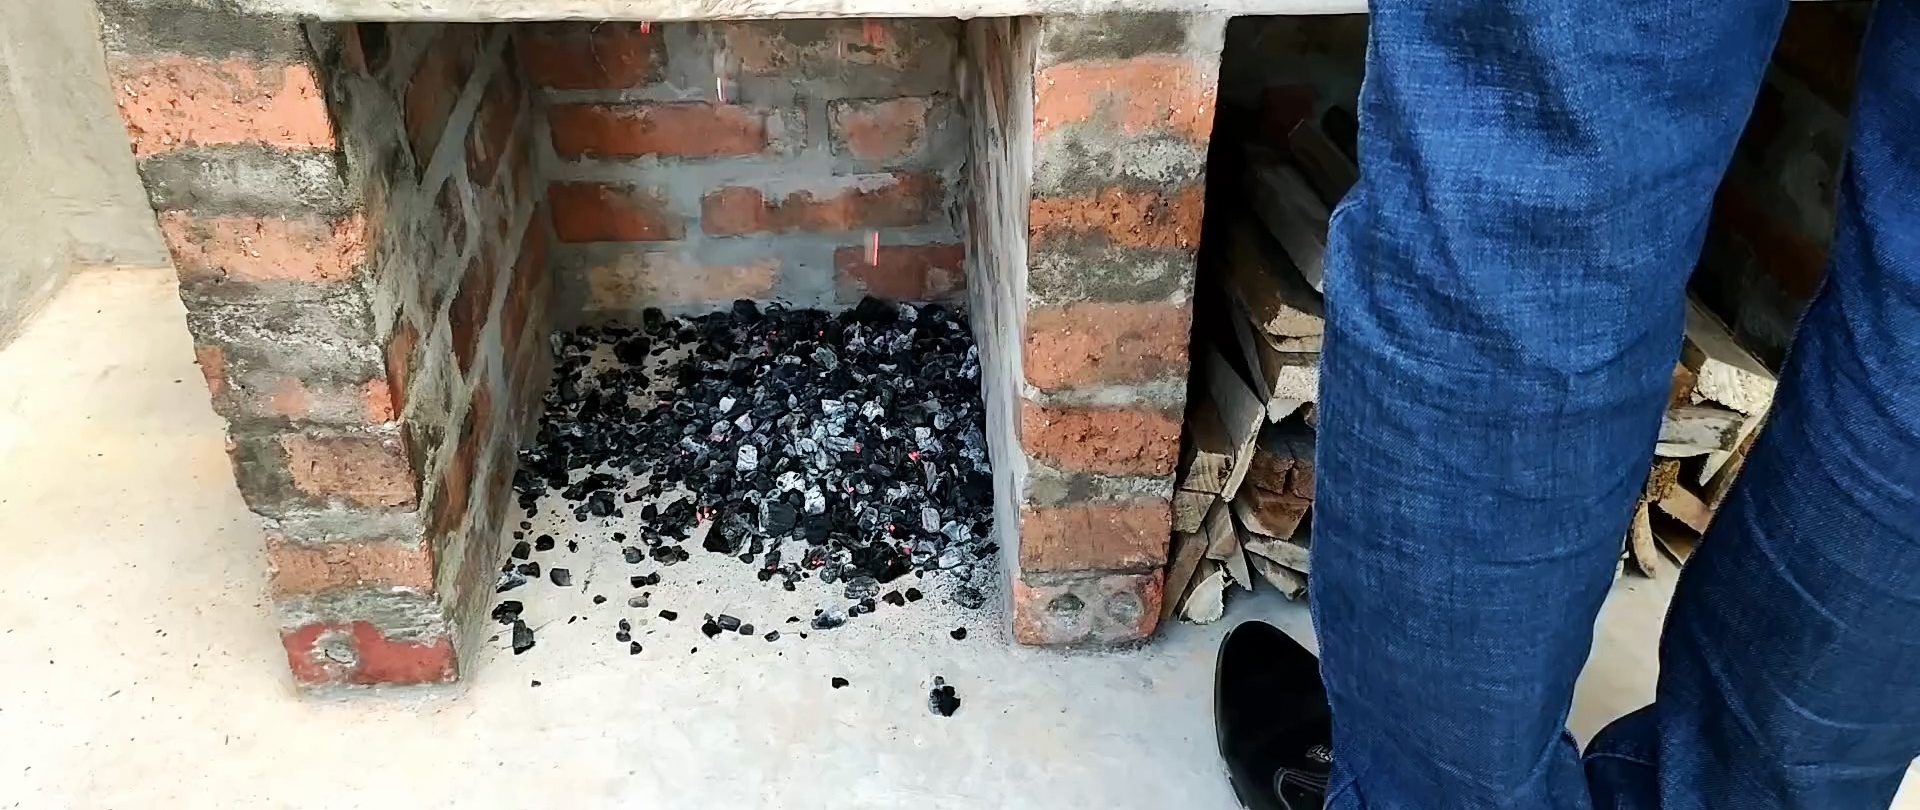
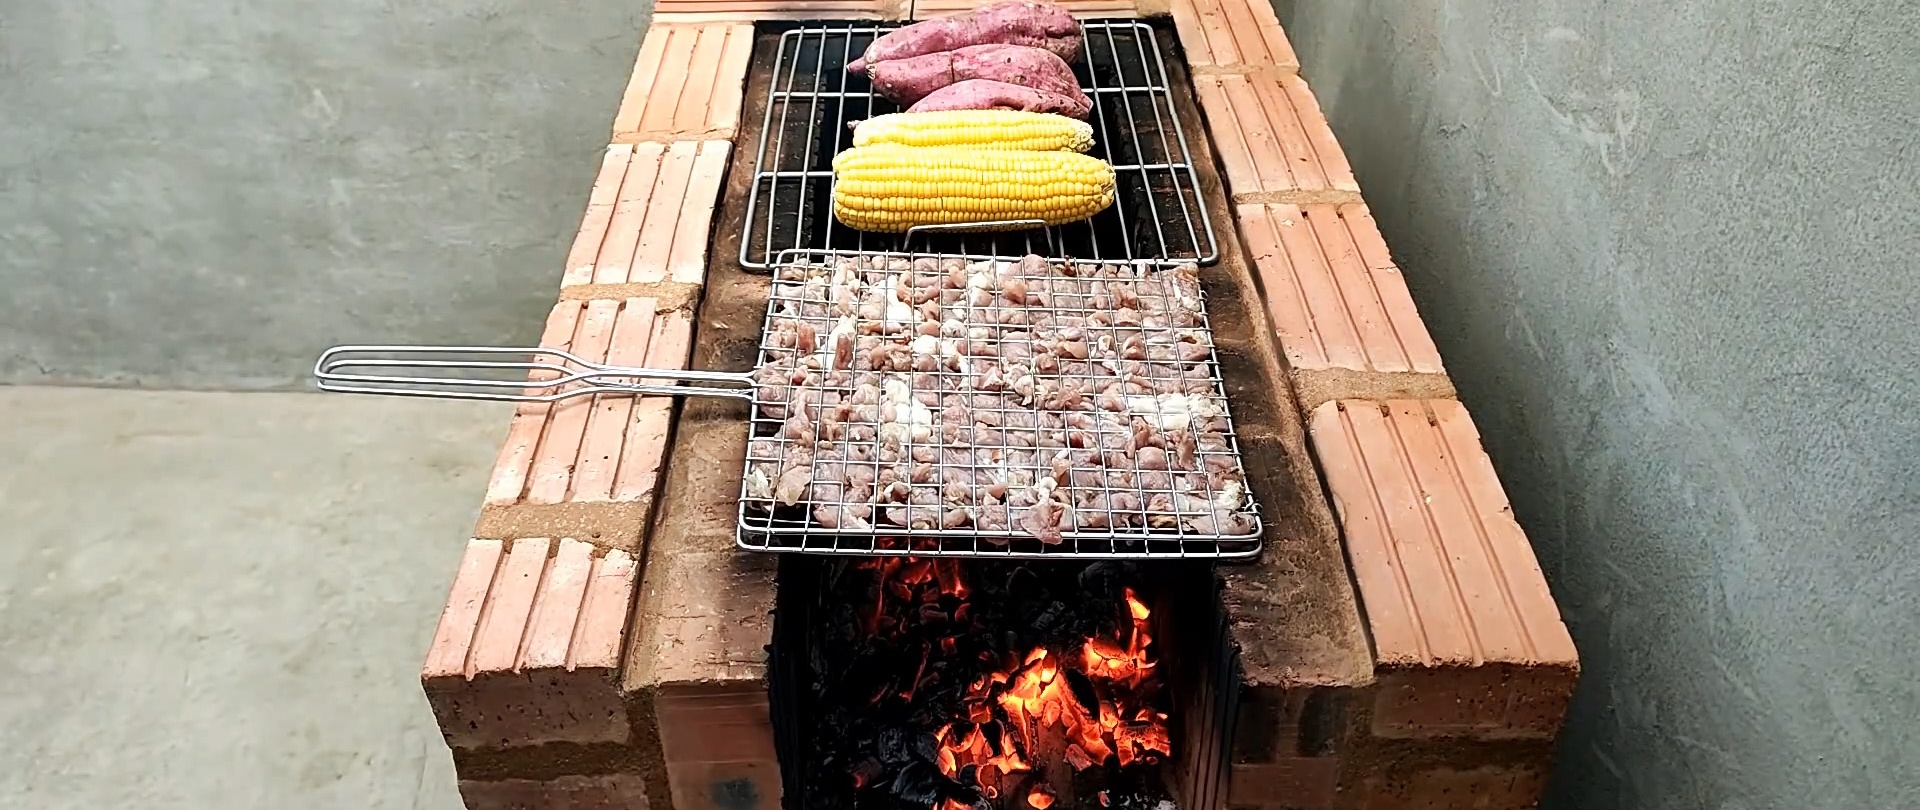
Then we remove the stove, cover the ash pan grate with a metal plate and cook vegetables and other delicate foods on the grate in the heat from the wood coals.
After cooking, open the ash pan so that the extinguished coals and ash end up on the concrete floor, where they can be easily removed.