Welding round pipes for a novice amateur welder may raise questions, primarily regarding the marking of a curved surface. Each of the two pipes must be cut at an angle that is half the connection angle, that is, for a right angle - 45 degrees.
Marking
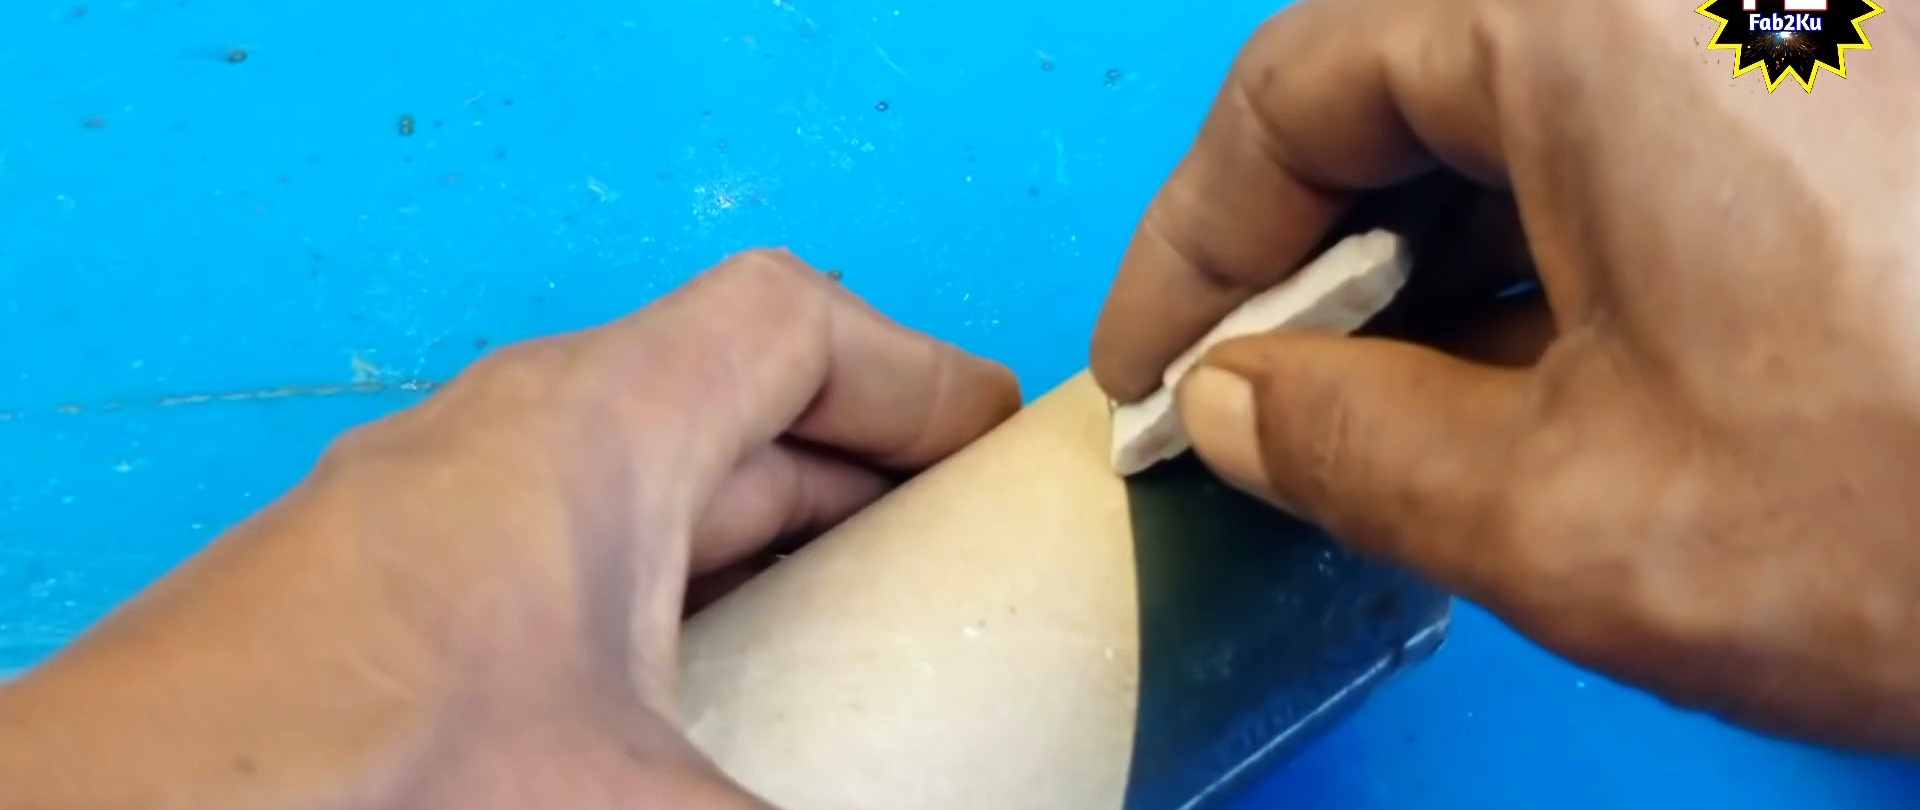
There are many ways to mark a pipe cut at a 45 degree angle. Let's consider one of them. It will require a piece of paper or fabric with a length equal to the circumference of the pipe.
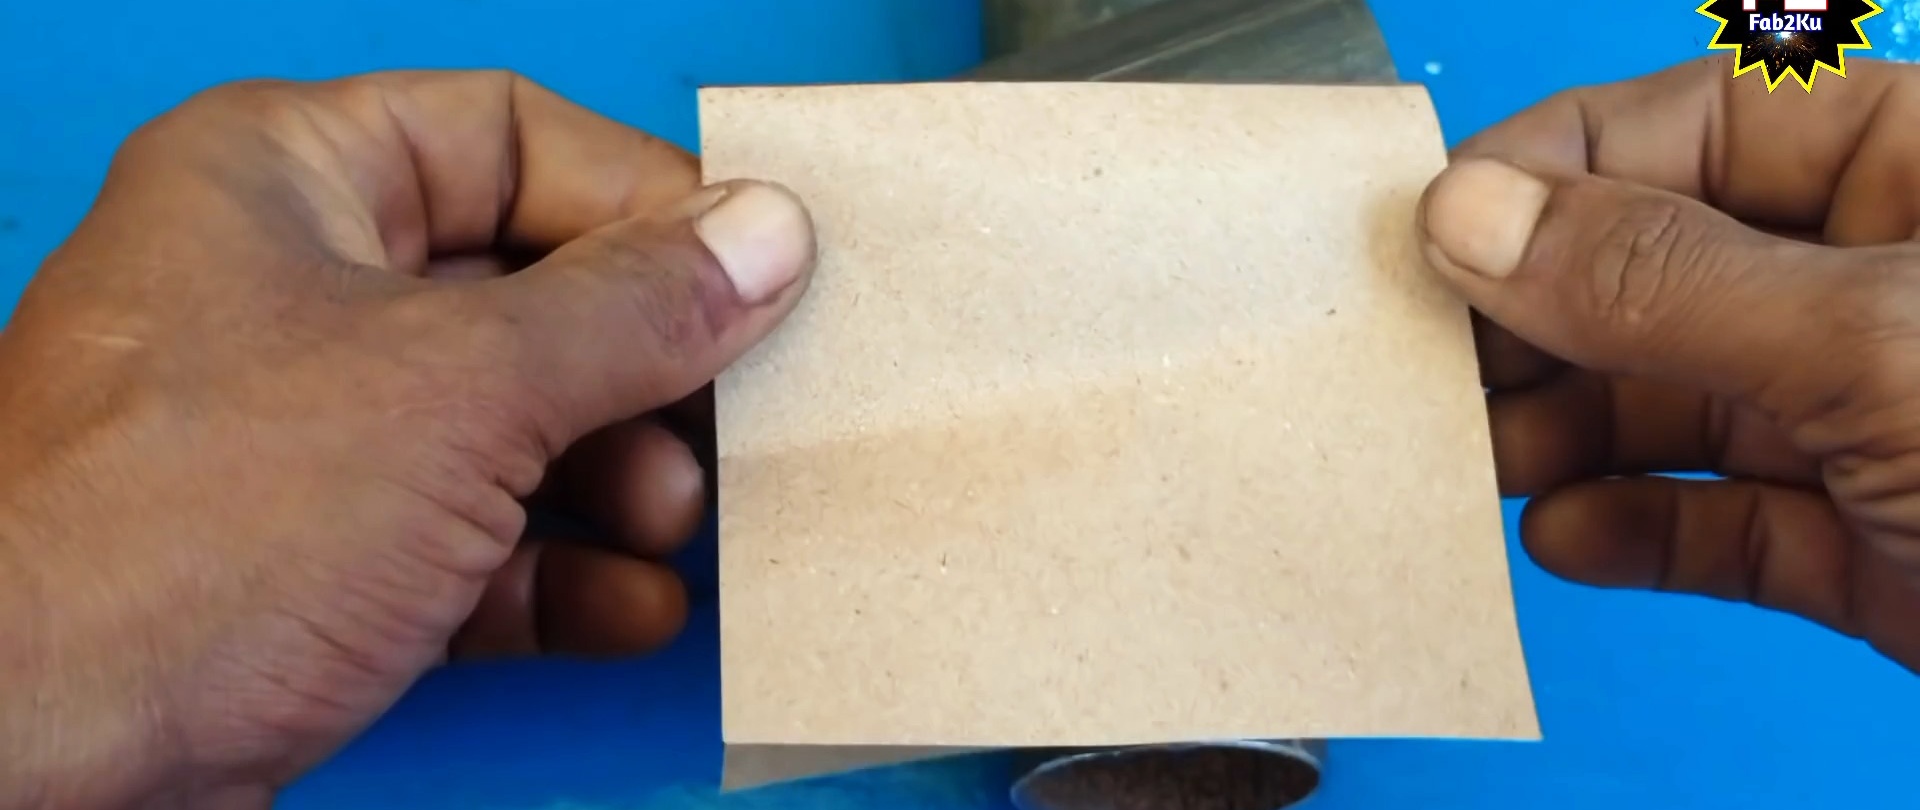
A mark is first made in its middle. We wrap the paper around the pipe and make chalk marks on the pipe in the middle and at the junction of the ends on both sides of the sheet, and draw a line through the resulting marks. The result will be two lines located exactly at opposite ends of the pipe circumference.
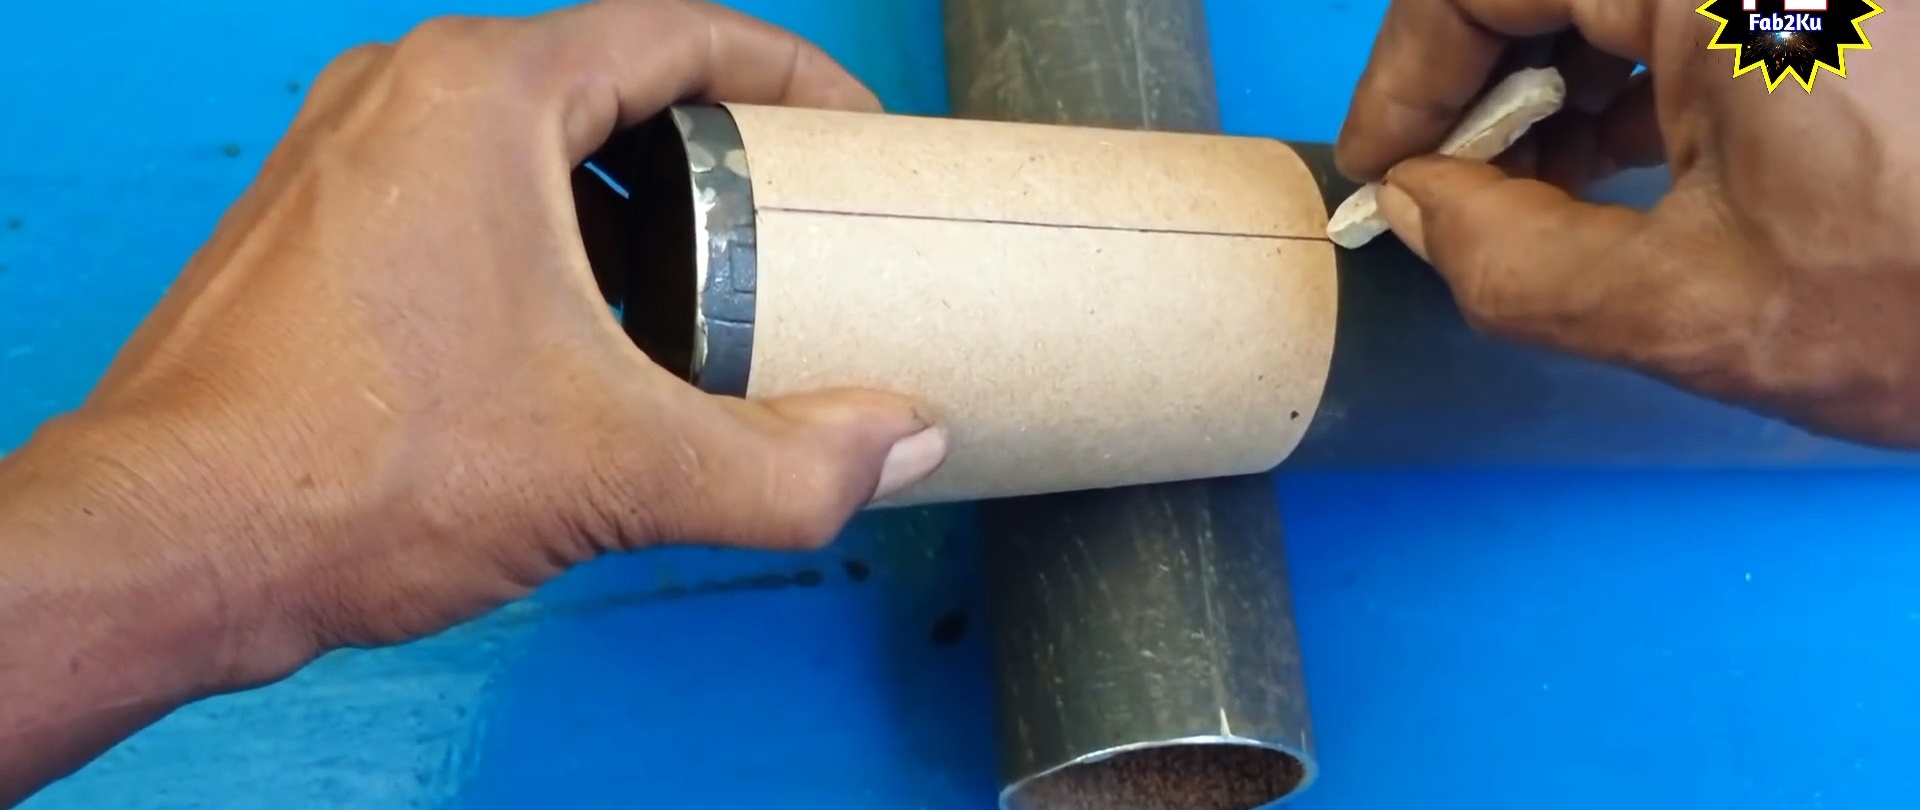
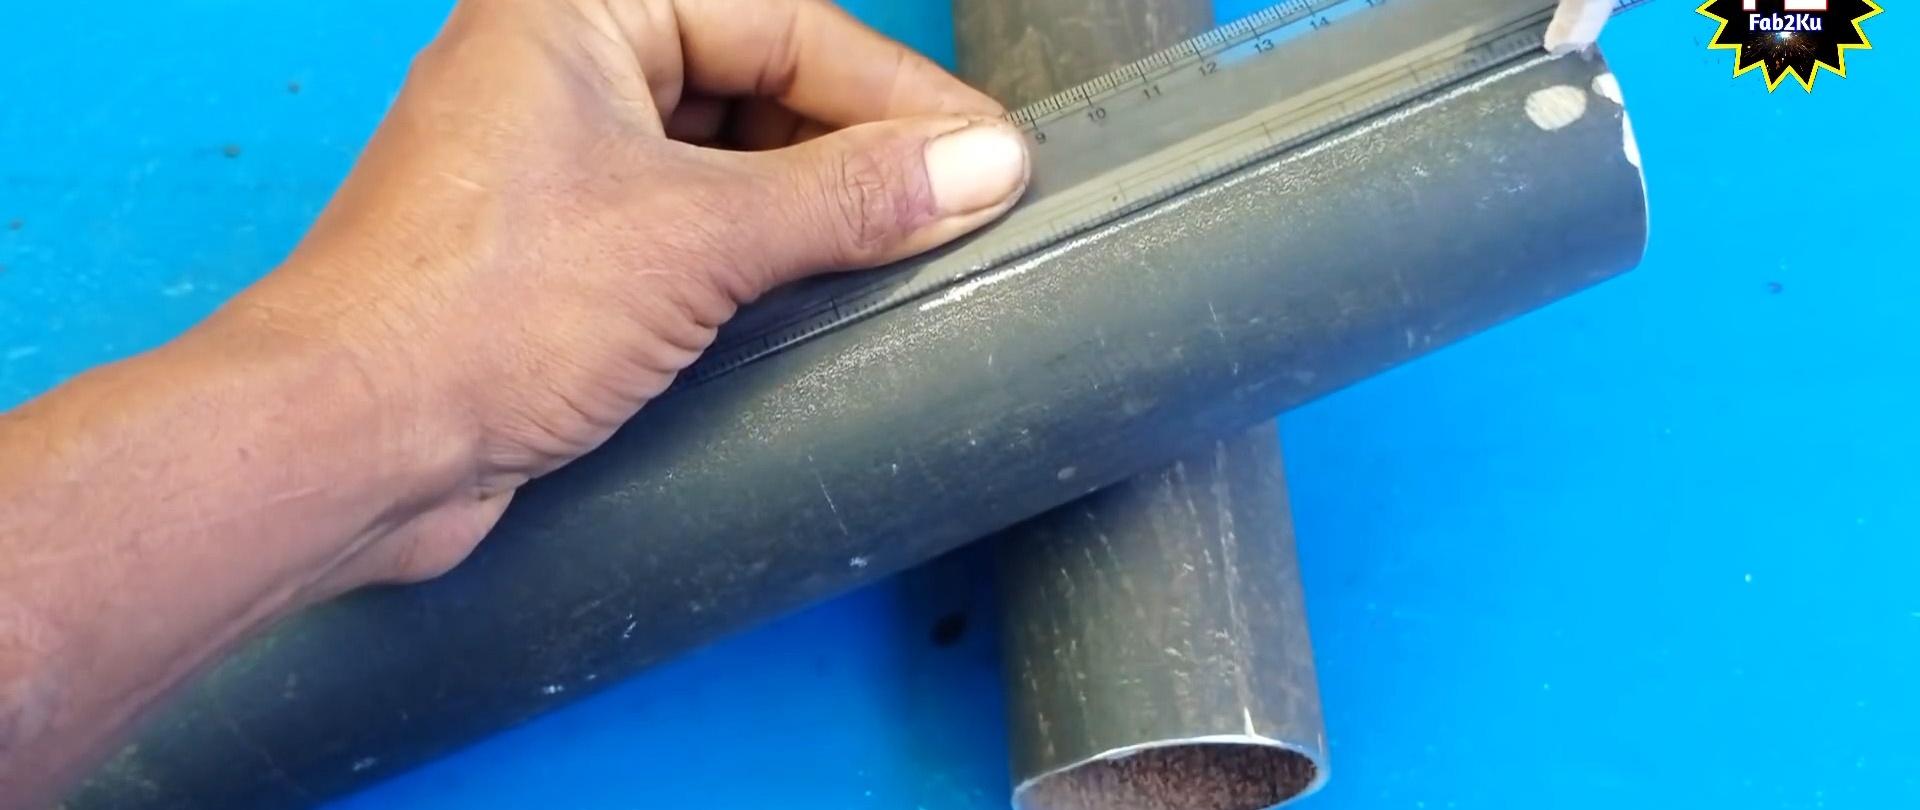
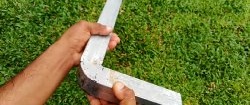
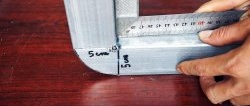
The next step is to mark one of the lines at a distance equal to the width of the pipe. The required distance can be obtained by measuring it with any straight object or by attaching a second piece of pipe. The resulting mark is connected to the beginning of the line on the other side in both directions.
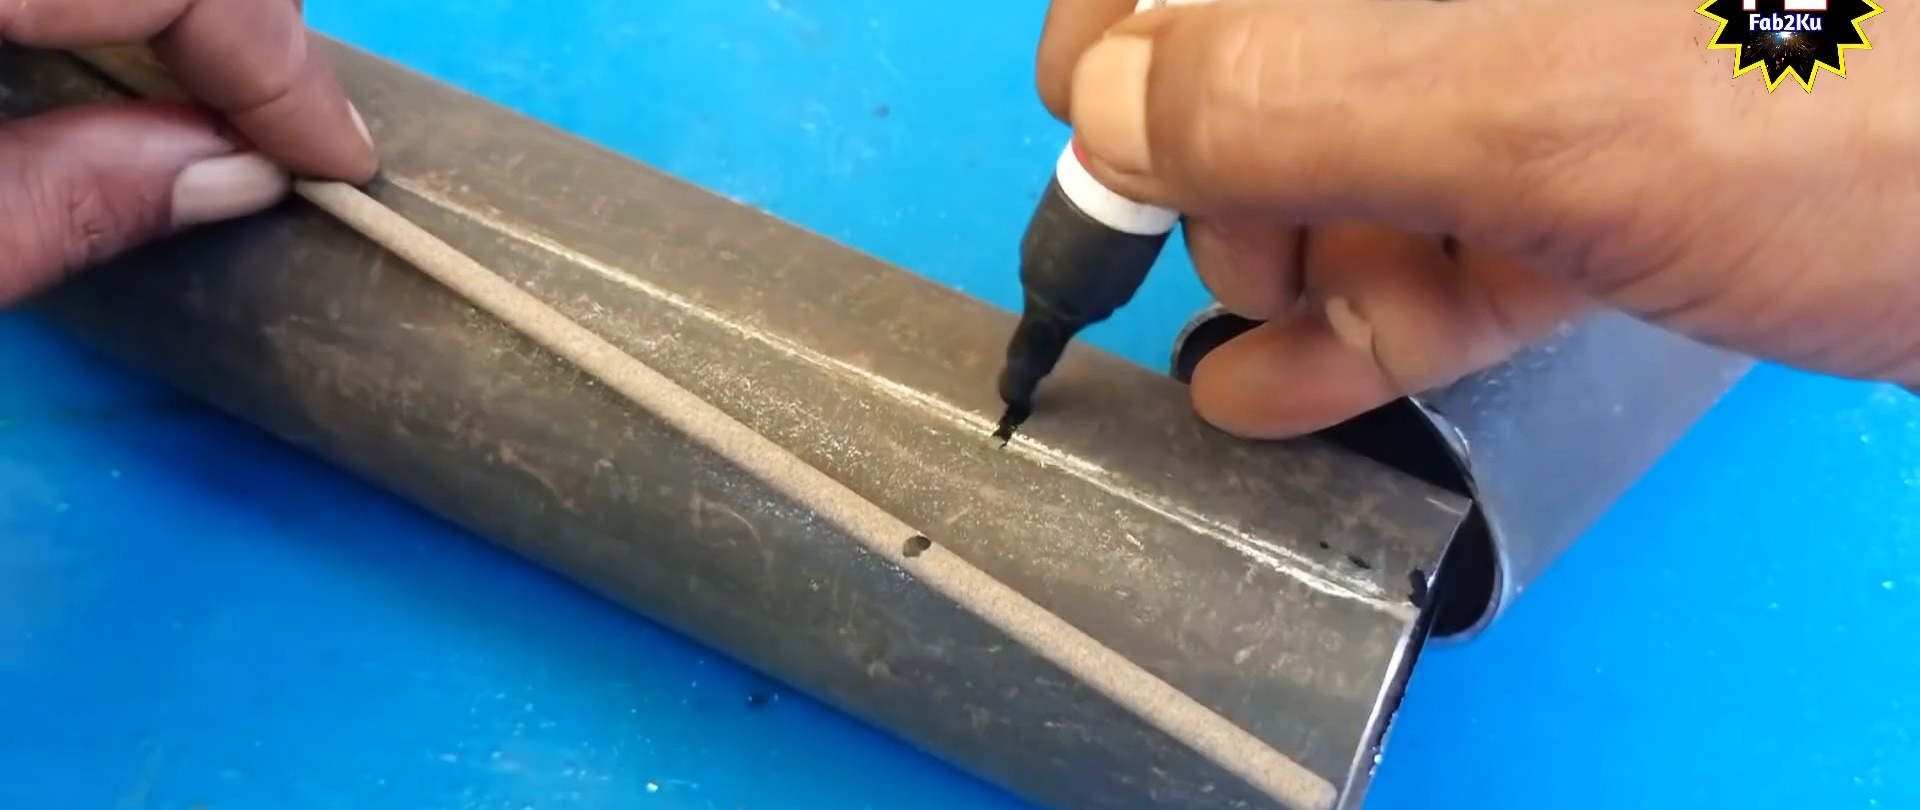
The same piece of paper or fabric is used as a guide. The same manipulations are performed with the second piece of pipe.The resulting angle at the junction of the lines is rounded.
Incision
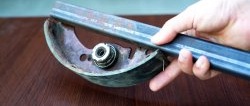
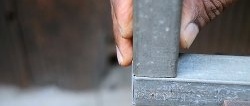
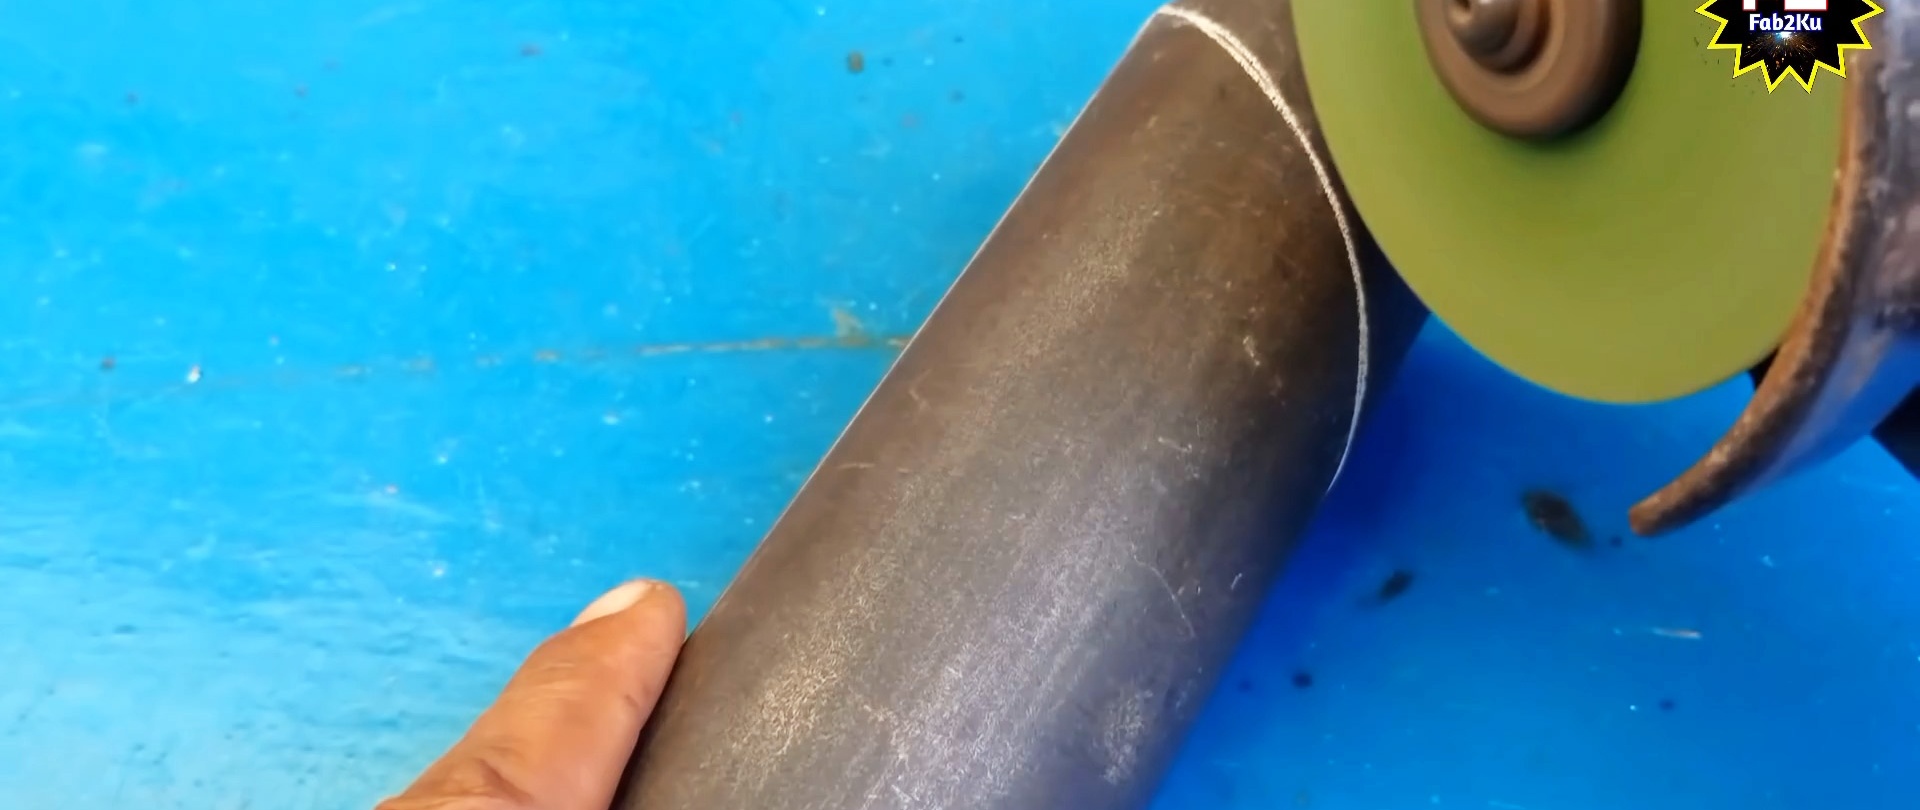
After marking is completed, you can start cutting. It is carried out along the intended line using an angle grinder. In the case under consideration, the pipe has a small thickness, so additional cutting of the edges is not required - it is needed when the wall thickness is more than 5 mm, so after cutting it is enough to just clean the surface to be processed for welding.
Welding
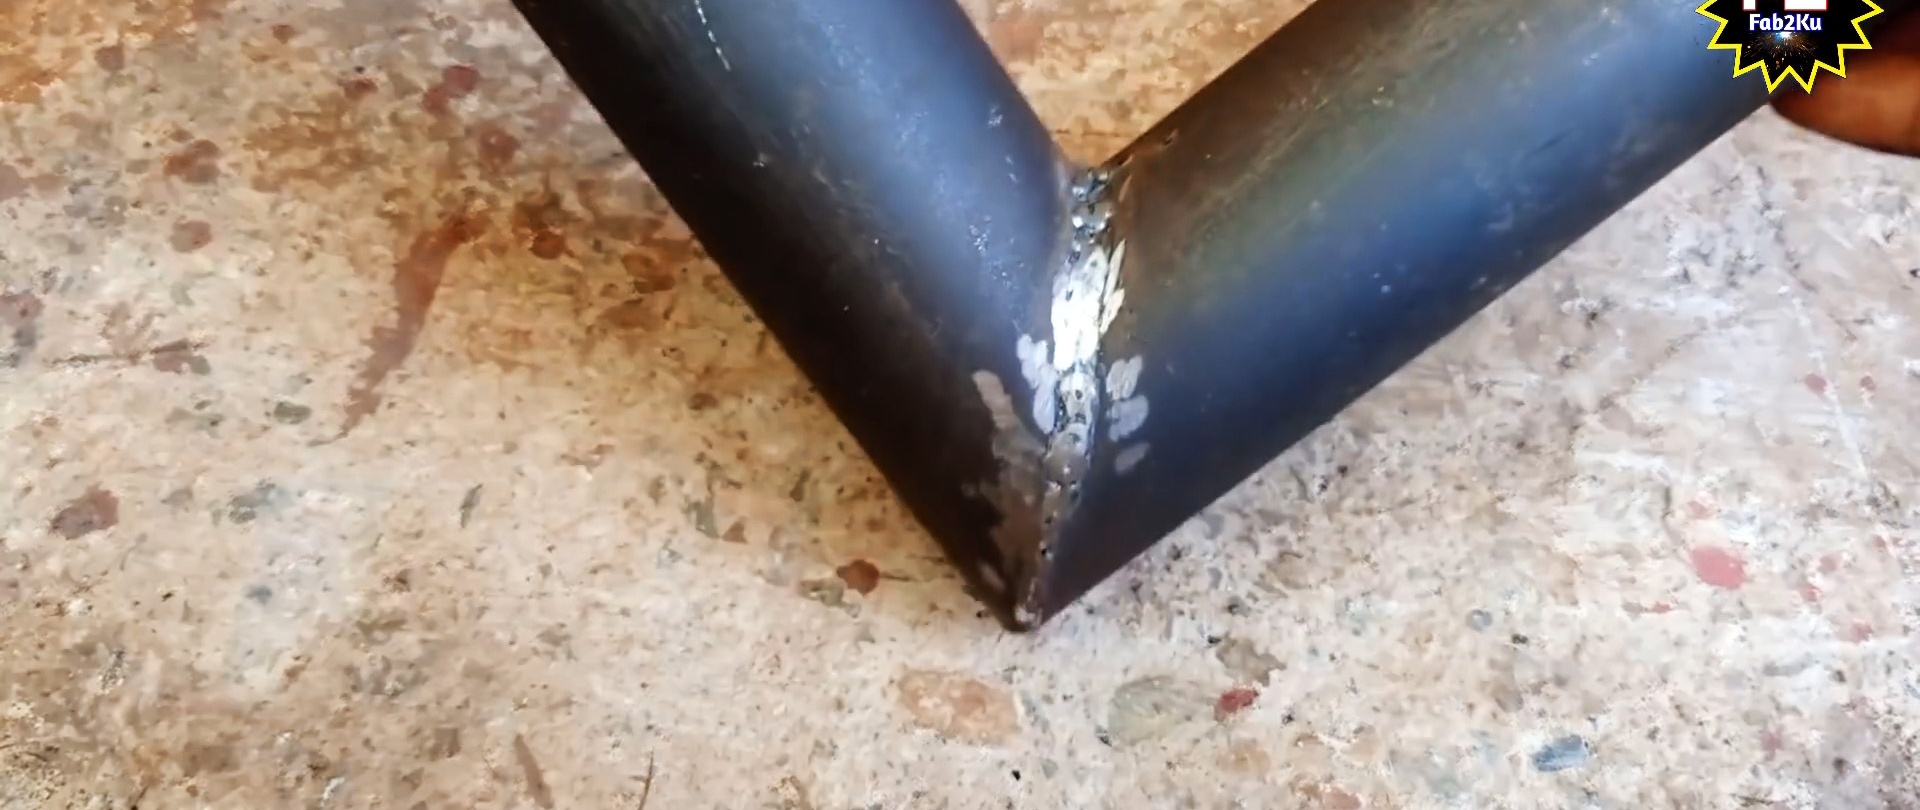
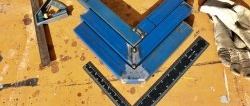
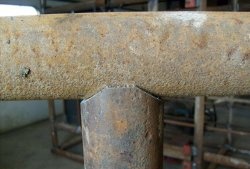
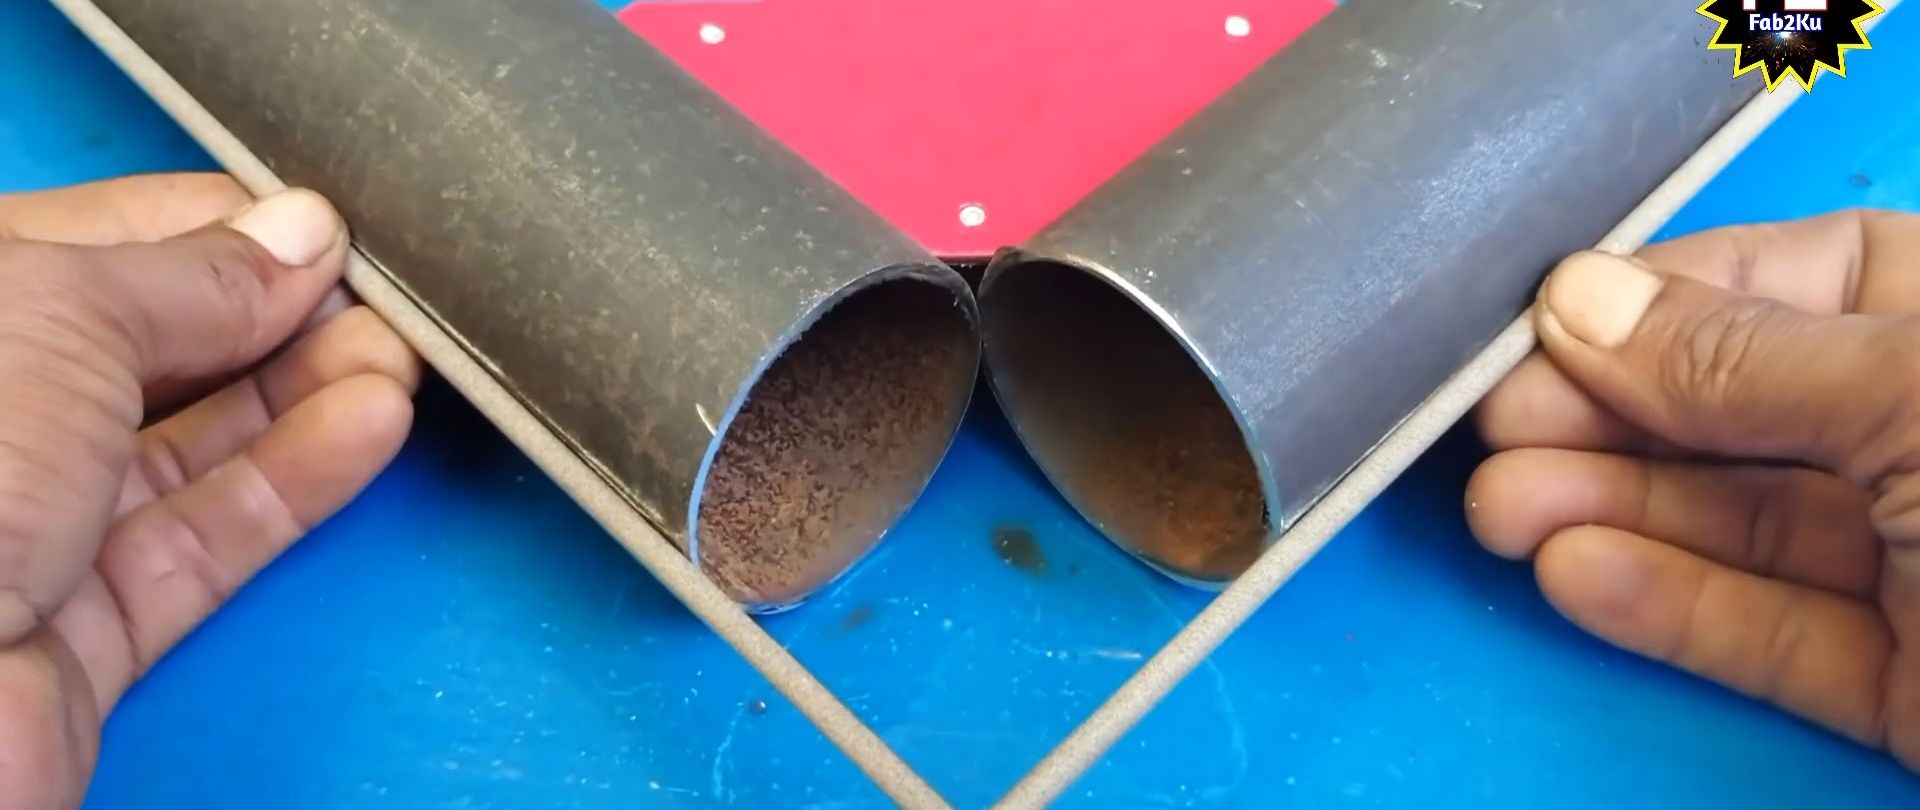
The pipes to be connected are connected and fixed using a welding magnet. After positioning them, we perform tack welding on two opposite sides for initial fixation and to reduce metal deformation during welding.
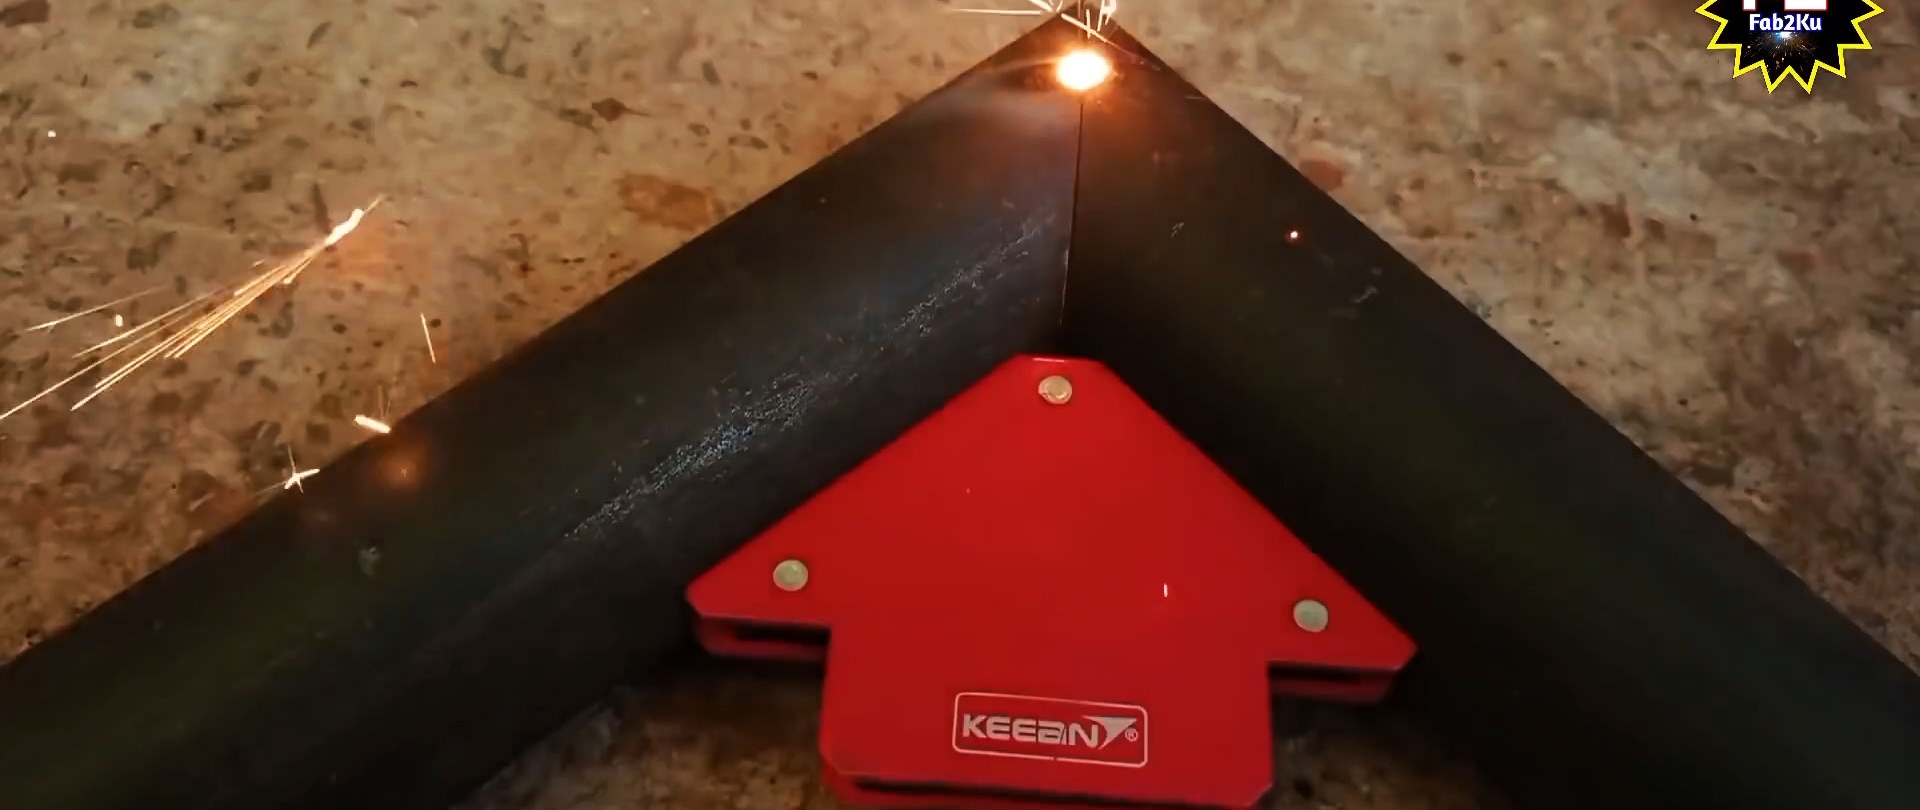
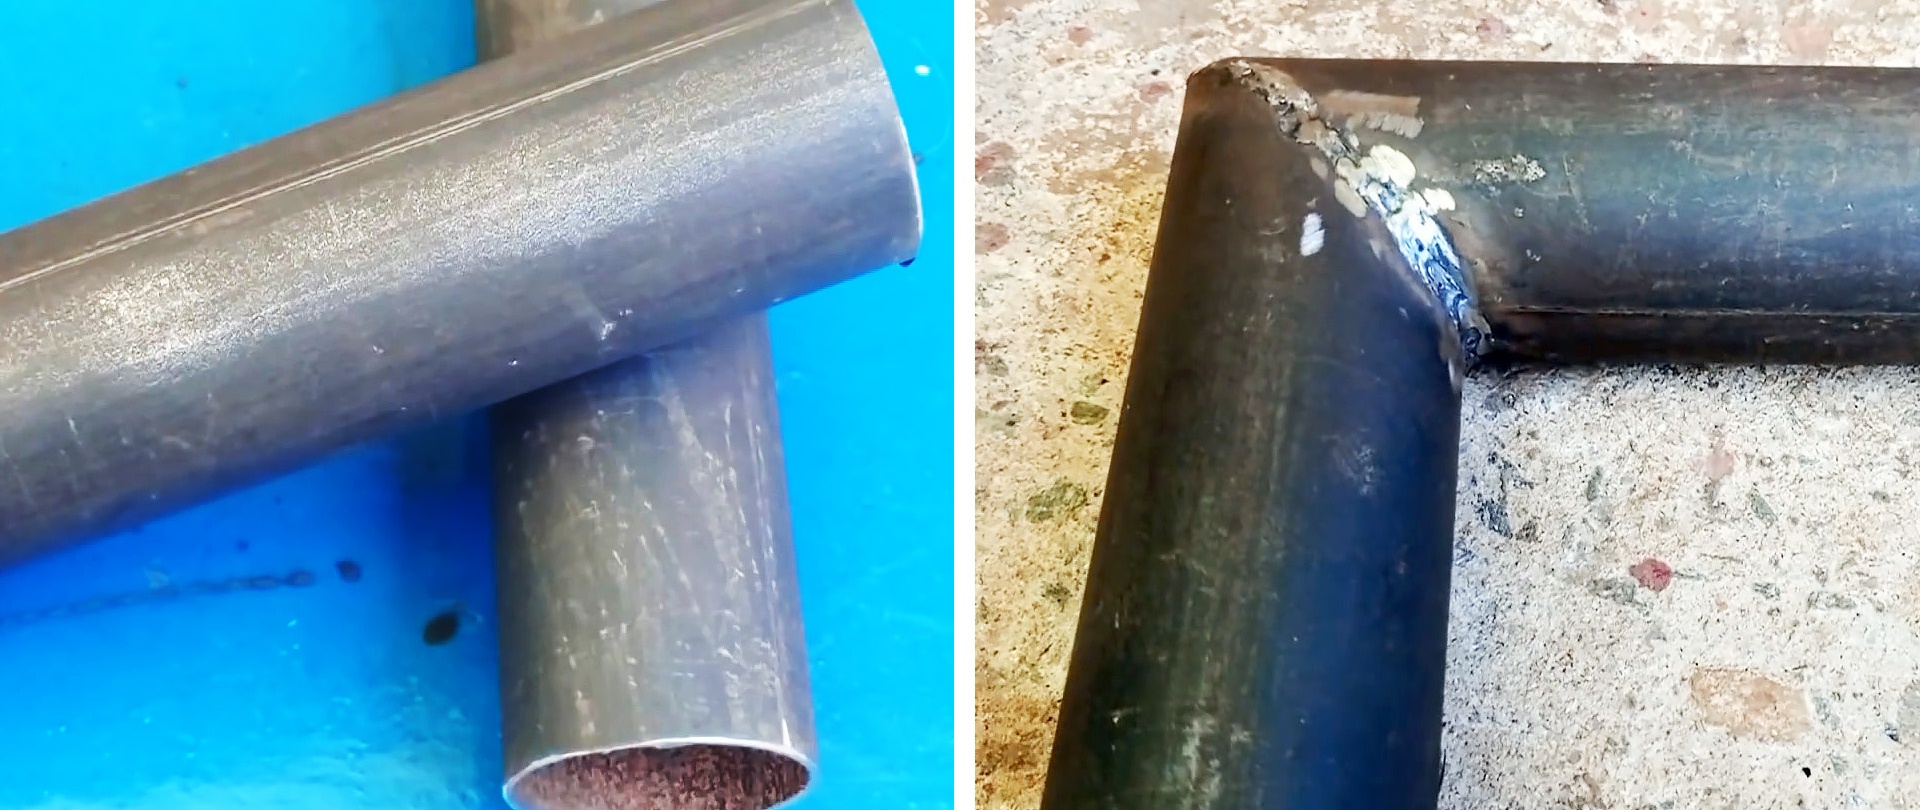
The magnet can be removed after this step - it is no longer required. Pipes fixed with tack welds are welded along the entire length of the connection. All that remains is to process the seam after welding - beat off the slag and clean it with an angle grinder. The seam is checked for tightness, and the resulting angle of the structure is checked for geometric compliance using a square.